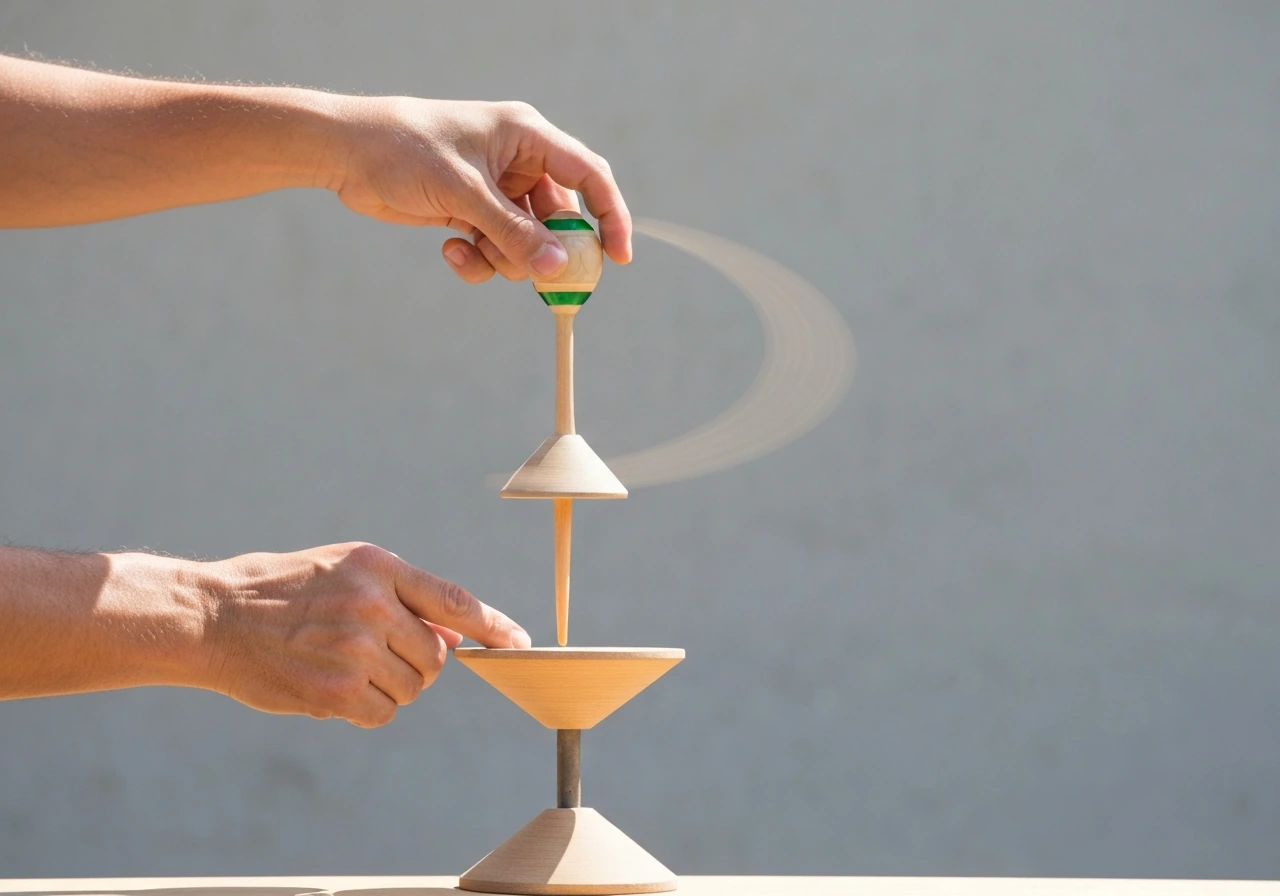
The "bird" in kendama is a stall trick where you hold the ken vertically (spike pointing up), toss the tama into the air, and catch it so the hole sits on top of the big cup's bevel, stabilized against the spike. It looks like the tama is perching on the ken, which is exactly where the name comes from. Once you nail the positioning and timing, it's one of the most satisfying stalls you can land.
How to Bird Kendama: Step-by-Step for Beginners

Marcus Hendricks
1 May 2026
What "bird" actually means in kendama
Before jumping into technique, it's worth being clear about the trick itself, because "bird" can cause some confusion. In kendama trick notation, the Bird is specifically defined as a blank" rel="noopener noreferrer">stall where the ken is held vertically (ken grip, spike pointing up) and the tama lands with its hole resting on the top of the big cup's bevel, with the spike helping to stabilize it. The tama sits there balanced, hole-side down over the spike, like a bird perching on a post. How to ghetto bird.
There's also a close relative called the "small bird," which is the exact same stall but performed on the small cup instead of the big cup. If someone in a video or tutorial mentions a small bird, that's the distinction they're drawing. For this guide, we're focusing on the standard Bird (big cup version) since that's the one beginners encounter first and search for most. Sweets Kendamas similarly notes that the Bird (big cup version) is typically the first stall trick introduced the standard Bird (big cup version) since that's the one beginners encounter first.
If you landed here thinking of something bird-related but not kendama, this site also covers things like bird walks, bird dances, and other bird-themed activities. If you landed here thinking of something bird-related but not kendama, this site also covers things like bird walks, bird dances, and other bird-themed activities how to get twitter bird. If you also meant bird walks in real life, learn the basics so you can observe safely and quietly bird walks, bird dances, and other bird-themed activities. But if you've got a kendama in hand and want to land that perching stall, you're in exactly the right place.
Get your setup right before you throw
The Bird lives or dies on your starting position. Get this wrong and you'll be chasing the tama all over the room. Here's what everything should look like before you even swing the tama.
Grip
Use the ken grip: hold the ken (the handle part) so the spike points straight up. Your fingers wrap around the ken handle, not the cups. The big cup should be facing upward, with the spike extending above it. Think of it like holding a torch with the flame at the top. Your grip should be firm but relaxed, not white-knuckled. You need some give in your wrist to absorb the catch.
Stance
Stand with your feet about shoulder-width apart. Slight bend in the knees. This isn't just advice for comfort, it's functional. The bend lets you dip and rise to control the tama's trajectory. I learned this the hard way after throwing stiff-legged for weeks and wondering why my catches felt so jarring. Keep your elbow close to your body and your throwing arm relaxed at roughly a 90-degree bend.
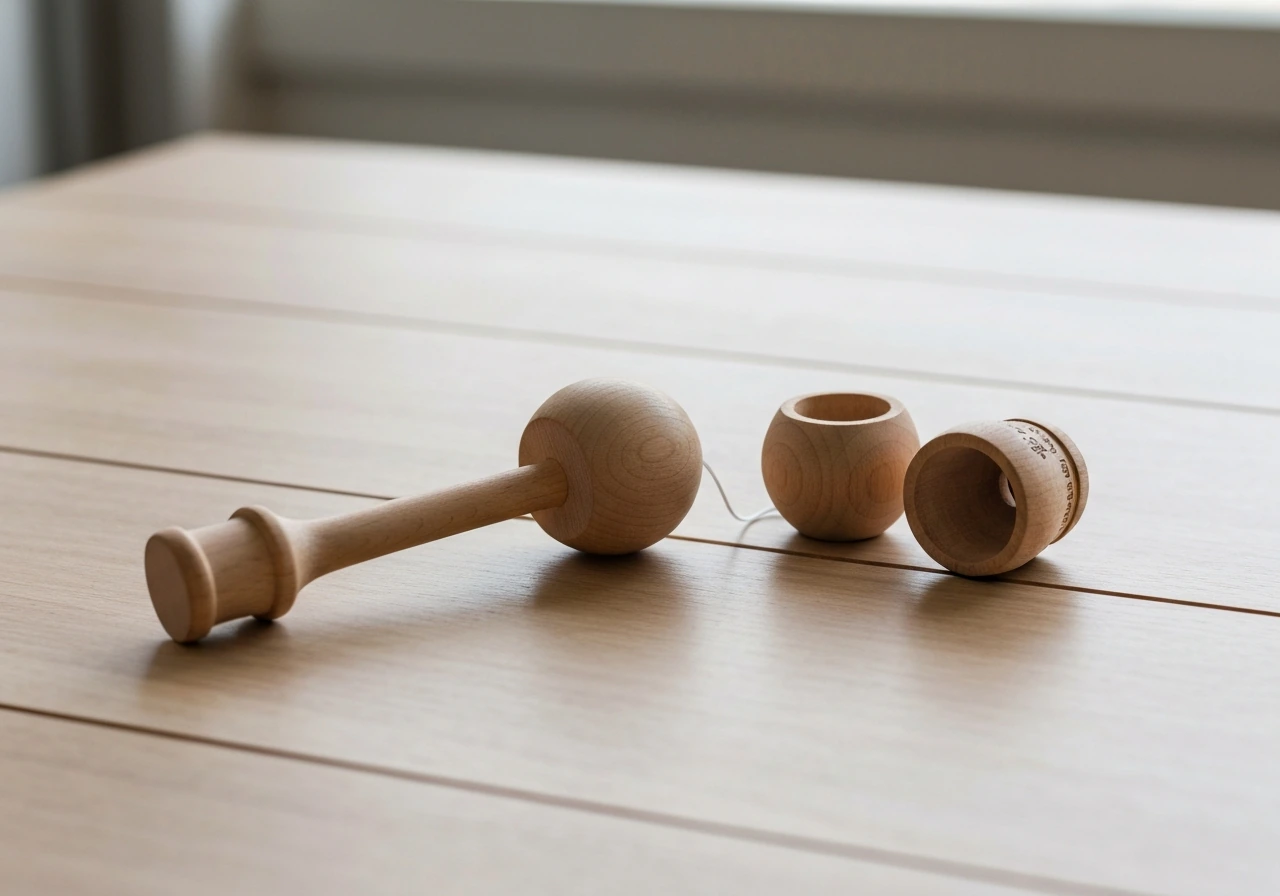
Tama and kendama orientation
The tama (the ball) hangs below the ken on the string. Before you swing, let the tama settle and hang naturally. Make sure you can see the hole in the tama clearly. The goal of the trick is to get that hole to land facing down onto the spike, so knowing where the hole is before you throw gives you a target to work with.
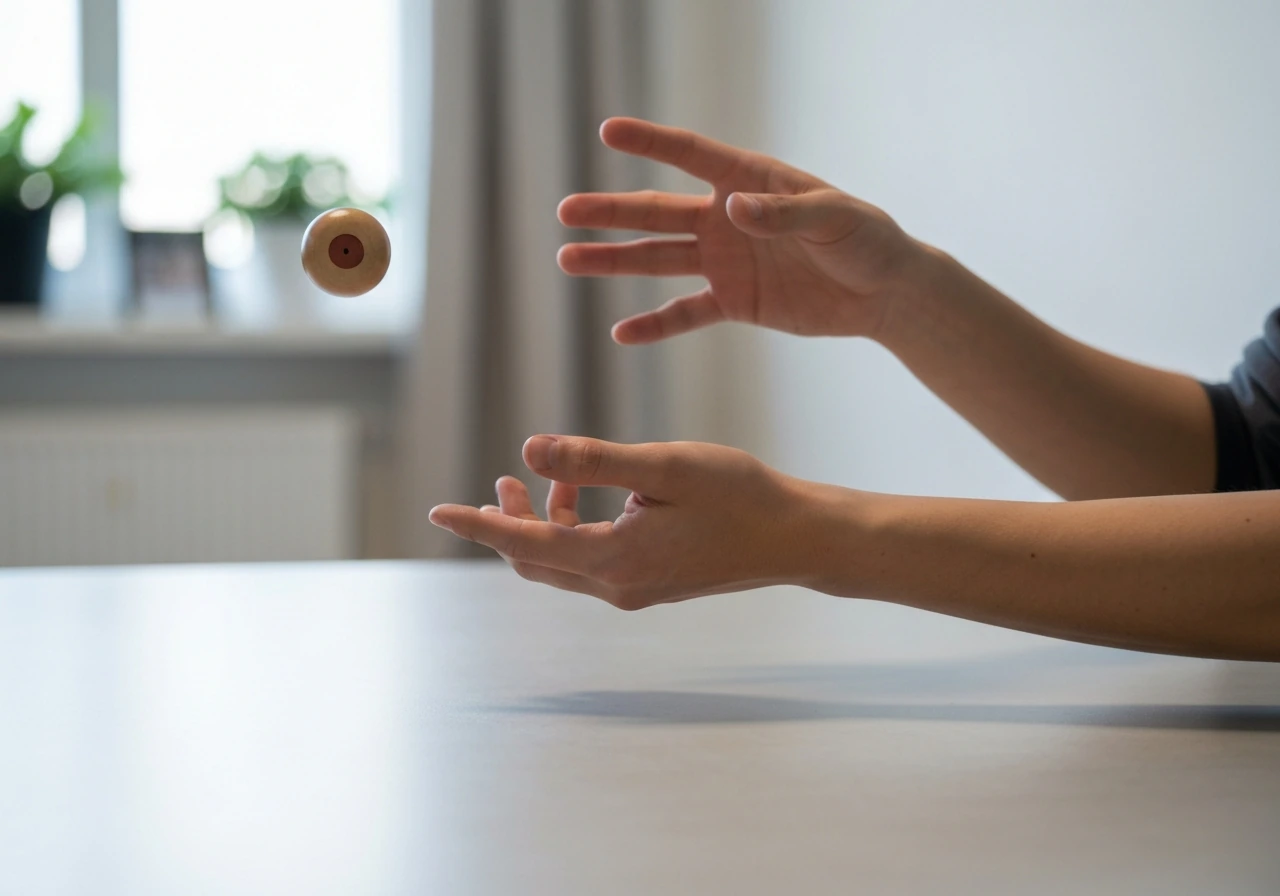
The basic throw
The motion is a controlled upward swing, not a hard toss. You swing the tama up and forward slightly, then guide the ken under it as it reaches the top of its arc. The tama should travel in a smooth, predictable path. Keep the motion in your forearm and wrist, not your whole shoulder. Big shoulder swings make the tama path unpredictable.
How to execute the bird trick, step by step
Here's the full trick from start to a clean stall. If you already know the Bird stall and want the exact sequence, follow the step-by-step section for how to do the bird dance. Go through this slowly the first few times, even miming the motion without throwing, so your body gets the sequence.
- Start in ken grip with the spike pointing up and the tama hanging below, string taut.
- Let the tama settle so it's hanging still. Locate the hole visually before you move.
- Bend your knees slightly and swing the tama upward in a smooth, controlled arc. The tama should rise to roughly chest or chin height.
- As the tama reaches the top of its arc and slows, guide the big cup of the ken underneath the tama's hole. You're not stabbing up at the tama, you're meeting it gently as it comes down.
- Absorb the catch by letting your knees bend and your wrist give slightly downward. This cushions the landing and keeps the tama from bouncing off.
- Hold the stall: the tama should be sitting with its hole resting on the bevel of the big cup, with the spike inserted into (or touching) the hole, keeping it stable.
- Freeze for a full second to confirm the catch before celebrating.
The key moment is step 4. Most beginners either lift the ken too early (before the tama peaks) or too late (after it's already falling fast). You want to make the move at the very top of the tama's arc when it's briefly floating. That split second of near-weightlessness is your window.
Build the skills before going for the full trick
Trying the Bird before you've isolated its components is like trying to ride a bike before you've learned to balance. These drills train each part of the trick separately so the full attempt feels familiar, not chaotic.
Drill 1: Spike stall practice
Before the Bird, get comfortable with stalling the tama on the spike directly. Hold the ken vertically, toss the tama up, and try to catch the hole on the spike itself. This teaches you to read the tama's hole orientation during flight and to time the catch at the peak. Do 20 attempts in a row with no pressure to land every one. Just build the feel.
Drill 2: Big cup catch in ken grip
Still in ken grip (spike up), practice catching the tama in the big cup the standard way. This trains your arm and wrist to control the tama in this orientation. Do 10 clean catches in a row before moving on.
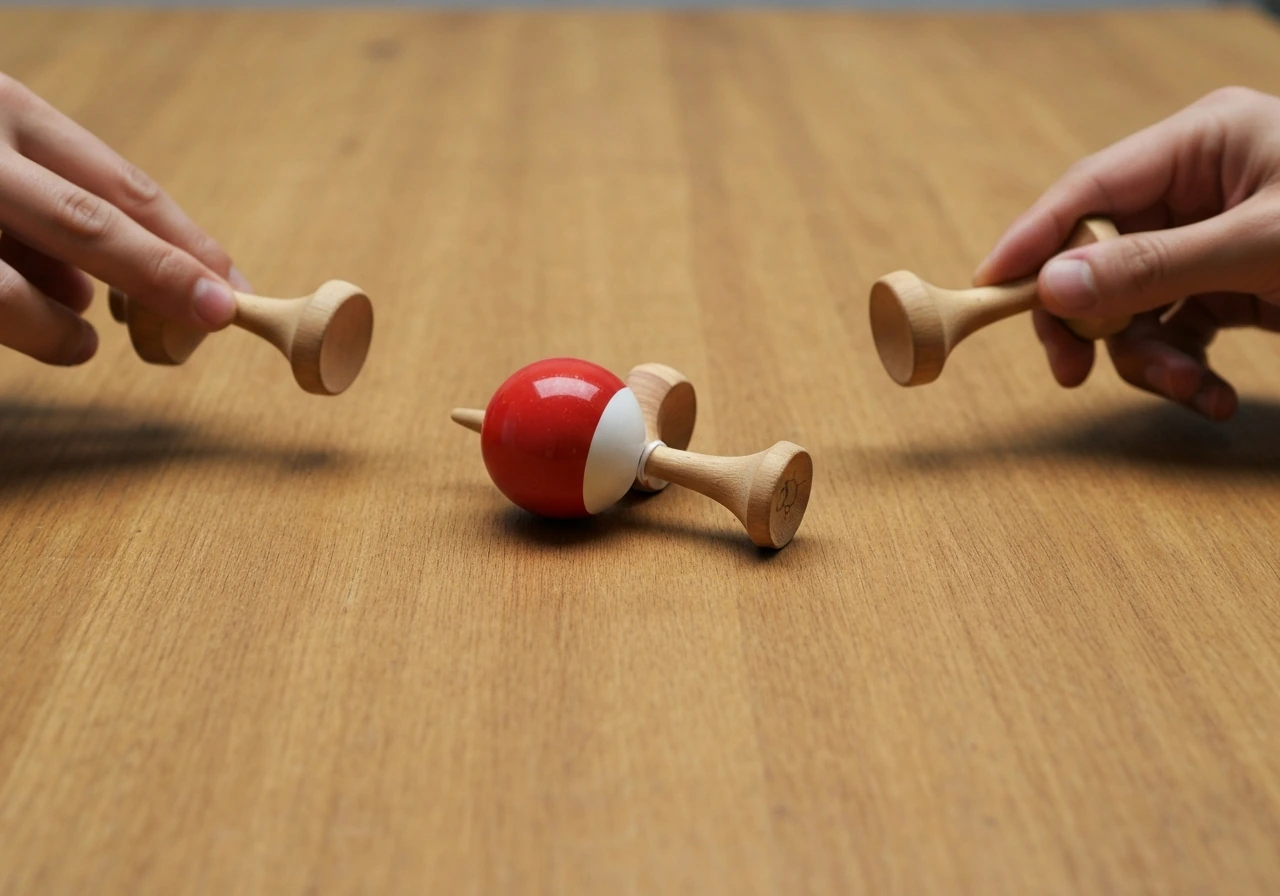
Drill 3: Slow-motion Bird simulation
Hold the tama in your free hand with the hole facing down, and physically place it onto the big cup bevel with the spike going into the hole. Feel what a successful Bird stall actually feels like in your hands. Notice the angle. Notice how the tama sits. This sounds almost too simple, but mimicking the end position by hand before attempting it mid-air builds real muscle memory.
Drill 4: Controlled swing and freeze
Do the full swing motion but freeze at the moment you'd make the catch, without actually attempting it. Feel where your arm is, where the tama would be, and whether your knees are bent and ready to absorb. Repeat 10 times. You're programming the timing and body position before the pressure of a real attempt.
When it's not working: common problems and fixes
Almost everyone hits the same walls with the Bird. Here's what's probably going wrong and how to fix it.
| Problem | Likely cause | Fix |
|---|---|---|
| Tama bounces off the cup | Catching too hard or absorbing too little | Bend knees more and let your wrist drop with the catch; don't lock your arm |
| Tama keeps missing the cup entirely | Swing path is inconsistent or too wide | Tighten your elbow to your body and keep the swing in the forearm only |
| Hole doesn't align with the spike | Not tracking the hole before the throw | Locate the hole visually before every single swing; slow down your setup |
| Tama swings past you (overshoot) | Throwing too hard | Reduce power; this is a lift, not a throw; barely any force is needed |
| Stall lands but tama immediately falls | Spike not entering the hole properly | Check that the hole is actually facing down at the moment of catch; rotate the tama before throwing if needed |
| Consistent misses to one side | Arm drifting laterally during the swing | Film yourself from the front and check if your elbow is pulling outward |
String length matters more than people think. If your string is too long, the tama swings in a wide arc that's hard to control. Most players trim or adjust so the tama hangs somewhere between the bottom of the big cup and the base of the ken handle. If you're using a brand new kendama with factory string length, try shortening it by a couple of centimeters and see if the trick feels more controllable.
Kendama size can also affect feel. Smaller or lighter kendamas make the Bird easier to learn because the tama is lighter and the arc is tighter. If you're practicing on a heavier or larger kendama and struggling, know that it's not just you. The same skill on a standard-sized kendama will feel more manageable.
Your practice plan for today and what comes next
Here's how to spend your first real session with the Bird. Keep it to about 20 to 30 minutes. Longer sessions without landing it tend to build frustration, not skill.
- Spend 5 minutes on Drill 1 (spike stalls). Go for 20 attempts, no pressure.
- Spend 5 minutes on Drill 2 (big cup catches in ken grip). Aim for 10 clean catches in a row.
- Spend 3 minutes on the physical Bird simulation (Drill 3). Place the tama by hand onto the stall position 10 times.
- Spend 5 minutes on Drill 4 (swing and freeze). 10 slow controlled reps.
- Spend the remaining time on full Bird attempts. If you land one, hold it for a full second, reset, and do it again. Aim for 3 clean lands before calling it a win for today.
Once you can land the Bird semi-consistently (say, 3 out of 10 attempts), your next goal is to increase that ratio to 7 out of 10. The way to do that is shorter, more frequent practice sessions rather than grinding for an hour straight. Ten focused minutes every day beats one exhausted hour every few days.
After you've got the Bird down on the big cup, try the small bird: same trick, same motion, but landing the stall on the small cup instead. It's harder because the cup is smaller, but the mechanics are identical. That progression keeps your skill building without jumping to something completely foreign.
From there, kendama players typically move toward stringing tricks together, like catching into a Bird from another stall, or transitioning out of a Bird into a different position. But that's a few sessions away. For now, land the Bird cleanly, land it again, and enjoy the fact that you figured out one of the most visually satisfying stalls in kendama.
FAQ
How do I know I’m doing the Bird correctly when it lands, but I’m not sure which cup is involved?
For the standard Bird, the hole of the tama should come to rest on the top bevel of the big cup, with the spike helping stabilize it. If it’s landing on the top edge of the small cup instead, you’re effectively doing the “small bird,” even if the motion feels the same.
My tama keeps landing hole-up on the spike, what should I change?
That usually means the tama is not oriented correctly at the top of the arc. Re-check that you can clearly see the hole before throwing, and focus on timing the catch at the brief near-weightless peak, not right after the swing starts or after the tama begins dropping.
What’s the best way to adjust string length if my swings are too wide?
If the tama swings in a large, hard-to-repeat arc, shorten the string by small amounts (about 1 to 2 cm), then test again. The goal is for the tama to hang and swing in a controlled range between the bottom of the big cup and near the base of the ken handle, so your under-catch timing stays consistent.
Should I be aiming for a “soft” catch or a “tight” catch on the spike?
Aim for a controlled, absorbable catch. Using a relaxed grip and bending your knees helps you cushion the moment, so the tama sits on the bevel instead of bouncing off or skidding away.
The Bird feels impossible on a heavier kendama, is it just skill or equipment?
It can be equipment. Heavier or larger kendamas often make the arc feel bigger and slower, which changes timing. If you’re struggling, practice the same steps but go slower, and consider the progression order, starting with shorter sessions and focusing on peak timing rather than forcing maximum height.
How do I practice without getting repetitive frustration when I’m stuck at like 0 to 1 out of 10?
Use the component drills before full attempts. Do a set of spike-only catches (hole to spike) first, then do 10 clean big-cup catches, then only afterward attempt the full swing-to-stall. Stopping after a small number of attempts keeps your brain focused on timing instead of chasing random catches.
What should I do if I’m missing because I lift the ken too early or too late?
If you lift early, the ken is arriving before the tama reaches the top, so the hole won’t sit on the bevel. If you lift late, the tama is already falling fast. Visualize the peak as a split-second float, then repeat the “freeze at catch moment” drill to program your arm position and knee readiness.
Can I learn the Bird from different starting positions, like starting with the ken tilted instead of perfectly vertical?
It’s possible, but for learning it’s a big disadvantage. The standard Bird requires holding the ken vertically with the spike pointing up. If your ken is tilted, the spike won’t meet the tama in the same stable geometry, and you’ll struggle to repeat the stall.
How close should my elbow be to my body during the Bird swing?
Keep the throwing arm stable with your elbow close to your torso, and move primarily through forearm and wrist. If the whole shoulder swings, the tama’s path becomes less predictable, which makes landing on the spike bevel harder.
When should I move on to the small bird?
Only after you can land the big-cup Bird with at least some consistency, for example around 3 out of 10 attempts. Then the small bird is a straightforward progression, same mechanics, but smaller target and stricter timing.
Next Article
How to Ghetto Bird: Beginner Guide, Safety, and Setup
Disambiguates how to ghetto bird, then gives a beginner safe setup, steps, success signs, legality, and troubleshooting.