"Fly like a bird" can mean a few different things depending on where you heard it: a physical movement activity where you mimic wing flaps and gliding with your arms, a browser or mobile game where you control a bird flying through an environment, or a bird-themed toy or prop you use during play. This guide covers all three, so you can figure out which one applies to you and get started in the next few minutes.
How to Play Fly Like a Bird: Beginner Step-by-Step

Marcus Hendricks
23 Apr 2026
What 'fly like a bird' actually means and what you need to start
The phrase shows up in three main contexts, and it helps to know which one you're dealing with before you dive in.
| Version | What it is | What you need |
|---|---|---|
| Physical movement activity | Bird-like arm/body motions: flapping, gliding, swooping. Common in early childhood movement programs, fitness warm-ups, and bird-themed roleplay. | Open space, comfortable clothes, optionally a pair of wing props or a costume |
| Browser/mobile game | Games like Fly Like a Bird 1, 2, and 3 (browser) or Learn 2 Fly (mobile arcade) where you pilot a bird character through an environment as far or high as possible. | A browser or smartphone; no download required for browser versions |
| Bird-themed toy or glider | Foam throw-gliders, flapping wing toys, or wearable wing props designed to simulate bird flight during play. | The toy itself, an open outdoor or indoor space, adult supervision for younger kids |
If you're here because of a school activity, a fitness class, or a parent looking for a movement game for kids, you almost certainly want the physical movement version. If you typed the phrase into an app store or game search, you want the game version. The rest of this guide focuses on the physical movement activity since that's the one with the most practical setup and the most room for beginner mistakes, but the sections on toys and games are covered too.
Safety first: where to practice, posture, and injury prevention
This is the part most people skip, and it's the part that gets them. Flapping your arms repeatedly sounds gentle, but your shoulders are doing real work, especially the rotator cuff and the muscles around your shoulder blade. AAOS OrthoInfo also notes that excessive, repetitive overhead motion, such as swimming, tennis, pitching, or weightlifting, is a frequent cause of shoulder injuries Flapping your arms repeatedly sounds gentle. Push too hard too fast and you'll feel it the next day.
Where to practice
- Use a flat, open area with at least 6 feet of clear space around you. Outdoors is ideal: a yard, a park, or a school gym.
- If using a foam glider or wing props, stay away from roads, airport areas, people's faces, and anything breakable.
- Indoors works for gentle flapping drills, but check for ceiling fans and low-hanging lights before you start swinging your arms overhead.
Posture and shoulder safety
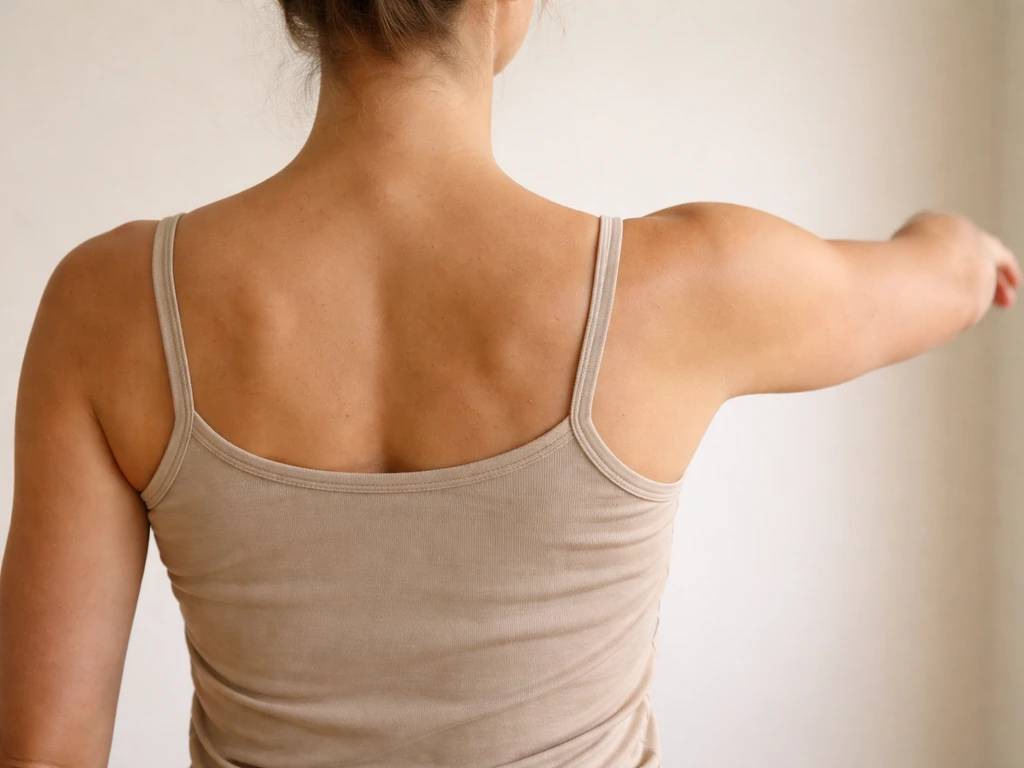
Before you flap a single "wing," get your posture right. Stand with feet shoulder-width apart. Pull your shoulder blades gently down and slightly together before you lift your arms. That one cue protects your shoulder joint by putting the muscles in the right position before load hits them. Do not crank your shoulder blades back as hard as you can; a gentle, natural set is enough.
Keep your movement in what clinicians call the "window of movement": roughly the 2 to 3 foot rectangle directly in front of your body. Avoid swinging your arms far behind your back or aggressively overhead until your shoulders are warmed up and used to the range. If you have a history of shoulder impingement or rotator cuff issues, keep arm lifts below shoulder height and stop immediately if you feel sharp or pinching pain. That's a signal to rest, not push through. MedlinePlus also advises resting your shoulder and avoiding activities that cause or worsen pain That's a signal to rest, not push through..
- Stop if you feel sudden intense shoulder pain, arm weakness, or notice swelling or redness. Those are red flags that need a clinician, not more reps.
- Avoid repeatedly lifting your arms overhead if your shoulders are already irritated from other activities.
- Kids doing this as a movement game should have an adult present, especially if props or toys are involved.
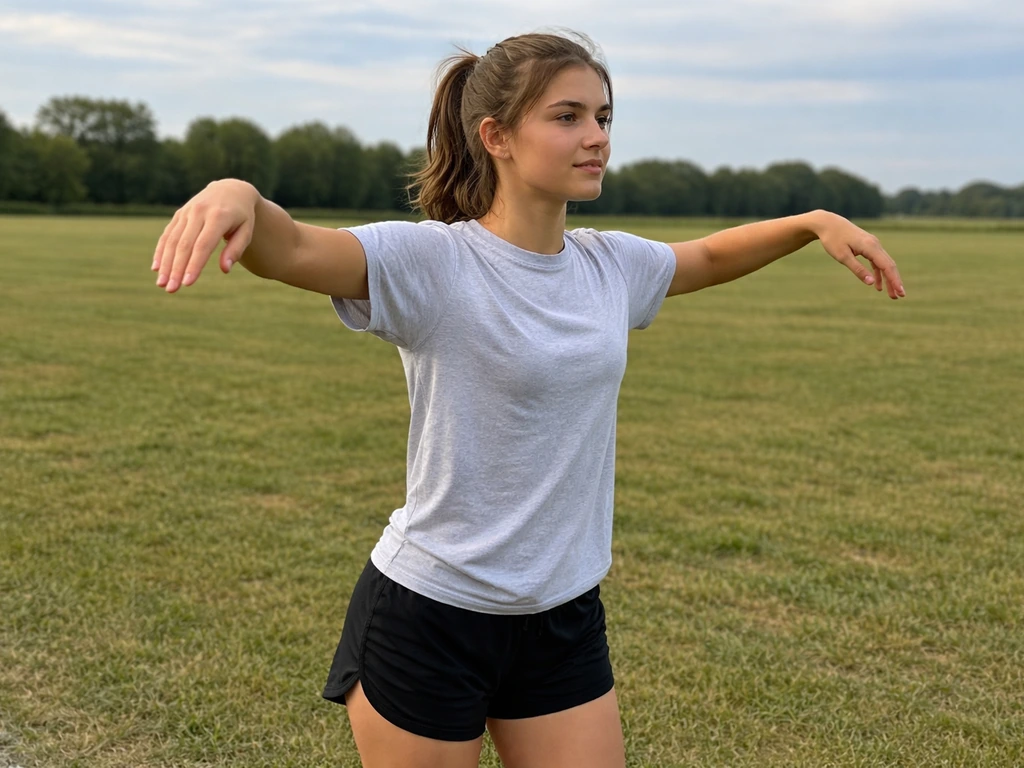
Bird-like movement basics: wings, stance, and body control
Real birds use their whole body when they fly, not just their wings. You'll get a much better feel for the activity if you think about it the same way. Here are the three movement elements that make bird-like motion look and feel right.
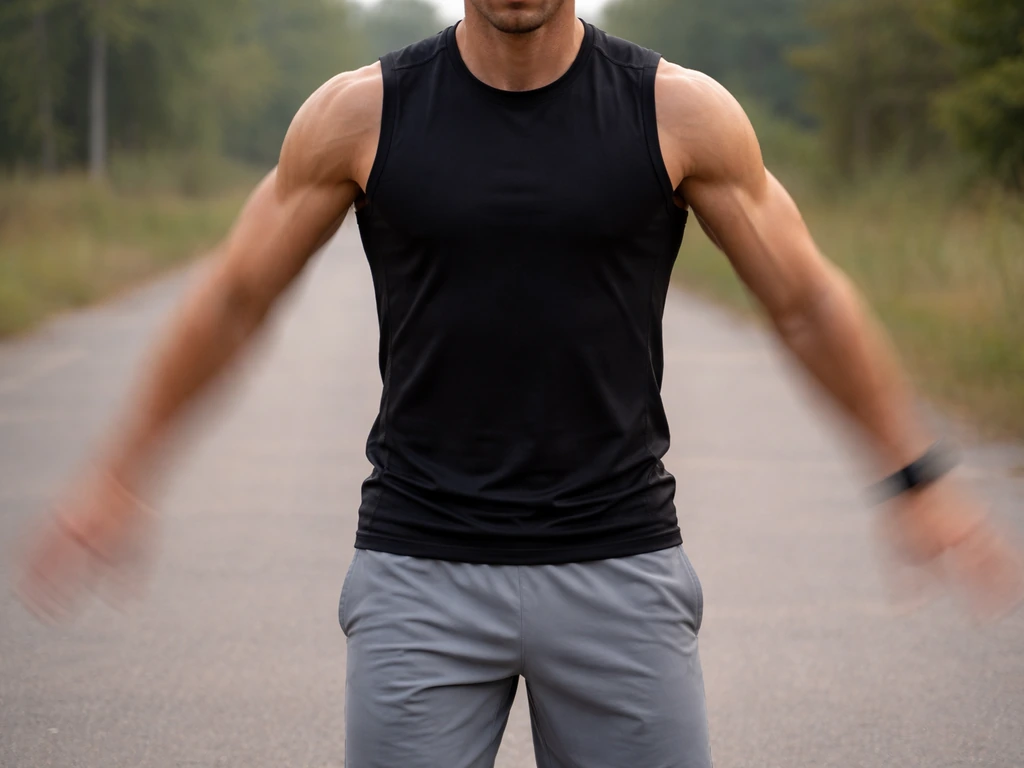
The wing position
Your arms are your wings. Start with elbows slightly bent and lifted out to the sides, roughly at shoulder height. Hands and wrists should be relaxed, not rigid. Think of a loose, natural drape at the end of your arm rather than a stiff plank. A tense, locked wrist looks robotic and also fatigues your forearm muscles faster than you'd expect.
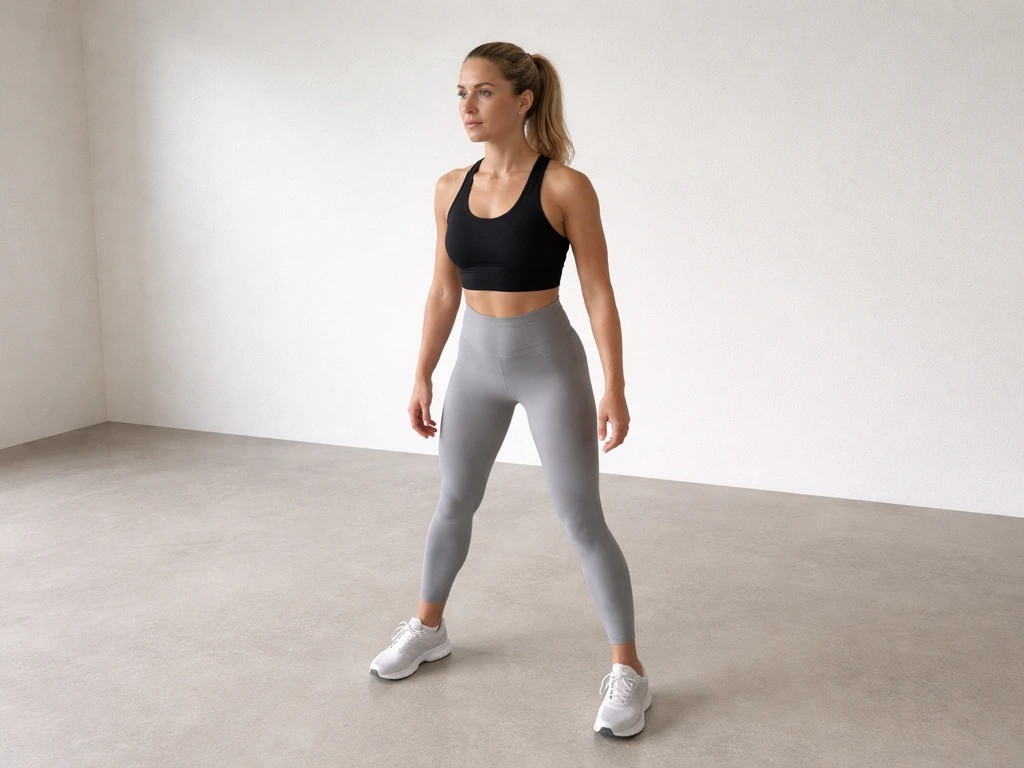
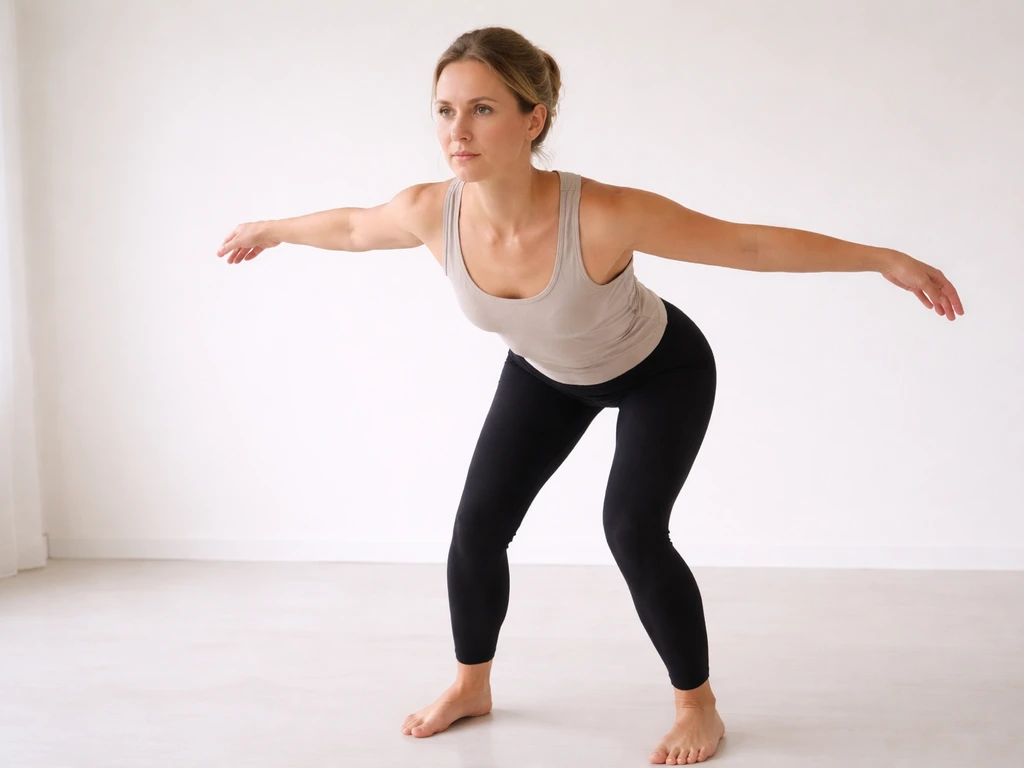
The stance
Feet shoulder-width apart with a slight forward lean from the hips, not the waist. Birds lean into their direction of travel. If you're walking or moving forward, let your chest lead slightly. This also naturally engages your core, which makes the whole movement feel more stable and controlled.
Body control and rhythm
Flapping is rhythmic, not frantic. Think about a slow-motion video of a heron or a crow: there's a deliberate downstroke and a lighter upstroke. Your downstroke (arms moving down) should have a bit more muscle engagement. Your upstroke (arms returning up) should be lighter and more passive. Getting this rhythm right early is what makes the movement feel natural instead of exhausting.
Step-by-step beginner drills
Run through these in order every time you practice. The whole sequence takes about 10 to 15 minutes and gives you a complete beginner session.
Step 1: Warm up your shoulders (2 minutes)
- Stand with feet shoulder-width apart, arms relaxed at your sides.
- Do 10 slow arm swings forward and back, keeping the movement smooth and within a comfortable range.
- Then do 10 gentle arm circles: small circles first, then slightly larger ones.
- Finish with 5 slow shoulder rolls backward. You're not stretching aggressively here, just getting blood moving.
Step 2: Basic flapping drill (3 minutes)
- Stand still with elbows bent out to the sides at shoulder height, wrists relaxed.
- Flap slowly: move your arms downward in a controlled stroke, then let them float back up.
- Do 10 slow flaps, rest 30 seconds, then do 10 more.
- Focus on the downstroke being deliberate and the upstroke being light. If both feel equally hard, you're tensing up too much.
Step 3: Walking flap (3 minutes)
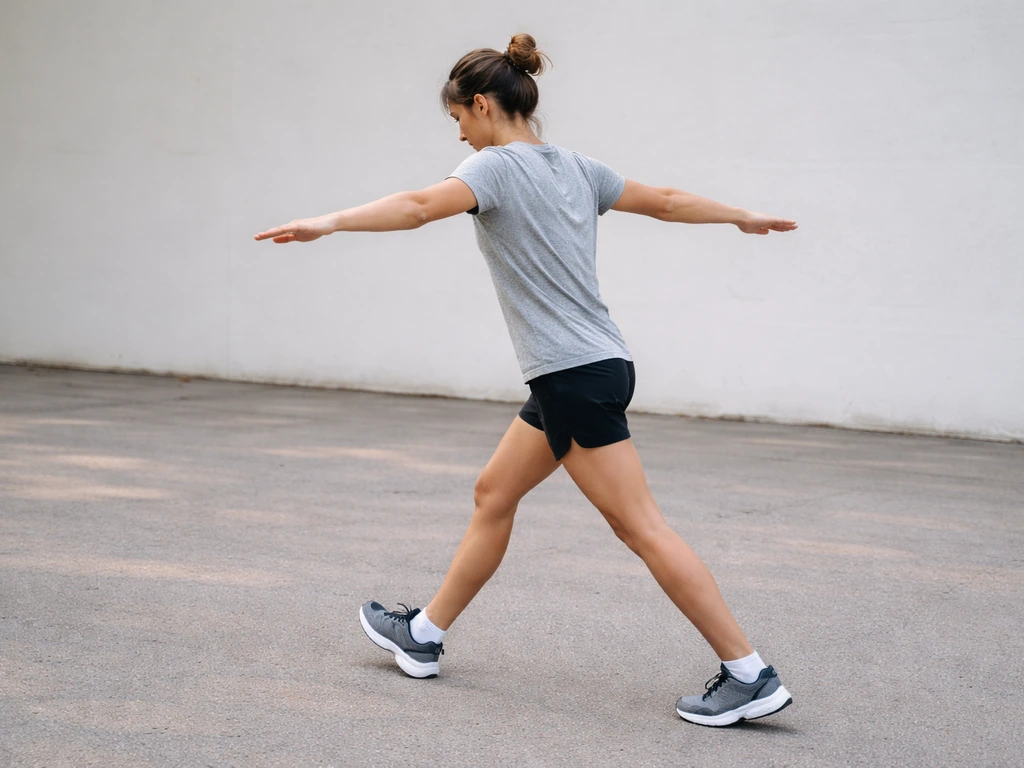
- Start walking slowly in a straight line across your open space.
- Add your flapping motion from Step 2 while walking. Keep your pace slow and your lean slight.
- Try to coordinate your flaps with your steps: flap down as your leading foot lands.
- Walk 20 to 30 feet, turn around, walk back. Repeat 3 times.
Step 4: Glide-style movement (3 minutes)
- After a few flap-walks, try holding your arms out steady (like a gliding bird) and walk forward with a light, smooth stride.
- Let your arms drift slightly with your body's natural sway rather than holding them completely rigid.
- This is the "glide" phase. Alternate between a few flaps and a glide hold to simulate real bird flight rhythm.
- Rest for 1 minute, then do one more round of flap-walk into glide.
Step 5: Cool down (2 minutes)
- Walk slowly in a circle with arms at your sides for 1 minute.
- Do 5 slow shoulder rolls forward.
- Gently cross one arm across your chest and hold for 15 seconds, then switch. That's it.
Make it a real play routine: rules, timing, and achievable goals
A loose movement drill is fine once or twice, but if you want to actually get good at it or use it as a game with kids, give it structure. Here's a simple play format that works for solo practice or groups.
Solo or fitness use
- Practice 3 times a week, not every day. Your shoulders need recovery time when you're starting out.
- Track one thing each session: how many flap-walk laps you completed without stopping to rest. Aim to add one lap per week.
- After two weeks, introduce the glide hold for longer stretches between flap bursts. A good goal is 10 seconds of glide hold without tensing up.
Group or kids' game format
- Set up a start line and a finish line about 30 feet apart.
- Players must "fly" (flap-walk) from one end to the other without dropping their arms below waist height.
- Add a "glide zone" (a marked area in the middle) where players must hold arms steady and glide through without flapping.
- First to complete the course with correct form wins the round. You're the judge of form, so watch for locked elbows and rigid wrists.
If you're playing the digital version, the goal structure is built in. In browser games like Fly Like a Bird, your aim is to fly as far as possible through the environment while avoiding obstacles. In arcade mobile games like Learn 2 Fly, you tap as fast as possible to gain altitude and distance, with each run measured by height and distance reached. Set a personal best score from your first session and try to beat it on the next.
Troubleshooting: when it feels awkward, tiring, or just not clicking
Everyone hits the same walls when they start. Here's what usually goes wrong and how to fix it.
| Problem | Likely cause | Fix |
|---|---|---|
| Arms tire out after just a few flaps | Flapping too hard, arms too straight, or wrists too tense | Soften your elbows and wrists. Reduce the range of motion until your shoulders feel warm. |
| Movement looks stiff or robotic | Trying to control every part of the motion consciously | Focus only on the downstroke. Let the upstroke happen passively. Stop thinking, start feeling the rhythm. |
| Can't coordinate flaps with walking | Doing both new skills at once before either is automatic | Separate them: practice standing flaps for one week before adding the walk. |
| Shoulder or neck pain during flapping | Starting above your comfortable range, poor scapular engagement, or pre-existing tightness | Drop your arm height to just below shoulder level. Set shoulder blades down before lifting. Stop if pain is sharp. |
| The whole thing just feels silly | Normal beginner self-consciousness | It is a bit silly, and that's fine. Do it alone first. Once it clicks physically, the awkward feeling disappears. |
One thing I learned the hard way: if the movement feels exhausting after just one minute, you're almost always gripping too hard. Open your hands slightly, imagine you're holding a small soap bubble in each palm, and see if that changes things. It usually does.
Optional upgrades: bird-themed toys, tools, and how to use them
You don't need anything other than open space and your arms to do this activity. But there are a few tools that genuinely add to the experience if you want to level up.
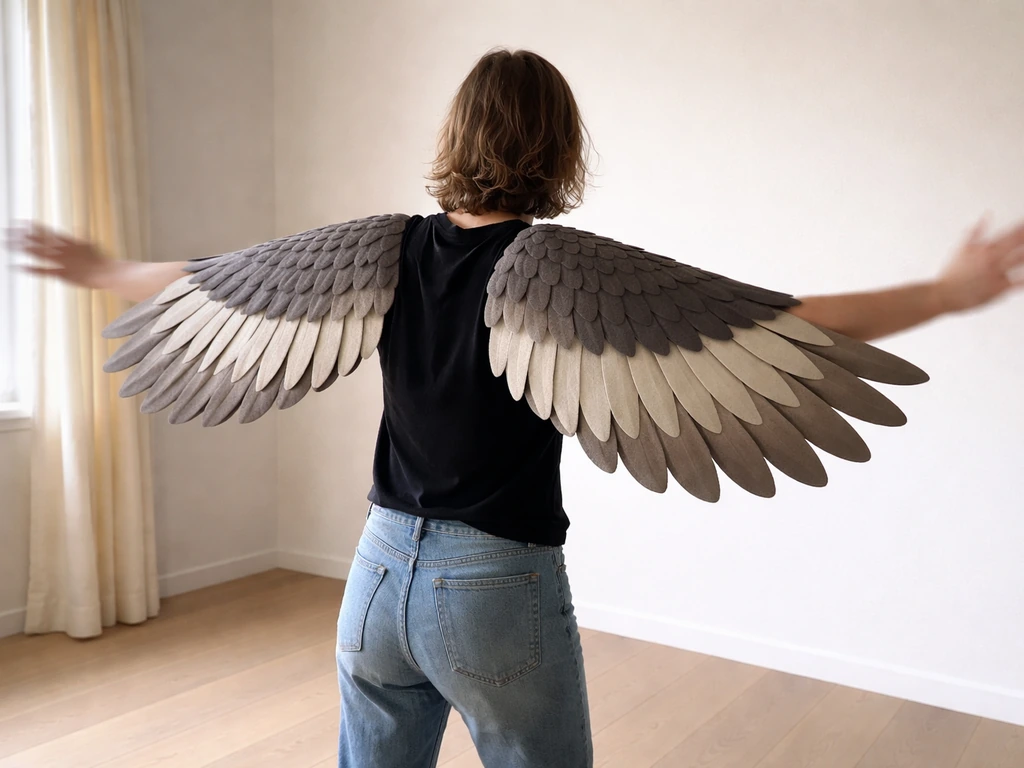
Wing props and costume wings
Wearable fabric or foam wing props attach at the wrist and shoulder, giving you a visual and tactile sense of your arm position during flapping. They're especially good for kids because the visual feedback helps them understand what "wings out" actually means. When using props, make sure they're secured snugly but not so tight they restrict blood flow or natural movement. Start your warm-up with the props off, then add them for the main drill.
Foam throw-gliders
Foam gliders let you watch real glide physics in action, which helps your brain understand the movement you're trying to mimic. Assemble according to instructions, check for sharp edges, and always fly them in open outdoor spaces away from roads and people. Do not throw them toward faces. Use the glider as a visual prompt: launch it, watch its glide path, then walk-glide following the same line it took.
Mobile and browser games as a complement
If you want to understand bird flight mechanics in a low-stakes, visual way before or after physical practice, the Fly Like a Bird browser game series and mobile arcade games like Learn 2 Fly are genuinely useful. If you want the video-game style, you can learn how to play Little Bird step by step using the controls and basic goals described in the game’s tutorial screens.
If you want a similar step-by-step approach for the classic bird-on-a-wire style, use a focused practice routine and start slowly with the basic timing how to play bird on a wire. If you want to translate that same step-by-step approach into chess, see how to play the bird opening for a quick starting blueprint. They make you think about lift, direction, and momentum in a way that transfers back to the physical activity.
Think of them as a cool-down or a prep activity, not a replacement for movement.
There are plenty of related bird-themed play activities worth exploring once you have the basics of this one down. To get started with bird bingo specifically, follow the simple setup and play steps in the bird bingo guide how to play bird bingo. Games and activities involving bird sounds, bird sorting, and bird-themed music all build on a similar sense of playful engagement with birds, and they pair well with a movement routine like this one.
If you're also interested in bird calls and songs, try learning how to play bird song by starting with simple listening and timing exercises bird sounds. You can also learn song-specific techniques by practicing short phrase patterns and listening carefully to recordings of green finch and linnet birds bird calls and songs.
Your first week practice plan
Here's exactly what to do starting today. No gear needed, no prep beyond finding an open space.
- Day 1: Do the full warm-up and standing flap drill only. No walking yet. Focus on soft wrists and rhythmic downstrokes. 10 minutes total.
- Day 2: Rest.
- Day 3: Repeat Day 1, then add 3 rounds of flap-walk.
- Day 4: Rest.
- Day 5: Full sequence including glide-style movement. Time yourself and note how long you can hold the glide position.
- Days 6 and 7: Rest or light arm swings only.
- Week 2: Add the group game format or set a distance goal. If using a digital game, track your best score each session.
After one week of this, the movement stops feeling like a performance and starts feeling like a rhythm. That's when it actually becomes fun. Keep the sessions short, be honest about what your shoulders are telling you, and don't skip the warm-up no matter how eager you are to get to the good part.
FAQ
What should I do if my shoulders start to hurt during the flapping drills?
If your shoulders feel “twingy” or you notice pain that increases with every repetition, stop for the day and switch to a smaller range, keep lifts below shoulder height, and focus on gentle scapular setting (shoulder blades down and slightly together). If symptoms persist beyond 48 to 72 hours or you get sharp pinching, it is safer to pause the activity and get medical or physical therapy guidance.
Why do I get tired so fast, even though I am only flapping gently?
Most beginners lose coordination by flapping arms but forgetting the rhythm and the stance. Use a simple count, do a slow downstroke for about 2 seconds, a lighter upstroke for about 1 second, and keep hands relaxed. If you still feel exhausted quickly, check for gripping or locked wrists, then restart with smaller arm lifts within the 2 to 3 foot space in front of you.
Can I play this if I have balance issues or I am unsteady on my feet?
Yes, but you should modify. Keep feet shoulder-width apart, add a slight forward lean from the hips, and reduce arm height until you feel stable (usually below shoulder level). Avoid aggressive overhead reaching, and keep movements slower and smaller. If balance feels shaky, try practicing next to a wall for safety while you find your posture.
How can I tell the difference between normal fatigue and a form problem?
If you feel clicking or pinching at the front of the shoulder, that often happens when the arm goes too high or too fast before warm-up. Reduce range, slow the tempo, and make sure your shoulder blades set gently before you lift. If the sensation is sharp or repeatedly returns even with smaller motion, stop and do not “push through it.”
How do I run this as a safe activity for kids or a class?
For groups or kids, use short sets and clear “off switch” rules. For example, 30 to 45 seconds flapping, 30 seconds rest, repeat 3 to 4 times, and pause immediately if someone feels pinching pain or dizziness. You can also call out timing cues like “down slow, up light” to prevent frantic movement.
What is a good warm-up if I only have a couple minutes?
Warm-up matters because it prepares the rotator cuff and shoulder blade muscles for repeated load. A practical option is 1 to 2 minutes of easy arm swings in the front of your body range, then 2 to 3 gentle practice flaps with very small amplitude before you start the full routine.
Can I do this in a small room where my arms cannot travel far?
Yes. If you do not have open space, you can still practice by keeping your “window” narrow and your arm motion compact, elbows slightly bent and out to the sides. The goal is consistent rhythm and relaxed wrists, not traveling far, so you can do it in place (still with a slight hip lean) as long as you have enough clearance for arm sweep.
What clothing or safety checks should I consider if I use wing props or a glider?
Wear light clothing that lets your shoulders move freely and avoid items that restrict arm lift near the wrist or shoulder. For barefoot or socks, choose traction so you can maintain the slight forward lean without slipping. If you use props, start them after your warm-up as described, and make sure they are snug enough for feedback but not tight enough to restrict movement or circulation.
What is the best way to get better over time without injuring myself?
To progress, keep the same posture and rhythm but gradually refine range and control. For example, first aim for stable scapular setting, then improve timing consistency, then slowly increase arm lift within a pain-free range. Progress based on smoothness and less gripping, not on doing more reps faster.
Next Article
How to Play Bird on a Wire: Beginner Step-by-Step Guide
Beginner guide to playing Bird on a Wire, setup, controls, timing, troubleshooting, and a quick practice plan.