Tracking a bird means different things depending on what you're trying to do. If you want the short answer: for most beginners, <a data-article-id="C9C9877A-AE00-4960-B165-7691A416C7FF"><a data-article-id="3F3FD829-62ED-4E92-8AAF-BB3DCED1F765"><a data-article-id="26CF36EA-44BA-40F2-A792-73643C281EFA">tracking a bird</a></a></a> means finding it, following it long enough to confirm what species it is, and logging what you saw. That's it. No special gear required, no permits, no complicated tech. Just your eyes, maybe your phone, and a little patience.
How to Track a Bird: Step-by-Step Beginner Field Guide
Marcus Hendricks
19 Apr 2026
What does 'track a bird' actually mean?
The phrase gets used three different ways, and knowing which one applies to you will save you a lot of confusion.
- Watching and following: The most common meaning in birdwatching. You spot a bird, keep eyes on it as it moves, and gather enough observations to confirm its identity. This is what most hobbyists mean when they say they're tracking a bird.
- Locating a known individual: You want to find a specific bird again, maybe one you saw at your feeder yesterday or a rare visitor reported nearby. This involves using habitat knowledge, timing, and sometimes sound to relocate it.
- Scientific tagging and telemetry: Researchers attach physical markers (bands, GPS transmitters, or radio tags) to birds to study migration routes and behavior over time. This requires federal permits and is not something hobbyists do casually.
This guide focuses on the first two. If you're a curious beginner who wants to follow a bird through your yard or a local park and confirm what you're looking at, you're in the right place. The scientific tagging side gets covered at the end so you know where the legal lines are, but you almost certainly don't need to go there.
Get your tools ready before you go outside
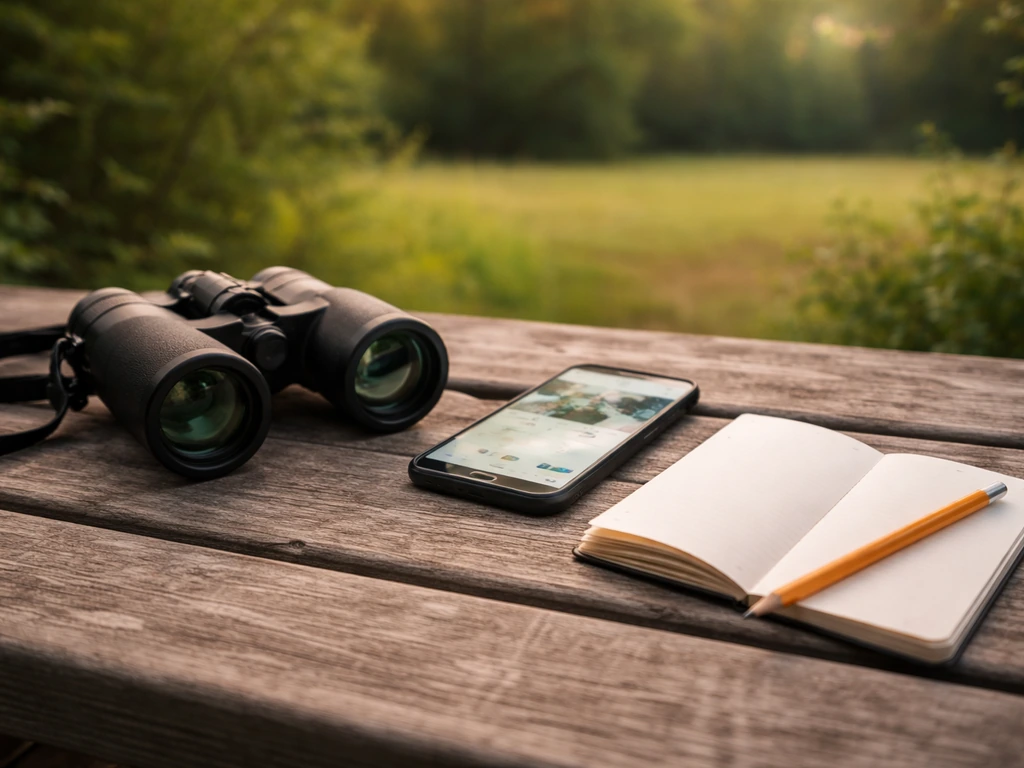
You don't need much. The bare minimum is binoculars (8x42 is a solid beginner choice), a smartphone with a free birding app installed, and somewhere to jot notes. Here's what I'd recommend having ready before you step out.
- Binoculars: 8x42 or 10x42 binoculars give you a wide, stable view. Avoid cheap toy binoculars, they'll frustrate you more than help.
- Merlin Bird ID app (free, Cornell Lab): Does both photo and sound identification. This is the single most useful free tool for beginners.
- BirdNET app (free, Cornell Lab): Specializes in audio identification. You hold your phone up and it gives you instant species suggestions from a few seconds of recorded sound.
- eBird app (free, Cornell Lab): For logging your sightings with GPS, timestamps, and optional photos or audio. Think of it as your field notebook that also contributes to real science.
- A simple notebook or your phone's notes app: Write things down immediately. Memory fades fast, especially when you see multiple birds in a row.
Before you head out, set up eBird so it knows your location. Open the app, start a new checklist, and choose your protocol. If you're staying in one spot (a feeder, a bench in a park), choose 'Stationary.' If you're walking around, choose 'Traveling' and let GPS track your route. eBird will automatically switch to Stationary if you stay put with GPS tracking on. That detail matters because it affects how your data is interpreted by other birders and researchers.
A simple field workflow
- Open eBird and start a checklist before you begin observing. Log your start time and location.
- Spot a bird. Don't move yet. Watch it for at least 20 to 30 seconds before trying to approach.
- Note the basics immediately: size, shape, bill, and any obvious color markings. More on exactly what to look for in the next section.
- If the bird moves, follow slowly and quietly. Keep your movements deliberate, not rushed.
- Use Merlin or BirdNET to help confirm what you're seeing or hearing.
- Add the bird to your eBird checklist with a count and any notes.
- Write a brief description while the observation is still fresh, especially if it's a species you're not 100% sure about.
How to actually follow a bird: visual, sound, and movement
The hardest thing for beginners isn't finding birds. If you lose a bird you were watching, use visual, sound, and movement clues to relocate it instead of giving up right away. It's keeping track of one bird long enough to get a good look. Here's the method that works.
Visual tracking: what to look for first
Audubon's identification guidance for beginners is clear on this: start with field marks. In order of reliability, focus on these four things first.
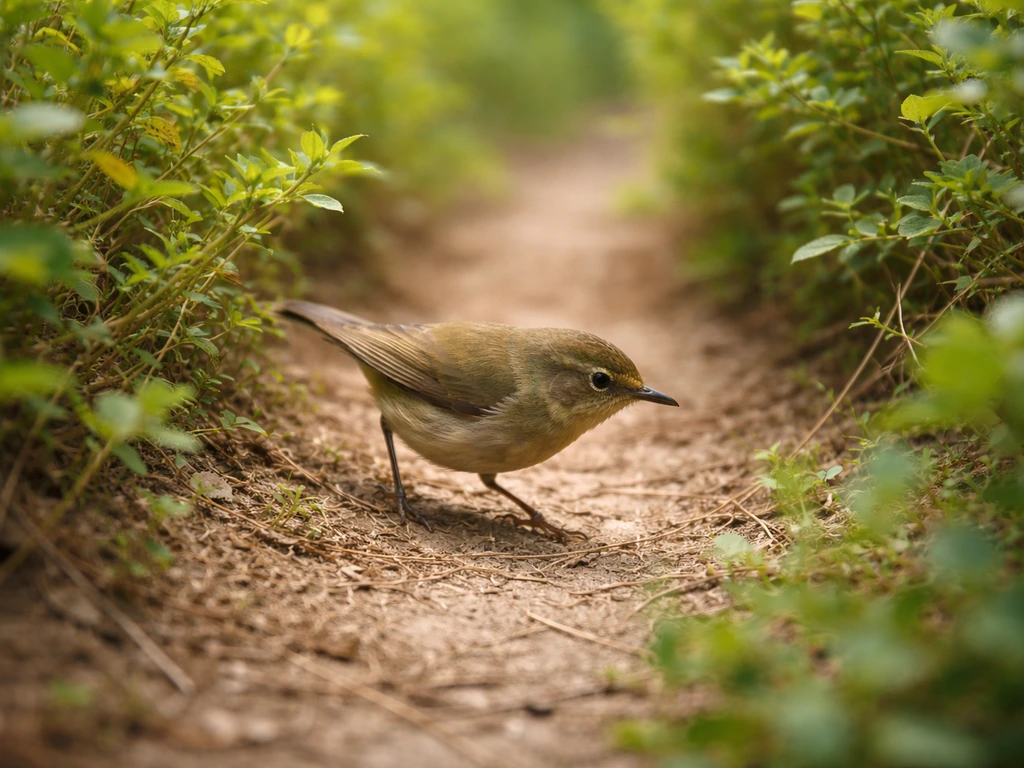
- Overall size and body shape: Is it sparrow-sized, robin-sized, or crow-sized? Is the body stocky or slender? This narrows down possibilities dramatically before you even see color.
- Bill structure: Short and seed-cracking? Long and curved? Thin and pointed for insects? Bill shape is one of the most reliable ID clues you can get from a distance.
- Plumage markings: Look for eye rings, wing bars, streaking on the breast, or a distinctive cap or mask. You don't need to see everything, just one or two clear markings.
- Behavior: Is it hopping along the ground or creeping headfirst down a tree trunk? Is it hovering or diving? What a bird does is often as telling as what it looks like.
When you lose sight of a bird (and you will, constantly, especially in trees), don't stare at where it was. Instead, watch the edges of that area for movement. Birds rarely stop for long. Look for branches bouncing slightly, leaves shaking without wind, or a silhouette popping up on a higher branch. Once you see movement, raise your binoculars to where the movement will be in two or three seconds, not where it is right now.
Sound tracking: follow the call
Sound is often your first clue a bird is nearby, and it's one of the best tools for relocating one you've temporarily lost. When you hear a call or song, stop moving and face the direction it came from. Most birds repeat sounds. Wait for a second call and use it to triangulate the location more precisely before you move toward it.
If you can't ID the sound in the moment, hit record on BirdNET or hold your phone up with Merlin's Sound ID running. Merlin can recognize hundreds of species from live audio in real time. BirdNET is great for recording a clip and getting a second opinion afterward. Either way, you're building a confirmation record you can review later.
One thing I learned the hard way: wind kills audio recordings. Point your phone's microphone away from the wind source, cup your hand around it slightly, and try to position your body as a windbreak. Even a modest amount of wind noise can make a recording unusable for ID.
Movement patterns: predicting where a bird will go
Birds are creatures of habit within a session. A foraging warbler working through dense shrubs is going to keep moving in the same general direction. A woodpecker on a tree trunk is likely to spiral upward and then fly to the base of the next tree. Once you recognize the pattern, you can get ahead of the bird rather than chasing it. Position yourself where it's headed, not where it is.
Using tech responsibly: apps, GPS, cameras, and audio recorders
The right tech makes tracking significantly easier, but it's easy to overspend or over-complicate things. Here's what actually helps beginners.
| Tool | What it does | Best for | Cost |
|---|---|---|---|
| Merlin Bird ID | Photo and real-time sound ID, species explorer | Quick on-the-spot ID by sight or sound | Free |
| BirdNET | Records audio clips and suggests species | Confirming bird ID from a short recording | Free |
| eBird Mobile | GPS-tracked checklists, location logging, media upload | Logging sightings with time and place data | Free |
| Audubon Bird Guide App | Sightings log, species info, ID guidance | Keeping a personal record of birds you've tracked | Free |
| Trail camera / camera trap | Motion-triggered photo or video at a fixed point | Monitoring a feeder or nest site passively | $40 to $150+ |
| Dedicated audio recorder | High-quality sound capture for later ID or archive | Serious sound documentation, not casual use | $60 to $200+ |
For most people reading this, Merlin and eBird together cover 90 percent of what you need. Download both, give yourself one outing to get comfortable with the workflow, and you'll feel the difference immediately. If you want to monitor a feeder without sitting outside for hours, a basic trail camera pointed at it is a genuinely useful add-on. Set it up, let it run for a few days, and review the footage at your convenience.
GPS isn't usually something you need as a separate device since eBird handles location logging through your phone. What GPS tracking in eBird actually does is record your walking route so you (and the data) have a clean record of where you were and when. That's useful if you want to revisit a productive spot or share a route with another birder.
On the ethics side: be careful about where you share precise location data, especially for rare or sensitive species. eBird flags certain species as sensitive and deliberately obscures their location in public records to prevent targeted disturbance. If you're logging something unusual, use eBird's own location tools rather than posting exact coordinates on social media.
Tracking birds in common real-life situations
Backyard and feeder watching
Feeder birds are the easiest starting point because the birds come to you. Set up a feeder in a spot visible from a window or comfortable chair, and check it at consistent times. Early morning (within an hour of sunrise) and late afternoon are peak feeding windows for most species. Once you start recognizing regulars, you can use eBird to run a Stationary count: sit in one spot, log every species you see for 15 to 30 minutes, and submit. Over time you'll build a personal dataset that shows you exactly which species show up, in what numbers, and how that changes through the seasons.
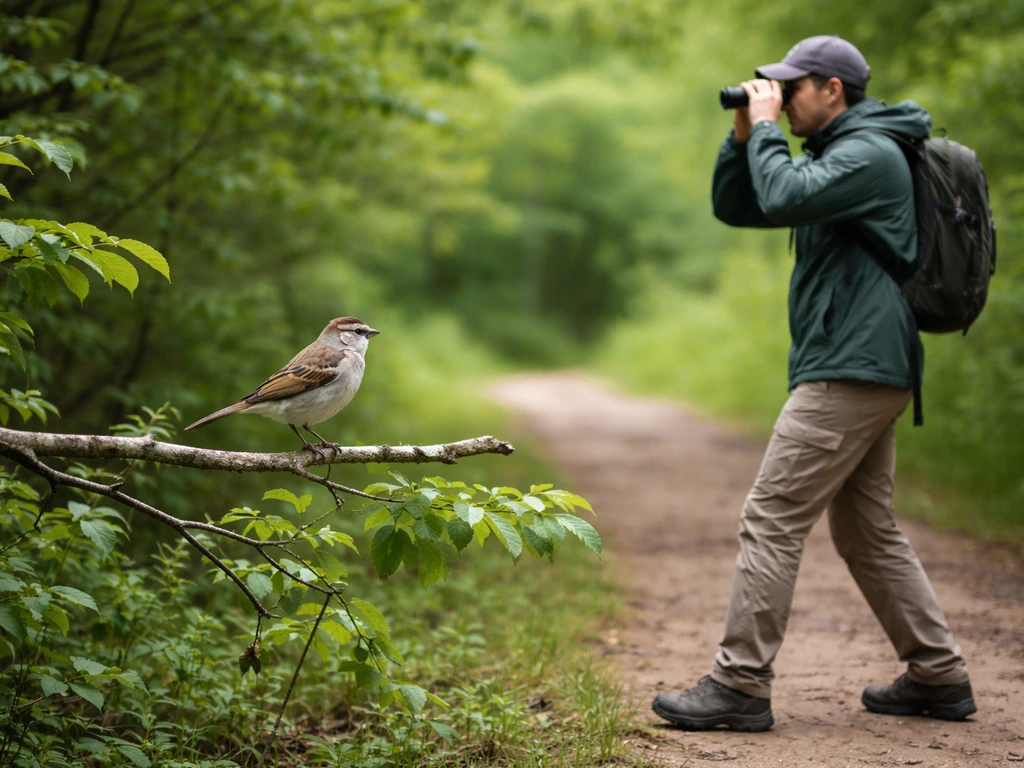
Following birds through a yard or park
Switch to a Traveling checklist in eBird, walk slowly, and stop often. The common beginner mistake is walking too fast. Birds flush when they see quick movement. Move at roughly half your normal walking pace, pause every 30 to 60 seconds, and listen. Cover the same short route (a few hundred meters is plenty) multiple times rather than rushing over a larger area. You'll see far more birds.
Migration days: when birds suddenly appear or disappear
On peak migration days, especially during spring (late April through May in most of North America) and fall (August through October), birds can appear in your yard or local park that you've never seen before. They're passing through, not residents, and they may only be around for a day. Check eBird's Explore tab for recent reports in your area, which will tell you what species others are seeing nearby right now. Then get outside early. Migrants move most actively in the morning after overnight travel. Afternoons are often quiet by comparison.
On these days especially, avoid playing recorded bird calls to attract birds. When many observers are in the same area and everyone is broadcasting audio lures, the cumulative stress on birds already exhausted from migration adds up fast. The ABA Code of Birding Ethics is explicit about limiting the use of recordings, particularly for rare or stressed birds.
Making sense of what you found
Confidence in your ID
Beginners often want to be 100 percent certain before they log anything. That's the wrong approach. Log what you saw with honest confidence notes. eBird has a comments field for a reason. If you saw a large brown thrush with a spotted breast and heard a fluty downward-spiraling song in dense woods, write that down. Even if you're only 80 percent sure it was a Veery, your description is valuable and can be reviewed. The goal is honest documentation, not perfect certainty.
For confirmation, look for multiple matching field marks rather than one single clue. If the size, bill shape, plumage markings, and behavior all point to the same species, you're on solid ground. If only one thing matches, keep watching. eBird's documentation guidance specifically suggests using behavior and habitat notes alongside physical descriptions to strengthen a record.
Behavior clues that tell you what happens next
Behavior tells you a lot about where a bird will go and what it will do. A bird that's actively foraging will move in a fairly predictable feeding path. A bird that's alarm-calling and flicking its tail is agitated and may flush at any moment. A bird that's sitting still and puffed up is likely resting and will stay put longer than one that's actively moving. Reading these cues helps you decide whether to stay where you are, circle ahead, or back off and watch from a distance.
Keeping clean notes
Write your notes as soon as the observation ends, not hours later. Include the time, location (eBird handles this automatically), species, count, and a brief description of any distinguishing features. For any species you're unsure about, write what you actually saw in plain language rather than just guessing a name. Add photos or audio clips to your eBird checklist at the same time you fill out the species list. Paired media and notes submitted together are far more useful for later review than either alone.
What's okay, what's not, and what needs a permit
The vast majority of what beginners want to do is completely fine. Watching, following at a respectful distance, taking photos, recording sound for personal ID purposes, and logging sightings are all legal and encouraged activities. Here's where the lines are.
Minimizing disturbance
Back off if a bird is showing stress. Signs include alarm calls, aggressive posturing, or repeatedly flying away from you. If you're near a nest and a parent bird is calling from the same branch for several minutes, you're too close. Disturbance around nests is one of the most harmful things an observer can do, even unintentionally. Give nesting birds at least 10 to 15 meters of space, and more if the species is sensitive.
Audio lures and playback
Playing bird songs through a speaker to attract birds is legal in most places for casual observers, but the ABA Code of Birding Ethics recommends limiting it significantly. Overuse of playback can disrupt territorial behavior, waste a bird's energy during critical times like breeding or migration, and create cumulative stress when multiple birders in one area all use it. Keep it to a minimum, never use it for rare or threatened species, and skip it entirely on busy birding days in popular locations.
Tagging, banding, and physical tracking: the legal line
This is where casual birdwatching ends and regulated science begins. Placing any band, tag, GPS transmitter, or physical marker on a wild bird protected under the Migratory Bird Treaty Act requires a federal Bird Banding and Marking Permit issued by the USGS Bird Banding Laboratory. There are no exceptions for good intentions. If you're interested in this kind of tracking, the path forward is to volunteer with a licensed banding station, where you can observe and assist legally while learning the skills required to eventually apply for your own permit.
Private property and sensitive habitats
Always get permission before entering private land to follow a bird, no matter how exciting the sighting. Trespassing is trespassing even with binoculars in hand. For sensitive habitats like coastal nesting areas, wetland boardwalks with posted rules, or posted wildlife refuges, follow the posted guidelines exactly. Being a good birder means being a responsible one, and that reputation matters for the whole community.
Tracking birds is genuinely one of the most rewarding skills you can develop as a beginner naturalist. If you’re wondering how a bird find a worm, use the same kind of observation mindset to notice foraging behavior and habitat cues Tracking birds. If you want to go deeper into how to find out bird species, focus on field marks and use tools like eBird and Merlin to confirm your ID how a bird find a worm. If you want to go deeper into how to find out bird species, focus on field marks and use tools like eBird and Merlin to confirm your ID, or review how to find a bird as a beginner next step. If you ever end up with an unwanted experiment setup, the same patience and re-checking field marks is also covered in how to find the bird in unwanted experiment as a related option. If you're also looking for help with basic identification resources, see how to find a bird book as a related option next how to find out bird species. It sharpens your observation, trains your ear, and builds a local knowledge base that makes every future outing more productive. Start simple: one feeder, one checklist, one bird at a time. The more you practice the workflow above, the more second nature it becomes, and before long you'll be the person at the trailhead who spots the bird everyone else walked past.
FAQ
What should I log if I cannot confidently identify the bird?
When you are unsure, log at the level you can support (for example, “sparrow sp.”) and add 2 to 4 field-mark details (bill shape, wing bars, tail pattern, behavior). Also record whether your confidence was based on sight, sound, or both. This prevents forcing a wrong species name while still creating a useful checklist for review.
What is the best way to relocate a bird after I lose sight of it?
Use a “reference point” plan: pick a stable landmark (a branch, tree line, or feeder position), and keep your binoculars low while you watch for the bird to reappear at that edge. If it calls, face the sound source and wait for the next call instead of moving immediately, then raise binoculars only after you can predict where it will be in a couple seconds.
Should I trust Merlin or BirdNET 100% for identification?
If you get a match, you still need to confirm with consistent field marks. Treat Merlin or BirdNET as a lead, not the final answer, especially for similar species. For best results, pause, stop walking, write down the most distinctive features you observe, and then compare those to what the tool suggested.
How do I count birds correctly when they move in and out of view?
Mark your notes by session, not by perfection: if the bird was in view for several minutes, count the individuals you could reliably separate, and note if you suspect “same bird continuing” versus “multiple birds.” Avoid inflating counts based on brief flashes, especially with flocking species; it is better to count only what you can maintain visually.
When, if ever, is it okay to use recorded calls or playback?
For playback, use short, rare, and low-volume trials only if you have a clear reason and the bird appears nonresponsive to natural cues. Do not use playback for rare or stressed species, and avoid busy migration days where many observers may already be attracting birds with recordings.
How can I get usable audio recordings for later ID?
To reduce false positives, record audio only when the bird is reasonably close and facing your direction, then speak less and keep wind noise down (microphone positioned away from gusts, body as a windbreak). If the clip is noisy, still save it, because reviewers can often tell whether the problem is wind, distance, or poor signal timing.
Should I use Stationary or Traveling mode in eBird for tracking a bird?
If you are not directly following the individual bird through the landscape, use an appropriate checklist mode. Stationary is for being in one spot (feeder, bench) and Traveling is for moving along a route. If you move but not continuously, you can still do Traveling, but keep your movement slow and consistent so your route makes sense.
How do I know when to move closer versus back off?
Use the behavior cues to decide your next move: if you see alarm-calling, repeated tail flicking, or frequent short flushes, back off and increase distance. If the bird is actively foraging along a predictable path, you can reposition ahead of it slowly, but stop moving immediately when the bird shows agitation.
Can I record a tool’s suggestion in my checklist, or do I need only my own observations?
Yes, but do it thoughtfully: if you rely on a tool, add notes about what it detected and what you personally observed (for example, “BirdNET suggested X, I observed Y field marks”). eBird comments are especially valuable when others review your record, since they can compare your description to the automated suggestion.
What notes should I add so my data stays useful for repeat visits?
Begin with safe, public areas and clear visibility. If you want to revisit a productive location, note weather, time, and habitat type in your own words, even though location is handled by the app. That context helps you interpret changes over days, like whether birds were just passing through or were actively feeding.
Is it okay to share the exact location of a rare bird I find?
Avoid posting exact coordinates for rare or sensitive species, even if you found them through an app. If you want to share, describe the general area (neighborhood, trail name) and let the platform’s own location sensitivity handling work. This reduces the chance of targeted disturbance.
Next Article
How to Find Out Bird Species: A Step-by-Step Method
Step-by-step workflow to identify bird species using habitat, field marks, silhouette, behavior, and calls plus confirma