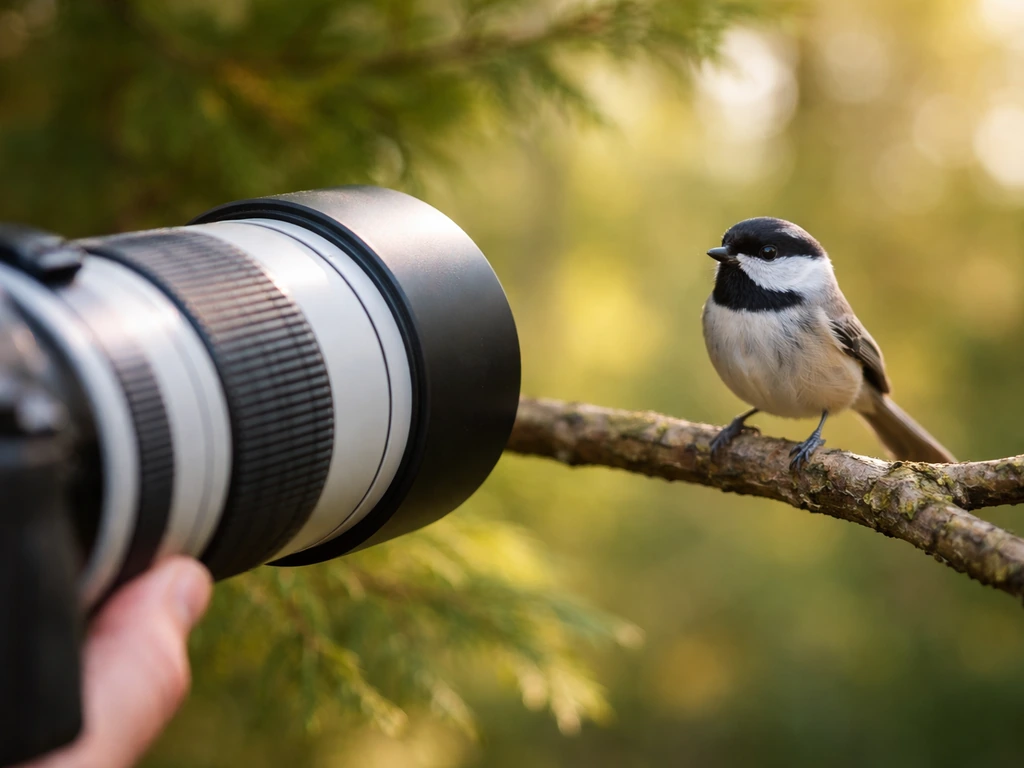
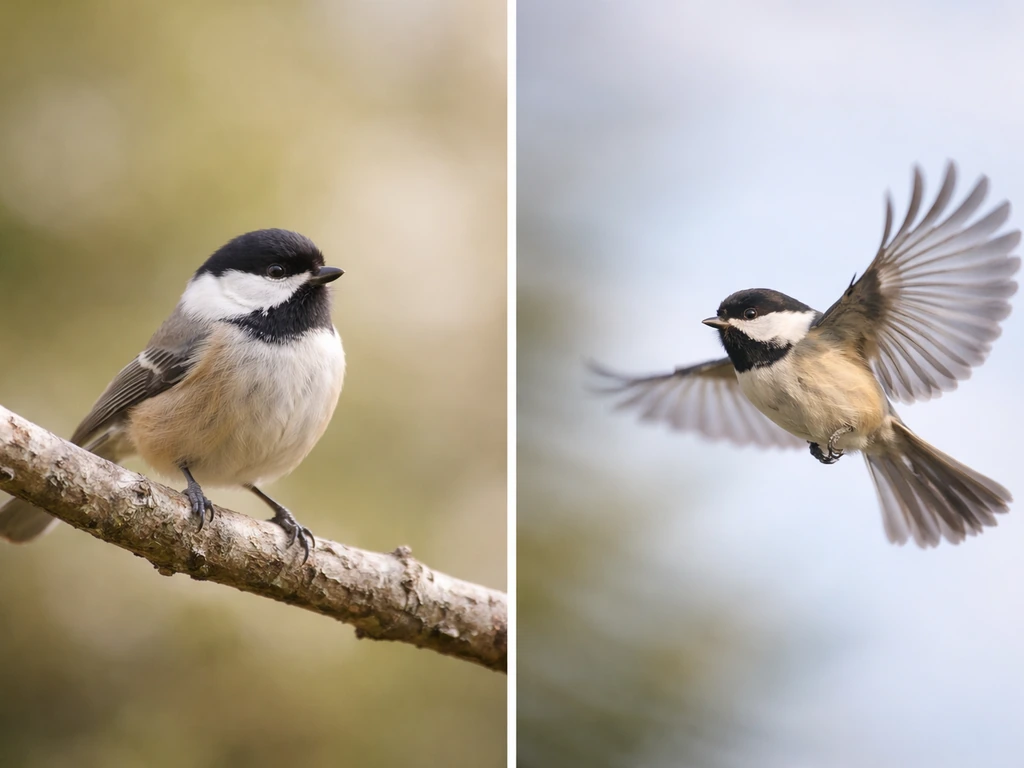
To get consistently sharp bird photos today, start with continuous autofocus (AF-C), a shutter speed of at least 1/1000s for perching birds and 1/2000s or faster for birds in flight, and a lens that reaches at least 400mm. Get to your spot at dawn, move slowly, keep the sun at your back, and shoot in burst mode. That combination alone will get you from blurry misses to keepers faster than any other change you can make.
Mattk.com Bird Photography Tips: Beginner Do This Today Guide

Marcus Hendricks
6 May 2026
Quick gear setup for bird photography
You do not need a pro-level kit to start. But you do need a few things to work in your favor, especially reach and speed. Here is what actually matters and what to look for at each level.
Camera body
Any modern mirrorless or DSLR with a continuous autofocus mode will work for beginners. Sony, Canon, Nikon, and Fuji all make solid options. The top-end wildlife setups use bodies like the Sony Alpha 1, but honestly, what matters far more at the beginner stage is learning the settings, not buying a flagship. That said, if you are upgrading, look for a body with a fast burst rate (at least 10 frames per second) and decent high-ISO performance, because you will use both constantly.
Lenses
Reach is everything in bird photography. A 100–400mm or 150–600mm zoom lens is the sweet spot for beginners because it gives you flexibility without being too heavy to handhold. If you go prime (fixed focal length), a 500mm or 600mm f/4 is outstanding but heavy and expensive. A 1.4x teleconverter can extend your reach when needed, just be aware it costs you a stop of light, which matters in low-light situations. The honest advice: get yourself to at least 400mm before worrying about anything else.
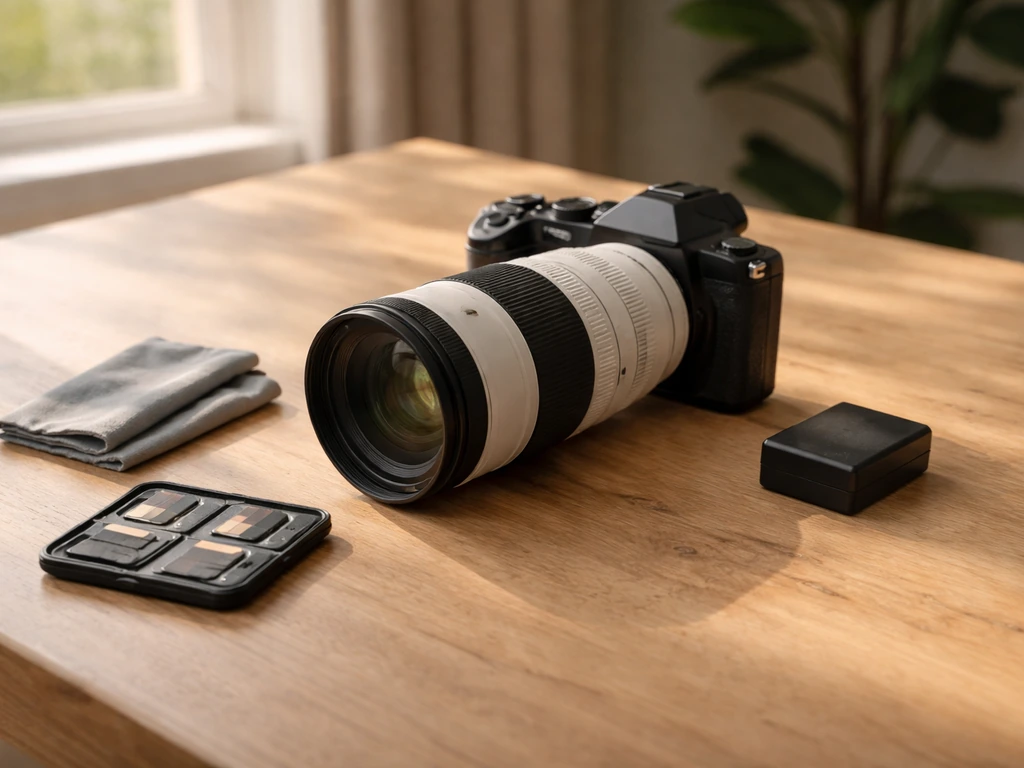
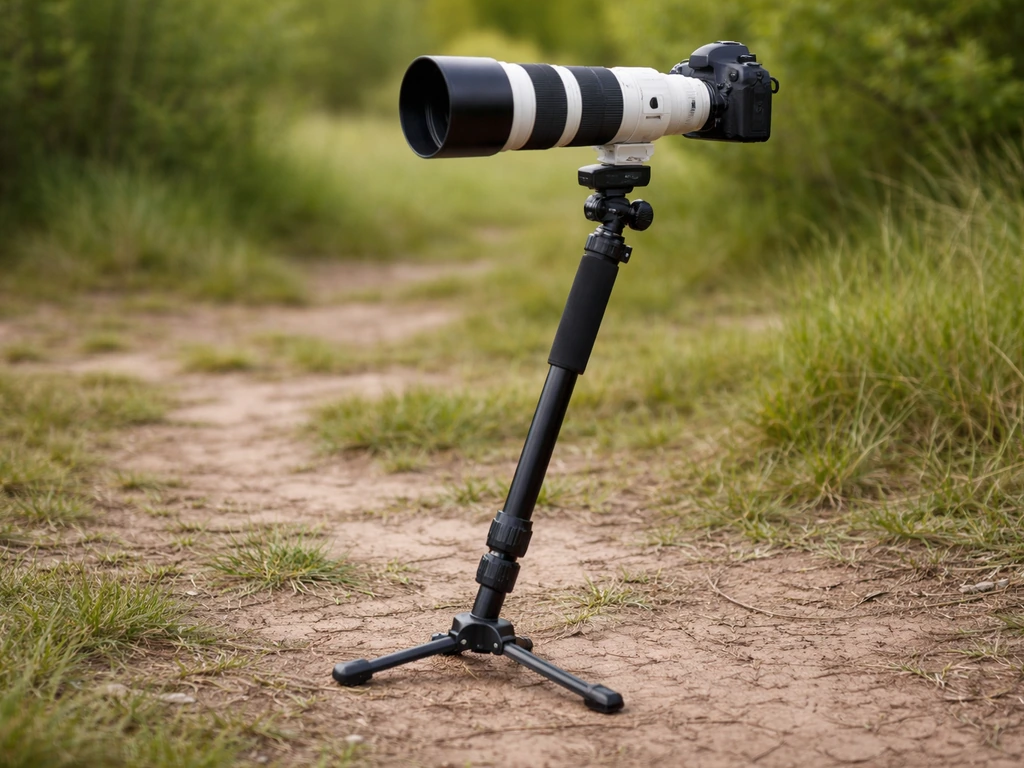
Support gear
A monopod is your best friend in the field. It lets you move quickly between positions while still stabilizing a heavy lens. A tripod with a fluid or ball head works better for stationary setups like a feeder or a pond edge. For perch photography setups where you are shooting in a fixed spot for a while, a solid tripod makes a real difference. Carry extra batteries and at least two fast memory cards. I have missed shots from a dead battery more times than I want to admit.
- Camera body with AF-C (continuous autofocus) and burst mode
- Lens with at least 400mm reach (zoom like 100–400mm or 150–600mm is ideal to start)
- 1.4x teleconverter (optional but useful for extra reach)
- Monopod for mobility, or tripod with ballhead for static setups
- Two fast memory cards (UHS-II or CFexpress)
- Two or three fully charged batteries
Camera settings cheat-sheet (perching birds vs flying)
This is where most beginners get stuck, so let me give you a starting recipe for each scenario. These are not magic numbers, but they will get you close in most daylight situations. Tweak from here based on what you see.
| Setting | Perching Birds | Birds in Flight |
|---|---|---|
| Shutter Speed | 1/800s to 1/1250s | 1/2000s to 1/4000s |
| Aperture | f/5.6 to f/8 | f/6.3 to f/8 |
| ISO | Auto ISO, max 6400 | Auto ISO, max 6400 |
| Focus Mode | AF-C (continuous) | AF-C (continuous) |
| Drive Mode | Burst (high speed) | Burst (high speed) |
| Metering | Evaluative / Matrix | Evaluative / Matrix |
| Exposure Mode | Aperture Priority or Manual | Shutter Priority or Manual |
For perching birds, Aperture Priority works well because the light is relatively stable and the bird is not moving fast. Set your aperture to f/6. 3 or f/8 so you have enough depth of field to keep the whole bird reasonably sharp, not just the eye. In bright morning light, this will give you a fast enough shutter speed automatically.
For birds in flight, I prefer Manual mode or Shutter Priority so my shutter speed never drops below 1/2000s. Icon Photography School recommends shutter speeds of at least 1/1000s for perched birds and roughly 1/2000s to 1/4000s for birds in flight shutter speed never drops below 1/2000s. The sky background tends to be bright and can fool your meter, so Shutter Priority keeps that one variable locked.
Low light situations, like a shaded forest or overcast afternoon, require compromise. Push your ISO higher (3200 to 6400) and accept that you will need to clean up noise in post. A blurry, grain-free photo is worse than a sharp, noisy one. You can fix noise. You cannot fix motion blur.
Focusing and getting tack-sharp images
Sharp images start in-camera, not in editing software. If a photo is blurry out of the camera, no amount of sharpening in Lightroom or Topaz is going to save it. So let's get this right before you press the shutter.
Use AF-C and set your focus area correctly
AF-C (continuous autofocus) is non-negotiable for birds. It tracks the subject as it moves. AF-S (single) locks focus once and stays there, which is fine for a rock but not for a bird that may shift weight or stretch its neck at any second. Set your focus area to a zone or wide tracking mode for birds in flight so the camera can follow the subject across the frame. For perching birds, a smaller focus zone or single point gives you more precise control to land the focus on the eye.
Back button focus is worth learning
Back button focus means you assign autofocus activation to a button on the back of your camera (usually the AF-ON button) instead of the shutter half-press. This lets you focus and shoot independently, which is a huge advantage when a bird is perching and you want to recompose without refocusing. It takes a week to get used to, but most serious bird photographers swear by it. It is one of those things that feels weird at first and then you never want to go back.
Acquiring focus on birds in flight

Getting initial focus lock on a flying bird is the hardest part. One technique that works really well: zoom out to find the bird in frame, get the focus to lock on it, then zoom in while tracking. This gives your autofocus system a wider area to grab onto first before you tighten up. On modern cameras with subject tracking (Sony, Canon R-series, Nikon Z-series), the camera can often find the bird automatically once it is in frame. Trust the tracking and keep the bird in the center of the frame until you are confident the autofocus has it locked.
Stabilization helps more than you think
Camera shake at long focal lengths is a real problem. At 500mm, even a tiny wobble blurs the image. Use your lens's image stabilization, keep your shutter speed above the reciprocal of your focal length (so at 500mm, at least 1/500s as a minimum, though faster is better for birds), and brace yourself or use a monopod. A cable release or self-timer can also eliminate camera shake when you are shooting from a tripod at a feeder or hide, though for active bird shooting, hand-holding or a monopod is more practical.
Fieldcraft: approaching birds, choosing spots, timing and light
You can have perfect settings but still come home with nothing if you spook every bird before you get close enough. Fieldcraft is the skill nobody talks about enough, and it makes a bigger difference than gear upgrades.
How to approach without spooking birds
Move slowly and keep low. Avoid direct eye contact with the bird (yes, this actually works, birds read eye contact as a threat). Approach at an angle rather than walking straight toward them. Stop frequently and let the bird settle. If it starts alarm calling or looking tense, freeze. Many birds will relax after 30 to 60 seconds if you stop moving. Wear muted colors, earthy tones, or camo if you have it. And turn your phone on silent.
Where to shoot and scouting spots
The easiest places to start are locations where birds are already habituated to humans: local parks, wildlife refuges, nature centers, and botanical gardens. Birds in these spots are far less skittish. Once you get comfortable with settings and movement, explore more natural areas. Water is always a good bet because birds need it and predictably return to the same spots. Scout locations the day before if you can, note where birds are active and which perches they prefer, then set up nearby and wait.
Timing and light
The golden hour after sunrise is the single best time for bird photography. Birds are most active, the light is warm and directional, and shadows are soft. Shoot with the sun at your back so it illuminates the bird's face. Harsh midday light creates unflattering shadows and blows out white feathers. If you only have one window of time, make it the first two hours after sunrise. Late afternoon golden hour is nearly as good. Overcast days are actually decent too, the soft diffuse light is flattering, though it is harder to get fast shutter speeds.
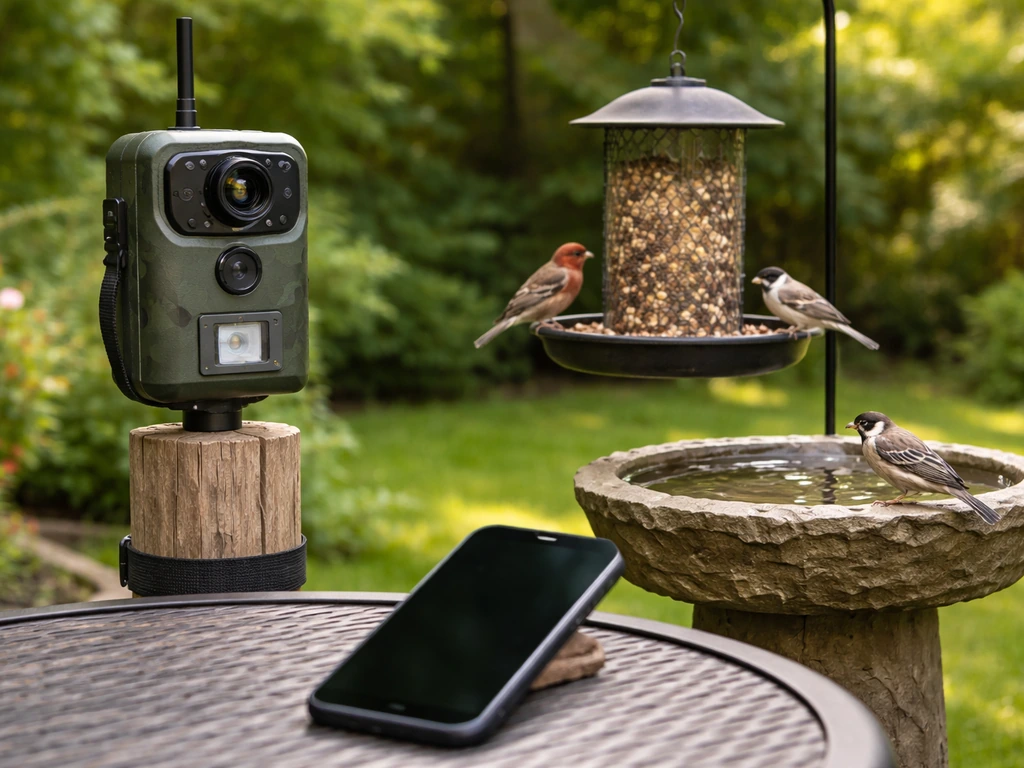
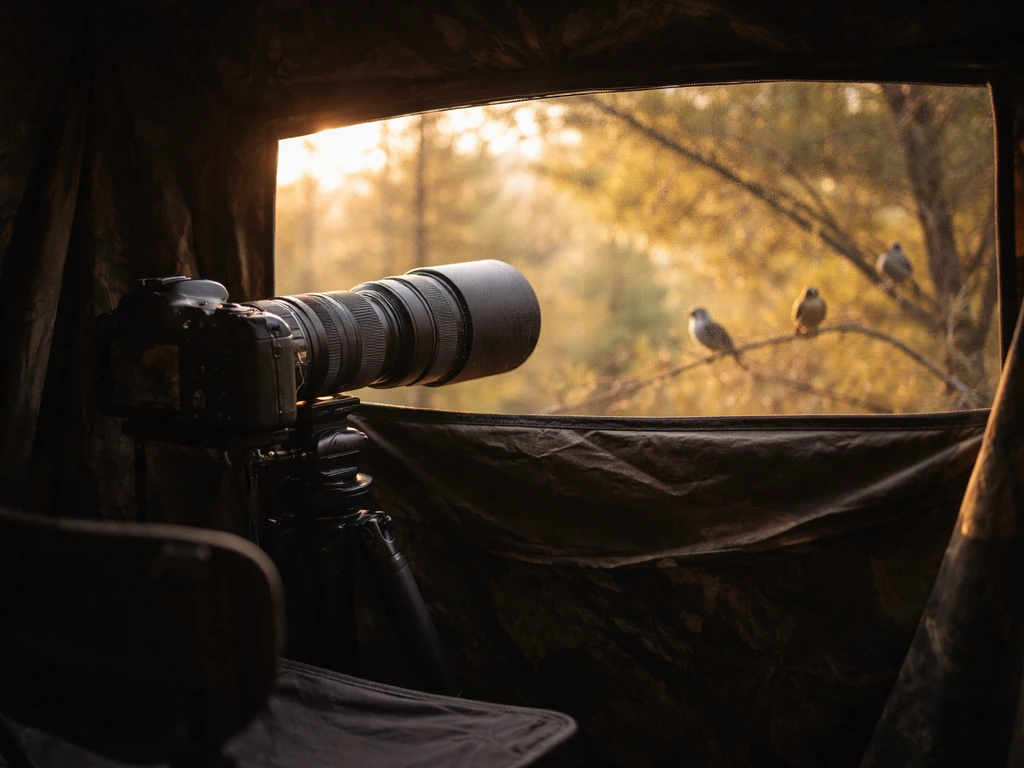
Using hides and blinds
A pop-up blind or photo hide lets you get much closer to birds than you ever could on foot. If you want to set up a live bird cam, focus on choosing a stable power source and a reliable streaming setup so the feed stays consistent. Even shooting from inside your car works surprisingly well; birds treat a parked car as a non-threat in many locations. Drive slowly into position, turn off the engine, and shoot through the open window. A bean bag lens support on the window frame helps a lot. This trick has gotten me shots I never would have gotten on foot.
Dealing with wind and movement
Wind is a mixed blessing. Light breezes can ruffle feathers and create great action shots, but strong wind makes birds hunker down and hide. It also makes long lenses hard to hold steady. On windy days, find sheltered spots like forest edges or lee sides of hedges, and bump your shutter speed up a little to compensate for movement.
Composition tips that make your photos look pro
Technical sharpness gets you halfway there. Composition is what makes someone stop scrolling. The good news is that a few simple rules handle most situations.
- Always focus on the eye. If the eye is sharp, the photo works. If the eye is soft, even a technically perfect shot feels off.
- Leave space in front of the bird in the direction it is facing. A bird looking to the left should have more frame space on the left side.
- Get low. Eye-level or below eye-level shots look dramatically better than shots taken from above. Lying on the ground sounds extreme until you see the results.
- Watch your background. A clean, uncluttered background (sky, water, smooth foliage) isolates the bird beautifully. A messy background full of branches and distractions kills an otherwise great shot.
- Use a wide aperture (f/5.6 or wider) to blur the background when the scene is cluttered, even if it means slightly less depth of field on the bird.
- Do not always center the bird. The rule of thirds places the subject off-center, which tends to feel more natural and dynamic.
- Horizontal orientation works for most bird shots. Vertical works well for tall birds or when you want to show habitat.
Shooting wide open (like f/4 or f/5.6) does mean you might get the eye sharp while the wing tips go slightly soft. That is a real tradeoff, and sometimes it is the right call, especially when the light is low and the alternative is a motion-blurred mess. A slightly soft wing on a perfectly exposed, sharp-eyed image is almost always better than a perfectly stopped action shot where focus missed entirely.
Simple editing and output tips (cropping, noise, exporting)
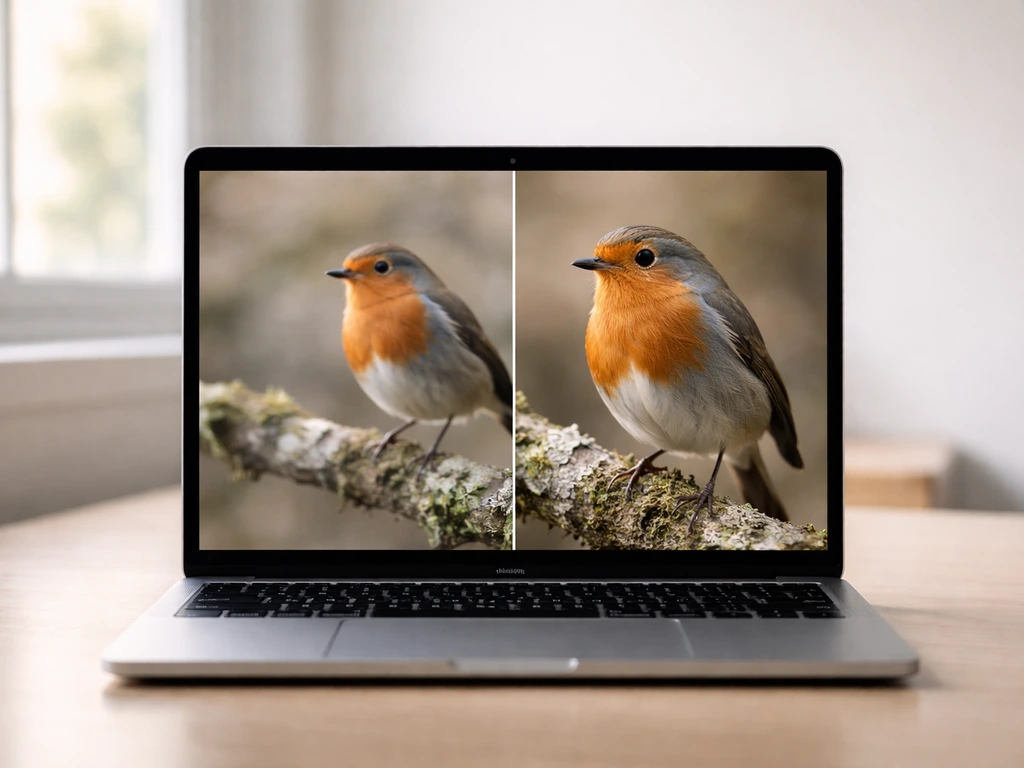
Post-processing is not about fixing bad photos. It is about getting the most out of good ones. Keep your editing workflow simple and consistent.
Start in Lightroom for color and tone
Import your RAW files into Lightroom and start with exposure, white balance, highlights, and shadows. Bird photography often involves blown highlights in a bright sky or dark shadows in feather detail, so bring down highlights and open up shadows first. Add a little clarity and vibrance if the image looks flat. Crop here too: a tighter crop that fills the frame with the bird and leaves meaningful space in front of it often transforms a middling shot into a strong one. Do not overcrop though as you lose resolution quickly.
Skip noise reduction in Lightroom, use Topaz instead
Lightroom's built-in noise reduction has gotten better, but for serious bird work, a dedicated tool like Topaz DeNoise produces noticeably cleaner results, especially at high ISOs like 3200 to 6400. The workflow that works well: do all your color and tone work in Lightroom, skip noise reduction there, then send the file to Photoshop and apply Topaz DeNoise as a plugin. Use masking inside Topaz so you are aggressively reducing noise in the background and sky while preserving feather texture detail on the bird. Then return to Lightroom for any final tweaks.
Sharpening after noise reduction
Once noise is handled, apply selective sharpening. Topaz Sharpen works well for this, especially when you want to recover fine feather detail. Again, use masking so you are only sharpening the bird, not adding texture and grit to an already-smooth sky. In Photoshop, you can do this with a layer mask, painting sharpening in only where you want it. And remember: sharpening only enhances what is already there. If the shot was blurry in camera, sharpening will make it look like a blurry image with crispy noise, not a sharp image.
Exporting
For sharing online, export at 2048 pixels on the long edge as a JPEG at 80 to 90 quality. This keeps file sizes manageable while retaining plenty of detail at screen resolution. For printing, export full-resolution TIFF or JPEG at maximum quality and let your print lab handle the sizing.
Common mistakes and a practice plan for your next shoot
Mistakes that will cost you shots
- Shutter speed too slow: if birds look blurry even when they were sitting still, your shutter speed is probably the culprit. Go back and raise it.
- Using AF-S (single autofocus) instead of AF-C: the bird moved after you locked focus and now it is blurry. Switch to AF-C and leave it there.
- Not checking sharpness on the back of your camera: zoom in to 100% on your LCD after important shots to confirm focus before the bird leaves.
- Shooting at midday: harsh overhead light flattens feathers and creates shadow-filled eye sockets. Shift to morning or evening.
- Standing upright and shooting down: you lose background separation and the image looks like a snapshot. Get lower.
- Approaching too fast: you spooked the bird before you got close enough. Slow down and add more pauses.
- Not having enough cards or batteries: you run out mid-shoot. Always pack double what you think you need.
Your practice plan for the next shoot
- The night before: charge batteries, format cards, and set your camera to AF-C, burst mode, and Auto ISO with a max of 6400. Dial in Aperture Priority at f/6.3 as your starting point.
- Arrive at your spot 20 to 30 minutes before sunrise. Scout for active perches and water sources.
- For your first 30 minutes, shoot only perching birds. Focus on landing the focus on the eye and checking sharpness at 100% on your LCD after every few shots.
- Practice the zoom-out-then-zoom-in focus acquisition technique on any birds that take flight nearby.
- After the session, import into Lightroom and cull your shots. Look for patterns in what worked and what did not. Was focus soft? Check shutter speed. Was background cluttered? Think about angle for next time.
- Edit three to five of your best shots through the full workflow: tone in Lightroom, noise reduction in Topaz DeNoise, selective sharpening, export.
- Repeat the outing three times in the same location before moving somewhere new. Familiarity with a spot pays off fast.
Bird photography has a steep early learning curve and then a very rewarding plateau once the settings become second nature. The fieldcraft side of things, learning to read bird behavior, knowing when to freeze and when to move, knowing which perches birds prefer at which time of day, that is what separates consistently great shots from lucky ones.
If you want to go deeper on any single piece of this, the topics around getting sharper images, setting up a perch for photography, and using a monopod in the field are all worth exploring once you have the basics solid. If you want a practical checklist, use this guide on how to take sharp bird photos to turn those settings into repeatable results getting sharper images.
If you are wondering how to use a monopod for bird photography, start by setting the height so the lens is steady and comfortable, then practice smooth panning as the bird moves monopod in the field.
FAQ
What should I do if my camera keeps hunting focus or misses even with AF-C and fast shutter speeds?
If your camera has trouble locking focus, try reducing clutter by using a smaller focus zone (or center-weighted tracking) and keep the bird against a simpler background. Also consider disabling face or eye detection modes that may “hunt” on busy scenes, then re-enable bird tracking once it consistently finds the subject.
Can I use Auto ISO, or do I need fully Manual for reliable bird shutter speeds?
Yes. For most beginners, Auto ISO with a minimum shutter speed works well, set your minimum to 1/2000s for flight and 1/1000s for perching. Cap the highest ISO you are willing to tolerate (for example 6400) so the camera does not push higher in bad light and ruin shutter timing.
Why do my photos look distorted or have strange exposure when shooting birds in flight?
If you see banding or odd exposure on fast wing beats, check that you are not using electronic shutter in a mode that causes rolling shutter. Switch to mechanical shutter or true electronic rolling-shutter reduction, and test by shooting a short burst of a bird in flight.
How do I know if my blurry bird shots are a camera/lens issue versus my technique?
A lens might be “sharp enough,” but birds often expose problems only at long focal lengths. Use a slightly faster shutter than your minimum (for flight, aim higher than 1/2000s when possible) and confirm your autofocus calibration and firmware are up to date, since miscalibration can show up most on fast moving subjects.
What’s the best way to time bursts so I capture wing positions and not just random moments?
When a bird crosses the frame quickly, prioritizing focus success matters more than perfect composition. Try burst bursts that start early, keep the tracking mode active, and use a shorter burst interval rather than one long take so you do not dilute the few perfect frames among many near-misses.
How can I prevent blown highlights on bright birds against a light sky?
If highlights blow out on bright feathers against sky, reduce exposure before you over-rely on later recovery. Use exposure compensation like -0.3 to -1.0 (depending on your metering) and consider slightly underexposing, then lift shadows later from RAW.
When is it better to use a single focus point versus a larger tracking zone for perching birds?
For perching birds, stop the “reactive focusing” habit by locking onto the eye area once the bird settles, then recompose using back button focus. If the bird frequently moves its head, widen the focus zone slightly so the system can keep up without you constantly interrupting focus.
How do I avoid over-sharpened edges or crunchy feathers in post-processing?
Sharpening is especially risky with noise. First reduce noise only in the background, then apply sharpening only to the bird using a mask. If the bird edge looks crunchy, lower the sharpening amount and increase masking so feather texture is preserved rather than turned into halos.
Should I use a tripod, monopod, or handhold for different bird-watching situations?
For long-lens work, the tripod can be your friend, but setup speed matters. Use a bean bag or a quick ball head for feeder sessions, then practice getting into position within seconds. If you will be moving between perches, a monopod plus a fast head is often more realistic than fully leveling a tripod each time.
Do my clothing and movement matter even if I’m shooting at a place where birds are habituated?
If birds are accustomed to humans, wearing a high-contrast bright jacket can still spook them. Keep colors muted, avoid sudden arm movement, and try to keep your head and hands low. The biggest win is consistency, act the same way each approach so the birds learn the pattern rather than the sudden change.
Next Article
How to Set Up a Live Bird Cam: Beginner Guide
Learn how to set up a live bird cam end to end, from camera choice and safe nest placement to power, Wi Fi, alerts