Plucking a bird is a straightforward skill once you understand the right order of steps, but getting there requires knowing when it is legal and appropriate to do it in the first place. The short answer: if you are processing a domestically raised bird (a chicken, duck, or turkey from your own flock or a farm), this guide walks you through everything. If you found a dead or injured wild bird, stop and read the legality section first, because the rules are strict and the consequences are real.
How to Pluck a Bird Safely: Tools, Steps, and Cleanup

Marcus Hendricks
9 Apr 2026
Before you start: legality, ethics, and humane handling
This is the part most beginners skip, and it is the most important part. The U.S. Migratory Bird Treaty Act (MBTA) prohibits possession of feathers and other parts of native North American wild birds without the appropriate permit or authorization. That includes dead birds you simply found outside. Even picking up a single feather from a migratory songbird technically falls under this law. If you are thinking about plucking a wild bird you found, the legal and ethical path is to contact a licensed wildlife rehabilitator, not to process it yourself.
Wildlife agencies are consistent on this: the Minnesota DNR, for example, explicitly discourages home handling of sick or injured wild animals and instructs the public to contact permitted wildlife rehabilitators instead. Their reasoning is practical, not bureaucratic. Amateur handling of an injured bird can make it non-releasable, meaning a bird that could have recovered and gone free ends up permanently compromised. If you find an injured or orphaned wild bird, your best move is to confine it gently in a ventilated box in a dark, quiet place and call your local wildlife rehabilitator or animal control immediately. If you are looking for permitted wildlife rehabilitators in Minnesota, the Minnesota DNR maintains an online list you can use to find the right person to contact blank" rel="noopener noreferrer">call your local wildlife rehabilitator. National Wildlife Rehabilitators Association (NWRA) provides a contact pathway designed to help people find a rehabilitator nearby call your local wildlife rehabilitator or animal control immediately.
Federal regulations do carve out some narrow exceptions. Certain actions, like the opportunistic salvage of a dead migratory bird you did not kill, may be allowed without a permit under specific circumstances, but those rules include notification requirements and strict limits on what you can do with the carcass or feathers. Commercial use of migratory game bird feathers, skins, or mounts always requires a permit. If you are unsure, contact the U.S. Fish and Wildlife Service before you touch anything.
The context where plucking is clearly legal and appropriate: you raised the bird yourself, or purchased it from a licensed farm or processor, and you are processing it for personal consumption. Lawfully hunted migratory game birds (like ducks or geese, taken during open season with the proper license) can also be processed for personal use under specific federal regulations. Everything in the rest of this guide assumes one of those situations applies to you.
Tools and setup for plucking
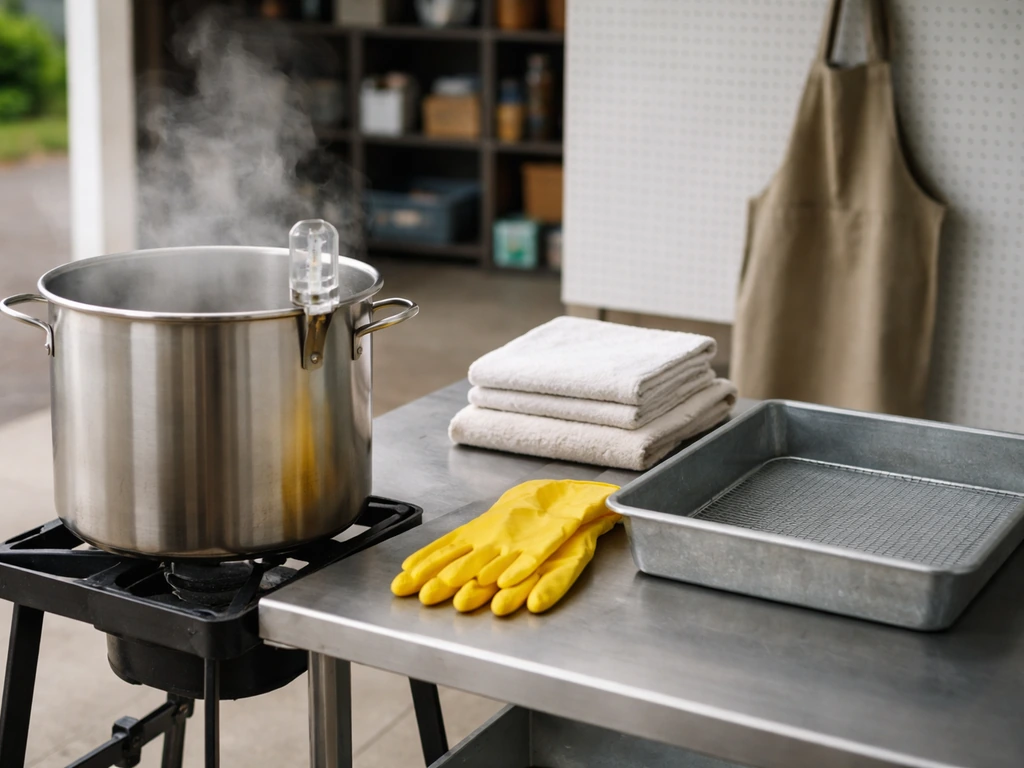
Getting your workspace organized before you start saves you a lot of frustration mid-process. Here is what you need and why each item matters.
Gear checklist
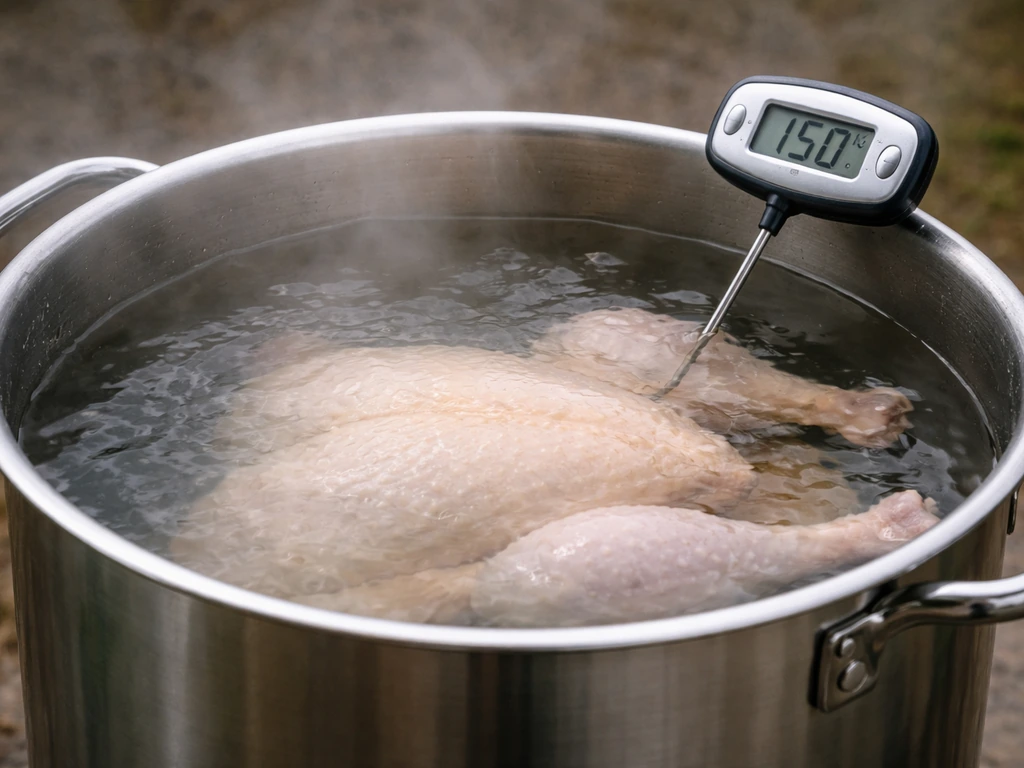
- Large pot and thermometer: for scalding water, which loosens feathers dramatically. You need to hit 140 to 155°F (60 to 68°C) and hold it there. Too hot and you damage the skin; too cool and feathers do not release cleanly.
- Waterproof apron or coveralls: protects your clothes and reduces contamination spread.
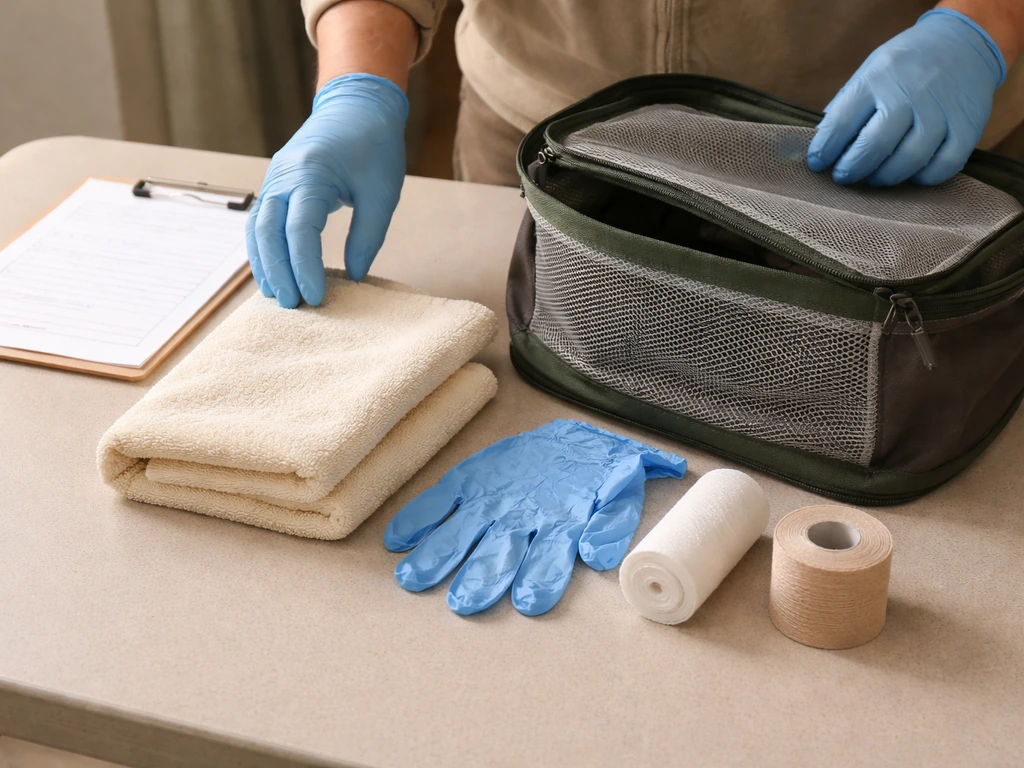
- Two pairs of gloves: disposable nitrile gloves underneath, thicker waterproof outer gloves on top. The CDC and OSHA both recommend this layered approach for poultry handling to reduce exposure to avian pathogens including Salmonella and potential avian influenza risks.
- Eye protection: goggles or a face shield. Scald water can splash and feathers carry debris.
- Large garbage bags and a separate clean bucket: one for feathers and waste, one for the bird.
- Clean cutting board and work surface: non-porous, easy to sanitize.
- Sharp knife or poultry shears: for any trim work after plucking.
- Hose or spray nozzle nearby: for rinsing the bird and your workspace.
Workspace setup
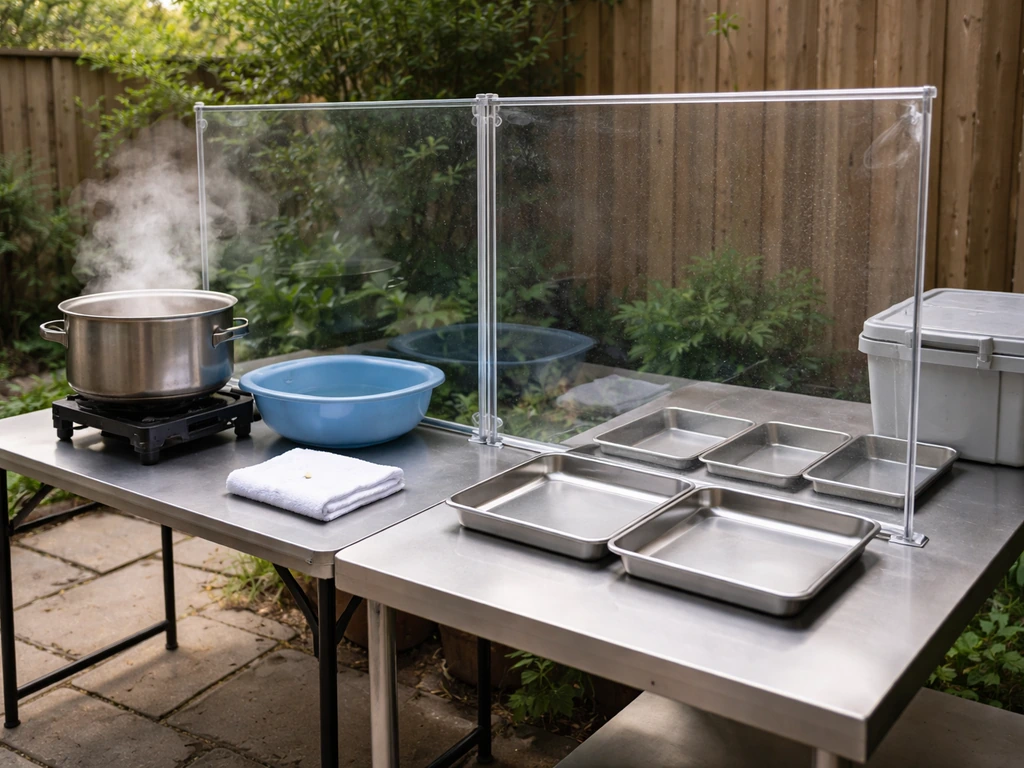
Work outdoors if possible, or in a garage with good drainage and ventilation. Set up two zones: a wet zone where you scald and pluck, and a clean zone where you do final inspection and prep. Keep them physically separated, because cross-contamination between the raw bird and a clean surface is how food safety problems start. Commercial processors use a wall between defeathering and evisceration for exactly this reason. Lay down plastic sheeting or work over a drain. Have your trash bags open and positioned before you begin so you are not fumbling with them with wet gloved hands.
Step-by-step plucking process
The sequence matters here. Rushing or skipping steps leads to torn skin, which is harder to fix than it sounds, and makes the final product look rough. Work deliberately and you will do better than you expect on the first try.
Step 1: Prepare the bird
The bird should be freshly processed and still warm if possible, or properly chilled (below 40°F) and brought close to room temperature just before plucking. A warm bird plucks faster and cleaner than a cold one because the follicles (the tiny pockets each feather sits in) are more relaxed. If the bird has been refrigerated, let it sit for 15 to 20 minutes before scalding.
Step 2: Scald the bird
Submerge the bird in water heated to 140 to 155°F. Younger birds (broilers, young chickens) have more delicate skin and do better at the lower end of that range, around 140 to 145°F, for about 45 to 60 seconds. Mature birds with tougher feathers may need 150 to 155°F for 60 to 90 seconds. Move the bird around gently to let water penetrate through the feathers to the skin. You will know it worked when you tug a wing feather and it slides out with light resistance, not a hard pull. Over-scalding at too high a temperature tears the skin and makes the surface look blotchy, so use your thermometer and do not guess.
Step 3: Pluck in the right order
Start with the large wing feathers (called primaries and secondaries), then move to the tail feathers. These are the most firmly anchored and easiest to grip while the bird is still hot. Pull firmly in the direction the feather grows, not straight out perpendicular to the skin. Pulling against the grain tears skin. After the large feathers, work across the breast and back, using a firm pinch-and-pull motion with 4 to 6 feathers at a time. Smaller body feathers come off in clusters easily after a good scald. Finish with the legs and neck, which often have tighter feather sets.
Step 4: Handle pinfeathers separately
Pinfeathers (also called blood feathers) are immature feathers still partially enclosed in a waxy sheath. They are common in younger birds and appear as small dark or translucent quill stubs. Do not yank these like regular feathers. They are attached to active blood vessels and pulling hard tears skin and can bleed. Instead, grip each one firmly between your thumb and a dull knife edge (or your thumbnail), and push into the skin slightly before pulling. This stabilizes the skin as you extract the feather. Take your time here. plucking bird feathers without tearing the skin around pinfeathers is honestly the skill that separates a clean result from a rough one.
Step 5: Singe remaining down and stubble
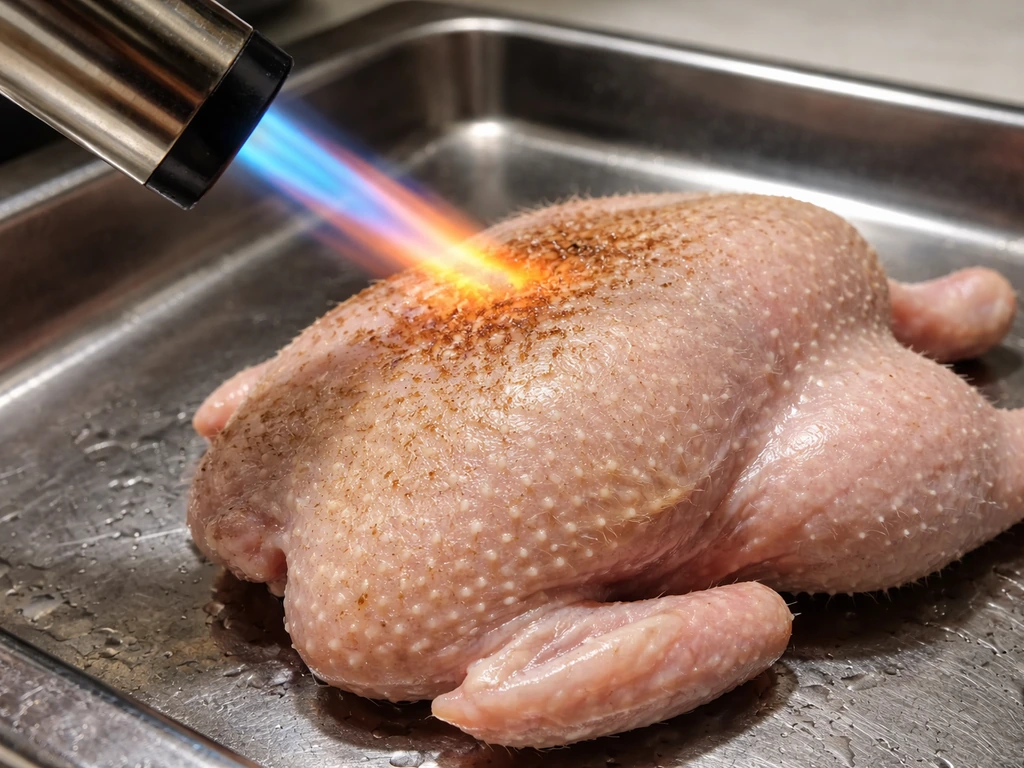
After plucking, there will be fine hair-like down fibers and small feather stubble remaining, especially on the back and under the wings. Pass a small kitchen torch or gas flame quickly over the surface of the bird, rotating it constantly. You are singeing, not cooking. A quick pass is enough. This removes the remaining fuzz and gives the skin a clean look. Keep the flame moving and do not hold it in one place.
Skin care and carcass hygiene
Skin tears are the most common beginner mistake. Once the skin is torn, you cannot fix it, and it affects both presentation and how the bird cooks. The main causes are over-scalding (which softens skin too much), pulling feathers against the grain, and rushing through pinfeathers. If you notice the skin starting to feel very soft or tacky under your fingers during plucking, stop. Let the bird cool for 2 to 3 minutes before continuing.
Hygiene during plucking is serious. Raw poultry can carry Salmonella and Campylobacter, and birds raised in certain conditions may carry avian influenza strains. Wash your hands with soap and water for at least 20 seconds before and after handling the raw bird. The CDC is consistent on this: soap and water is better than hand sanitizer for these pathogens, though hand sanitizer with at least 60% alcohol is acceptable if soap is not immediately available. Keep your contaminated gloves away from your face and any clean surfaces.
Keep the carcass off the ground and on your designated work surface throughout. Rinse the bird periodically with clean cold water during plucking to wash away loose feathers and debris. Do not let feather debris accumulate on the bird's surface between steps, as it can harbor bacteria. If the bird is going to sit for more than a few minutes at any point in the process, put it in a clean bucket of cold water (below 40°F) to keep it in the safe temperature zone.
When you are done plucking, do a final inspection. Run your clean hand over the entire surface and feel for remaining stubble, pinfeather sheaths, and any skin tears you may have missed. Small remaining feather stubs can be tweezed out or singed. Check around the wing joints and leg folds, which are easy to miss.
Aftercare: storage, disposal, and cleanup
Storing the bird
After plucking and final rinse, the bird needs to be chilled within two hours of processing (or within one hour if your ambient temperature is above 90°F). Place it in a refrigerator that maintains 40°F or below. Use or freeze within 1 to 2 days. If freezing, wrap tightly to prevent freezer burn and store at 0°F or below. If you are cooking it right away, the USDA recommends a safe minimum internal temperature of 165°F (73.9°C) throughout the bird to eliminate pathogens.
Disposing of feathers and waste
Seal feathers and processing waste in the garbage bags you set up beforehand and dispose of them in your regular trash. If you are working with feathers from legally hunted waterfowl and want to keep any for craft use, be aware of the specific regulations that apply: commercial use always requires a permit, and even personal use has rules that vary by species and how the bird was obtained. If you want to keep and collect bird feathers for a craft or nature project, make sure you understand what is legally permitted before saving anything.
Cleaning your workspace and tools
This step matters as much as anything else. Wash all surfaces that contacted the raw bird, including cutting boards, the pot, your work table, and the sink, with hot soapy water first. Then sanitize with a bleach solution: about 1 tablespoon of unscented bleach per gallon of water works well. Let it sit on the surface for at least 1 minute before wiping. Wash tools the same way. Strip off your outer gloves and PPE carefully, turning them inside out as you remove them so contaminated surfaces face inward, then bag and dispose. Remove disposable gloves last and wash your hands immediately after. Contaminated PPE removed carelessly is one of the most common ways cross-contamination spreads, so slow down for this part.
Feather condition and technique: a quick comparison
Not every bird you process will be in the same feather condition. Here is how to adjust your approach based on what you are working with:
| Feather condition | What to expect | Recommended technique |
|---|---|---|
| Fully mature feathers | Clean shafts, easy grip, release well after scalding | Standard scald at 145 to 155°F, pull in direction of growth in small bunches |
| Pinfeathers (blood feathers) | Waxy sheath, attached to blood supply, prone to tearing skin | Grip with thumb and dull knife edge, push skin slightly before pulling, work slowly |
| Mixed mature and pin (young bird) | Delicate skin, combination of easy-release and stubborn feathers | Lower scald temp (140 to 145°F), shorter scald time, extra care on pinfeathers |
| Wet or waterlogged feathers (waterfowl) | Dense, water-repellent plumage, harder to scald evenly | Add a few drops of dish soap to scald water to help penetration, longer soak time |
| Dry feathers (no scalding, dry pluck) | Feathers resist removal, high skin-tear risk | Only for freshly processed birds; pull very small amounts at a time, accept slower pace |
Alternatives and when to call in a professional
Sometimes the right answer is not to pluck the bird yourself. Here are the situations where you should stop and get help:
- You found an injured or sick wild bird: Do not handle it beyond gentle confinement. Contact a licensed wildlife rehabilitator. Home handling risks the bird's life and may be illegal.
- You found a dead wild bird and want the feathers: Read the MBTA rules first. Many species are fully protected and possession of even a single feather without authorization is a federal violation.
- You have a pet bird that needs veterinary attention: A vet should handle any medical feather removal or treatment, not a home plucking session.
- You are processing a large volume of birds regularly: A local game processor or custom exempt poultry processor has the equipment to do this faster, cleaner, and with proper food safety controls. It is worth the cost.
- You are unsure of the bird's species or legal status: Contact your state fish and wildlife agency or the U.S. Fish and Wildlife Service before doing anything.
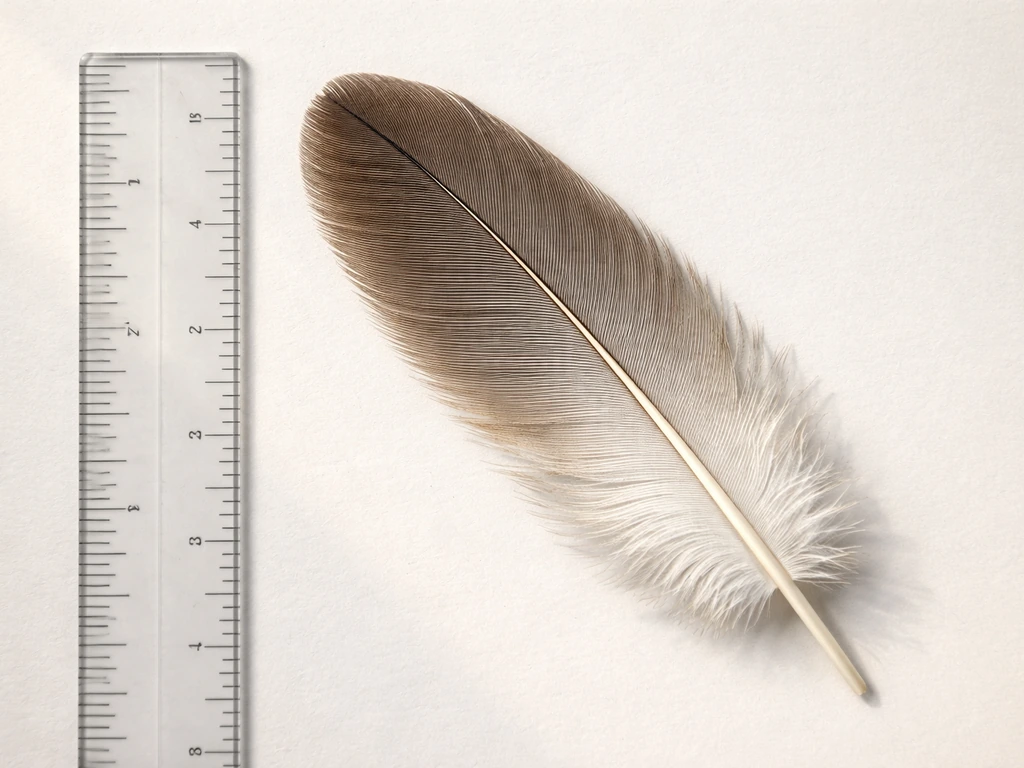
If you are mostly interested in feathers for identification, craft, or nature study rather than processing a bird for food, you may not need to pluck anything at all. Learning how to identify bird feathers you find on the ground is a completely separate skill and a great entry point into bird study without any of the legal or hygiene complexity. You can also learn how to find bird feathers in the wild through ethical, permit-compliant methods that do not involve handling birds at all.
The bottom line: plucking a bird you raised or legally hunted, done carefully with the right tools and hygiene practices, is a manageable skill for a beginner. The key is knowing before you start whether your situation actually calls for it, setting up your workspace so you are not improvising mid-process, and treating the hygiene and cleanup steps with the same seriousness as the plucking itself. Take it step by step and you will get a clean result.
FAQ
Can I pluck a bird that is already fully frozen?
Freezing makes the skin and follicles tougher and increases tearing, so it is not ideal. If you must process it, thaw in the refrigerator first, keep it at 40°F or below until thaw is complete, then proceed as if “properly chilled.” Avoid thawing at room temperature, because that can move the carcass into unsafe bacterial growth conditions.
What should I do if I accidentally tore the skin while plucking?
Stop pulling from that area and switch to the next feather group. A torn spot often means the bird was over-scalded or you are pulling against the grain. Let the skin cool a couple minutes, then continue more gently, especially around pinfeathers and wing joints. If the tear is large or keeps widening, reassess whether to switch to a different processing approach (for example, skinning or using only unaffected portions for cooking) rather than forcing more plucks.
How do I tell if the scald temperature is right without a perfect thermometer?
You really do need a thermometer. Guessing is a common cause of blotchy skin and tearing. If your thermometer is unreliable, verify it in boiling and ice-water conditions before starting, then only proceed once you can confirm the water actually sits in the 140 to 155°F window.
Is it safe to pluck multiple birds back-to-back with the same gloves and tools?
You should not. Between birds, wash with hot soapy water and sanitize surfaces and tools, and change gloves rather than continuing with contaminated ones. If you use the same scalder pot or plucking station without cleaning, you can spread pathogens and feather debris to the next carcass.
Can I reuse water from the scald or rinse bucket?
No, not for hygiene. Scald water gets contaminated quickly with bacteria, feather material, and debris. Dump rinse water that has collected loose feathers, and refill with clean cold water during plucking, especially if it starts looking cloudy or full of particles.
What if the bird has a strong odor or looks sick, even if it is domestically raised?
Do not continue processing casually. If the carcass smells putrid, shows unusual discoloration, or has visible illness signs, stop and avoid handling more than necessary. Contact a qualified veterinarian or local extension or poultry health resource for guidance before further processing, because some conditions affect safety and product suitability.
Do I need to remove pinfeathers differently on older birds?
Yes. Older birds can still have pinfeathers, but the sheath and attachment strength can differ. Use the thumb-or-dull-knife technique described, grip firmly, and push slightly into the skin before pulling. If you feel resistance, do not yank, pause, and let the skin firm up by cooling briefly.
Should I singe immediately after plucking, or can I wait?
It is best to singe shortly after plucking while the surface is still clean and before stubble hardens. If you need to pause, keep the carcass chilled and covered to prevent contamination, then singe and inspect again before continuing with any next steps.
How long can the carcass sit out before it must be chilled?
Aim to get it into refrigeration within the processing time limits. Practically, keep time at ambient temperature as short as possible, and if the process stretches beyond a couple of minutes, hold it in a cold water bucket below 40°F as described. The goal is to avoid lingering in the bacterial “danger zone.”
Can I save the feathers for crafts from a domestically raised bird?
Usually you can keep them, but still treat them as raw biological material. Dry them thoroughly and keep them away from food-prep areas. For craft use, consider storing them sealed and labeled so you do not mix them with any feathers collected from wildlife.
What is the safest way to clean up if I splashed scald water or raw juices?
Assume any splash zone near the work area is contaminated. Wipe up with disposable towels, then wash with hot soapy water. After that, sanitize with the bleach solution and let it sit for at least a minute before wiping. Also clean sink drains and the floor if water splashed there, since feather debris can stick and trap contamination.
Is it ever better to remove the feathers by another method instead of plucking?
If your goal is food preparation and you cannot pluck without tearing, other methods may be safer for quality and efficiency depending on the bird type and your equipment. Consider alternatives early rather than forcing repeated plucks, because skin tears can affect both presentation and cooking. The “best” method depends on species, bird age, and what your planned recipe requires.
Next Article
How to Identify Bird Feathers Step by Step Guide
Step-by-step guide to identify bird feathers by size, shape, color, pattern, shaft and barbs, plus lookalikes and next s