Every bird sighting is worth recording the same core details: species name (or your best guess), date, time, location, how many birds you saw, what they were doing, the habitat, and any notes on ID confidence. Get those seven things down consistently, and you'll have records you can actually use later, whether that's entering them into eBird, building a life list, or just looking back on a great morning in the field.
How to Record Bird Sightings: A Step-by-Step Guide

Marcus Hendricks
11 May 2026
What to record for every bird sighting

Think of each sighting as a mini-report. The goal is to capture enough detail that future-you (or a birding app) can make full sense of it. Here's what to log every single time, no exceptions:
- Species name: Use the common name you know, then look up the official name later if needed.
- Date and start time: The exact date and the time you began watching, not just when you spotted something.
- Location: GPS coordinates, a named place, or a street address. Be as precise as you can.
- Count: How many individuals of that species did you see? Use a number, not just a checkmark.
- Behavior: What was the bird doing? Foraging, singing, flying overhead, perching, displaying?
- Habitat: What was the bird in or near? Forest edge, open water, lawn, shrubby field?
- ID confidence: Were you certain? 90% sure? Only got a glimpse? Note it honestly.
- Weather and visibility: Overcast, sunny, foggy, windy? These affect what birds do and how well you can see them.
- Duration of observation: How long did you watch that bird? Even "30 seconds" is useful.
ID confidence is the one field beginners most often skip, and it's the one that saves you from embarrassment later. If you logged a Painted Bunting with low confidence, you'll remember to double-check before submitting. If you just wrote "Painted Bunting" with no caveat, you might submit it as a fact and wonder why your record gets flagged for review.
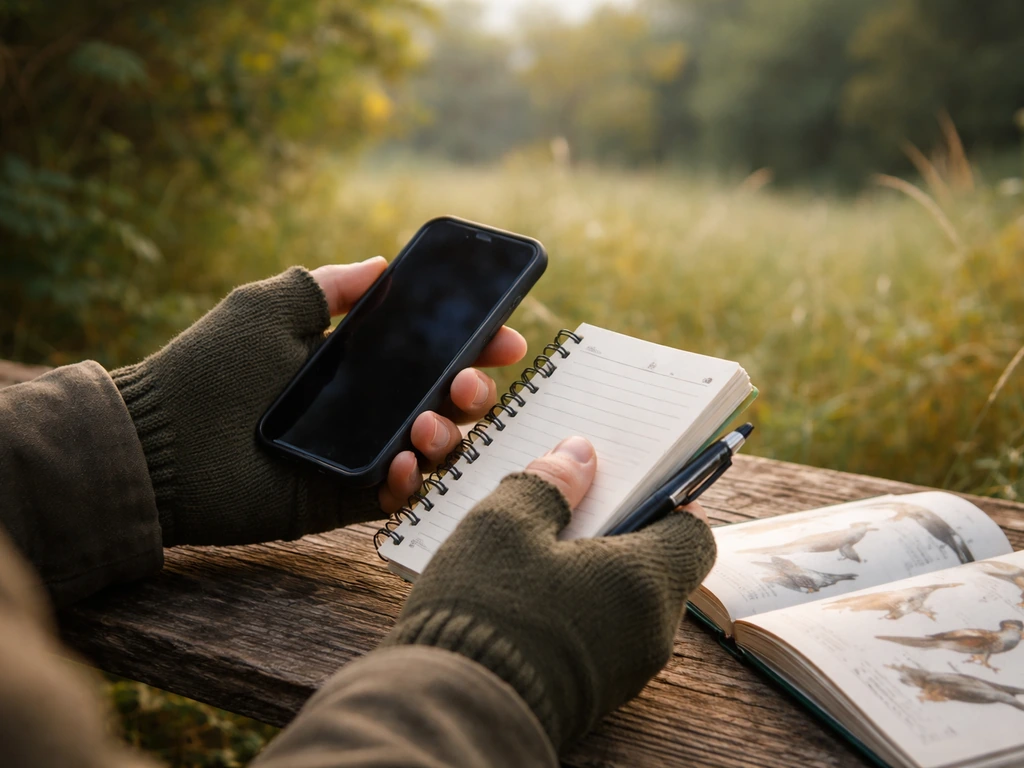
Quick field workflow: paper notes vs your phone
Both methods work. The right choice is whichever one you'll actually use consistently in the field. Here's the honest tradeoff:
| Method | Pros | Cons | Best for |
|---|---|---|---|
| Pocket notebook | No battery, no glare, works in rain with the right paper, fast to scribble | Needs transcribing later, easy to lose, no GPS auto-fill | Distraction-free birders, older habits, areas with no signal |
| Phone notes app | Always with you, searchable, can paste into eBird later | Battery dependent, typing is slow with gloves, notifications are distracting | Casual outings, quick checklists |
| eBird Mobile app | Auto-fills date, time, and GPS; direct submission; tracks distance and duration | Requires signal or pre-loaded offline maps, can drain battery | Anyone planning to submit to eBird; best overall workflow |
Personally, I use eBird Mobile for most outings because it handles date, time, and GPS automatically, which is honestly where most mistakes happen when you're doing it manually. But I always keep a small notebook in my pack for days when my phone dies or I'm somewhere remote. The notebook gets transcribed that evening, before I forget what my shorthand meant.
If you go the notebook route, set up a simple template on a fresh page before each outing: date, location, start time, weather, then a two-column layout with species on the left and count/notes on the right. Pre-making the template takes ten seconds and saves a lot of chaos mid-walk.
How to estimate counts, distance, and ID confidence
Counting birds is an art, not a science, and that's totally okay. eBird itself says your best estimate is more useful than marking "X" for presence-only. Here's how to get to a reasonable number without losing your mind:
Estimating flock sizes
For small groups (under 10), count individually. For medium flocks (10 to 50), count a cluster of 10 in your mind, then estimate how many clusters make up the whole flock. For large flocks, use the same cluster trick but go in chunks of 50 or 100. It's not perfect, but "about 200 starlings" is far more useful data than "lots of starlings." Round numbers are fine. Nobody expects exactness with a wheeling flock of blackbirds.
Estimating distance
Distance matters for context, especially if you're recording behavior or song. A rough estimate is fine: within 10 meters, 10 to 30 meters, or distant/flyover. If you use eBird Mobile, it tracks the distance you traveled during the outing, which is separate from how far away the bird was. You don't need to record bird-to-observer distance every time, but noting "distant" or "overhead" helps explain why your description might be incomplete.
Handling uncertain IDs

If you're not sure what you saw, record what you do know. "Small brown streaky sparrow, not Song Sparrow, possibly Lincoln's or Swamp" is a perfectly valid field note. You can use genus-level entries in eBird (like "Melospiza sp.") when you can't get to species. And if the bird is truly unidentified, log "Unknown" with your description. Never skip a sighting just because you couldn't ID it. The description itself has value.
Getting location, time, and habitat right
These three fields anchor your record to the real world, and sloppy entries here make everything else less useful. Here's how to nail them:
Location
The gold standard is GPS coordinates, which any smartphone can give you. In eBird Mobile, your location is pinned automatically when you start a checklist. If you're using paper or a general notes app, open your maps app, tap your current location, and screenshot or copy the coordinates before you start. At minimum, record a named location: a park name, a trail name, a body of water nearby. Vague entries like "woods near home" make the data nearly useless a year later.
Time and duration
Record your start time when you begin the outing, not when you see your first bird. eBird's protocol asks for start time and total duration as part of the effort data, because these affect what species are realistically detectable. A 6:00 AM walk and a noon walk through the same park can produce completely different species lists, and that context matters for science and for your own memory.
Habitat
You don't need scientific habitat classifications. Simple descriptions work great: "mature deciduous forest," "freshwater marsh edge," "mowed park with scattered oaks," "suburban backyard with feeders." eBird specifically encourages noting dominant vegetation, nearby water, and elevation when it's relevant. A sentence is enough. If you're birding near a sensitive or restricted location, keep the location note general rather than pinpointing it exactly, especially for nesting sites of rare birds.
Adding photos, audio, and other supporting evidence
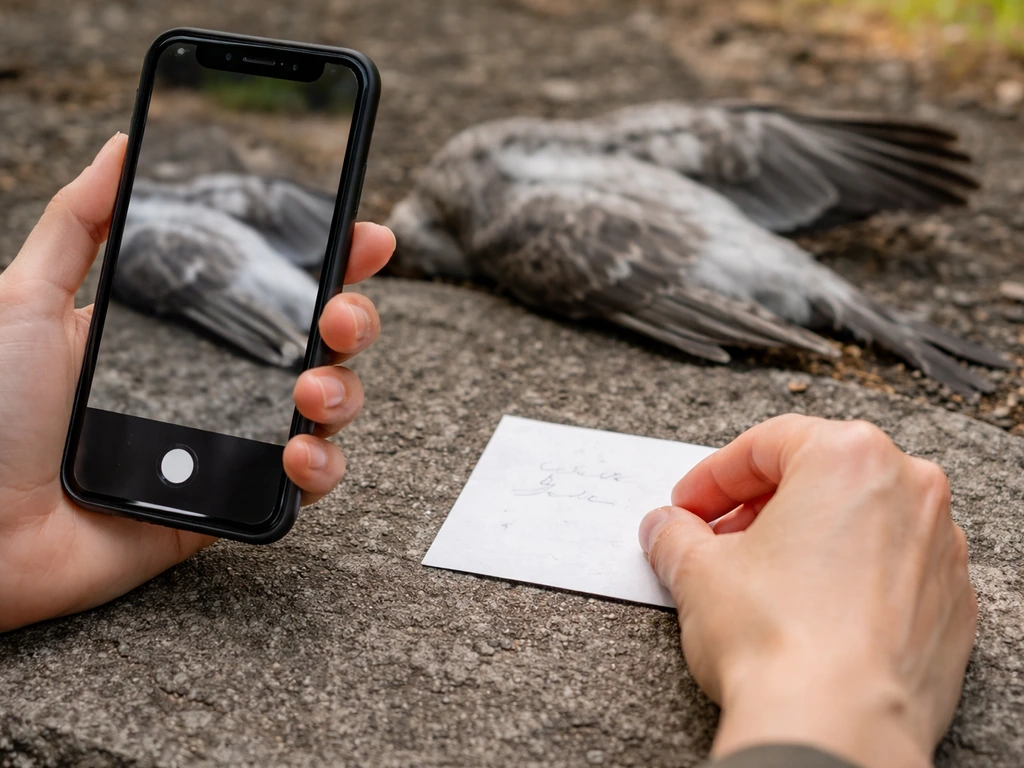
Media doesn't have to be good to be useful. A blurry photo that shows a distinctive wing pattern or a shaky video clip with an audible call can confirm an ID in ways written notes can't. Here's how to make the most of what you capture: When you add a photo, audio recording, or video to an eBird checklist, the media is stored in the Macaulay Library archival system Here's how to make the most of what you capture.
- Take the photo or recording first, ask questions later. Even if you think you know the species, grab the shot. You may see something in the image you missed in the field.
- Name your files with a date and species before you forget. Something like 2026-05-11YellowWarblerCentralPark works perfectly and makes sorting easy later.
- Note the time you took the photo or recording in your field notes. This links the media to the right sighting when you have multiple species in one outing.
- In eBird, attach media directly to the species entry on the checklist where it belongs, not just to the overall checklist. That way reviewers see it immediately if your sighting gets flagged.
- For bird sounds, try apps like Merlin's Sound ID to record and auto-identify in real time. Even if the ID isn't perfect, it creates an audio file you can review later.
- If you record a song or call, note the direction the bird was moving and whether the song was complete or fragmented. These details help with ID when you revisit the recording.
Media is especially important for unusual sightings. eBird's review process flags rare species and unexpectedly high counts for a regional reviewer to evaluate. Reviewers evaluate rare species and unexpectedly high counts based on the information provided and the rarity of the record rare species and unexpectedly high counts for a regional reviewer to evaluate. Thorough notes and at least one diagnostic photo or audio clip dramatically improve the chance your record gets accepted rather than put on hold.
Using birding apps and platforms to log and share sightings
eBird is the dominant platform for submitting and sharing bird sightings, and it's free. Merlin Bird ID is its companion app, better for real-time identification than for logging. Here's how the core fields from your field notes map into eBird so you know exactly what goes where:
| Your field note | Where it goes in eBird |
|---|---|
| Date | Checklist date (required) |
| Start time | Start time field under effort (required) |
| Duration | Duration field under effort (required) |
| Location (GPS or named place) | Location pin or named eBird hotspot |
| Species and count | Species entry with numeric count |
| Behavior, habitat, weather, ID confidence | Species-level notes box or checklist notes |
| Photos and audio | Media attached to the species entry or checklist |
| Other observers | Added as shared observers on the checklist |
One thing that trips up beginners: on a complete checklist in eBird, not listing a species implies you didn't see it. You don't enter a zero count. So if you do a complete checklist (meaning you recorded all birds you detected), only add the species you actually observed. If you're not sure you got every species, mark it as an incidental observation instead.
Other useful platforms include iNaturalist (great if you also track plants and insects), Merlin for quick in-the-moment ID help, and simple spreadsheet templates if you prefer to keep records entirely offline. The fields are the same regardless of where you store them; the platform just determines how easy it is to search, share, and back up later.
If you're interested in contributing to larger citizen science projects, the same records you keep for yourself can feed into events like the Great Backyard Bird Count or breeding bird surveys. Breeding bird survey methods often require consistent effort and careful recording of time, location, and counts for each visit breeding bird surveys. The data you're already collecting is exactly what those programs need.
A simple post-outing checklist and how to keep your data safe

The hour after an outing is the most important time for your records. Memory fades fast. Here's what to do before you do anything else:
- Submit or transcribe your checklist while the outing is fresh. If you used eBird Mobile, submit it now. If you used paper or notes, transfer everything to your logging system of choice within two hours.
- Review your species list and fill in anything you jotted shorthand. Decode your abbreviations while you still remember what they meant.
- Attach any photos or audio. Rename files if you haven't already, using the date-species-location format.
- Flag uncertain IDs with a note so you know to research them before treating them as confirmed.
- Add any habitat or behavior notes you didn't have time to write fully in the field.
- Back up your data: if you use eBird, your records are already in the cloud. If you keep a local spreadsheet or notebook scans, copy them to a cloud storage folder (Google Drive, iCloud, or similar) immediately.
Organizing records over time
If you're using eBird, your life list, location totals, and species frequency charts are generated automatically from your submitted checklists. A life list usually starts with the same checklist details you collect for every bird sighting. If you're keeping your own spreadsheet, use one row per sighting (not per outing), with columns matching the core fields above. This makes it easy to sort by species, location, or date later. If you're building a life list alongside your regular sighting records, keep them linked: your life list is just a filtered view of your total records, not a separate document.
Your next-outing field checklist
Print this out or save it to your phone for your next trip:
- Start your checklist or open a fresh notebook page before your first bird
- Pin your GPS location or note the named location
- Record start time and weather conditions
- For each bird: species, count, behavior, habitat, ID confidence
- Note any sounds heard (even if you can't ID them, describe them)
- Take a photo or audio clip for any unusual or uncertain sightings
- Mark the end time and total duration before you leave
- Submit or transcribe within two hours of getting home
- Back up media files and rename them with date and species
Recording bird sightings well is a habit, not a skill. The first few outings feel awkward, but once the fields become automatic, you'll spend less time on notes and more time actually watching birds. And looking back at a year's worth of detailed records, knowing exactly where you were and what you saw, is one of the most satisfying things in birding. Understanding the bird pollination process can also help you interpret why different birds visit certain flowers and habitats.
FAQ
If I only saw one bird but I spent an hour birding, what time should I enter?
Use the checklist start time and the total duration for that outing (not the moment you first noticed the species). If you are recording a single bird as an incidental observation, include the approximate time window and note anything you did for timing (for example, “heard call while walking the trail, mid-morning”). This keeps your effort data consistent and makes your record comparable to other days.
What should I do if I cannot remember the exact spot where I saw the bird?
When you have a location but the exact spot is uncertain, log the most specific named area you can reliably remember (trail name, pond name, or lookout). If the bird is sensitive (like possible nesting activity), err on the broader location and add a note about how far you were from the exact spot (for example, “heard calling from beyond the first bend”).
How do I record it if I misidentified the bird at first and corrected myself later?
If the species changes during the sighting, log it based on your best timeline. For example, if you initially thought it was sparrow A and later confirmed sparrow B, record the confirmed species with an ID confidence note, and either add the earlier uncertainty as a separate note or a separate entry labeled as incidental/uncertain. This prevents mixing two species into one count.
What’s the best way to record counts when the flock keeps moving or splitting?
Track counts as separate from distance and behavior. If you see a group split, record the final counts you actually observed (for example, “initially 12, later 6 on the ground and 6 in trees”) and add a brief note about the movement. For very dynamic flocks, rounding is fine, but include what changed and when so the number has context.
How should I record a sighting when I only heard the bird and never saw it?
For birds heard only (no visuals), still log the date, time, location, and a clear description of what you used for ID (call type, number of notes, repeating pattern, timing, and direction). ID confidence is especially important here because many species share similar calls, so mark it honestly (for example, “heard, probable X”).
What if I’m not sure whether I saw one bird or several?
If you cannot be sure the bird was one individual or multiple, base the count on observable cues and say so in notes. Examples include “one bird seen at a time, likely 1,” or “two distinct call sources, at least 2.” When in doubt, log the minimum count you are confident about and explain your reasoning.
How do I avoid accidentally adding species I did not really detect in eBird?
Don’t include entries that imply you saw something you did not. If you completed a full checklist, only list species you are confident were detected. If you are unsure you detected everything, switch to incidental observations for the uncertain species and leave the rest out, rather than forcing a full species list.
If I’m recording distance, should I log bird-to-observer distance or how far I walked?
Yes, but be explicit about the unit. If you record distance bands, keep them in consistent categories (within 10 meters, 10 to 30 meters, distant/flyover, overhead) and do not mix “bird-to-observer distance” with “how far you walked.” If you are using an app that tracks your traveled distance, mention only the bird distance in your notes.
How should I record multiple visits to the same spot in one day?
If it’s a repeat visit to the same location on the same day, use the separate start times and durations for each checklist. When keeping offline rows (one row per sighting), include a field or note that links sightings to the specific visit (for example, “visit 1 of day”). This prevents merging data from multiple outings.
What should I write in my ID confidence note, especially if I was using photos or calls?
Keep a single “ID confidence” label for the entry, then add a short reason in notes for future clarity (for example, “field marks unclear due to distance,” “confirmed by photo of wing bars,” “call strongly matched”). Avoid long paragraphs, aim for one decision reason so you remember how the ID was reached.
Next Article
How to Participate in the Great Backyard Bird Count
Step-by-step guide to count backyard birds today, record sightings, handle unknowns, and submit results correctly.