You can make real money with bird photography by selling stock images, prints, photo licenses, and booking client shoots. The most realistic starting point in 2026 is uploading to stock platforms like Adobe Stock and Alamy while building a small print shop on the side. Neither requires a huge audience or expensive gear to get your first sale. What they do require is sharp, well-composed images with smart metadata, a clear idea of what buyers are looking for, and enough consistency to build a portfolio that keeps working for you over time.
How to Make Money With Bird Photography: Step-by-Step Guide

Marcus Hendricks
23 Apr 2026
Monetization paths for bird photography
There are more ways to earn from bird photography than most beginners realize. The trick is picking the right mix for your current skill level and available time. Here are the main paths, roughly ordered from easiest to start to most involved.
- Stock licensing: Upload images to platforms like Shutterstock, Adobe Stock, and Alamy. Buyers pay a license fee every time they use your photo. It's passive once the images are uploaded and keyworded.
- Print sales: Sell physical prints through print-on-demand services like Fine Art America, Printful, or your own Etsy shop. You set the markup and the platform handles printing and shipping.
- Digital downloads: Sell high-resolution files directly through Etsy or Gumroad. Great for other birders, educators, or designers who want bird imagery without a licensing platform.
- Editorial licensing: License photos directly to magazines, blogs, and news outlets covering nature, conservation, or birding. Alamy and your own website portfolio are the main channels for this.
- Brand and commercial licensing: Wildlife brands, birding product companies, and outdoor gear labels sometimes pay for exclusive or semi-exclusive use of bird photos for ads or packaging.
- Client commissions: Get hired to photograph birds at specific locations, during migrations, or on custom outings. Some photographers offer this as a standalone service.
- Guided photo tours: Lead small groups to birding hotspots and teach photography technique along the way. This combines income from the tour fee with potential print/print-shop upsells.
- Teaching and content creation: YouTube tutorials, online courses, or paid newsletter communities built around bird photography. Takes longer to build but compounds well over time.
If you are just starting out, stock plus print sales is the best combo. It doesn't require you to talk to clients, manage bookings, or grow a big social following right away. You can start stacking passive income while you develop the skills for more involved work like tours and commissions. If you are already comfortable with birds and have some field time under your belt, adding one client service in the first 30 days is totally doable.
Getting started gear setup on a budget

You do not need a $10,000 rig to start selling bird photos. I shot my first batch of licensable stock images with a used APS-C crop sensor body and a rented lens. What actually matters is reach, sharpness, and light, and you can hit all three without breaking the bank.
Camera body
A mid-range APS-C body from Canon, Nikon, Sony, or Fujifilm is perfectly capable of producing sellable images. The crop factor on APS-C sensors actually works in your favor for birds because it effectively multiplies your focal length by about 1.5x to 1.6x. A 400mm lens becomes a 600mm equivalent, which gets you closer to small or skittish subjects without spending extra money on glass. Look for a body with a fast burst rate (at least 8 frames per second) and reliable autofocus tracking, since birds move quickly and you will need to capture sharp frames in a burst.
Lenses
A telephoto zoom in the 150-600mm range is the workhorse lens for bird photography. The Sigma 150-600mm lenses are popular with wildlife photographers specifically because they track small fast-moving subjects well even against cluttered backgrounds like dense foliage. On a crop-sensor body, the 600mm end becomes roughly 900mm equivalent, which is enormous reach for a relatively reasonable price. The Tamron 150-600mm is another solid budget option. If you are really tight on budget, a used 100-400mm lens is a reasonable starting point, though you will be cropping more in post.
Autofocus settings
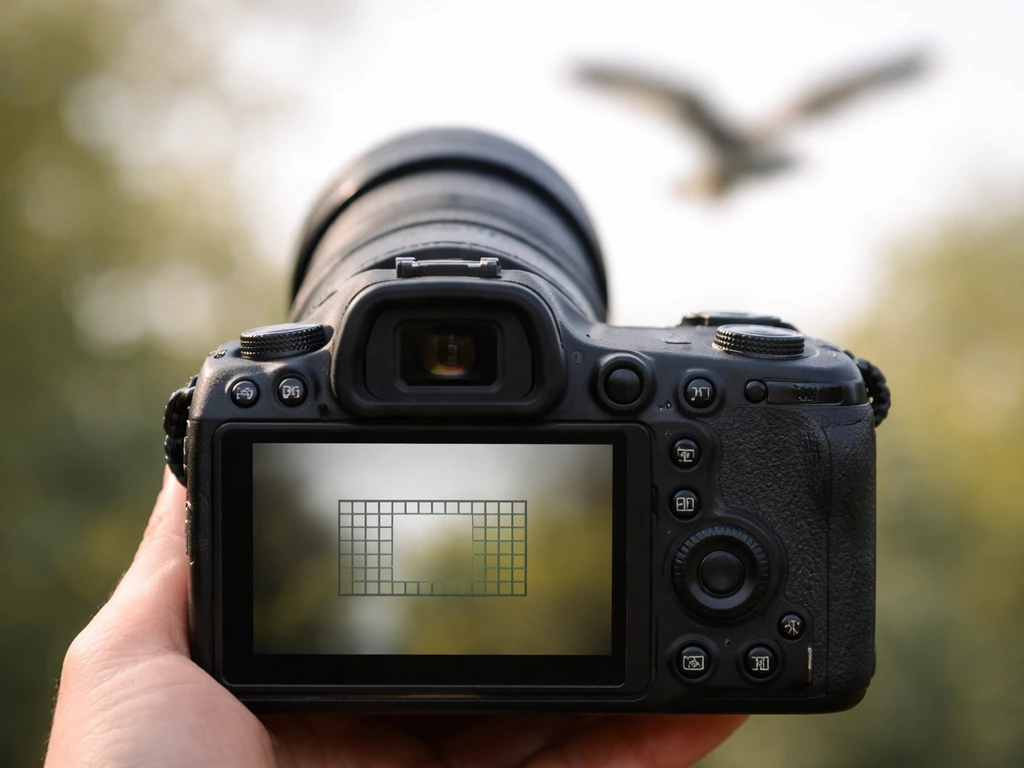
Dial in your autofocus before you head out. For birds in flight, a wide or zone AF area mode generally works better than single-point because it gives the camera more targets to track across the frame. For perched birds, a center or small-zone AF point lets you lock focus precisely on the eye. Most modern cameras have a dedicated animal or bird eye-detect AF mode now and it is genuinely useful. Spend 20 minutes in your camera manual figuring out your specific AF area modes before your first session.
Support and field accessories
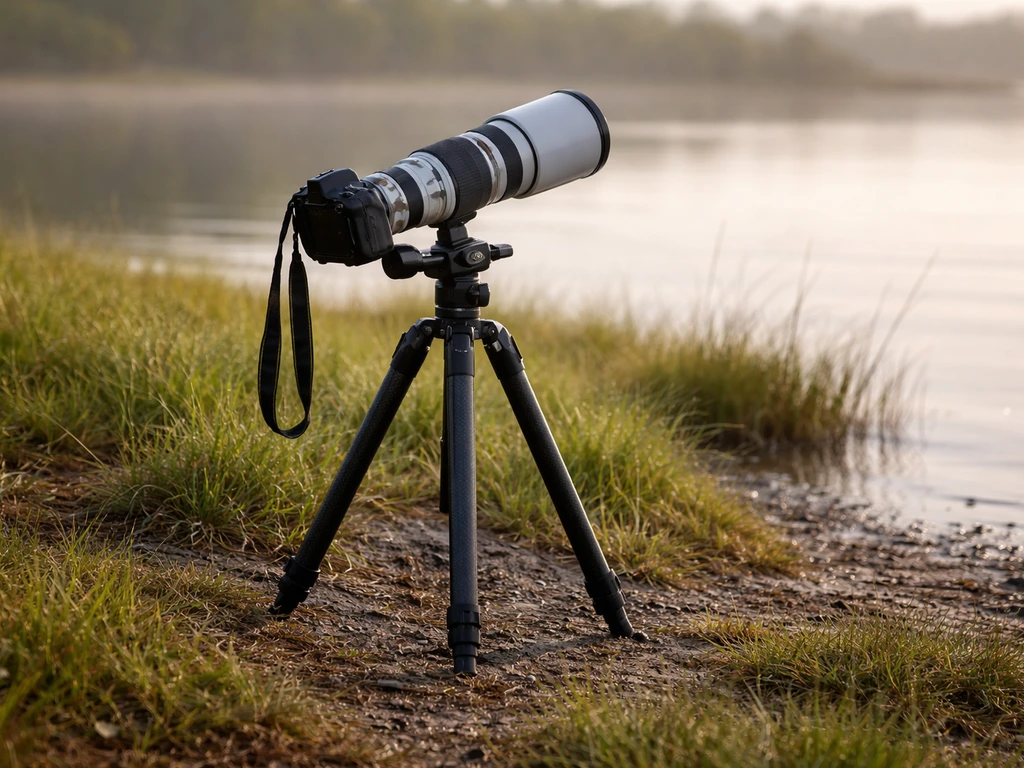
A sturdy monopod or a gimbal head on a tripod makes a meaningful difference when handholding a heavy telephoto for hours. For ground-level shots of wading birds or smaller species, a ground pod or a beanbag draped over your car window gives you a stable low-angle platform without the bulk of a tripod. A pop-up photography blind is one of the best cheap investments you can make. Birds habituate to blinds quickly, and it lets you get close without disturbing behavior. A camo net or simple fabric blind can cost under $50 and genuinely changes what you can capture.
| Item | Budget Option | Approximate Cost |
|---|---|---|
| Camera body | Used APS-C mid-range (Canon R7, Nikon Z50 II, Sony a6700) | $500–$900 used |
| Telephoto zoom | Sigma or Tamron 150-600mm (used) | $600–$900 used |
| Support | Monopod with tilt head | $60–$120 |
| Blind | Pop-up fabric ground blind | $30–$80 |
| Memory/storage | Fast SD cards (V60 or V90 rated) plus external SSD backup | $50–$120 |
| Editing software | Adobe Lightroom (subscription) or Darktable (free) | $10/month or free |
How to build a portfolio and grow your audience
Your portfolio is the engine that drives all the other income streams. Whether you're submitting to stock platforms or pitching a client, people need to see a consistent body of sharp, well-composed bird images. Here's how to build one fast.
Shoot with buyers in mind
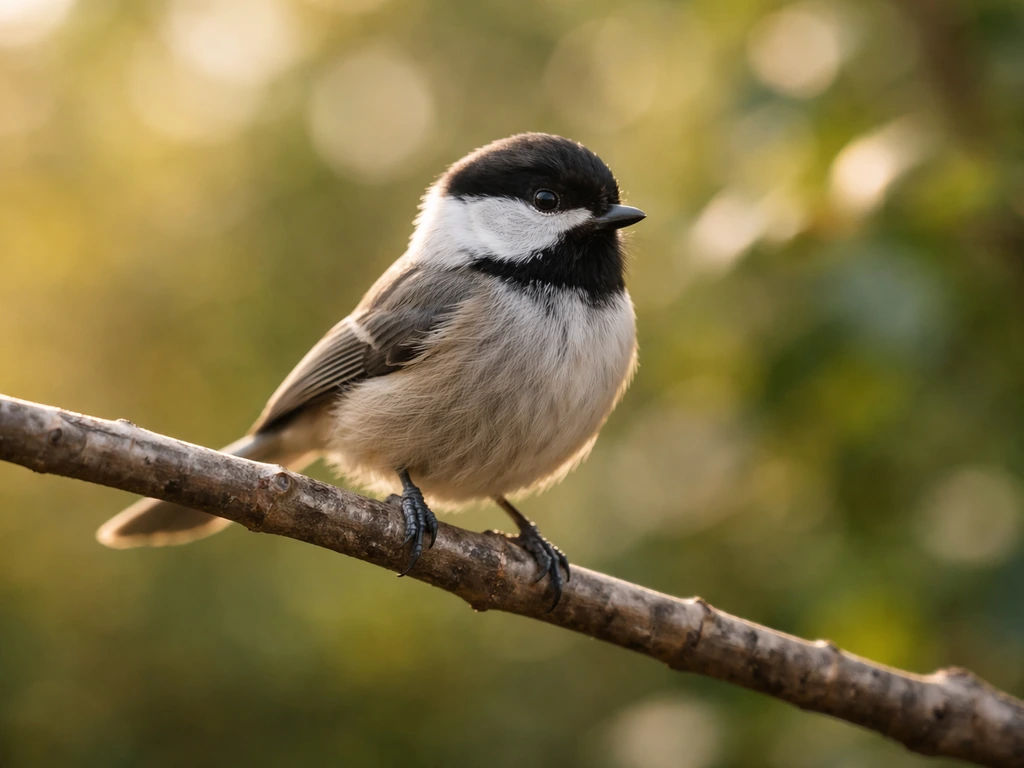
Stock buyers need images that are technically clean and commercially versatile. That means neutral or out-of-focus backgrounds, good light (golden hour is your friend), sharp eye contact with the bird, and interesting behavior like feeding, displaying, or in flight. Avoid heavy distracting clutter behind the subject. Think about what a magazine editor or a nature brand would actually want to put on a page, and shoot toward that standard from the start.
Focus on local species first
You don't need to travel to exotic locations to build a sellable portfolio. Common birds like herons, raptors, songbirds, and shorebirds are all high-search-volume subjects on stock platforms. Start in local parks, nature reserves, and wetlands. The more familiar you are with your local species' behavior and habitat, the faster you'll get in position for great shots. If you are looking for a destination-focused approach, learn how to go bird park so you know what to expect and how to plan your visit. If you want a destination-focused approach for where to shoot, also check how to get to bird island seychelles before planning your birding trip.
Build a portfolio website and social presence
A simple website with 20 to 30 of your best images is enough to look credible to clients. Use a clean portfolio platform like Format, Squarespace, or SmugMug. For social media, Instagram and Facebook birding groups are the most direct path to an engaged audience. Post consistently (three to five times a week) with accurate species IDs and interesting context about where and how you captured the shot. Birders are a passionate, sharing community and a good identification post can go a long way. Connecting with the birding community also feeds directly into the client and guided shoot side of the business.
Submit to clubs, publications, and contests
Local Audubon chapters and birding clubs regularly look for images for newsletters, event materials, and websites. These don't always pay, but they get your name out there and build social proof. Nature photography competitions also offer credibility and sometimes cash prizes. Even a regional win looks great on a portfolio bio.
Selling bird photos: prints, licensing, and marketplaces
Stock platforms
Shutterstock, Adobe Stock, and Alamy are the three platforms worth prioritizing for bird photography. Each has its own review process and royalty structure, so here's a quick breakdown.
| Platform | Royalty Rate | Average Sale Value | Notes |
|---|---|---|---|
| Shutterstock | 15–40% depending on tier | Varies widely | High volume, competitive, strong metadata requirements |
| Adobe Stock | ~33% on Pro Edition downloads | Varies by plan/download type | Integrates with Creative Cloud, strong design buyer base |
| Alamy | 20–40% depending on model | ~$30 average per license | Higher per-image earnings, editorial buyers, fewer images needed to earn |
On Alamy, new contributors start on the Gold Commission rate (40% on direct sales), which can drop to 20% (Silver) if you've earned less than $250 in the previous 12 months after your first year. It sounds complicated but in practice the 40% starting rate is genuinely good compared to most platforms. Shutterstock’s contributor earnings structure FAQ also describes a tiered structure where contributors can earn up to 40% of the price per asset blank" rel="noopener noreferrer">It sounds complicated but in practice the 40% starting rate is genuinely good compared to most platforms.. blank" rel="noopener noreferrer">The average license fee across all clients is around $30, which means fewer sales needed to hit meaningful earnings.
Metadata is critical on every platform. Shutterstock and Adobe Stock both have detailed keywording requirements, and images get rejected for poor or non-compliant metadata, not just technical quality. For Adobe Stock, use multi-word phrases in addition to single keywords (for example, 'great blue heron fishing' alongside 'heron' and 'wildlife'). For Shutterstock, make sure your titles and keywords actually describe what's in the image, since mismatched metadata is a documented rejection reason. I spent my first week getting metadata rejections before I figured this out, so don't skip the contributor guidelines.
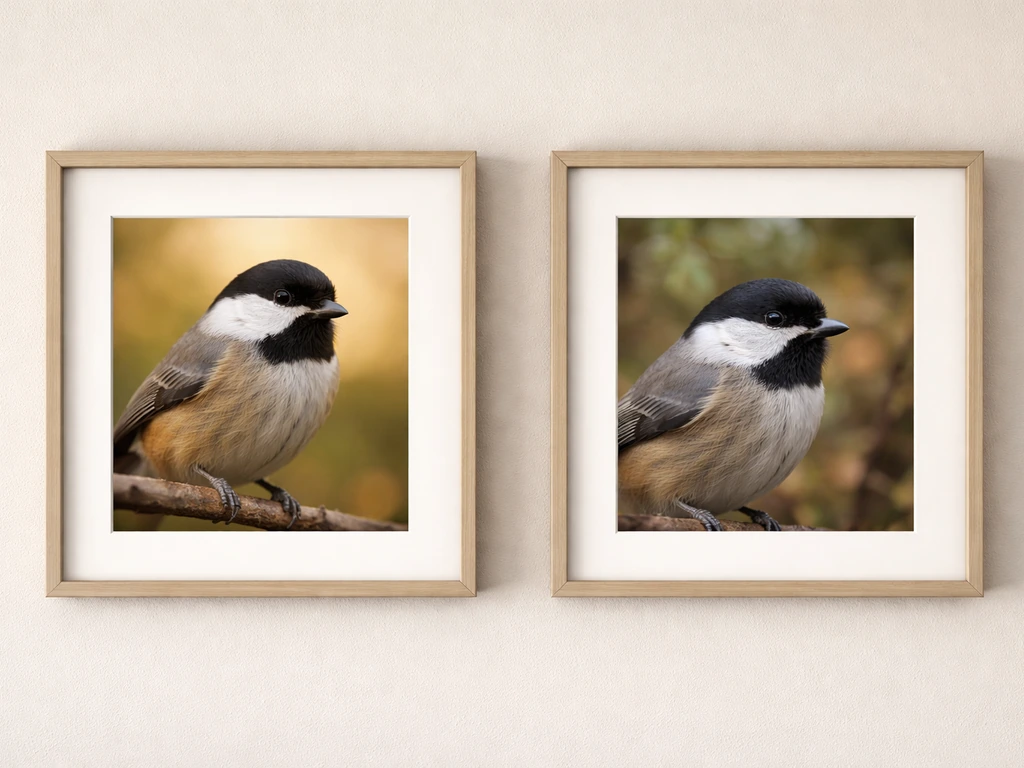
Print sales
Print-on-demand through Fine Art America, Redbubble, or Etsy (connected to Printful or Printify) is a low-effort way to offer physical products. You upload your files, set your markup above the base cost, and the platform handles everything else. The margins per sale are modest but there's no inventory risk and no upfront cost. Canvas prints, metal prints, and framed prints of popular species like owls, eagles, hummingbirds, and waterfowl sell consistently to home decorators and bird enthusiasts.
Direct digital sales
Etsy and Gumroad both let you sell high-resolution digital downloads directly. You keep a larger cut than stock platforms and control pricing fully. Digital downloads work especially well for birding educators, bloggers, and content creators who need affordable bird images for their own projects. Price individual downloads between $5 and $25 depending on resolution and exclusivity.
Client work: commissions, guided shoots, and event options
Once you have a portfolio, you can start attracting client work. This is where the hourly or per-day income gets more interesting, though it does require more of your time and communication skills.
Custom commissions
Some clients want specific birds, specific locations, or specific behavior captured. Conservation organizations, wildlife nonprofits, and nature centers sometimes hire photographers for projects. Birding-related businesses (binocular brands, bird feed companies, tour operators) need custom imagery for websites and marketing. Reach out directly with your portfolio, focus on what's relevant to their audience, and be specific about what you can deliver.
Guided bird photography experiences
If you know local hotspots and understand bird behavior, you can lead small groups on photography outings. These are not the same as general guided bird tours. You're specifically helping participants improve their photography while finding birds, and that combination commands a premium. Half-day sessions typically run $75 to $200 per person depending on your location and market. Keep groups small (four to six people) so everyone gets attention and the birds aren't overwhelmed.
Events and workshops
Local camera clubs, nature centers, and birding societies regularly bring in photographers to run workshops. An introductory bird photography workshop covering field technique, camera settings, and location scouting can be offered as a one-day paid event. This is a great bridge between selling images passively and building a personal brand. If you're interested in expanding further, there's natural crossover here with how to start a bird sanctuary or how to start a bird business if those are directions you're considering down the road. If you want a purpose-driven next step beyond client shoots, this guide on how to become a bird sanctuary is a related option to consider.
Pricing, workflow, and income tracking
How to price your work
Pricing bird photography comes down to usage, exclusivity, and your market. For stock, the platforms set pricing, so your job is volume and quality. For direct licensing to clients or media, use a usage-based model: editorial (non-commercial, low print run) is worth less than commercial use (ads, product packaging, broad campaigns). A simple editorial license for a regional magazine might be $50 to $150. A commercial license for a national brand campaign can run $500 to several thousand dollars depending on usage scope and exclusivity. When in doubt, look up what Getty Images charges for similar usage as a baseline.
Shooting-to-delivery workflow
- Shoot in RAW format for maximum editing flexibility.
- Back up immediately after each session: one copy on your computer, one on an external SSD.
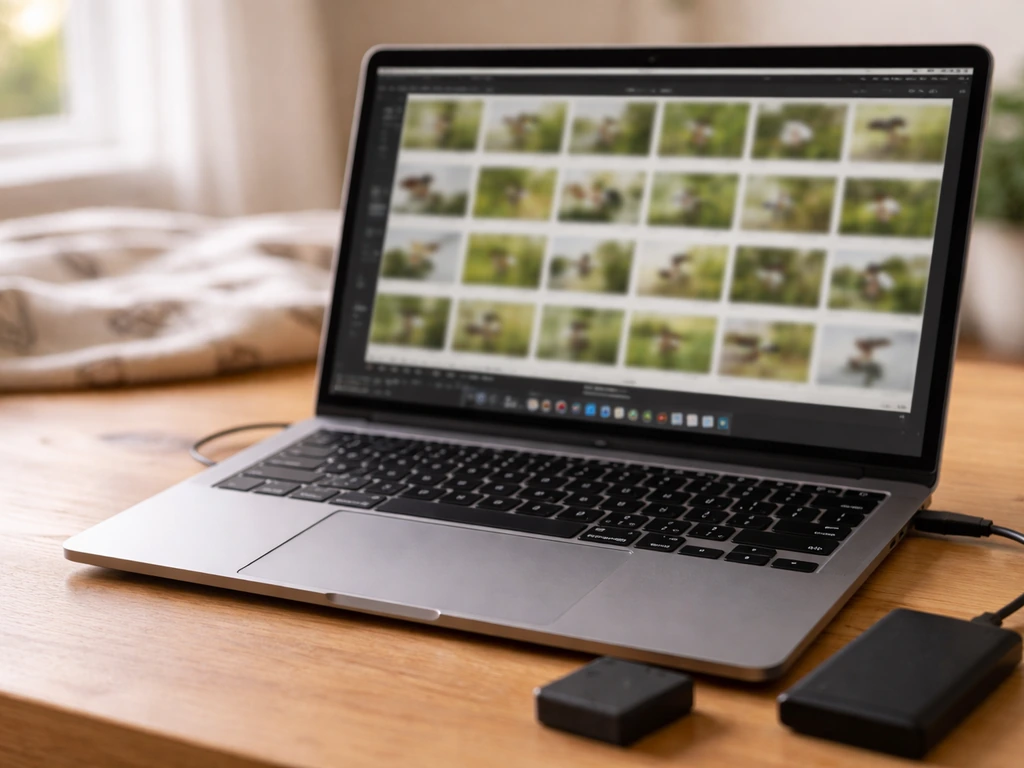
- Cull ruthlessly in Lightroom or your preferred software. Aim to keep only your sharpest, best-exposed 5–10% of frames.
- Edit for natural color, correct exposure, and clean noise. Avoid over-processing since stock platforms penalize heavy artificial look.
- Export for stock at full resolution, in JPEG, with sRGB color profile, at minimum file size requirements for each platform (usually at least 4MP, ideally 20MP+).
- Write accurate titles and keyword lists before uploading. Use a spreadsheet template so you can reuse keyword sets for similar species.
- Upload in batches and track submission status in a simple spreadsheet.
Tracking your income
Keep it simple at first. A Google Sheet with columns for platform, image title, date uploaded, and earnings per month is enough. Review it monthly to see which images sell and which don't. Over time you'll spot patterns: certain species, behaviors, or compositions consistently outperform. That feedback loop tells you exactly what to go shoot next. Set a monthly earnings goal even if it's small ($50 to start) so you're measuring progress, not just hoping.
Legal basics: copyright, releases, and privacy
This section is not meant to replace a lawyer, but there are a few basics every bird photographer selling images needs to understand to avoid costly mistakes.
You own the copyright by default
As the photographer, you own the copyright the moment you press the shutter. Nobody can use your images commercially without your permission (a license). When you upload to stock platforms, you are granting them a license to distribute your images on your behalf, not giving away ownership. Read the contributor agreement on each platform so you know whether it's an exclusive or non-exclusive license. Shutterstock and Adobe Stock are non-exclusive, meaning you can upload the same image to multiple platforms simultaneously.
Model and property releases
For pure bird photography with no people in the frame, you generally don't need a model release. But if you photograph clients during a guided shoot and want to use those images in your own marketing or submit them as stock, you need a signed model release from every person in the image. Shutterstock and Adobe Stock require model releases for any recognizable person in a photo submitted for commercial use, and missing releases are a documented reason for rejection. Property releases may also be needed if you photograph on private land and want to sell those images commercially.
Ethical captioning and honest representation
The North American Nature Photography Association (NANPA) has clear guidelines around accurate captioning of wildlife imagery. If a bird was photographed in captivity, at a wildlife center, or was baited, that context needs to be disclosed. Misrepresenting a captive bird as wild in stock metadata is both an ethical violation and a potential platform policy issue. Alamy and editorial clients in particular care about this. Be honest in your captions and keywords.
Field ethics and legal protections
In the US, many bird species are protected under the Migratory Bird Treaty Act, which means harassing, harming, or disturbing nesting birds is illegal regardless of whether you're doing it for photography. Bird peppers are grown for their heat and flavor, so use warm soil, bright light, and consistent watering to get them off to a strong start. Audubon recommends maintaining at least 25 yards from beach-nesting birds, especially solitary chicks or adults that are brooding.
Avoid flushing birds repeatedly to get flight shots, and never set up so close to a nest that parents stop returning to feed. Audubon also advises against using drones for bird photography near nests due to the disturbance factor. Beyond the ethics, images that visibly show signs of stress behavior in birds can be flagged or criticized publicly in the birding community, which is bad for your brand.
Next steps: a 30-day action plan
Here's a realistic, week-by-week plan you can start today. If you're aiming to turn bird photography into a real business, this guide on how to start a bird business can help you map out your first steps. It's built for someone who already owns a camera and can get outside but hasn't yet sold a single image. If you want to build a safe home for birds and learn how to start a bird sanctuary, focus on local rules, suitable habitat, and responsible daily care. If you want to move beyond photography into breeding, you can also look into how to become a registered bird breeder, including the permits, facilities, and rules you will need to follow.
Week 1: Set up your foundation
- Review your existing photos and identify any birds you already have that are sharp, well-lit, and cleanly composed. Even 10 good images is a start.
- Create contributor accounts on Alamy and Adobe Stock (both are free to join).
- Read the metadata and keywording guidelines for each platform. Set up a basic keyword template spreadsheet.
- Research your three nearest birding hotspots and schedule two shooting sessions in the next two weeks.
Week 2: Shoot and build
- Complete two field sessions focused on quality over quantity. Aim for 3–5 genuinely excellent images per session.
- Edit and cull your shots the same day while your memory of the light and conditions is fresh.
- Set up a free portfolio page (SmugMug free trial or a simple Squarespace page) with your best 15–20 images.
- Create or claim your Instagram account and post your first three bird photos with accurate species IDs.
Week 3: Upload and list
- Submit your first batch of 10 images to Alamy and Adobe Stock with fully completed metadata.
- Set up a free Fine Art America account and list your five best images as prints.
- Join two or three local birding groups on Facebook and share one portfolio image per group with context.
- Research one local camera club or nature center that runs workshops and send them a short intro email.
Week 4: Review, refine, and plan ahead
- Check your stock submissions for any rejections and review the stated rejection reasons. Fix and resubmit.
- Add 10 more images to your stock portfolio from your week 2 shoot or a new session.
- Set a monthly income target for month 2 (even $25–$50 is a real milestone that tells you something is working).
- Decide which one additional income stream you'll focus on in month 2: a second stock platform, an Etsy digital shop, or a guided shoot offering.
The biggest mistake I see beginners make is waiting until everything is 'ready' before uploading anything. Stock income is cumulative. Every image you upload today is a potential sale six months from now. Start imperfect, track results, and improve as you go. That's how a part-time hobby becomes a side income, and eventually, for some people, something much bigger.
FAQ
Can I make money with bird photography even if I do not have a social media audience?
Yes, you can earn without a large following, but you still need a consistent output plan. Stock and print revenue depends on cumulative uploads and repeat buyers, so set a realistic cadence (for example, 10 to 20 strong images per month) and only upload frames that meet your platform’s technical and keyword rules.
What technical standard should my photos meet before I try selling them?
Focus on “license-ready” quality, not perfect gear. In practice, your keeper rate goes up when you nail exposure consistency and sharp eye/feather detail, so prioritize good light, stable focusing, and burst timing before spending more on lenses.
How should I structure my portfolio so clients and stock buyers actually find what they need?
Avoid posting a portfolio with random species. Buyers usually look for specific subjects that match their project, so build small, themed collections (for example, “herons fishing,” “raptors in flight,” or “shorebirds feeding”) and keep similar backgrounds and compositions within each set.
Do stock buyers require dramatic bird behavior, or are ordinary moments sellable too?
For stock, you typically want sharp, usable backgrounds and believable behavior, but you do not need a “wildlife magazine” look. Instead, target commercial versatility: clean backgrounds, neutral colors where possible, and recognizable species with clear identification cues.
Why do my bird photos keep getting rejected even when the images look sharp?
On most platforms, rejection is often caused by mismatched or incomplete metadata, not the image itself. Before uploading a batch, sanity check that your title and keywords describe the bird, action, and setting accurately, and remove any tags you cannot justify from the frame.
Can I upload the same bird photos to multiple stock platforms at the same time?
You can, but with a big caveat. If you submit the same images to multiple non-exclusive stock sites, you generally can, but if an image is marked exclusive anywhere (or you sign an exclusivity agreement), that image cannot be used elsewhere. Keep a simple tracker column for exclusivity status per image.
Is it better to specialize in one bird species or upload a wide variety of birds?
Yes, but expect lower variety in earnings unless you also cover different scenarios. For example, “great blue heron fishing” is strong, but add related behavior angles (in flight, standing, taking off) so you catch more buyer intents while staying within the same species niche.
What should I include when contacting nonprofits, brands, or nature centers for custom bird imagery?
Email outreach works best when you give a clear deliverable. Offer a small “custom set” description like number of final images, typical turnaround time, and usage types (web, brochures, editorial), and include 5 to 10 relevant examples rather than your entire portfolio.
How do I price direct licensing without underselling myself?
Start with licensing clarity, not vague quotes. Build a pricing sheet that separates editorial versus commercial, and specify exclusivity (none, limited, or exclusive) in plain language, then set a baseline by referencing what you see from comparable major agencies.
How can I tell whether a buyer needs an editorial or commercial license?
If you are not sure which license a buyer needs, ask one question first: where will the image be used (website only, ads, packaging, broadcast), and is it tied to a product campaign? That usage determines editorial versus commercial value more than your personal preference.
What is the most effective way to improve my results quickly if my camera and lens are already “good enough”?
Gear choices are helpful, but your fastest improvement usually comes from your field workflow. Track your best shooting conditions (time of day, weather, location type) and then repeat them, because bird availability and lighting change your hit rate more than incremental camera upgrades.
When do bird photographers need model releases, and when can they skip them?
Model releases come into play mainly when identifiable people are in the frame and you want commercial use. If your images are strictly birds without humans, you generally avoid releases, but guided shoots and workshops often introduce people, so keep a release process ready if you plan to reuse those images.
What should I do if I photograph birds in a center or at a controlled location and want to sell the images?
Be careful with captive, rehabilitation, or baiting context. If the image was taken in captivity, at a wildlife center, or involved baiting, you should disclose that clearly in captioning and keywords, because buyers and reviewers may reject images that imply the scene was wild.
What are practical rules to follow so my bird photography does not harm nesting birds?
You should avoid nest disturbance by aiming for distance and patience, and by using non-invasive setups. If you see repeated stress behaviors (frequent flushing, parents abandoning, or frantic movement), stop shooting and give the birds time to recover, because the public response and platform scrutiny can follow.
How do I know which birds or shooting styles to focus on for better income?
Track your results per upload batch. A simple monthly review helps, but the real decision aid is identifying which species and behaviors consistently produce sales, then doubling down on those exact scenarios rather than uploading random new subjects.
What is a realistic first-week plan for someone who has never sold a bird photo before?
Do not wait for “perfect consistency.” Start small and use a minimum viable pipeline, for example: upload your best 5 to 10 images after each session, review performance monthly, and reinvest only after you see repeatable sales patterns.
Next Article
How to Become a Registered Bird Breeder: Step by Step
Step-by-step path to becoming a registered or certified bird breeder: permits, facility setup, biosecurity, and ongoing