Here is what a new bird owner needs to do: set up a safe space before the bird arrives, choose the right species and cage, nail down a feeding routine, build daily habits, watch for health issues early, and start learning your bird's sounds and body language. That's the whole roadmap. Everything below breaks it down into concrete, doable steps so you can get started today without second-guessing yourself.
New Bird Owner Tips: A Beginner Checklist and Care Plan

Marcus Hendricks
15 Apr 2026
Setting up a safe home before the bird arrives

This is the step most first-timers skip, and it's the one that causes the most heartbreak. Birds are incredibly sensitive to airborne toxins, and your home probably has more hazards than you realize right now. Walk through every room where the bird will spend time and think about what gets heated, sprayed, or burned.
The biggest danger is nonstick cookware. When Teflon and other PTFE-coated surfaces overheat, they release gases that can kill a bird in minutes. This is not an exaggeration. The University of Illinois veterinary medicine program specifically flags nonstick surfaces as one of the most serious hazards for pet birds, and the risk applies to pots, pans, drip trays, and some toaster ovens. If you want to keep your bird safe, either switch to stainless steel or cast iron cookware or make sure the bird's space is far from the kitchen with strong ventilation.
Aerosol products are the next big one. Air fresheners, spray disinfectants, bug sprays, and scented candles all release chemicals that can cause breathing difficulty in birds. If your bird is ever exposed and starts showing any respiratory symptoms, give fresh air immediately and get to a vet right away. The rule is simple: if you wouldn't spray it directly at your own face, don't use it near the bird.
Windows and mirrors are also a real hazard. Birds don't see glass as a barrier, so an uncovered window across the room looks like open sky. Cover or decorate lower windows with decals before you bring the bird home. While you're at it, make a habit of checking for open toilets, hot stoves, ceiling fans, and other pets in the space.
Here's a quick pre-arrival safety checklist to work through:
- Remove or relocate nonstick cookware and appliances with PTFE coatings
- Switch to unscented, non-aerosol cleaning products for the bird's area
- Put away scented candles and plug-in air fresheners
- Add window decals or coverings to prevent collision injuries
- Secure or remove toxic houseplants (lilies, philodendron, and avocado are common offenders)
- Identify where the cage will live: away from the kitchen, drafts, and direct air vents
- Make sure the room gets some indirect natural light or plan for a full-spectrum lamp
On that last point: birds need exposure to UVA and UVB light for vitamin D synthesis and bone health. Direct sunlight through a window works if the bird can also move into shade. If natural light is limited, a full-spectrum bulb designed for birds is worth the investment early on.
Choosing the right species, cage, and starter supplies
Picking the wrong species for your lifestyle is one of the most common beginner mistakes. A macaw or large cockatoo can live 50 to 80 years, need hours of daily interaction, and scream loudly enough to upset neighbors. If you're a first-time owner, start smaller and calmer. Budgies (budgerigars), cockatiels, lovebirds, and parrotlets are all genuinely rewarding beginners' birds: social, manageable in size, and more forgiving of the learning curve you're going to have.
Once you have a species in mind, cage size and bar spacing become the critical specs. The Merck Veterinary Manual lists 20 x 20 x 30 inches as the minimum cage size for budgies, cockatiels, lovebirds, and parrotlets, with a maximum bar spacing of 0.5 inches. Wider bar spacing is a serious risk because small birds can get their heads stuck. Always go larger than the minimum if you can afford the space, and always double-check bar spacing before you buy.
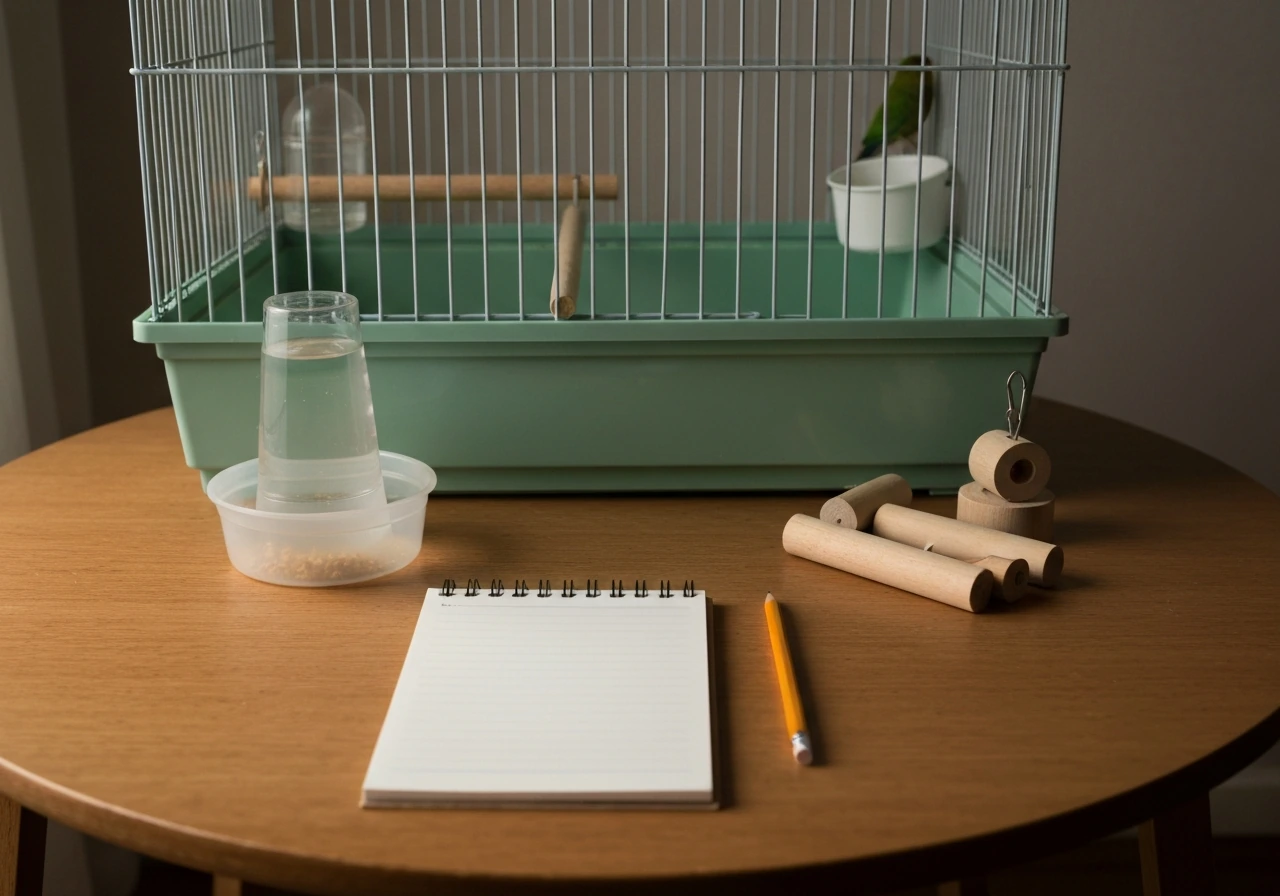
Here's what to have ready before day one:
- Appropriately sized cage with correct bar spacing for your species
- At least two food dishes and one water dish (stainless steel or ceramic, not plastic)
- Perches in two or three different diameters and textures (natural wood is ideal)
- A few beginner-safe toys: foraging toys, rope toys, or simple puzzle feeders
- Bird-safe cage liner (plain paper is the easiest to change and monitor)
- A small travel carrier for vet trips
- A full-spectrum light or placement near a safe window
Avoid mirrors in the cage for now. They can cause confusion, territorial behavior, and bonding issues, especially in single-bird setups. You can always add one later once you understand your bird's personality.
Feeding basics: diet, water, treats, and schedules

Seeds-only diets are one of the biggest nutrition mistakes in pet bird care. Seeds are high in fat and low in the vitamins and minerals birds need long-term. The goal is to make nutritionally complete pellets the base of your bird's diet, with fresh vegetables, some fruit, and occasional seeds as supplemental foods.
If your bird is coming from a seed-heavy diet, don't switch cold turkey. Lafeber recommends a gradual transition: start at 75% the old food mixed with 25% new pellets or nutri-berries, and shift the ratio slowly over several weeks. Monitor weight and appetite carefully during this time. A bird that stops eating is a bird that needs a vet.
Fresh vegetables should be offered daily alongside the pellet base. For cockatiels and similarly sized birds, fruits and vegetables combined should make up no more than 20 to 25% of the daily diet. Think leafy greens like kale, spinach, or romaine, along with shredded carrot, bell pepper, and broccoli. Offer a small amount each morning, remove what's uneaten after a few hours, and don't stress if it takes weeks before your bird shows interest. Keep offering consistently.
Fresh water should be available at all times and changed at least once daily, more often in warm weather. Water bowls can get contaminated quickly with droppings and food debris, so rinse and refill every morning as a non-negotiable habit.
A simple daily feeding schedule to follow:
- Morning: Remove overnight food, refresh water, offer fresh vegetables and a measured serving of pellets
- Midday (if home): Optional small treat or foraging activity
- Evening: Remove fresh food, check and refill water if needed, offer any remaining pellet portion
- Weekly: Reassess how much is being eaten and adjust portion sizes accordingly
Treats are fine in moderation. Small pieces of fruit, a millet spray for budgies, or a seed treat work well as rewards during bonding and training. Just keep treats to a small percentage of the overall diet and don't use high-fat seeds as everyday staples.
Daily care routine: cleaning, enrichment, handling, and bonding
Consistency is the secret to a healthy, happy bird. Birds thrive on routine because predictability reduces stress. If you do the same things at roughly the same times each day, your bird will settle in much faster and feel much safer.
Cleaning: what to do and how often
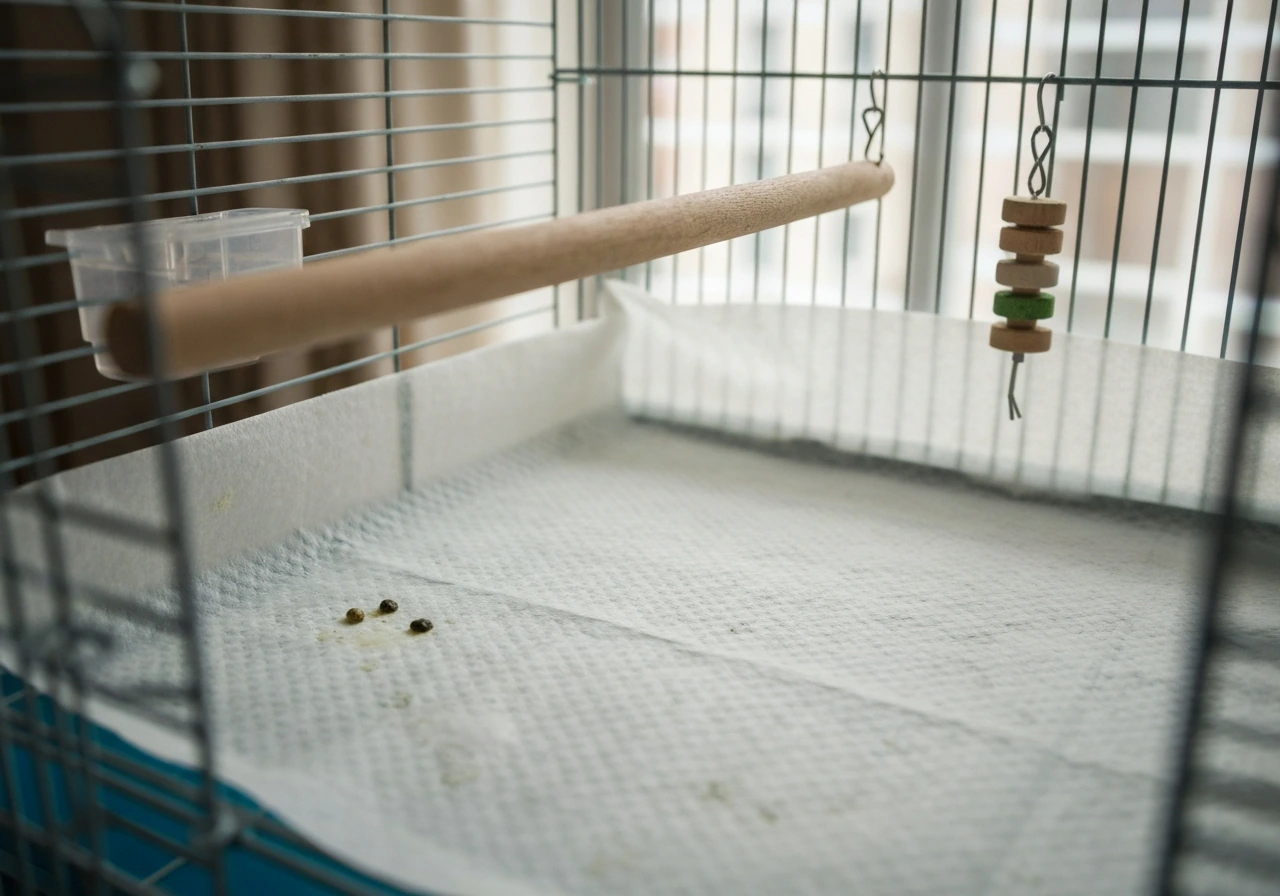
Daily cage maintenance takes about 10 minutes once you're in the habit. Change the cage liner every day so you can monitor droppings, which are one of your earliest health indicators. Wipe food dish rims and disinfect water dishes daily. Do a deeper clean of perches, toys, and cage bars weekly using bird-safe, non-aerosol cleaner. Avoid anything with strong fumes and always let the cage dry fully before putting the bird back.
Enrichment: keeping your bird mentally active
Bored birds develop problems: feather plucking, excessive screaming, and aggression. Rotate toys every week or two so things feel new. Foraging toys that hide food inside are especially effective because they mimic how birds search for food in the wild. You don't need expensive toys; a crumpled piece of paper, a cardboard tube, or a strip of palm leaf can keep a bird busy for an hour. Start simple and watch what your bird actually engages with.
Handling and bonding: building trust the right way
Don't rush handling. Let your bird settle into the new home for at least two to three days before you start reaching in. Start by just talking calmly near the cage so the bird gets used to your voice and presence. Offer treats through the bars, then from your open hand near the door. Eventually, offer your finger as a perch inside the cage before asking the bird to step up outside it. Forced handling early on will set back your trust-building by weeks.
Aim for at least 30 to 60 minutes of supervised out-of-cage time daily for social species like budgies and cockatiels. This is not optional for their wellbeing. Make the room bird-safe before every session: close windows, turn off ceiling fans, and know where the bird is at all times.
Health watch: common problems, signs of illness, and when to call a vet
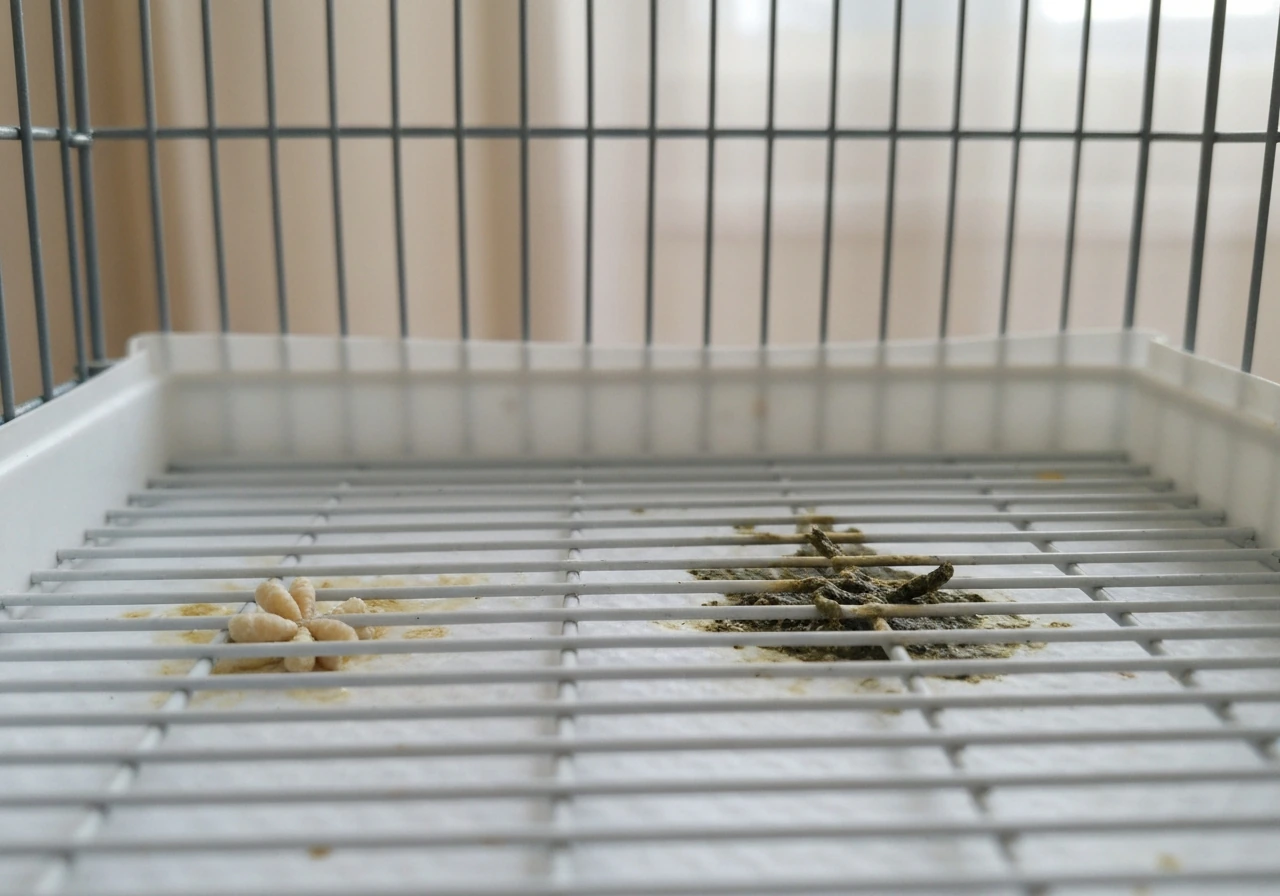
Birds are prey animals, which means they instinctively hide signs of illness until they can't anymore. By the time a bird looks obviously sick, it's often quite unwell. This is why you need to know the subtle early signs and take them seriously.
Watch the droppings every day when you change the liner. Normal droppings have three parts: solid dark green or brown feces, white urates, and a small amount of clear urine. If the feces look loose, watery, or change color significantly, or if the urine portion dramatically increases, that's a flag. Changes in appetite, reduced activity, fluffed feathers, sitting on the cage floor, and any abnormal breathing pattern are all reasons to call an avian vet promptly.
Call a vet immediately, not tomorrow, if you see any of these:
- Open-mouth breathing or tail bobbing with each breath
- Complete loss of appetite for more than 24 hours
- Sitting on the cage floor and unable to perch
- Discharge from the eyes or nostrils
- Significant changes in droppings that persist more than a day
- Any suspected fume or aerosol exposure with respiratory symptoms
- Injury from a collision, fall, or other accident
Finding a good avian vet before you need one is genuinely important. Not all vets who see dogs and cats have training with birds, and a general practice vet may not catch species-specific issues. The Association of Avian Veterinarians offers a find-a-vet directory you can use to locate an experienced avian practitioner in your area. Look one up this week, before anything goes wrong, and schedule a new-patient wellness check within the first month of bringing your bird home.
Common beginner-period health issues include stress-related behavior from the move, minor feather condition changes as the bird adjusts, and respiratory issues from exposure to household fumes. Most are avoidable with the safety setup described above. But if something feels off, trust your instincts and make the call.
Learning birdsong and behavior: simple identification and enrichment activities
One of the most rewarding parts of bird ownership that beginners overlook is learning to actually understand what your bird is communicating. Birds are not quiet creatures, and every chirp, whistle, chatter, and scream means something. The sooner you start paying attention, the faster you'll decode your individual bird's personality and build a genuinely connected relationship.
Start with the basics of body language. A bird with relaxed, slightly fluffed feathers that is grinding its beak gently is content and often ready for sleep. Pinned eyes (pupils rapidly dilating and contracting) combined with raised feathers on the head can mean excitement or agitation, depending on context. A bird standing tall with flattened feathers is on alert. Learn these first, and you'll stop misreading neutral behavior as aggression.
For learning actual vocalizations, the approach that works best is also the simplest: listen actively and keep a small log. Many trainers suggest an approach similar to what's used in nature listening exercises, like the kind outlined by the Bureau of Land Management's Tuning into Birds activity, which teaches you to sit quietly, focus on a single sound, and describe it in your own words before matching it to a known call. Apply this to your bird: pick one vocalization your bird makes regularly and track when it happens. Over a week, you'll start to see patterns, like the morning contact call, the alert chirp when something outside catches their eye, or the chattering that means they want attention.
Tracy Aviary's bird song learning resources also suggest using mnemonics, attaching a memorable phrase or description to a sound so it sticks in memory. You can do the same with your pet's sounds. Nicknamed my cockatiel's attention whistle 'the microwave beep' because it had that same urgent, repetitive energy, and from then on I never confused it with his happy singing again.
If you want to take your listening skills beyond the living room, getting started with bird watching is a natural next step. The same attention you're building by reading your pet's sounds translates directly to recognizing wild birds by ear, and it deepens your appreciation for what your bird is actually expressing at home.
Enrichment through sound works both ways too. Many birds enjoy listening to recordings of their own species, gentle music, or even nature soundscapes. Play a variety and watch your bird's reaction: increased vocalization and head bobbing usually signal engagement. Just keep volume moderate and give your bird a way to move away from the sound source if they want quiet.
Where to go from here
You now have a solid plan. The most important things to do in the next 24 hours are: bird-proof the room, confirm your cage and supplies are ready, and identify an avian vet in your area. This week, set up the cage, establish your feeding schedule, and start the quiet observation phase that builds trust with your new bird. From there, it becomes a daily practice of paying attention, staying consistent, and learning your specific bird's quirks.
Once you're in a good rhythm at home, a lot of new bird owners find they want to expand their connection with birds in general. If you have outdoor space, setting up your backyard for bird watching is a rewarding extension of the listening skills you're already building with your pet. And if you're mostly staying indoors, there are great ways to enjoy bird watching without leaving the house that pair perfectly with what you're already doing by the cage window. When you're ready to document what you're seeing, the beginner's guide to bird photography will help you capture it without specialized gear.
Bird ownership has a real learning curve, but it levels out faster than you expect. Give it a few weeks and you'll wonder how you ever missed all the things your bird has been telling you the whole time.
FAQ
Can I let my new bird near an open window for fresh air?
Yes, but only for short periods and with strict supervision. Put the bird on a stable, bird-safe stand near an open window with secure screens, avoid any drafts from fans or heaters, and never assume fresh air means safe air quality. If the bird shows coughing, open-mouth breathing, rapid tail flicking, or sudden silence, end the session and return it to its usual perch.
Should I start “training” my bird immediately when they arrive?
Do not. New arrivals are often stressed and can be overwhelmed by sudden handling, unfamiliar touch, or being forced to step up. If you want to play with toys or practice training, do it outside the cage only when the bird is calm, keep sessions brief (5 to 10 minutes), and use treats through the bars to build safety first.
What if I want to switch pellet brands or pellet types after my bird is home?
If you use a pellet base, you can still offer a little variety, but introduce changes slowly. When adding a new pellet brand or texture, mix the new pellet with the old one (for example, 75% old to 25% new, then increase gradually over a few weeks) and monitor stool consistency and appetite. Sudden diet changes can cause digestive upset that looks like illness.
Is it only mirrors inside the cage that can be a problem, or do mirrors in the room matter?
Covering mirrors outside the cage is usually enough, but the key is preventing visual access during stress periods. Since mirrors inside the cage can cause bonding and territorial issues, also avoid placing reflective surfaces at the bird’s eye level around feeding and rest times. If you notice prolonged calling, backing away, or aggressive posturing toward the reflection, remove the mirror immediately.
How should I teach step-up without rushing or confusing my bird?
Not right away. Wait until the bird has settled for at least a week or two, then use a consistent, low-pressure routine. First, let the bird choose interaction (approach the bars, take a treat, step onto your finger while you hold it steady). Start with one “cue” and repeat it exactly, never stacking multiple cues, because new birds often respond to tone and predictability rather than words.
What’s the safest way to clean daily and weekly without upsetting my bird?
Many birds do okay, but you should avoid anything that changes air chemistry or creates fumes. When cleaning, use a bird-safe, non-aerosol cleaner, rinse thoroughly, and ensure the cage is completely dry before reintroducing the bird. If you must clean near the cage, move the bird to another room, then ventilate, and keep aerosol sprays and scented products out entirely.
Can I use essential oil diffusers or air fresheners in the house?
If you must use one, keep it strictly bird-safe and unscented, and make sure it is not the kind that sprays mist into the air. Never use “freshening” products, scented oil diffusers, or plug-ins near the bird. If you do notice respiratory signs like wheezing or tail bobbing, stop the product immediately and consult an avian vet.
What supplies should I prioritize for the first month if I’m buying in bulk?
Stocking up early is good, but buy based on your specific bird size and behavior. For the first month, prioritize a few correct essentials (pellets, a shallow water bowl, safe-for-bird perches and toys, and cage liner) over a huge toy variety. Add new items one at a time so you can tell what calms the bird, and remove anything that becomes a injury risk (frayed ropes, unstable swings, loose small parts).
Are foraging toys safe for very new birds, and how do I introduce them?
Yes, but choose and introduce them carefully. Foraging toys are most effective if they are sized appropriately (no pinch points, no tiny swallowable pieces) and if the bird can access the food without excessive stress. Start with easy difficulty (one or two openings), then increase complexity slowly after the bird shows interest during their normal feeding times.
What should I do if my new bird won’t eat pellets?
Treats should never replace the pellet base. If your bird refuses pellets, avoid increasing seeds as a workaround, because that can prolong the refusal cycle. Instead, keep pellets available, offer fresh vegetables daily, use tiny treat amounts only to reinforce calm acceptance, and if the bird isn’t eating pellets reliably within a short window, contact an avian vet.
How important is lighting schedule and bedtime routine for new bird owners?
In general, keep it consistent. If you need to change lights or routines, do it gradually to prevent stress, and avoid sudden loud noise near bedtime. Also, make sure the cage is positioned so the bird can get daytime UVA and UVB exposure safely through your chosen light setup, while still having the option to rest in full shade.
Next Article
Backyard Bird Watching Tips: Set Up, Identify, Improve
Step-by-step backyard bird watching tips: set up feeders, water, shelter, learn ID with tools and sounds, avoid common m