- Want to see a wild bird today: Go outside, pick a green space or body of water, and follow the steps in this guide.
- Trying to identify a bird you already spotted: Jump to the identification section below and open Merlin or All About Birds right now.
- Lost a pet bird: Check out this guide on how to find a missing bird — it covers a completely different set of tactics.
- Looking for a field guide or book to buy: The article on how to find a bird book is exactly what you need.
- Trying to find a bird hidden in a game or puzzle: The guide on how to find the bird in Unwanted Experiment has you covered.
For everyone who wants to go outside and actually spot a wild bird, keep reading. This guide is built for exactly that.
Pick the right place and habitat
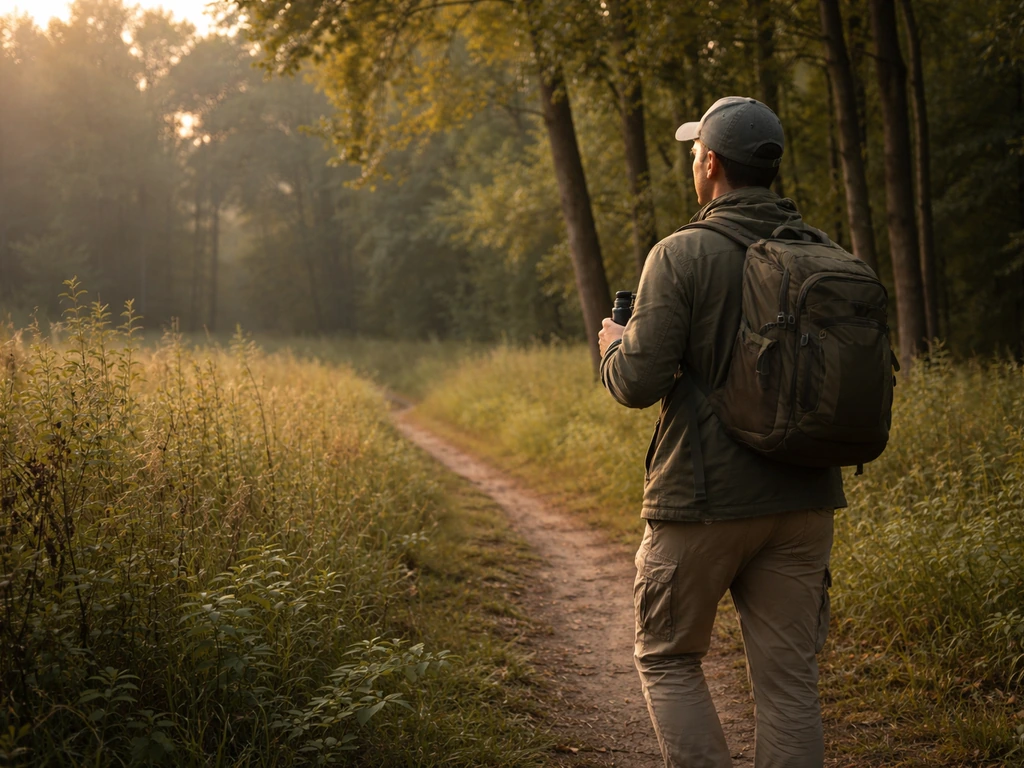
Location is everything. The single fastest way to improve your odds is to go somewhere birds actually want to be. Audubon's beginner guidance is clear on this: choose your location first, then worry about identification. A bird-rich spot will teach you more in 20 minutes than a bird-poor one will in two hours.
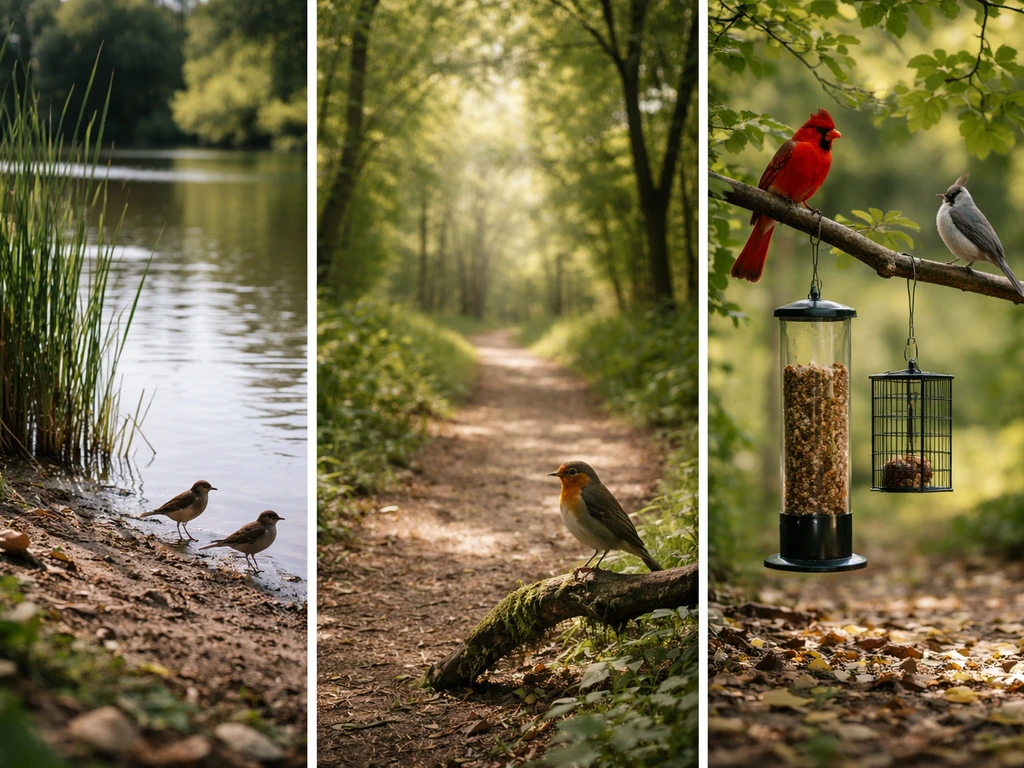
Here's a quick breakdown of habitat types and what you'll likely find there:
| Habitat | Common Birds | Best Access |
|---|
| Backyard with feeder/birdbath | Chickadees, sparrows, finches, woodpeckers | Immediate, no travel needed |
| City park with trees | Robins, pigeons, crows, warblers (in season) | Easy, usually within walking distance |
| Pond, lake, or river edge | Ducks, herons, Red-winged Blackbirds, kingfishers | Short drive or bike ride |
| Wooded trail or forest edge | Thrushes, warblers, nuthatches, owls | Local trail or nature preserve |
| Open fields or meadows | Meadowlarks, sparrows, raptors like kestrels | Rural roads, agricultural edges |
If you're a total beginner and don't want to travel anywhere, your backyard or nearest park is genuinely a great starting point. Cornell Lab's FeederWatch cameras show that feeders placed near woods or a pond edge attract both forest species like chickadees and woodpeckers and open-habitat birds like Red-winged Blackbirds. In other words, edge habitat, where two different environments meet, is almost always your best bet for variety.
One practical tool for finding bird-rich spots near you: download eBird (it's free) and use its "Explore" feature to find local hotspots. These are locations where birders regularly report sightings, which means they're reliably good. eBird even lets you see what species were reported there recently, so you know what to expect before you leave the house.
Choose the right time and conditions
Timing matters almost as much as location. The single best window for finding birds is early morning, from just after dawn to about 11 a.m. During that stretch, birds are actively feeding, singing, and moving around. After late morning, many species retreat to shaded spots near water to rest through the heat of the day, and they become much harder to spot. This is something I learned the hard way after showing up at a park at 1 p.m. on a summer day and wondering why everything was quiet.
Research from Cornell backs this up: early-morning singing is tied to territorial behavior, meaning birds are loudest and most active right after sunrise. That activity is your best radar for finding them. If mornings don't work for your schedule, the second-best window is the late afternoon, roughly two hours before sunset, when birds become active again before roosting.
Season also plays a big role. Spring (March through May) is peak activity: migrants are moving through, and resident birds are singing aggressively to establish territories. This is the easiest time of year to find and hear a wide variety of species. Summer is great for learning common local birds but quieter overall. Fall migration brings another wave of travelers. Winter is slower but feeders help enormously, and you'll often see species that don't breed in your area.
Weather matters too. Calm, clear mornings after a cold front in spring can trigger huge waves of migrating birds. Avoid heavy rain and strong wind if you can, as both suppress bird activity and make listening nearly impossible.
Smart tactics to bring birds in or reveal them
Once you're in the right place at the right time, how you move and behave makes a huge difference. Audubon's advice here is deceptively simple: walk slowly, scan constantly, and listen. That means a deliberate, unhurried pace where you stop regularly to look and tune in. Don't rush from one end of the trail to the other. The birds you want are often sitting quietly three feet off the path, and the only way you'll notice them is if you slow down enough to look.
- Move slowly and stop often. Take a few steps, pause, scan around you (sky, treetops, shrubs, ground), then move again.
- Be quiet. Talking, phone audio, and crunching gravel all push birds away. Even on a busy trail, moments of stillness attract birds back.
- Wear muted colors. You don't need camo, but avoid bright white or neon. Neutral tones help you blend in.
- Set up a feeder or birdbath at home. This is honestly the lowest-effort bird-finding strategy there is. Park yourself near a stocked feeder and let the birds come to you.
- Try "pishing." This is a soft, repetitive "pshhh" sound made with your lips. It mimics an alarm call and often draws curious birds closer to investigate. It works surprisingly well on small songbirds.
If you're setting up a feeder at home, keep it clean. Project FeederWatch recommends cleaning seed feeders every two weeks using a diluted bleach solution, and raking up the hulls and waste underneath. A dirty feeder doesn't just look bad, it spreads disease between birds. Birdbaths need even more frequent attention since standing water gets contaminated quickly. Change the water every two to three days and scrub the basin weekly. A clean setup is one birds will actually use consistently.
One more thing that helps: multiple feeders spaced apart. Crowding at a single feeding point stresses birds and increases disease risk. Spreading the food around reduces competition and gives you more birds to watch from different angles.
Listen and use bird sounds effectively
Here's something most beginners don't realize: you will hear more birds than you will ever see. Learning to use sound is probably the single biggest skill upgrade you can make as someone just starting out. Even if you can't identify calls yet, listening tells you where to look. A burst of chirping from a shrub tells you to stop and investigate. A drumming sound from above means a woodpecker is working nearby.
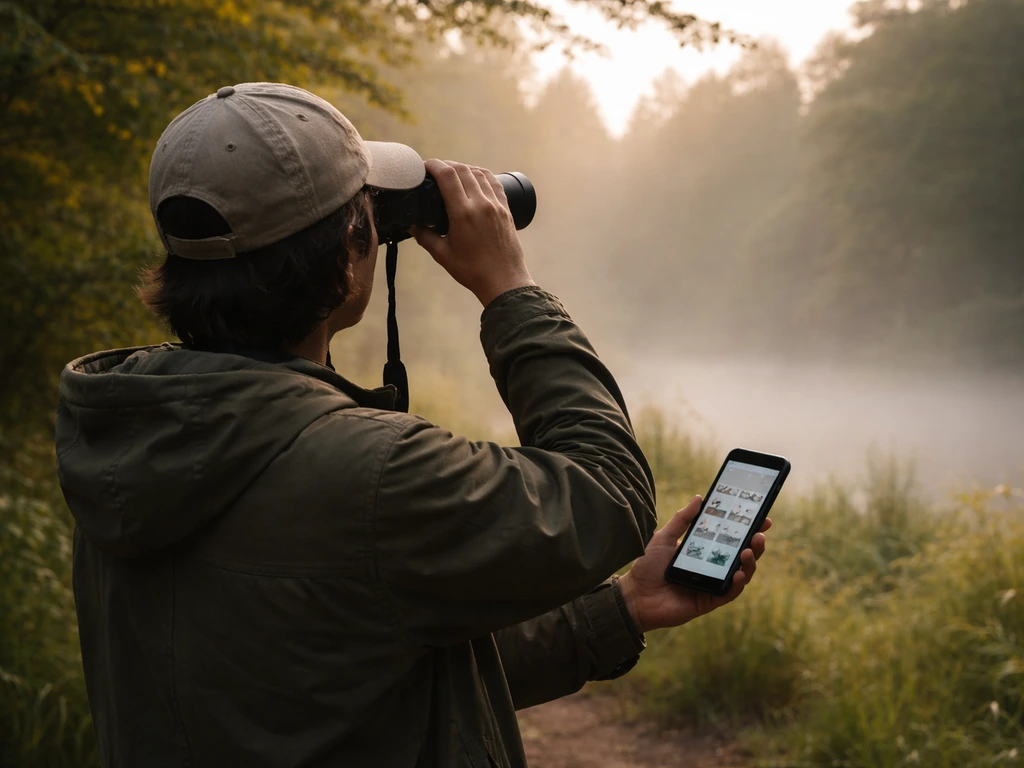
For beginners, the Merlin Bird ID app (free from Cornell Lab) has a feature called Sound ID that listens to the birds around you in real time and names the species it hears. It covers over 2,000 species and works even when multiple birds are vocalizing at once. You just open the app, tap Sound ID, and it starts identifying. It's genuinely remarkable how well it works. If you recorded a sound earlier and want to check it later, you can import an audio file directly into Merlin for analysis.
Understanding how a bird finds a worm is a great example of why sound and behavior are so connected: birds don't just rely on what they see. Listening and responding to environmental cues is central to how birds operate, and building that same listening habit yourself will pay off quickly in the field.
One important rule: don't use recordings to attract birds. Playing a bird call from your phone to lure a bird in is considered unethical and can stress or harm them, particularly during nesting season. Audubon Washington is explicit about this. Use sound as a tool for identification, not as bait.
Identify what you're seeing with quick field marks and sound clues
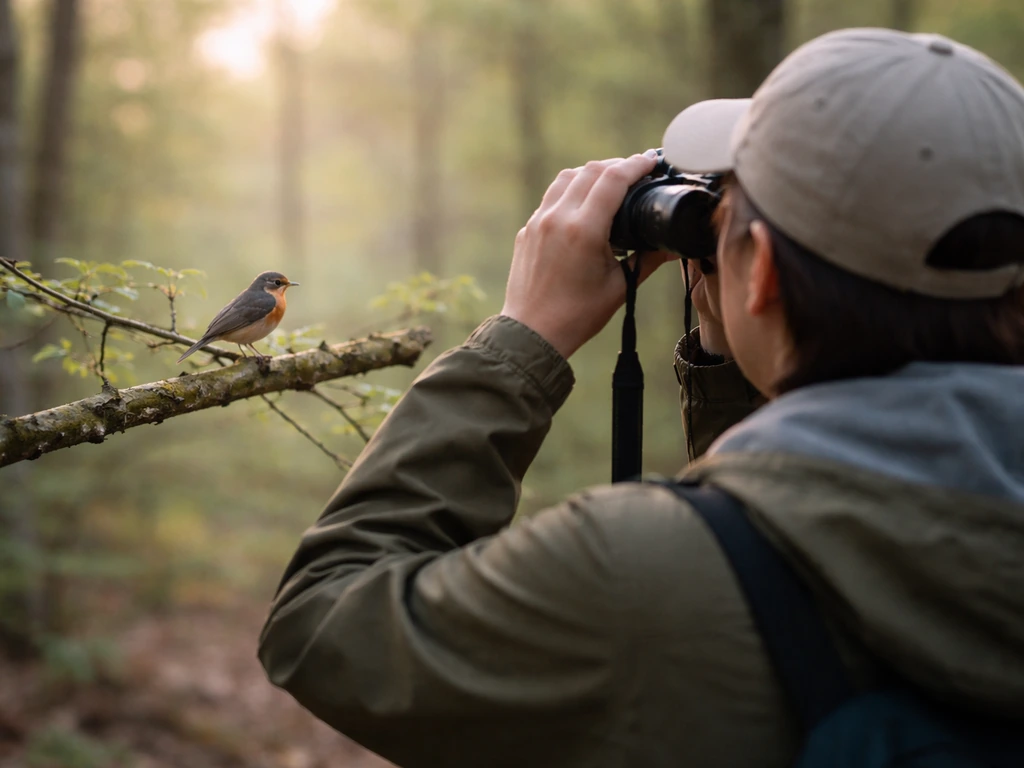
So you've spotted something. Now what? The temptation is to immediately grab your phone and start scrolling, but the most important thing you can do in that first moment is observe. Give yourself 30 to 60 seconds of focused looking before you reach for anything. Details fade fast once a bird flies off.
Cornell Lab's All About Birds site lays out a framework called the 4 Keys to Bird Identification: Size and Shape, Color Pattern, Behavior, and Habitat. Work through those four in order and you'll narrow things down remarkably fast. Audubon adds a few specific features to zero in on: overall body size (sparrow-sized? crow-sized?), bill shape (short and seed-cracking, long and probing, hooked like a raptor), tail length and shape, and any standout color patches.
- Size: Compare it to a bird you know. Robin-sized? Smaller than a sparrow? Bigger than a pigeon?
- Shape: What does the bill look like? Is the tail long or short, rounded or forked?
- Color: Any obvious patches or patterns? Streaky breast? White wing bars? Yellow throat?
- Behavior: Hopping on the ground, creeping down a tree trunk, hovering over water?
- Habitat: Is it in the reeds, on a fence post, high in the canopy, or walking along the shoreline?
Once you've made your observations, open Merlin or All About Birds to confirm. Merlin's ID wizard asks you a few quick questions (size, colors, location) and spits out a short list of likely candidates with photos and calls. You can also browse the species list for your region and use the sound examples to match what you heard. If you want to learn how to find out a bird's species in more depth, there's a full guide dedicated to that process.
Write it down, even just a quick note in your phone. Date, location, what you saw, what it was doing. This habit builds your own reference library faster than anything else, and it makes future identifications much easier.
Gear that actually helps
You don't need to spend a lot of money to find birds. A pair of binoculars and a phone with a free app will get you 90% of the way there. But here's what's actually worth having, and what's not.
Binoculars
A good pair of binoculars is the single most useful investment for bird watching. Look for 8x42 as your baseline: the 8x magnification is stable enough to hold steady without a tripod, and the 42mm objective lens gathers enough light to work well in shaded forests and at dawn or dusk. Brands like Nikon Prostaff, Vortex Diamondback, and Celestron Trailseeker all offer solid performance in the $100 to $200 range. Don't go below 7x or above 10x as a beginner; very high magnification makes it hard to locate and track moving birds.
Field guides and apps
The Merlin Bird ID app is free, excellent, and should be your first download. The Audubon Bird Guide app is another strong option that includes calls, songs, and location-based species lists. For physical field guides, Sibley's or Peterson's are the gold standard in North America. If you're trying to go deeper into building an identification library, the process of how to bird as a hobby is worth reading through, since it covers how to use these tools together systematically.
Camera basics
You don't need a camera to find birds, but having one helps with identification after the fact. If you have a smartphone, use it. Most modern phones can capture enough detail at close range to confirm an ID. If you want to photograph birds at a distance, you'll eventually want a DSLR or mirrorless camera with at least a 300mm lens, but that's a later investment. For now, photo documentation beats memory every time.
If you're not seeing birds: troubleshooting and ethics

If you've been out for 30 minutes and haven't seen or heard anything, don't panic. There are a few things to check and adjust before you give up.
- Change your strategy. If you've been walking, try standing still for 10 minutes. If you've been stationary, try a slow walk. eBird even recommends switching between stationary and traveling modes as a way to detect more species.
- Check the time. If it's after 11 a.m. and before 4 p.m., bird activity is naturally low. Either wait it out or come back earlier tomorrow.
- Move to the edge. Birds love habitat edges, where woodland meets open field, or where shrubs meet lawn. If you're deep in a forest or in the middle of an open field, try the boundary.
- Go lower or higher. Check the shrub layer, not just the treetops. Many common birds feed at ground level or in mid-height vegetation.
- Check the weather. Wind above 10 mph significantly suppresses bird activity and makes hearing nearly impossible. Rain is similar. Pick a calm morning.
- Use eBird hotspots. If your current location is genuinely bird-poor, use the eBird map to find a nearby hotspot with recent sightings.
On the ethics side, a few things are worth stating directly. Don't stress birds out trying to get a closer look. If a bird is giving alarm calls, fluffing up, or moving away repeatedly, you're too close. Back off. This is especially important during nesting season (spring through early summer). If you're photographing or filming, Audubon's guidance is to use a blind when possible and to keep your distance, noting that larger groups of people require even more space to avoid disturbing birds.
If you get into tracking and following specific birds over time, the guide on how to track a bird goes into more depth on doing that responsibly and effectively.
The goal is to enjoy birds without making their lives harder. Keep feeders clean, don't play recordings to lure them in, give nesting birds plenty of space, and leave habitats the way you found them. Do those things and you're already a more ethical birder than a lot of people who've been doing this for years.
Finding birds is genuinely one of those skills that compounds fast. Your first session you might spot three species. A month later, you'll be noticing birds everywhere you go, in parking lots, at traffic lights, on your morning commute, and wondering how you ever missed them before. That shift happens quickly once you know what you're looking and listening for.