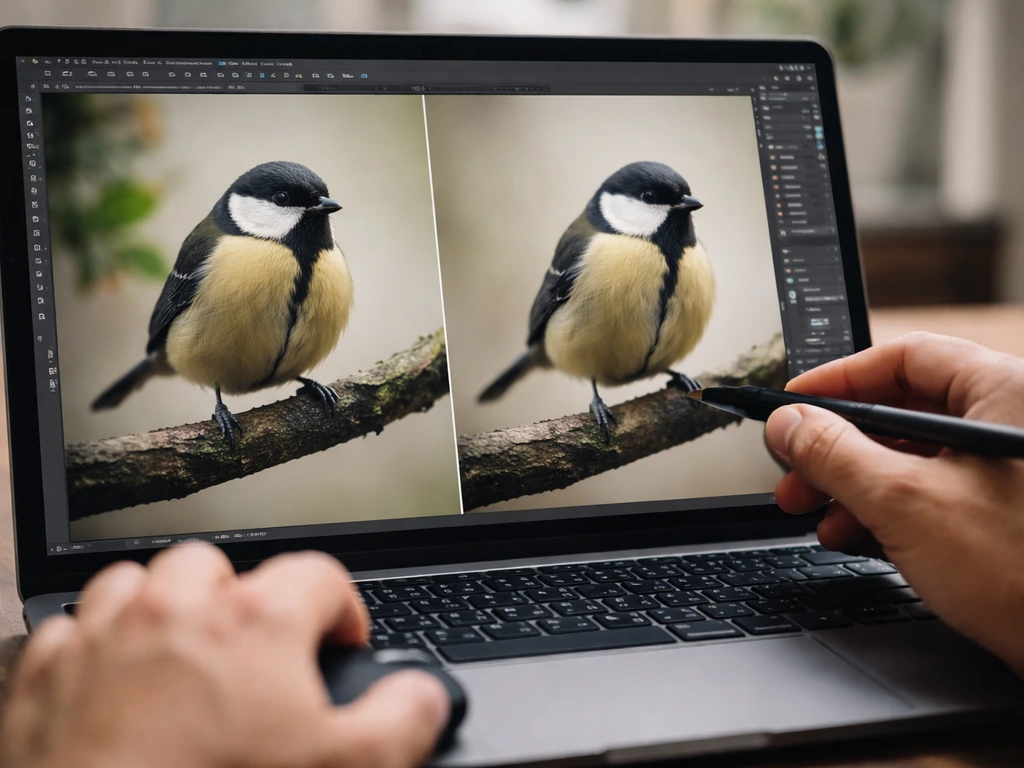
Start in Lightroom to handle exposure, color, and basic sharpening, then move to Photoshop for anything that needs precise, layer-based control. That two-step combo gives you a repeatable process you can run on every bird photo you shoot, whether you're cleaning up a muddy background on a warbler or pulling feather detail out of a dark eagle shot.
How to Edit Bird Photos in Lightroom and Photoshop

Marcus Hendricks
11 May 2026
Choosing and preparing bird photos for editing
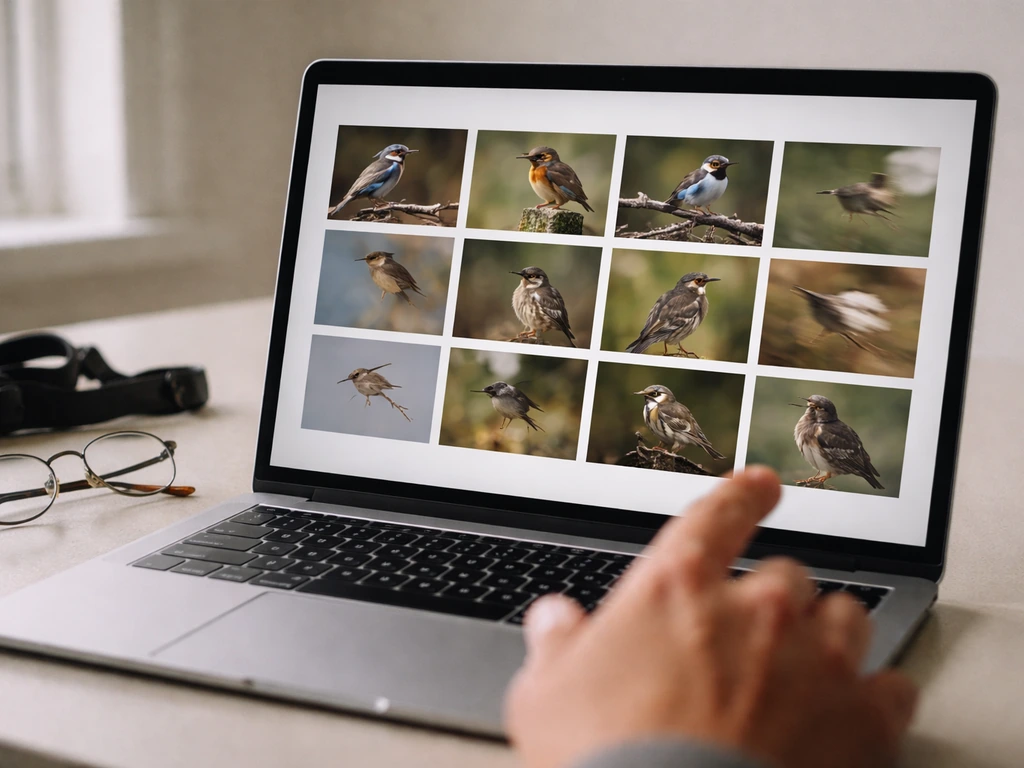
The biggest editing mistake beginners make is trying to save photos that were never worth saving. Before you touch a slider, cull your shots ruthlessly. You want to start with the best raw material, not wrestle with the worst files.
Here's what to look for when selecting which bird photos to edit:
- Sharp eye: if the bird's eye is blurry, the image usually can't be rescued no matter how good everything else looks. Eye sharpness is the single biggest make-or-break factor.
- Feather detail visible in the RAW file: zoom in to 100% before editing. If feathers are already mush in the RAW, sharpening won't fix that.
- Reasonable exposure: a slightly underexposed RAW file is recoverable. A blown-out white heron with clipped highlights often isn't. Check your histogram.
- Interesting behavior or composition: editing takes time, so save your best effort for photos with a story, a pose, or a moment worth sharing.
- No severe motion blur on the subject: a little camera shake can sometimes be reduced, but severe motion blur on the bird itself is usually a discard.
Once you've selected your keepers, organize them in Lightroom Classic before editing begins. Put them in a collection, flag them with a color label, or use the star rating system, whichever habit you'll actually stick with. Consistent organization saves you enormous time later when batch editing or trying to find that one great kingfisher shot from three months ago.
Always shoot RAW if your camera supports it. JPEG files throw away tonal information your camera captures, and you'll feel that loss the moment you try to recover shadow detail on a dark bird or pull back highlights on a white egret. RAW gives you a much bigger playground to work in.
Editing bird photos in Lightroom: quick workflow and key adjustments
Lightroom Classic's Develop module is where most of your bird photo editing should happen. It's non-destructive, which means you can always undo or tweak anything. Work through these adjustments in order and you'll have a clean, consistent result every time.
Step 1: Set white balance
Start with white balance before touching anything else. An incorrect white balance will skew every other color decision you make. For birds in natural light, the "As Shot" setting is a reasonable starting point, but don't be afraid to push the Temperature slider cooler for overcast days or warmer for golden-hour shots. Use the White Balance Selector eyedropper to click on a neutral gray or white area in the scene (a concrete rock, overcast sky, or pale bark) if you need a quick fix.
Step 2: Exposure and contrast
After white balance, set your overall exposure so the bird looks naturally lit, not artificially brightened. Then use Contrast sparingly. High contrast can crush the fine tonal gradations in feathers, especially on birds with subtle patterns like brown thrushes or sparrows. I usually keep my Contrast slider under +20 for birds and do the rest with the tone controls below it.
Step 3: Highlights, shadows, whites, and blacks
This is where RAW really pays off. Pull Highlights down to recover bright areas on light-colored birds like herons or snow geese. Push Shadows up to reveal detail in dark plumage on ravens or dark morph hawks. Set Whites and Blacks by holding Alt (PC) or Option (Mac) while dragging the slider until you see just a hint of clipping, then back off slightly. This technique gives you the fullest tonal range without blowing anything out.
Step 4: Clarity and Dehaze
Clarity adds midtone contrast and really helps birds pop against backgrounds. I typically add +10 to +25 Clarity on feathered subjects. Dehaze is powerful for cutting through atmospheric haze in landscape-style bird shots, but use it carefully because it also increases saturation and contrast aggressively. Start at +10 and decide if you need more.
Step 5: Sharpening and noise reduction in the Detail panel
Open the Detail panel and zoom your preview to 100% so you can actually see what you're doing. For sharpening, a good starting point for bird photos is Amount around 60 to 80, Radius at 0.8 to 1.2, and Detail between 25 and 50. Higher Detail values emphasize texture (great for feathers) but can amplify noise, which is exactly the balancing act Adobe's own sharpening documentation warns about. That's why you always apply noise reduction first, or at the same time.
For noise reduction, Luminance between 20 and 40 handles grain from high ISO shots without making the bird look like a painting. Color noise reduction can often stay at the default 25 unless you're seeing obvious color speckles. The key thing to know: sharpening and noise reduction fight each other, so you'll almost always need to nudge both in tandem to get a result that looks sharp and clean rather than sharp and gritty or smooth and soft.
Step 6: Masking around the bird

This is a game-changer for bird editing. Lightroom Classic's AI-powered Select Subject tool can often isolate your bird from the background in one click. If you're also using Skye Bird for your captures, make sure you follow the recommended setup and learn how to use Skye Bird so your images are ready for editing. Once you have that mask, you can apply a separate set of adjustments just to the bird (more sharpening, more clarity, better exposure) and a different set to the background (less sharpening, maybe a slight blur effect via Texture or Dehaze reduction). Use the Add and Subtract brush options in the Masks panel to refine the selection edge around wing tips or tail feathers. Adobe also shows how to refine selection edges using the Refine Edge Brush tool in Select and Mask. You can also stack sub-masks to restrict where adjustments land, which is really useful for avoiding halos on high-contrast edges.
Step 7: Color adjustments with HSL
The HSL (Hue, Saturation, Luminance) panel lets you target specific colors. If your bird has vivid blue plumage, you can boost or refine just the blue channel without affecting greens in the background. This is much more precise than the overall Vibrance or Saturation sliders, which affect everything. I often desaturate the green and yellow channels slightly to make backgrounds feel less distracting and help the bird stand out.
Step 8: Using presets and Reference View for consistency
Once you've dialed in a look you like on one photo, save it as a preset. Presets are saved develop settings you can apply in one click to new photos, and they're the fastest way to maintain a consistent style across a whole shoot. When you need to match the look of a specific photo exactly, use Lightroom Classic's Reference View in the Develop module. Right-click a well-edited photo in the filmstrip and choose "Set As Reference Photo," then compare your active edit side-by-side with it as a visual target.
Editing bird photos in Photoshop: advanced fixes and finishing
Not every fix belongs in Lightroom. When you need to remove a distracting branch behind a warbler's head, paint back feather detail with precision, or apply targeted dodge and burn, Photoshop gives you control that Lightroom simply can't match. Think of Photoshop as your finishing room, not your starting room.
Setting up your layer workflow
Always work non-destructively. When you open your Lightroom-processed file in Photoshop, immediately duplicate the background layer (Ctrl+J on PC, Cmd+J on Mac) and keep the original locked at the bottom. Do all your retouching and adjustments on copies or adjustment layers above it. This way you can always compare to your original or erase a mistake without starting over.
Cleaning up backgrounds
Distracting backgrounds are one of the most common bird photo problems. You can also use a mix of wider apertures, longer lenses, and careful editing to blur the background so your bird stays the focus blur background in bird photography. In Photoshop, the Content-Aware Fill tool works well for removing branches, litter, or other birds in the background. Select the area you want to remove with the Lasso tool, go to Edit > Content-Aware Fill, and let Photoshop sample surrounding pixels to fill the space. It's not always perfect on complex backgrounds, but it's fast and often good enough. For cleaner edges around the bird itself, use the Select and Mask workspace to refine your selection before making any background adjustments.
Advanced sharpening with Smart Sharpen and High Pass
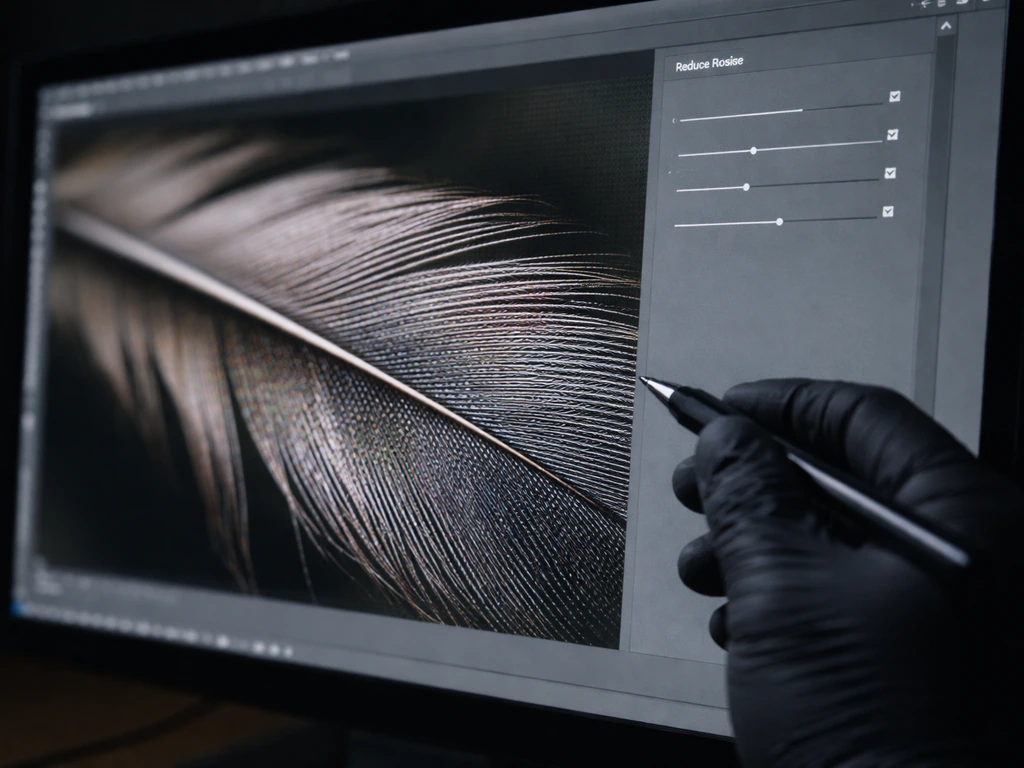
Photoshop's Smart Sharpen filter (Filter > Sharpen > Smart Sharpen) gives you more control than Lightroom's sharpening. Critically for bird photos, it has a "Reduce Noise" slider inside the filter dialog that minimizes grain and artifacts while you sharpen, and it includes a Motion Blur removal mode where you can set the angle of motion to match the direction of blur in your image. This is one of the few tools that can meaningfully help with mild motion blur on a bird in flight. Use the Amount between 100 and 200 percent, set Radius between 0.5 and 1.5, and increase Reduce Noise to keep artifacts under control.
For even more targeted sharpening, try the High Pass method. Duplicate your layer, go to Filter > Other > High Pass, and set the radius between 1.5 and 3 pixels. Change that layer's blend mode to Overlay or Soft Light. This technique targets sharpening to edges and outlines (exactly where feather detail lives) while leaving smooth areas like sky and water untouched. It's one of the cleanest sharpening approaches you'll find for wildlife photography.
Dodge and burn for feather texture
Dodge (lighten) and burn (darken) are digital painting techniques that let you sculpt light on a bird's plumage with a brush. Create a new layer filled with 50% gray, set its blend mode to Overlay, and paint with a soft white brush at low opacity (around 5 to 10 percent) over feather edges you want to highlight. Use a soft black brush for shadows you want to deepen. This sounds fiddly but once you try it on a hawk's wing or a peacock's train, you'll understand why wildlife photographers love it.
Color and tonal refinements
Use Curves adjustment layers for final tonal control. An S-shaped curve (lighten highlights slightly, deepen shadows slightly) adds punch without the blunt force of a Contrast slider. For color, a Hue/Saturation adjustment layer with a mask lets you target your adjustments to just the bird or just the background. If you need to neutralize an ugly greenish cast from foliage reflecting on a white bird, a slight reduction in green saturation on a masked layer does it cleanly.
Handling common bird-photo problems
Bird photography produces specific, recurring problems. Here's how to tackle the most common ones.
| Problem | Lightroom Fix | Photoshop Fix |
|---|---|---|
| Motion blur | Some improvement with Texture and Clarity, but limited | Smart Sharpen with Motion Blur removal mode; set blur angle to match movement direction |
| High ISO noise | Luminance noise reduction 20-40 in Detail panel; balance with sharpening Amount | Camera Raw filter (inside Photoshop) for a second pass; use masking to apply only to smooth areas |
| Low light / muddy shadows | Push Shadows up; lower Blacks to restore contrast; apply Exposure increase with masked adjustment to bird only | Curves layer with S-curve; dodge shadows on bird layer with low-opacity soft brush |
| Harsh or distracting background | Background mask via Select Subject; reduce Texture and Clarity on background sub-mask | Content-Aware Fill to remove specific objects; Gaussian Blur on background layer with masked blend |
| Lost feather detail | Clarity +15 to +25; Texture +20 to +30 on bird mask; sharpen with Detail slider raised in Detail panel | High Pass sharpening at Overlay blend mode; dodge light feather edges at 5-10% opacity |
| Blown highlights on white birds | Pull Highlights to -60 or lower; check Whites; use graduated or radial mask over bright areas | Luminosity mask targeting brightest tones; reduce exposure with a Curves layer masked to highlights only |
Motion blur deserves extra attention because it's the most frustrating problem in bird photography. If the blur is severe (a completely streaked wing, no feather definition at all), the honest truth is that no software can reconstruct detail that was never captured. Smart Sharpen's motion blur removal works best on mild blur where you can still see feather shapes but they look slightly soft or doubled. Set the angle by looking at the direction of the blur streak and matching it in the filter dialog.
For noise in low-light shots, the most common beginner mistake is pushing Luminance noise reduction so high that feathers look plasticky and fake. Pull back until the noise is tolerable rather than invisible, then let the sharpening restore perceived crispness. It's a balance, not a cure.
Exporting, sharing, and naming your edits for social and printing
You've done all the editing work, so don't ruin it with bad export settings. The right settings depend entirely on where the photo is going.
Web and social media exports
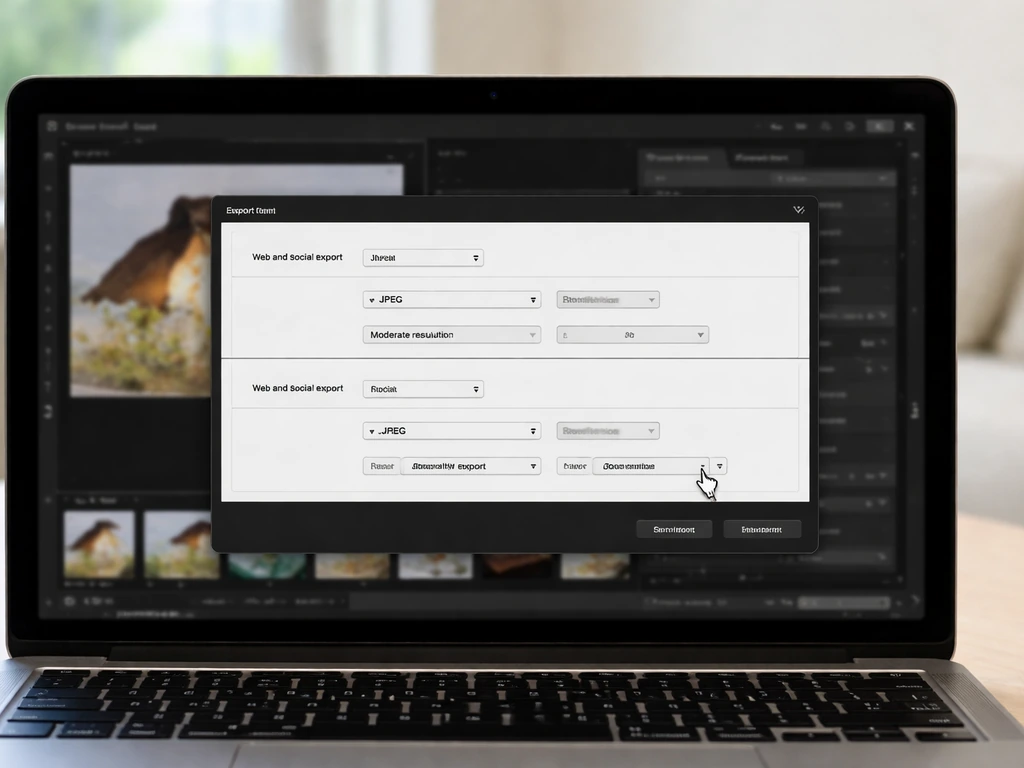
For web and social media, export from Lightroom as JPEG, sRGB color space, quality 80 to 90, and resize to the longest edge at 2048 pixels for most platforms (Instagram, Facebook, photography forums). Lightroom's Output Sharpening for Screen at Standard or High adds a gentle final pass of sharpening specifically calibrated for screen viewing. Always use sRGB for web exports because most screens and all social platforms expect it, and AdobeRGB files uploaded to social media often look desaturated and dull.
In Photoshop, use File > Export > Save for Web (Legacy) to preview your file size before saving and compare quality settings side by side. It's slower than Lightroom's one-click export, but it gives you precise control over compression and you can see exactly what you're going to get.
Print exports
For printing, resolution matters. Adobe's guidance places inkjet print quality between 180 and 480 ppi, with 300 ppi being the sweet spot for most photo lab orders. Export as TIFF for maximum quality, and if you're printing at home on an inkjet, use AdobeRGB color space, which covers a wider color gamut than sRGB and preserves more of the vivid plumage colors your camera captured. Lightroom's Output Sharpening for Matte Paper or Glossy Paper applies sharpening tuned to the specific surface type, so always select the right media type in the export dialog.
Naming your files
Get into a naming habit now before you have 10,000 bird photos and can't find anything. A simple convention like YYYYMMDDSpeciesNameVersion (for example, 20260511AmericanRobinEdit1.jpg) takes five seconds and saves you enormous frustration later. Lightroom Classic's Export dialog has a File Naming template editor that can automate this for you once you set it up.
Organizing your bird photo editing process
The real power in a good editing workflow isn't what you do to one photo. It's how fast and consistently you can process twenty photos from the same shoot.
Building and using presets
After you've edited a photo you love, save those develop settings as a preset in Lightroom. Go to the Presets panel on the left side of the Develop module, click the plus icon, and choose which settings to include. I keep separate presets for different lighting situations: bright midday, golden hour, overcast, and low light. That way I'm applying a sensible starting point rather than the same flat default every time. Presets aren't meant to be the finished edit, just a head start that gets you 70 to 80 percent of the way there in one click.
Batch editing with Sync
When you've shot thirty photos of the same bird species in the same light, you don't need to edit each one from scratch. Edit the best photo in the set, select all the others in the filmstrip while keeping your edited photo active (click it first, then Shift+click the rest), and click Sync in the toolbar. Choose which settings to copy across. Be selective: sync your exposure, white balance, and noise reduction settings but be careful with masking, since the AI subject mask needs to be regenerated for each frame individually.
Using Reference View for consistency
When editing a series of bird photos that will be displayed together (a blog post, a gallery print set, or a social media grid), consistency in tone and color matters as much as individual quality. Lightroom's Reference View lets you pin one edited photo as a visual reference while you work on others side by side. Right-click a finished photo in the filmstrip and choose "Set As Reference Photo," then compare every new edit to it visually. This is how you prevent your whole gallery from looking like it was shot by six different photographers.
A quick checklist for repeatable results
- Cull first: only edit photos with a sharp eye and recoverable exposure.
- Apply your starting preset before touching individual sliders.
- Work through adjustments in order: white balance, tone, clarity/texture, detail (sharpening plus noise reduction together), masking, color.
- Use Sync to spread your base settings across similar shots from the same session.
- Take a break before final review. Fresh eyes catch problems tired ones miss.
- Export with the correct color space and output sharpening for your destination (sRGB for web, AdobeRGB for inkjet print).
- Name files consistently using a date-species-version format.
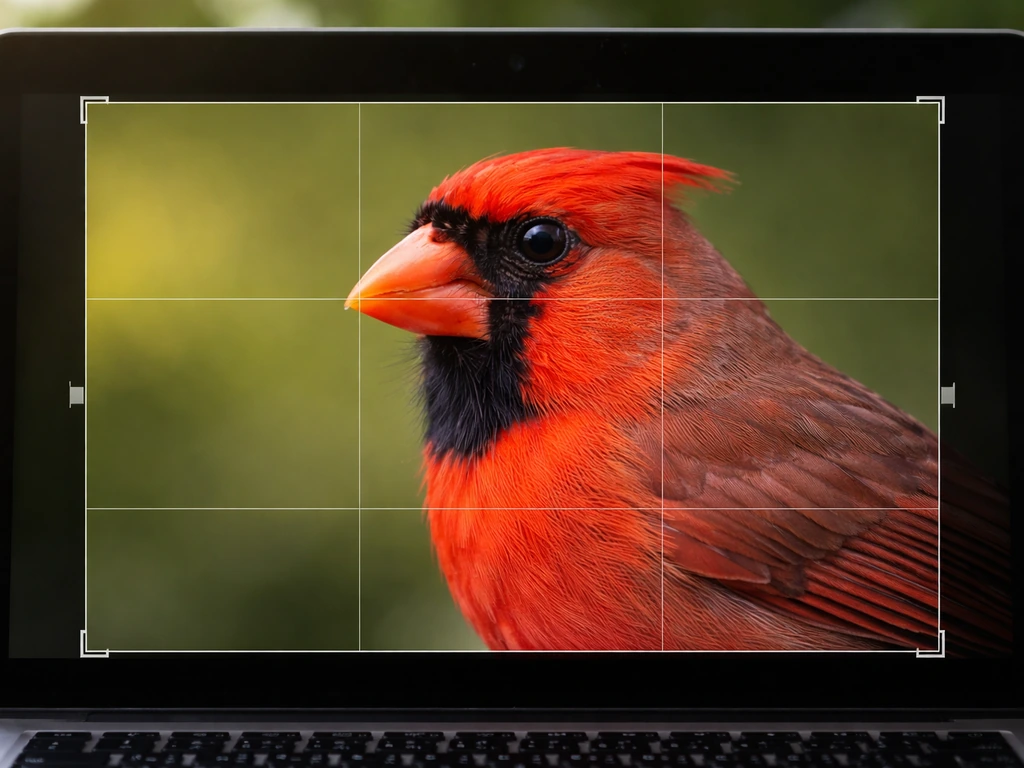
If you're just getting started with bird photography itself and want to understand how to get better shots before you edit them, brushing up on the fundamentals of bird photography will make every editing session faster and more rewarding. If you're also looking for skye how to control bird sessions, practice controlled routines first so your edits can start from sharper, more consistent moments. This bird photography how to guide will help you improve your shots in the field so your edits start from stronger capture. And if cropping for composition is something you're still figuring out, knowing how to crop bird photos well is often the single cheapest way to dramatically improve a shot before you touch a single slider.
FAQ
What’s the quickest way to edit bird photos without overprocessing them?
Start by culling, then use one repeatable stack: set white balance, set exposure, recover highlights and shadows, then do only one pass of Clarity plus gentle noise reduction before sharpening. If you are adding contrast or clarity again after sharpening, you are usually past the point where it still looks natural in feathers.
Should I edit in Lightroom only, or is Photoshop always necessary for bird photos?
Use Photoshop only when you need targeted pixel-level work: background branch removal, precise feather restoration, or custom dodge and burn. If your background is already clean enough and feather detail is just a matter of exposure and tone, Lightroom masks and local adjustments can be sufficient, and will be faster.
How do I prevent halos around wings or tail feathers after masking?
Refine your mask edges using the feathering or edge refinement controls, then zoom to 100% and check against high-contrast edges (like a dark bird against a bright sky). Also avoid applying strong sharpening or Dehaze on the background mask if it bleeds into the subject edge.
What should I do if the bird looks sharp but still doesn’t look “detailed”?
First check that your sharpening is not being used to compensate for exposure issues, raise shadows and lower noise reduction if feathers look waxy, then use local clarity (or texture) only on the bird. If you have heavy noise, reduce noise more before sharpening, because sharpening noise will make detail look rough instead of crisp.
How can I handle an underexposed bird where highlights on the beak or eyes are blown?
Recover in this order: lower Highlights, then re-check Whites. If the beak is clipping, your best results usually come from pulling Highlights down first and adjusting overall exposure cautiously, rather than increasing contrast, which can worsen clipped areas.
Why does the bird change color when I apply edits to a batch of photos?
Batch syncing will copy settings, but masks that isolate the bird should not be assumed identical. Regenerate or avoid syncing mask-dependent edits, and consider syncing only global steps like exposure, white balance, and noise reduction, then re-apply local adjustments frame by frame.
Is RAW always better than JPEG for bird editing, even if I’m not planning to push shadows heavily?
RAW still helps because it preserves recoverable tonal range, especially for bright whites against darker backgrounds (white egret, snow geese) and shadowed plumage. If you only need minor tweaks, JPEG can work, but as soon as you attempt highlight recovery or shadow detail, RAW gives noticeably cleaner results.
What export settings should I use for printing at home versus sending to a lab?
For most lab prints, export at the lab’s requested format and color space, and keep resolution appropriate for the print size. For home inkjet, use the media-matched export sharpening option and print in a color-managed workflow, since oversharpened files can look harsh on matte paper.
How do I choose between Lightroom and Photoshop sharpening methods?
Use Lightroom sharpening for consistent, global refinement across a series. Switch to Photoshop for edge-targeted approaches like High Pass or when you need to treat only part of the bird (like brighter outlines on wings) without sharpening the sky or water.
I get ugly color noise or speckles after editing birds, what’s the fix?
Reduce color noise before you sharpen, and avoid aggressive clarity if ISO noise is high. If speckles persist, back off luminance noise reduction slightly until feather texture returns, then redo sharpening last so it targets edges rather than noisy surfaces.
Can I remove objects like a branch without ruining feather detail?
Yes, but protect the subject edge first. Refine the subject selection in Select and Mask, then apply background removal or Content-Aware Fill only to the background selection, leaving the feather area untouched so sampling does not pull branch patterns into plumage.
What’s a safe first-pass preset approach when starting a new shooting session?
Create separate presets for broad lighting categories (overcast, golden hour, bright sun, low light) and include only global settings. Leave out aggressive local edits and subject-mask-dependent changes so you avoid mismatch when birds move, lighting varies, or the background changes.
How do I export for social media without losing too much quality?
Export JPEG in sRGB, keep quality in the high 80s when possible, and apply screen sharpening tuned for display. If the platform re-compresses aggressively, avoid doing extra contrast-heavy edits, because they can amplify compression artifacts in feathers.
How do I know if motion blur is too severe to fix?
If the wing has no feather structure (just streaks), software cannot recreate lost detail. For mild motion blur, you can use sharpening with motion blur removal, but confirm results at 100% zoom and avoid overdoing it, because artifacts will appear as crunchy edges.
Next Article
How to Crop Bird Photos: Step-by-Step Guide for Better Composition
Step-by-step how to crop bird photos for better composition, feather edges, correct spacing, and sharp, low-loss resizin