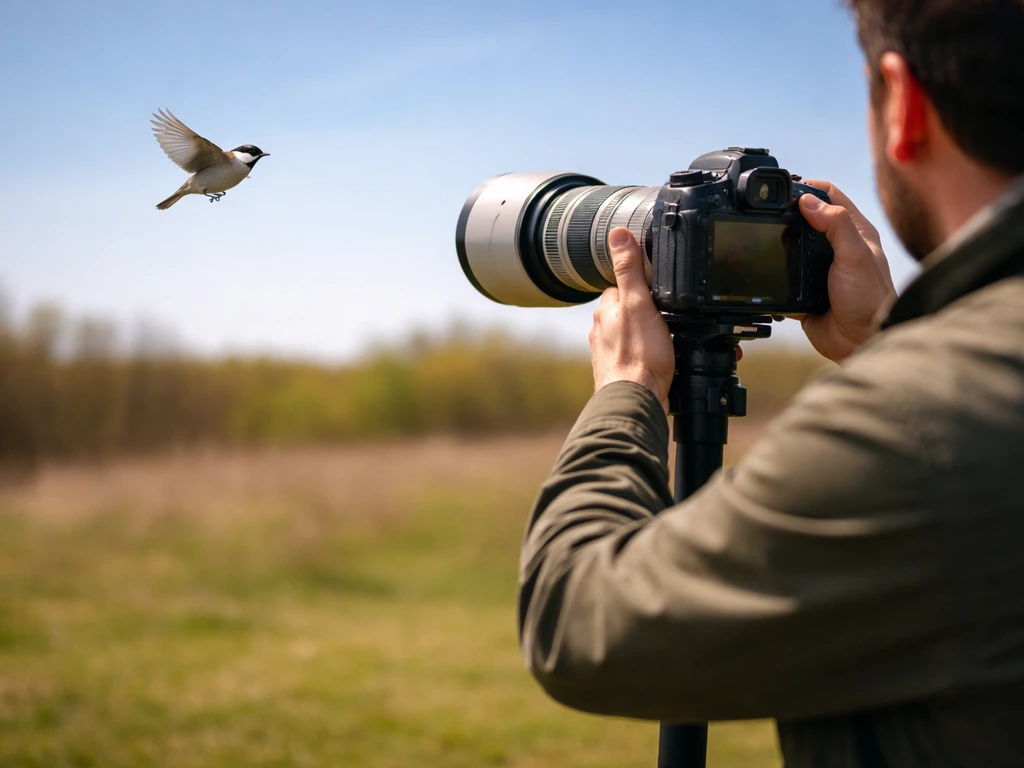
A monopod gives you one vertical pole of support under your camera, and when you use it correctly, it dramatically cuts down on shake from heavy telephoto lenses while still letting you swing freely enough to track a bird banking across the sky. The basic setup is: extend the monopod to roughly chin height, attach your camera or lens via a quick-release plate, plant the foot a few inches behind your back foot, tuck your elbows in, and push down on the shaft with your free hand while shooting. That's the core of it. Everything else below builds on those fundamentals.
How to Use a Monopod for Bird Photography: Setup to Shooting

Marcus Hendricks
17 May 2026
When a monopod beats handheld or tripod for birds
A tripod is the right tool when you're parked in a hide waiting for a heron to return to a nest, or when you've set up a specific composition and you're not moving for a while. It's heavy, slow to reposition, and genuinely annoying if a bird decides to fly 90 degrees to your left. A tripod head that's fully locked down will cause you to miss shots constantly if you're shooting active birds.
Handheld with a long telephoto (think 500mm or 600mm) is exhausting. You can do it, and some flight shots almost demand it for rapid repositioning, but after 20 minutes your arms shake and your images show it. If you're hand-holding a 500mm lens for an afternoon at a wetland, you'll feel it in your back and shoulders the next morning.
A monopod sits in the middle, and for most bird photography outings it's the better compromise. You get meaningful vibration reduction from a heavy lens, you can stay mobile and walk between spots without packing up, and you can swing the camera up, down, and side to side fast enough to track birds in flight. BirdPhotography.com notes that tripods are for predictable, deliberate situations while handheld is for rapid repositioning during flight, and that monopods fit as a compromise for real bird photography workflows. NEPG workshop notes specifically call out monopods as better for mobility and lightweight support compared to tripod setups when you're tracking birds in flight. That lines up completely with my own experience.
- Choose a monopod when you're shooting with a 300mm lens or longer and need to stay mobile
- Choose a monopod for mixed sessions where you'll photograph both perched birds and birds in flight
- Choose a monopod at wetlands, shorelines, and open fields where you're walking and scanning
- Stick with handheld if you're using a shorter lens (under 200mm) and doing rapid repositioning in dense brush
- Stick with a tripod if you're doing long static waits from a fixed hide or shooting video that needs rock-solid stillness
Choosing the right monopod and basic gear setup
For bird photography, you want a monopod rated for at least 10kg (22lbs) of payload, especially if you're running a 500mm or 600mm lens with a teleconverter. The Sirui SVM-145P, for example, handles 10kg including the head, which gives you enough headroom for a heavy telephoto setup. Carbon fiber monopods are worth the extra cost if you're carrying one all day because they're noticeably lighter than aluminum without sacrificing rigidity.
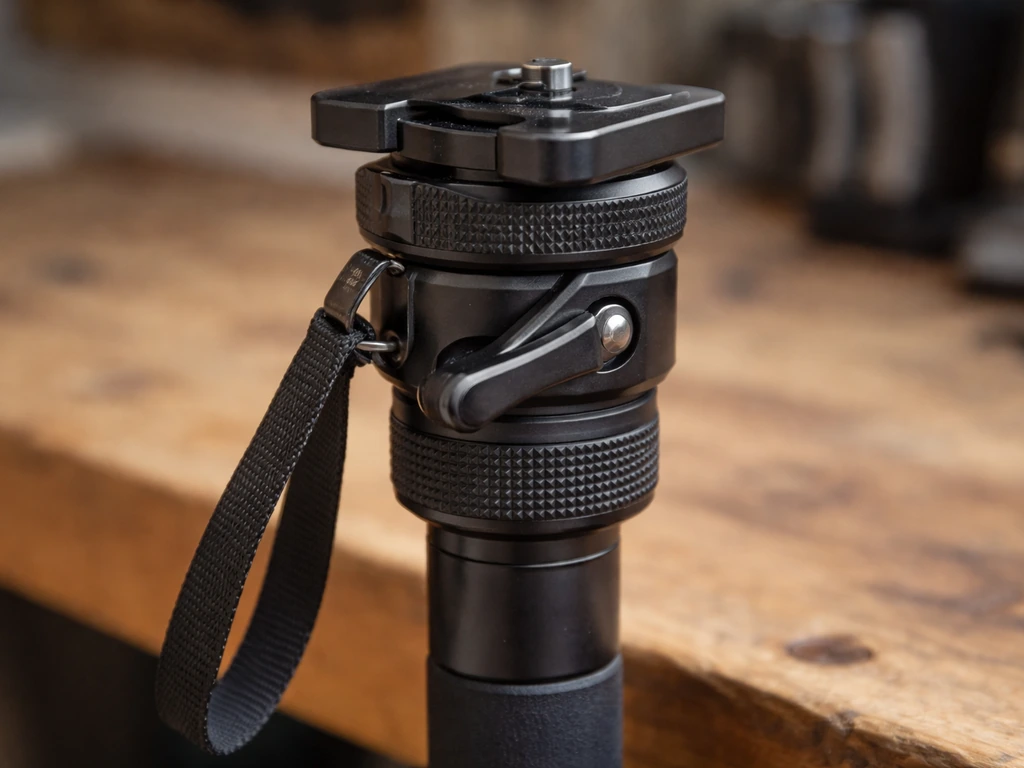
The head matters almost as much as the monopod itself. You have a few real options for bird photography, and each has a different feel in the field.
| Head Type | Best For | Drawbacks |
|---|---|---|
| Tilt/two-way head (e.g., Leofoto VH-30R) | Perched birds, controlled panning, birdwatching/wildlife use | Less freedom for extreme angles; takes adjustment to dial in |
| Ball head | Versatile, compact, quick repositioning | Can slip under heavy telephoto lenses; harder to control panning smoothly |
| Gimbal-style monopod support (e.g., Manfrotto 393) | Heavy telephoto lenses, birds in flight, long sessions | Adds bulk and weight; overkill for smaller setups |
| No head (direct mount) | Ultra-light and mobile setups | Very limited tilt/angle control; not recommended for telephoto work |
If your lens has a tripod collar (a rotating ring that attaches to the monopod instead of the camera body), use it. Mounting at the lens collar instead of the camera body balances the whole system much better, especially with lenses 400mm and longer. Pair that with a quick-release plate so you can detach and reattach the whole rig in seconds. The Manfrotto 393 heavy telephoto support includes a quick-release adapter and is specifically designed for this kind of pairing.
How to adjust height, balance, and attach your camera or telephoto
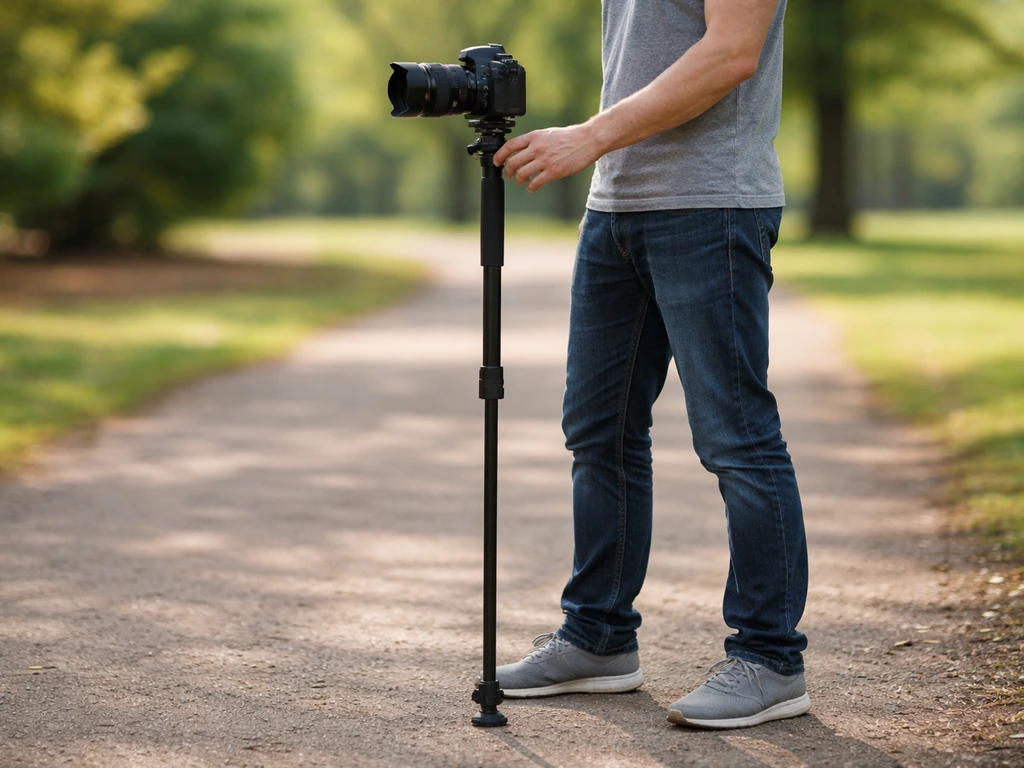
Getting the height wrong is the most common beginner mistake. Too short and you'll hunch, which kills your stability and makes your back ache. Too tall and the monopod becomes a lever working against you. The right height depends on your shooting position.
- Stand in your normal shooting posture, feet shoulder-width apart
- Extend the monopod so that when the foot is on the ground in front of you, the camera viewfinder sits at eye level without you craning your neck
- Lock every section firmly. Loose locks cause slip and wobble, and on twist-lock monopods especially, it's easy to leave a section slightly undone. Check each one before shooting
- Attach the quick-release plate to your lens collar or camera body, then click it into the head until you hear it seat
- With the camera attached, check balance by loosening the head slightly: the lens should not nose-dive forward. If it does, slide the plate forward in the clamp until the rig sits roughly level. This small adjustment makes a big difference when you're holding the system for hours
- Tighten the head back down to your preferred resistance for shooting
One thing I learned the hard way: always check your locks after walking any distance. Vibration from walking on uneven ground can back off twist locks enough to introduce wobble. A quick squeeze of each section before you set up for a shot takes two seconds and saves blurry frames.
Stability technique for perched birds: stance, support, and focus
Perched birds are the easier target, but you can still ruin frames with sloppy monopod technique. The goal is to turn your body, the monopod, and the ground contact into a three-point system that damps vibration before it reaches the sensor.
- Plant the monopod foot a few inches behind your back foot, angled slightly toward you. This creates a forward lean on the shaft that you can brace against
- Rest the shaft against the inside of your thigh for an extra contact point. Some photographers use a wrist strap on the monopod shaft and push the bottom into the ground while holding the strap, which pins the foot and removes wobble from soft ground
- Keep both elbows tucked close to your body, not flared out. Flared elbows are a stability leak
- Use your free hand to hold the shaft just below the camera head and push down gently but steadily on the monopod while you shoot. This active downward pressure is a surprisingly effective trick for eliminating residual shake
- Breathe out slowly before pressing the shutter. It sounds cliched but it works
- For autofocus, pick a single AF point or a small AF zone and place it directly on the bird's eye. If your camera supports eye-detection or subject-tracking AF, enable it. The risk with wide-area AF on a perched bird in a bush is that the lens may focus on branches or background elements instead of the bird
Shutter speed still matters even with monopod support. The traditional reciprocal rule gives you a starting baseline: for a 500mm lens, aim for at least 1/500s; for a 600mm lens, at least 1/600s. With a monopod and good technique you can sometimes get away with a bit slower, but don't push it on a bird that might twitch or turn its head mid-frame.
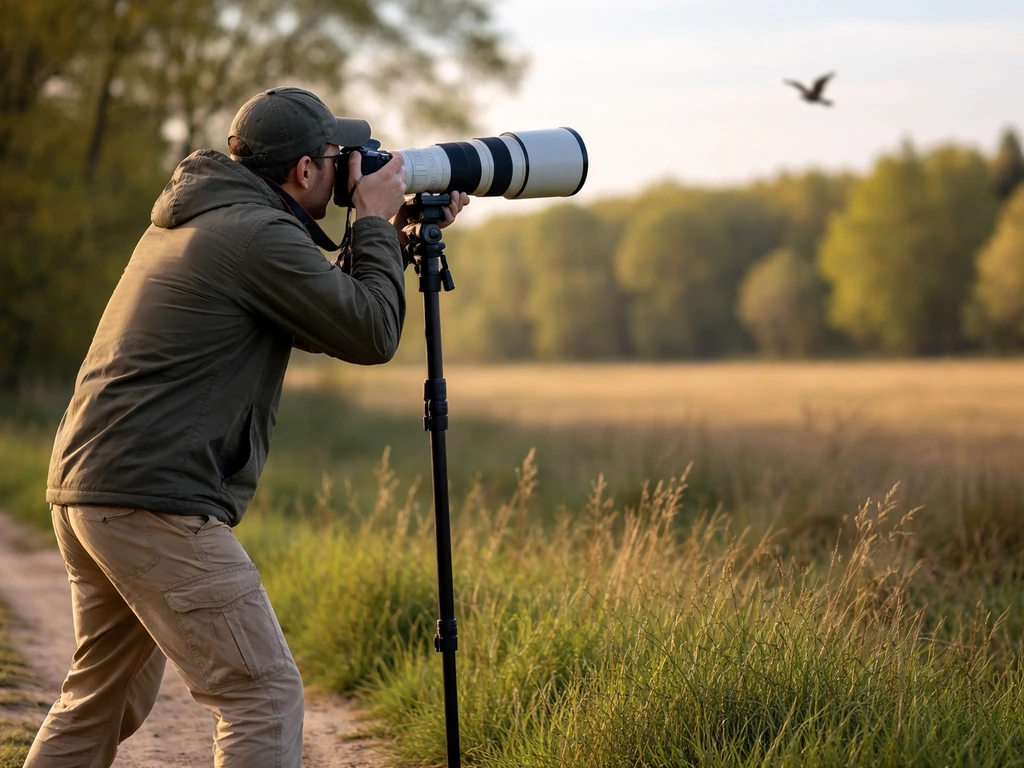
How to pan and track birds in flight
Birds in flight are where the monopod really earns its place. The key insight here is that smooth panning with a monopod comes from rotating your whole body, not cranking the head side to side. If you try to pan using just the head while the monopod stays planted, you'll get jerky, unbalanced movement that makes tracking erratic.
The technique recommended by several serious bird photographers is to lock the panning knob on your head and rotate the entire pod along with your body to follow the bird. The head then handles tilt (up and down) while your body rotation handles the side-to-side pan. It feels unnatural for the first 10 minutes and then becomes second nature.
- Set the monopod slightly shorter than your perched-bird height so you can pivot more freely without the foot dragging
- Lock the panning knob on your head, or tighten it just enough that the head resists free swing without locking completely
- Pick up a flying bird early, ideally before it enters your ideal frame, and start rotating your body to follow it
- Keep the foot of the monopod lightly on the ground, pivoting from it rather than lifting it, as you rotate your torso
- Tilt the head to stay level with the bird's flight path as it rises or dives
- Start your shutter burst a beat before the bird reaches your best composition, not exactly when it does. Birds move faster than you think and waiting for the perfect moment means you're already behind
- For birds in flight, shutter speed needs to go up significantly. A good starting point is 1/2500s or faster to freeze wingbeats and eliminate motion blur from the bird itself
Autofocus during flight is challenging regardless of your support system. If your camera's subject-tracking AF is losing the bird to a busy sky or cluttered background, try narrowing the AF zone or use AF lock to hold focus as you pan. Some photographers switch to zone AF centered roughly on the bird's body rather than full-frame tracking when backgrounds are tricky.
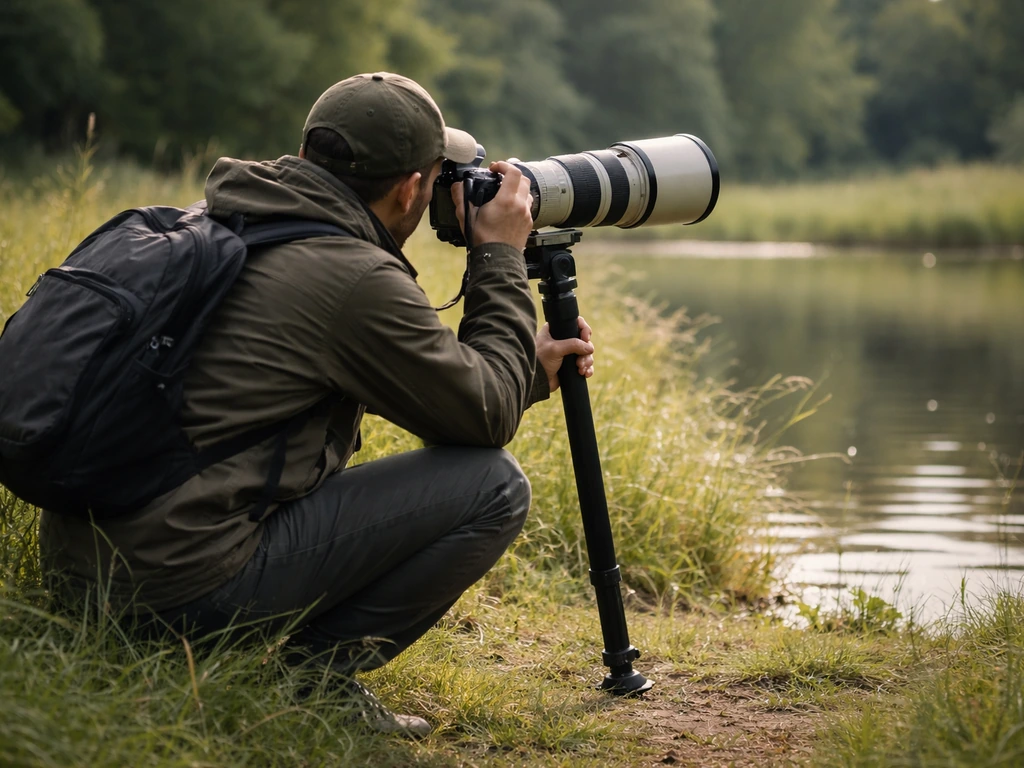
Field use: uneven ground, movement, and staying comfortable
Real bird photography locations are not flat studio floors. You'll be on muddy riverbanks, rocky shorelines, sloping fields, and sandy beaches. Here's how to handle the situations that trip people up.
Soft ground (mud, sand, wet grass)
Soft surfaces let the monopod foot sink, which introduces slow drift during shooting. Push the foot firmly into the surface before you start. If your monopod has a wrist strap, loop it and use tension from your wrist to pin the foot down. On really soft ground, look for a firmer patch nearby, even a tuft of thick grass, and plant there instead of in the soft mud.
Sloped or rocky terrain
On a slope, shorten the monopod slightly on the uphill side and compensate with your stance. You're aiming to keep the monopod shaft as vertical as possible rather than leaning at an angle, because a leaning monopod transmits more wobble. On rocky ground, find a flat spot between rocks for the foot rather than balancing it on a rock edge. Smooth hard surfaces like pavement or rock can cause the rubber foot to slip, so set it at a slight angle to create friction or use a rubber-tipped foot with a wider base.
Moving between spots
When you're walking between shooting spots, collapse the monopod down to about two-thirds of its full height so it doesn't snag on branches and so the camera isn't bobbing around at eye level while you move. Keep the head loose so if you bump something the camera can swing rather than take the force rigidly. Some photographers carry with the camera over one shoulder and the monopod tucked under the same arm, which keeps the whole setup together and frees the other hand.
Reducing strain during long outings
A monopod does not eliminate fatigue, it just shifts where the effort goes. With a tripod collar mount and a balanced rig, you're mostly steadying rather than supporting, so your wrists and shoulders thank you. Still, after a few hours, switch hands occasionally and consciously relax your grip. A death-grip on the shaft introduces tension that travels straight to the camera. Light is better.
Troubleshooting wobble, shake, and tracking problems
If your images keep coming out shaky or you're losing birds mid-track, run through this checklist before assuming it's a technique problem. ImprovePhotography.com also recommends visually inspecting and testing the tightness and function of leg locks, and checking for loose connections or partially tightened center column issues run through this checklist before assuming it's a technique problem. Often it's a gear issue that's simple to fix.
| Problem | Likely Cause | Fix |
|---|---|---|
| Persistent wobble even with good stance | Loose section lock on the monopod | Extend each section and tighten locks firmly; twist-lock types need a firm clockwise turn until resistance is felt |
| Lens nose-diving or sagging forward | Imbalanced setup, plate too far back on the collar | Slide the quick-release plate forward in the clamp so the lens balances roughly level when the head is loosened |
| Jerky, stuttering pans on birds in flight | Panning within the head instead of rotating the body | Lock the panning knob and rotate your entire body and the monopod together to follow the bird |
| AF locking onto the background instead of the bird | Wide-area AF grabbing background elements | Narrow the AF zone, use a single center point on the bird, or enable eye/subject detection if available |
| Overshooting the bird on fast pans | Starting the rotation too late | Pick up the bird earlier in its flight path and begin rotating before it reaches your ideal frame position |
| Blurry images despite stable setup | Shutter speed too low for the focal length or bird movement | For perched birds, use at least 1/focal length in seconds; for birds in flight, 1/2500s or faster as a starting point |
| Monopod slipping on smooth or hard surfaces | Rubber foot losing grip | Angle the foot slightly for more friction, or switch to a rubber foot with a wider/softer tip designed for hard surfaces |
One issue that catches beginners off guard is confusing camera shake with subject motion blur. Camera shake from the monopod looks like overall smearing across the whole frame. Subject motion blur from a bird moving appears only on the bird while the background stays sharp. They need different fixes: camera shake needs better technique or a faster shutter, while subject motion blur just needs a faster shutter speed.
Your monopod setup and shooting checklist
Run through this before every session until it becomes automatic. To set up a live bird cam, start by choosing a stable mounting spot, positioning the view for the birds you expect, and then testing the feed before you walk away. It takes less than two minutes and it's the difference between a productive outing and a card full of soft frames.
- Extend the monopod to chin height and tighten all section locks firmly
- Attach the quick-release plate to your lens collar (preferred) or camera body
- Click the plate into the head and confirm it's fully seated
- Loosen the head, check lens balance, and adjust plate position if the rig tips forward or back
- Set head resistance to your preference: freer for flight tracking, firmer for perched birds
- Plant the monopod foot a few inches behind your back foot and rest the shaft on your inner thigh
- Tuck elbows in and use your free hand to push down on the shaft
- Set shutter speed: at least 1/focal length for perched birds, 1/2500s or faster for birds in flight
- Confirm your AF mode: narrow zone or subject/eye detection for perched birds, zone AF or subject tracking for flight
- Check locks again after walking to a new spot
Getting sharp bird photos consistently is a combination of monopod technique, the right settings, and some practice reading bird behavior so you're not always reacting at the last second. If you want to learn the art of bird photography, start by pairing monopod stability with consistent practice and patient observation. If you want to go deeper on the settings and composition side of things, it's worth exploring guides specifically on how to take sharp bird photos and how to set up a perch for bird photography, both of which complement what you've got here. If you want to improve results quickly, focus on technique and camera settings that suit fast-moving birds how to take sharp bird photos. If you want more specific mattk-com-style bird photography tips, look for guidance on dialing in settings and refining your technique in the field mattk com bird photography tips. The monopod is a tool, and like any tool, a little deliberate practice makes it feel completely natural fast.
FAQ
How do I choose the correct monopod height for my shooting position (standing vs kneeling)?
If the monopod is taller than your effective shooting stance, you will either hunch or cant the shaft, and tracking becomes jerky. Set height so your elbows can stay tucked with your shoulders relaxed, then do a quick practice pan before the bird arrives. Recheck after you move on uneven ground or after collapsing and extending, since section twist locks can loosen slightly.
Do I always need to mount at the lens collar for best stability, or can I mount at the camera body?
No. If your head or camera is mounted too far from the monopod, you create extra swing and torque when you pan, which can feel like “wobble” even when your technique is good. Use a tripod collar when available and mount the system to balance the weight over the monopod, then make sure the quick-release is fully seated and tightened.
Should I lock the monopod head knobs for bird-in-flight work?
Locking the panning control can help, but only when it is designed to be locked. If your monopod head allows tilt while you keep panning resistance low or locked, use that. If it does not pan smoothly when locked, leave it unlocked and instead focus on rotating your body for the pan, not cranking the head.
What should I do if my monopod foot keeps shifting during tracking?
Make sure you can still swing through your target area without the foot shifting. Start with the foot planted firmly, then avoid making large corrections by lifting the monopod. If you need repositioning, lift and replant deliberately, then re-level your height and stance so the shaft stays close to vertical.
How do I decide when to go faster than the 1/focal-length shutter rule with a monopod?
Use a faster shutter when the bird is likely to move unpredictably, when you are using a tighter crop, or when you are at the edge of your lens sharpness. A practical approach is to start at your reciprocal baseline, then step up one stop faster if the bird flicks its head, flares its wings, or the background is cluttered and your AF is hunting.
When photographing perched birds, can I use slower shutter speeds than for flight?
For perched birds, you can reduce ISO or accept slightly slower shutter if the bird is truly still and your technique is stable. For active birds, prioritize shutter speed over ISO because motion blur cannot be fixed later. Also consider continuous AF and high-speed burst so you catch small wing or head movements with minimal delay.
How do I troubleshoot repeated blur caused by mounting or quick-release issues?
Verify that your quick-release plate is secure and that any safety pins or levers are engaged, since a partially seated plate can create repeatable micro-movement each time you mount. Also ensure the head tightening knob is snug but not over-cranked past its designed range, and check for tilt play by gently pushing the lens after mounting.
What are the best strategies for using a monopod on slippery or unstable ground (mud, sand, rock, pavement)?
Thin, uneven, or slippery ground is where monopods often fail. Use the most stable contact you can find, sometimes moving a few inches to firmer ground like thick grass rather than sinking mud. On smooth surfaces, set the foot at a slight angle or switch to a wider rubber-tipped foot for more friction and less skating.
How can I tell whether blur is from camera shake versus the bird’s motion?
Common signals differ. Camera shake usually smears the entire frame evenly, while motion blur from the bird shows up mainly on the moving subject while background remains relatively sharp. If blur is global, look first at technique, shutter speed, and any head play; if blur is only on the bird, increase shutter speed or improve AF tracking.
What should I change in autofocus settings when birds in flight keep escaping the AF area?
If you keep losing the bird mid-track, simplify the AF strategy. Narrow the AF zone, try centering the zone around the bird’s body, and avoid overly broad full-frame tracking when the background is busy. Pair that with faster burst rates so your keep rate improves while the AF reacquires.
How should I carry and move with a monopod between birding spots without disturbing my setup?
Plan to pack up quickly by keeping your mounting kit consistent. Collapse to a reduced height for walking, keep the head loose so small bumps do not transmit force rigidly, and switch hands occasionally to avoid wrist fatigue. If you use a lens collar, make sure the collar and plate stay aligned so you can remount in seconds without rebalancing.
Why do my images start getting shaky after a couple of hours, and how can I prevent it?
A monopod helps, but it does not turn every shot into a tripod-level image. If you notice fatigue-related blur, shorten your sessions into focused intervals and take brief resets, even 30 to 60 seconds, to relax your grip and replant the foot firmly. Technique remains the priority, but deliberate breaks prevent the tension that causes the most shake.
Next Article
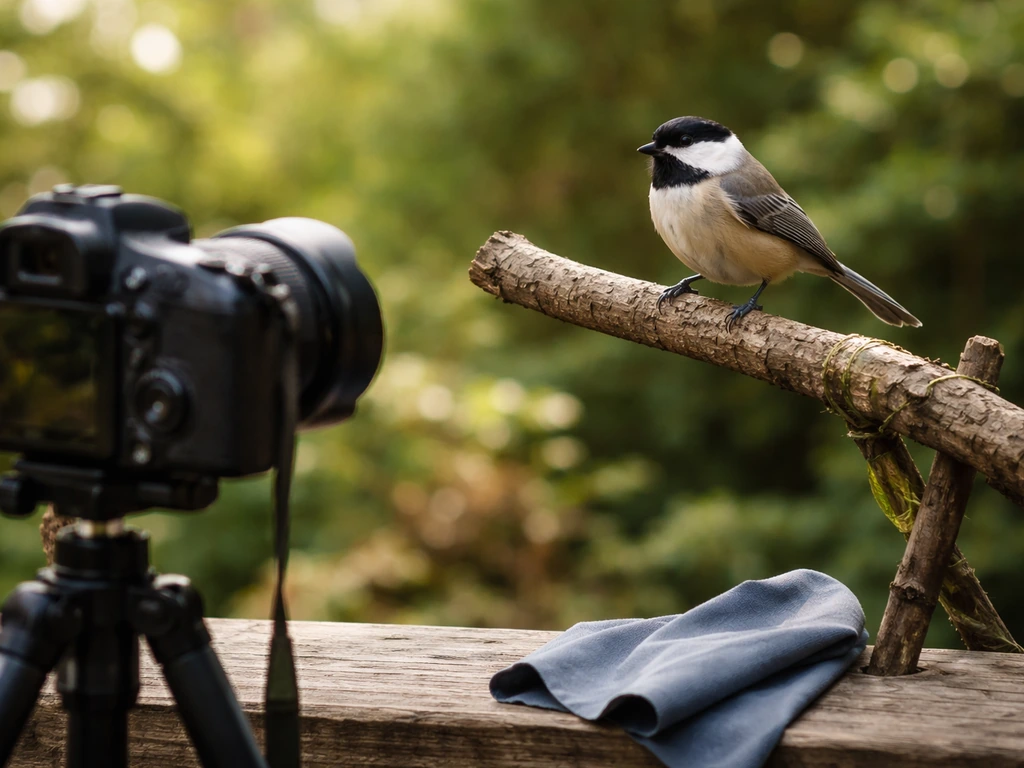
Perch Setup for Bird Photography: Step-by-Step Guide
Step-by-step perch setup for bird photography: place, stabilize, clean, and tune camera light for sharp, composed shots.