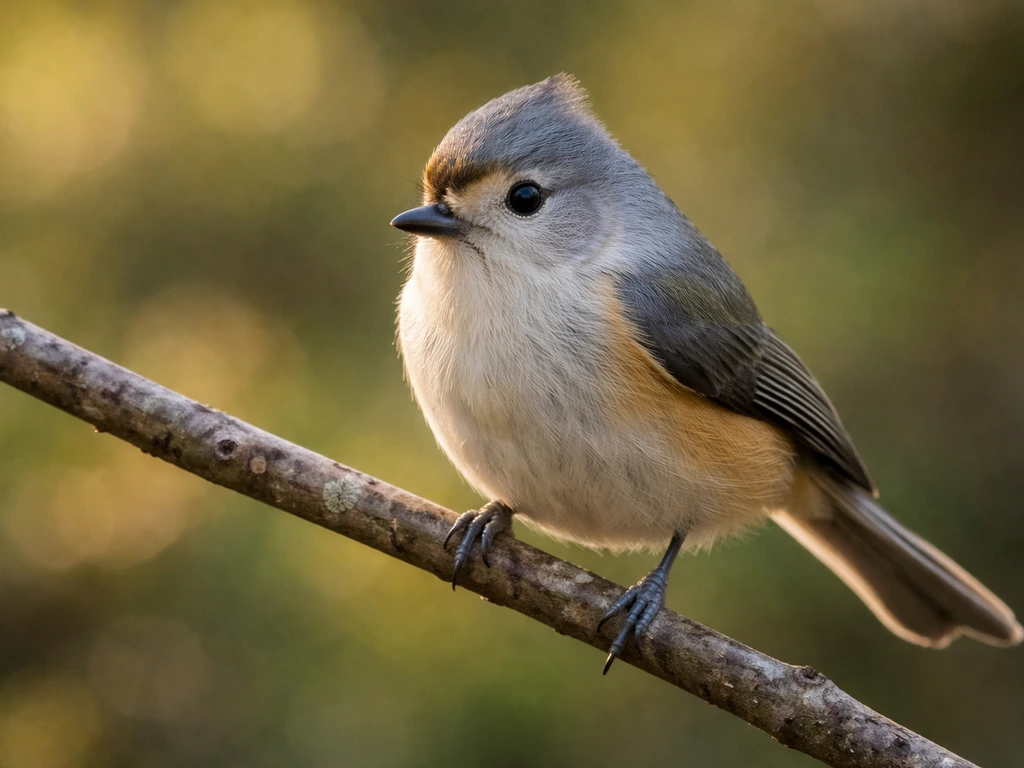
Bird photography gets a lot easier once you know a handful of concrete rules: use enough focal length, set your shutter speed fast enough, and don't spook the bird. Everything else is refinement. Whether you're just getting started or you've been coming home with blurry, distant shots and want to fix that, this guide covers the exact gear, settings, and fieldcraft that will make a measurable difference starting on your next outing.
Tips for Bird Photography: Field Guide for Sharp Shots

Marcus Hendricks
3 Apr 2026
Best bird photography gear to start with
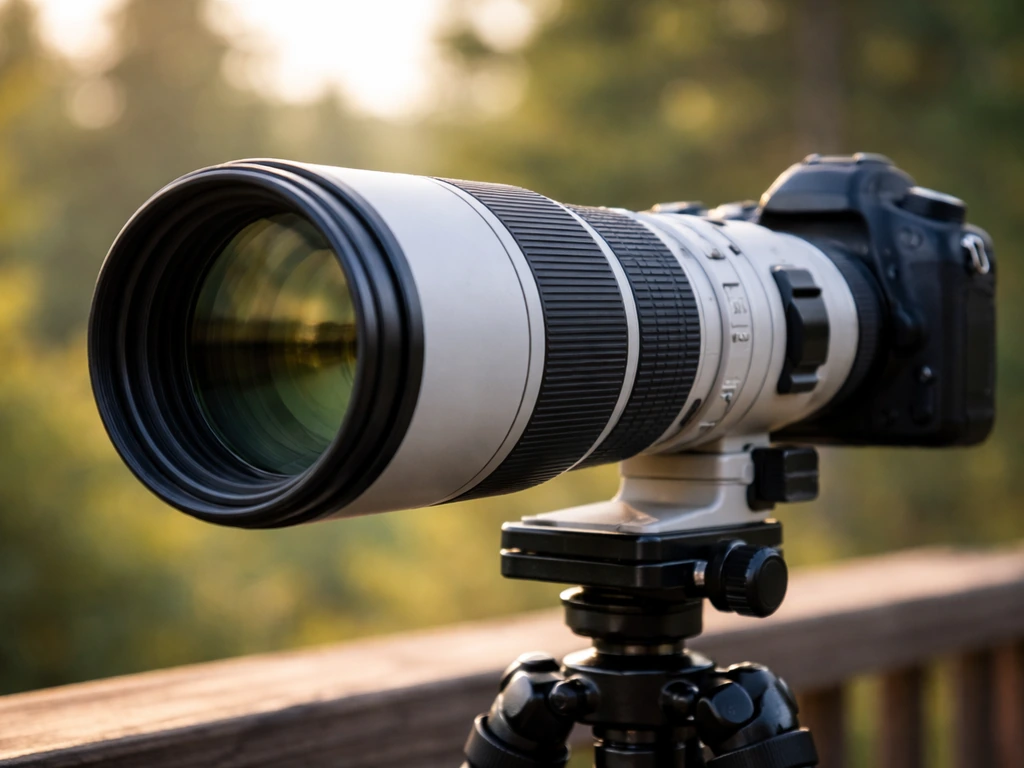
The single most important piece of gear for bird photography isn't the camera body. It's the lens. Specifically, the focal length. Birds are small and skittish, and you need reach to fill the frame without walking close enough to flush them. A good starting point is 400mm, but if you're serious about it, aim for at least 500mm. The 600mm f/4 primes are the gold standard for a reason: they isolate birds beautifully and pull in distant subjects. That said, you don't need to spend thousands on a prime right away. A 100-500mm or 150-600mm zoom gives you flexibility in a single lens, and that flexibility matters when you're still learning which distances work best.
For bodies, any modern mirrorless or DSLR with fast continuous autofocus will serve you well. Mirrorless systems have a real edge here because of animal-detection AF, which tracks birds' eyes automatically. If you're just starting out and want a focused rundown of what to buy first, this guide to beginner bird photography gear is a great place to anchor your shopping decisions.
Beyond the camera and lens, here's what else actually matters:
- Monopod or tripod: A monopod is the sweet spot for bird photography. It steadies a heavy telephoto lens without slowing you down the way a full tripod does. Use a gimbal head on a tripod if you're shooting from a fixed hide.
- Extra batteries and memory cards: Burst shooting chews through both fast. Bring at least two batteries and a fast UHS-II card if your camera supports it.
- Camouflage or muted clothing: Bright colors flag your presence. Olive, brown, and grey tones help you blend in.
- Bean bag: If you're shooting from a car window (which is a legitimately great bird hide), a bean bag under the lens is cheap and extremely effective.
- Lens hood: Reduces flare when you're shooting toward the light, which happens more often than you'd expect.
Camera settings for sharp, fast-moving birds
This is where most beginners go wrong. They use settings that work fine for landscapes or portraits, then wonder why every bird shot is blurry. Birds move fast, even when they look still. A perched bird bobs its head, preens, or turns suddenly. A bird in flight is a completely different challenge. Your settings need to match the situation.
Shutter speed: the number that matters most
For perched birds, start at 1/500s as your floor, and push to 1/1000s if the bird is active. For birds in flight, 1/2000s is your minimum starting point. Smaller, faster birds like hummingbirds need even more: 1/4000s will freeze those wings cleanly. If your shutter speed dips below about 1/1600s during flight shooting, bump your ISO rather than accept the motion blur. A slightly noisier photo that's sharp beats a smooth photo that's soft every single time.
Aperture, ISO, and exposure mode
Aperture Priority (Av or A mode) is the most practical starting point for most bird situations. Set your aperture wide (f/5.6 to f/8 is a good range), dial in a minimum shutter speed using Auto ISO if your camera supports it, and let the camera handle the rest. This keeps your shutter fast while the camera adjusts exposure as light changes. For flight in good light, Manual mode with Auto ISO is even better because it locks both aperture and shutter while adapting to brightness.
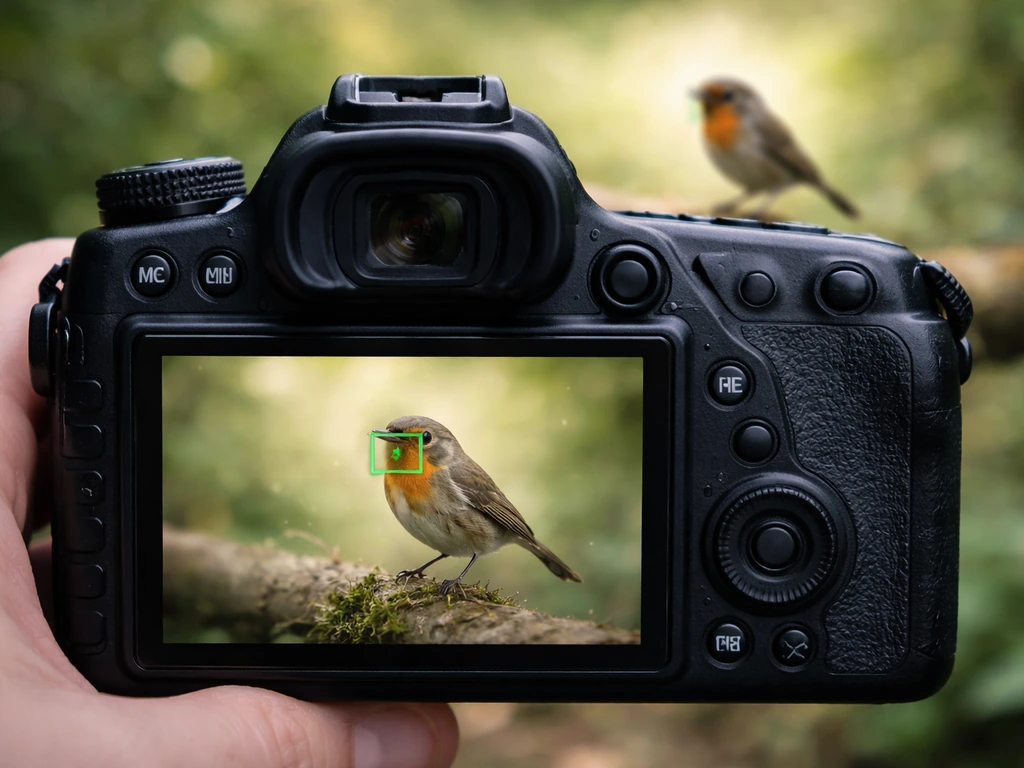
Autofocus: continuous mode and eye detection
Always use blank" rel="noopener noreferrer">continuous autofocus (called AI Servo on Canon, AF-C on Nikon and Sony) when shooting birds. This keeps refocusing as the bird moves. Canon’s AI Servo AF works by anticipating where focus will be next frame, predicting a moving subject’s distance using continuous prior distance measurements blank" rel="noopener noreferrer">Canon Professional eXchange. If your camera has animal or bird subject detection with eye-tracking, turn it on. It genuinely works and it will save shots you'd otherwise lose. Some telephoto lenses also have a focus limiter switch that tells the lens to ignore close distances and only focus on subjects farther away. Use it for flight shooting because it makes autofocus acquisition noticeably snappier.
Burst shooting
Use your camera's high-speed continuous shooting mode for any moving subject. You don't need to hold the shutter down the entire time a bird is in view, but firing a burst at the peak moment (mid-wingbeat, or just as the bird lifts off) dramatically increases the odds of getting at least one frame that's perfectly sharp and well-composed. Don't feel guilty about the delete rate. Everyone shoots a lot to keep a little.
Fieldcraft: finding birds and getting close safely
Good fieldcraft is what separates photographers who get close, compelling shots from those who get distant record shots. The core skill is learning to read bird behavior so you can position yourself for a shot without changing how the bird acts.
Where to find birds worth photographing
Habitat edges are your best friend. The boundary between woodland and open field, water and marsh, or shore and scrub is where birds concentrate because they can access multiple food sources and cover types. Local birding apps and community reports (eBird is the most useful) show you exactly what's being seen, where, and when. Arrive early. The two hours after sunrise are the most active period for most species, the light is warm and directional, and the backgrounds tend to be darker, which makes subjects pop.
Approaching without flushing
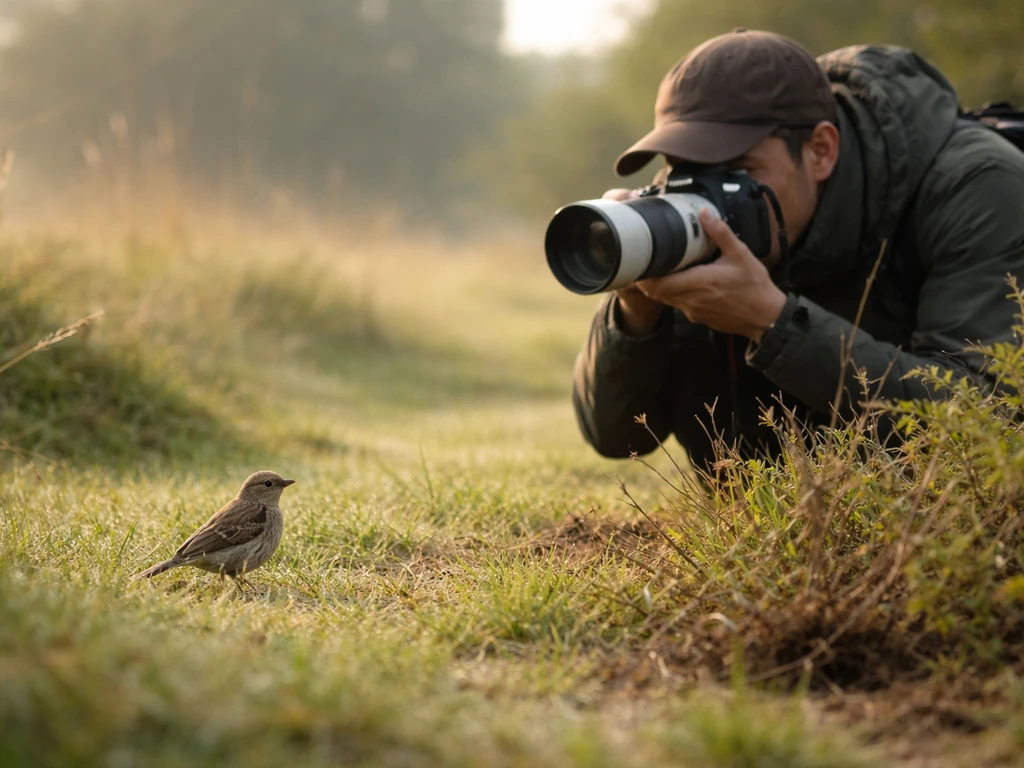
The golden rule is simple: if a bird changes its behavior because of your approach, you're already too close. Watch for signs of stress: alarm calls, raised crest feathers, crouching, or repeated head-turning toward you. If you see any of these, stop moving and wait. Often the bird will settle back to normal behavior in a few minutes. The ethical principle here is important beyond just getting the shot. Never intentionally flush a bird to force it into flight for a photo. Aside from being harmful to the bird, it also means you've lost the subject. A long lens is your tool for getting the frame you want without crossing that line.
Move slowly, keep low, and avoid direct eye contact with the bird when you're still approaching. Crouching or kneeling also has a photographic benefit: lower angles produce cleaner backgrounds and more natural perspectives. Use natural cover like bushes, tree trunks, or a vehicle as a screen between you and the bird. Cars are extraordinarily effective bird hides because birds generally don't associate them with threat the way they do with humans on foot.
Setting up predictively
Sometimes the smartest move is to not chase the bird at all. Identify a perch or feeding spot the bird uses repeatedly, set up at a comfortable distance with good light behind you, and wait. This is especially effective at feeders, nest sites (observe from a respectful distance), and regular roosting spots. It's also how you get the most natural, relaxed behavior captured on camera.
Positioning, backgrounds, and lighting for better images
Technical sharpness matters, but a sharp photo against a blown-out white sky or a cluttered background still looks bad. This section is about the decisions you make before you press the shutter that determine whether a technically decent image is also a good photograph.
Light: time of day makes a huge difference
The golden hours (roughly an hour after sunrise and an hour before sunset) give you warm, directional light that adds texture and dimension to feathers and avoids the harsh shadows of midday. Overcast days produce soft, even light that's actually very workable for bird close-ups, especially in forested areas where the canopy would otherwise create dappled shadows across your subject. Avoid shooting into a bright sky behind the bird if you can help it. Position yourself so the light source is roughly behind you and falling on the bird's face.
Background control

The background in a bird photo is as much your choice as the subject is. Moving even a metre or two to the left or right, or dropping lower, can completely change what's behind your bird. A wide aperture (f/5.6 or wider) blurs the background into a smooth wash of color, which is usually what you want. Dark, uncluttered backgrounds (a shadowed tree line, a distant water surface) make subjects stand out cleanly. Bright, busy backgrounds (a fussy hedge, a bright sky with hard clouds) fight for attention. When you're setting up your shot, glance at what's behind the bird before you focus.
Shooting angle and eye level
Get as close to the bird's eye level as you safely can. Shooting down on a bird from a standing position produces a documentary feel at best and an unflattering, disconnected image at worst. Lying flat on the ground to photograph a duck at the water's edge, for example, produces images that feel immersive and intimate in a way that standing shots just don't. It's muddy and uncomfortable, but the results are worth it.
Techniques for common situations
Perched birds
Perched birds are the best learning environment. You have time to dial in your settings, pick your composition, and wait for the right moment (a head turn, a wing stretch, a direct stare into the lens). Use 1/500s to 1/1000s shutter, focus on the eye, and watch for behavioral cues that signal an interesting moment is coming. A bird that starts looking alert and scanning the sky is often about to call or take off. Pre-focus and be ready. For a detailed walkthrough of this specific scenario, photographing a bird sitting on a perch covers the nuances of framing and patience in that situation.
Birds in flight
Flight photography is the most challenging and the most rewarding. Set your shutter to at least 1/2000s, use continuous AF with subject tracking, and shoot in bursts. Panning with the bird (moving your camera smoothly in the same direction as the bird's travel) helps keep the subject sharp while the background blurs slightly, which conveys speed nicely. It takes practice. The technique for panning is different from static shooting because your relative motion changes how blur appears, so don't expect to nail it immediately. For a full step-by-step breakdown specifically focused on this skill, the guide on how to photograph a bird in flight is worth reading before your next session.
Low light and small songbirds
Low light forces a trade-off: slower shutter speeds risk motion blur, but raising ISO introduces noise. In practice, prioritize shutter speed and accept the noise. Modern cameras handle high ISO well, and noise is fixable in post-processing. Blur is not. For small, fast songbirds in woodland shade, 1/1000s or faster is still the target even in low light, so push ISO as high as needed to get there. A lens with a wide maximum aperture (f/4 or wider) helps significantly here. Image stabilization (called IS, VR, or VC depending on the brand) helps with camera shake from handholding but does nothing for subject motion, so don't rely on it as a substitute for fast shutter speed.
Backyard setups
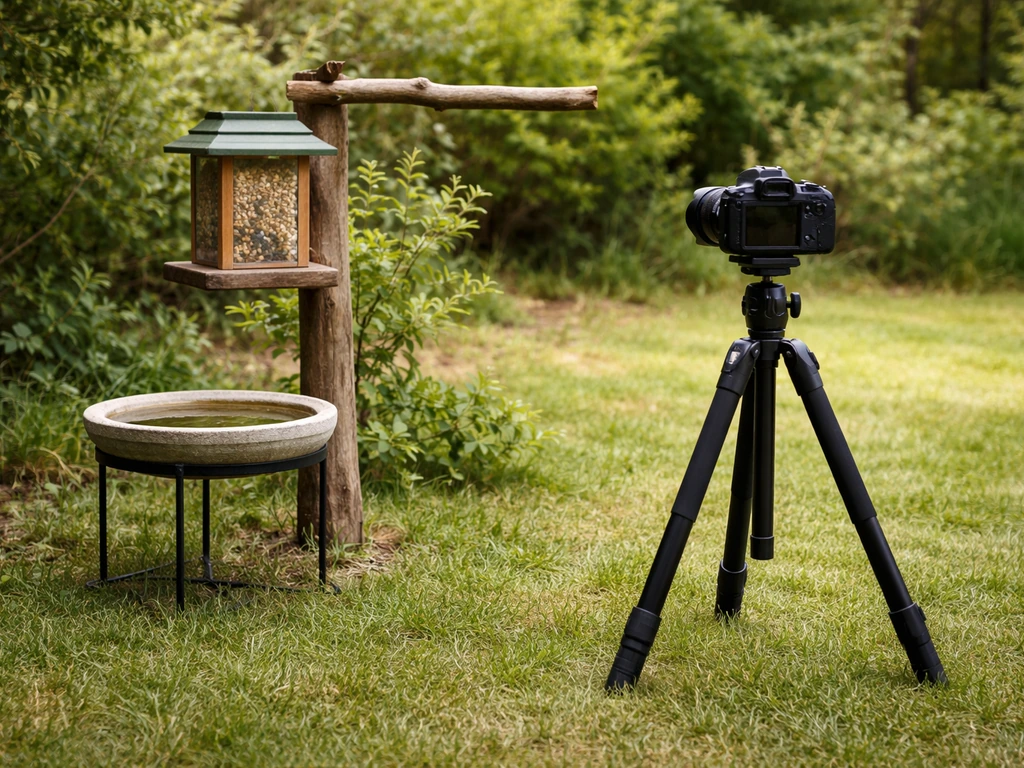
You don't always need to travel to find great subjects. A well-organized backyard setup with feeders, perches, and water can produce excellent photos close to home. For wildlife and telephoto setups, B&H Photo’s blank" rel="noopener noreferrer">Tripods and Supports category is a convenient place to browse and compare monopods and tripods you can use for stable shooting. The advantage is that you control the environment: you can position a natural-looking perch in front of a clean background, set up at the right distance, and wait comfortably. If you want to build this out properly, there's a solid guide specifically on setting up a backyard bird photography area that covers feeder placement, perch design, and background management in detail.
Composition and post-processing basics
Composition rules worth keeping
Bird photography composition follows a few principles that hold up consistently. First, always focus on the eye. If the eye isn't sharp, the image doesn't work, even if everything else is perfect. Second, use the rule of thirds: place the bird off-center, typically with the bird's eye at an upper third intersection point. Third, leave space in the frame in the direction the bird is facing or moving. A bird looking or flying toward the center of the frame feels more natural than one being cropped against its direction of travel.
Don't crop too tightly. Leaving a little breathing room around the subject looks more intentional and gives you room to crop further in post if needed. If you want to go deeper on composition principles specifically for bird subjects, including how they differ between perched and action shots, this guide on how to take bird photos with better compositional intent is a useful next read.
A simple post-processing workflow
Shoot in RAW format if your camera supports it. RAW files retain far more information than JPEGs and give you much more flexibility to recover highlights, lift shadows, and reduce noise without degrading the image. For software, Lightroom (or Lightroom Classic) is the industry standard and genuinely worth learning. Adobe Camera Raw and free alternatives like darktable work well too.
- Exposure correction: Adjust the exposure slider to set overall brightness, then pull back highlights if the sky is blown out and lift shadows to open up dark areas on the bird.
- White balance: Correct white balance so the bird's colors look natural. Auto white balance usually gets you close; fine-tune from there.
- Clarity and texture: A small boost to texture (not clarity, which can look crunchy) brings out feather detail nicely.
- Noise reduction: Use luminance noise reduction on high-ISO shots. Start around 30-40 and adjust to taste without smearing feather detail.
- Sharpening: Add modest output sharpening. Hold Alt/Option while dragging the masking slider to restrict sharpening to the edges of the bird rather than flat areas.
- Crop and straighten: Crop to improve composition and straighten any tilted horizons.
- Export: Export as JPEG at full resolution for sharing, or keep the RAW plus a JPEG copy for your archive.
That workflow handles the vast majority of bird photos. Don't over-edit. The goal is a clean, accurate image, not something that looks processed. Feather texture and natural color are what make bird photos satisfying, and heavy-handed editing destroys both.
Quick-reference settings comparison
| Situation | Shutter Speed | Aperture | ISO Strategy | AF Mode |
|---|---|---|---|---|
| Perched, good light | 1/500–1/1000s | f/5.6–f/8 | Base ISO or Auto ISO low | Continuous AF, eye detection on |
| Perched, low light | 1/1000s minimum | f/4–f/5.6 | Auto ISO, push as needed | Continuous AF, eye detection on |
| Bird in flight, good light | 1/2000s minimum | f/5.6–f/8 | Auto ISO | Continuous AF, subject tracking, focus limiter on |
| Bird in flight, overcast | 1/2000s minimum | f/4–f/5.6 | Auto ISO, allow up to ISO 3200+ | Continuous AF, subject tracking |
| Hummingbirds or small fast birds | 1/4000s+ | f/5.6 | Auto ISO | Continuous AF, eye detection on |
| Panning for creative blur | 1/200–1/500s | f/8–f/11 | Base ISO | Continuous AF, wide zone |
Bird photography has a steep early curve, and that's normal. The first few sessions, you'll probably come home with a lot of almost-sharp, almost-well-composed images. That's the process. Each outing, you'll narrow the gap between what you saw and what you captured. Focus on one element at a time: nail your shutter speed this session, work on fieldcraft next time, then focus on composition the session after. Improvement stacks fast when you approach it that way.
FAQ
My autofocus is on, but the bird’s eye is still blurry. What should I troubleshoot first?
If you shoot AF-C/continuous and the eye still turns out soft, check two common culprits: your focus area mode (use a small, centered zone or an animal eye tracking mode rather than a wide auto area) and your minimum shutter speed target (when light drops, the camera may slow down before Auto ISO can react). Also make sure you are not too close, since focus can land on feathers or the bird’s head instead of the eye.
When should I use Av with Auto ISO versus Manual with Auto ISO for birds?
Switching from Aperture Priority to full Manual changes how exposure reacts as the scene brightness shifts (branches, clouds, and water reflections). If birds are moving across uneven backgrounds, Manual with Auto ISO helps keep your shutter and exposure consistent during tracking. If the background is fairly uniform and light is stable, Av with Auto ISO is simpler and often just as effective.
What shutter speed should I aim for if my perched bird keeps moving its head or preening?
For perched birds, the typical “freeze” range still depends on species behavior, but if you see any head bob or wing flick, don’t wait for the shutter to slow down. As a practical method, start at your target shutter speed (for example 1/800s), check the playback for sharpness on the eye, then adjust up by one stop of shutter speed if the bird is actively moving.
Is back-button focus worth it for bird photography, and how do I set it up correctly?
Back-button focus can help prevent the camera from refocusing when you’re not ready to shoot, but you need to pair it with continuous AF for tracking. Use it if you often lose eye lock because your thumb is changing focus behavior between composing and firing bursts. If you prefer a simpler workflow, stick with half-press AF and focus on choosing the right focus area.
Should I turn image stabilization on or off for birds in flight and perched birds?
Yes, image stabilization helps with camera shake, but you should not rely on it to fix subject motion. If your shutter speed target is not met, turn IS on for comfort but still prioritize shutter speed. A good habit is to set shutter speed first, then use IS to keep your framing steady, especially when handholding long lenses.
How do I stop my camera from focusing on branches or the wrong part of the bird?
A frequent mistake is using too-wide a focus area in high-contrast scenes, which can cause the camera to grab nearby branches or heads. If your camera supports it, use bird/animal detection with eye tracking, or switch to a smaller manual AF zone and keep the bird’s head in that zone while tracking.
What’s the best way to avoid blown highlights on bright birds or white feathers?
If the bird is too bright or you are blowing out whites in the plumage, reduce exposure by about 1/3 to 1 stop using exposure compensation, especially in Auto ISO modes. In RAW, you can recover some highlights, but clipped whites on feathers often cannot be brought back cleanly, so protecting highlights in-camera is still worth it.
How should I use continuous shooting bursts without wasting frames, especially when panning?
A simple rule for bursts is to aim for the peak moment, but do not continuously hammer the shutter for long stretches. Use shorter bursts, then pause slightly to let AF re-acquire as the bird changes posture. If you are panning, fire bursts only while motion is smooth and the eye stays near your focus point.
Why is my background still distracting, even when I use a wide aperture?
If your backgrounds look messy even at wide apertures, it’s usually not the aperture alone, it’s distance. Change position so the bird is farther from the background (even a few meters helps), and keep the lens aimed so the bird sits in front of dark, simple areas like water or shadowed tree line.
How do I get a tight frame without crossing the line and spooking the bird?
When you’re close to a bird, the “too close” stress rule conflicts with trying to fill the frame. If you are seeing alert behavior, step back slightly, use more focal length if you have it, and allow the bird to remain relaxed. Fill the frame through reach, not approach speed.
What should I do if lighting changes quickly (clouds, water reflections) and my exposure keeps jumping?
Wet feathers, snow, or very reflective plumage can cause metering to underexpose or overexpose unpredictably. Start with your usual shutter and aperture targets, then let Auto ISO handle brightness changes, while watching your histogram for clipping. If the camera repeatedly fails, switch to Manual with Auto ISO and use exposure compensation once you dial in a reliable baseline.
Next Article
How to Bird Mouth a Rafter: Step-by-Step DIY Guide
Step-by-step guide to cut the bird-mouth notch in a roof rafter, measure pitch accurately, and fit for a tight seat.