You can get sharp, well-exposed bird photos on your very first outing. You don't need a $5,000 lens or years of experience. What you need is the right starting gear, a handful of camera settings dialed in before you walk out the door, and a simple field approach that doesn't scare every bird within 50 feet of you. This guide covers all of that, step by step, so you leave today with real results instead of a memory card full of blurry blobs.
Beginner Bird Photography: First Photos Today Step by Step

Marcus Hendricks
7 Apr 2026
Getting started with bird photography gear for beginners
The single biggest mistake beginners make is waiting until they have "the right gear." You probably have something usable right now. A modern mirrorless or DSLR camera body paired with a kit lens will absolutely get you started. That said, bird photography does reward a few specific pieces of equipment, and knowing what actually matters will save you money.
Camera bodies worth starting with
Entry-level mirrorless bodies are the sweet spot right now. The Canon EOS R50 shoots up to 12 fps with its mechanical shutter and up to 15 fps in silent electronic shutter mode, which is plenty of burst speed to catch a bird mid-wingbeat. The Sony a6400 hits 11 fps in Hi+ mode, and the Nikon Z50 maxes out at 11 fps as well. Any of these bodies in the $600–$900 range will handle bird photography confidently. If you already own a camera, use it. Don't buy new gear before you know whether you enjoy the hobby.
The lens question (and why it's the most important decision)
For birds, focal length matters more than almost anything else. A 100–400mm zoom is the practical beginner's sweet spot: long enough to fill the frame with a robin-sized bird from 20 feet away, compact enough to carry for hours. A 70–300mm kit zoom works fine for large, approachable birds like herons, ducks, and backyard feeders. Going prime (a fixed 500mm or 600mm) gives sharper results but removes flexibility. If you're renting before you buy, a 100–400mm zoom is what I'd recommend every time.
Support, bags, and accessories
A monopod is underrated for bird photography. It stabilizes a heavy telephoto lens while still letting you pan quickly when a bird takes off, something a tripod makes difficult. If you shoot mostly from a fixed spot like a backyard bird photography setup, a tripod with a fluid head is better. Bring extra batteries (birds don't wait for you to charge), a large memory card (burst shooting eats space fast), and a lens cloth. A padded sling bag works better than a backpack in the field because you can access gear quickly without putting it down.
Choosing the right camera settings for birds
Bird photography punishes slow shutter speeds and rewards fast ones. Here's where to start. These settings aren't permanent rules, but they're a solid baseline that will get you sharp photos today while you learn the nuances.
| Setting | Recommended Starting Point | Why It Matters |
|---|---|---|
| Exposure Mode | Aperture Priority (Av/A) or Shutter Priority (Tv/S) | Aperture Priority gives background control; Shutter Priority guarantees motion stops |
| Shutter Speed | 1/1000s minimum for perched birds; 1/2000s or faster for flight | Stops wing motion and handshake blur |
| Aperture | f/5.6 to f/8 | Sharpest zone for most telephoto lenses; keeps the bird in focus |
| ISO | Auto ISO, max ceiling 3200–6400 | Lets the camera compensate in shade without you adjusting constantly |
| Autofocus Mode | Continuous AF (AI Servo / AFC / AF-C) | Tracks a moving subject as it shifts position |
| Drive Mode | High-speed continuous (burst) | Captures the peak moment across a sequence of frames |
| Metering Mode | Evaluative / Matrix | Handles mixed lighting scenes automatically |
Start in Aperture Priority with Auto ISO enabled. Set your aperture to f/6.3, your minimum shutter speed hint (if your camera supports it) to 1/1000s, and let the camera manage ISO up to 3200. In the ABA Birders’ Guide, the birding photography and camera settings section includes examples using practical shutter speeds such as around 1/2000s for birds in motion a minimum shutter speed hint (if your camera supports it) to 1/1000s. This combination handles the majority of daylight bird scenarios without you constantly fiddling with dials. Once you're comfortable, move to full Manual mode on bright days when light is consistent, but don't rush that step.
Autofocus deserves special attention. Switch your camera to its continuous tracking mode (Canon calls it Servo AF, Sony calls it AF-C, Nikon calls it AF-C as well). If your camera has a subject recognition mode for animals or birds, turn it on. It's genuinely helpful, not gimmicky. Place your focus point on the bird's eye, not its body. Eye-tracking locks onto the most expressive part of the subject and gives you sharper, more compelling photos almost automatically.
Where to find and approach birds safely
The best bird photography locations for beginners are places birds already visit reliably: local parks with ponds, nature reserves with walking trails, botanical gardens, and your own backyard. Water is a magnet. Ducks, herons, egrets, kingfishers, and shorebirds are reliably large, slow-moving, and used to mild human presence. Start there before you try to photograph warblers in dense forest.
Approaching without flushing the bird
The biggest field skill in bird photography is learning how close you can actually get. Most birds have a "flush distance," the point at which they feel threatened and fly off. For common park birds it's roughly 15–30 feet; for wilder or rarer species it can be 100 feet or more. Move slowly, avoid direct eye contact (birds read this as predatory), and approach at an angle rather than straight on. Stop frequently and let the bird habituate to your presence. Audubon’s ethical bird photography guidance recommends using a telephoto lens and maintaining enough distance to allow the subject to behave naturally Stop frequently and let the bird habituate to your presence.. If it raises its head and stiffens, freeze. Give it a moment. Then either hold your position or back off slightly.
Time your outings around feeding activity. Early morning (the first two hours after sunrise) is when most songbirds are most active. Water sources and feeders create predictable behavior: birds return repeatedly to the same spots, so you can pre-focus on a perch, wait, and let the bird come to you. This patience pays off more than stalking ever does.
Wear neutral or muted colors: olive, tan, grey, or camo. Avoid white and bright colors, which stand out in natural environments. Staying low (kneeling or sitting) makes you less imposing. If you're shooting near a feeder, position yourself at the same level as the feeder rather than looking down at it. Eye-level photos feel more intimate and alive.
Focusing and shooting technique: track action, burst, and timing
Getting a sharp bird photo requires more than just fast shutter speed. You need to be tracking the bird with your lens before you press the shutter, not chasing it after the fact. This is a habit you build over time, but here's how to accelerate it.
- Lock focus on the bird's eye before it moves. Use continuous AF and keep the focus point on the head region even when the bird is stationary.
- Pan smoothly when the bird walks or hops. Keep your lens moving with the bird at the same speed, not jerking to catch up.
- Half-press the shutter to activate and hold AF, then fire the burst when the bird is in a good position. Don't stab the shutter at random.
- Use burst mode for anything faster than a walking bird: a head turn, wing stretch, takeoff, or landing. Even at 6–8 fps you'll capture peak moments you couldn't time manually.
- After the burst, stop and review two or three frames to check sharpness and composition before continuing. This feedback loop trains your eye fast.
Birds in branches are trickier than they look. Foliage confuses autofocus, which latches onto the nearest high-contrast edge (often a twig, not the bird). If this happens, switch to a single, smaller focus point and place it directly on the bird's head. For tips on this specific challenge, the guide on photographing a bird sitting in a tree or perched position goes deeper on positioning and AF strategies.
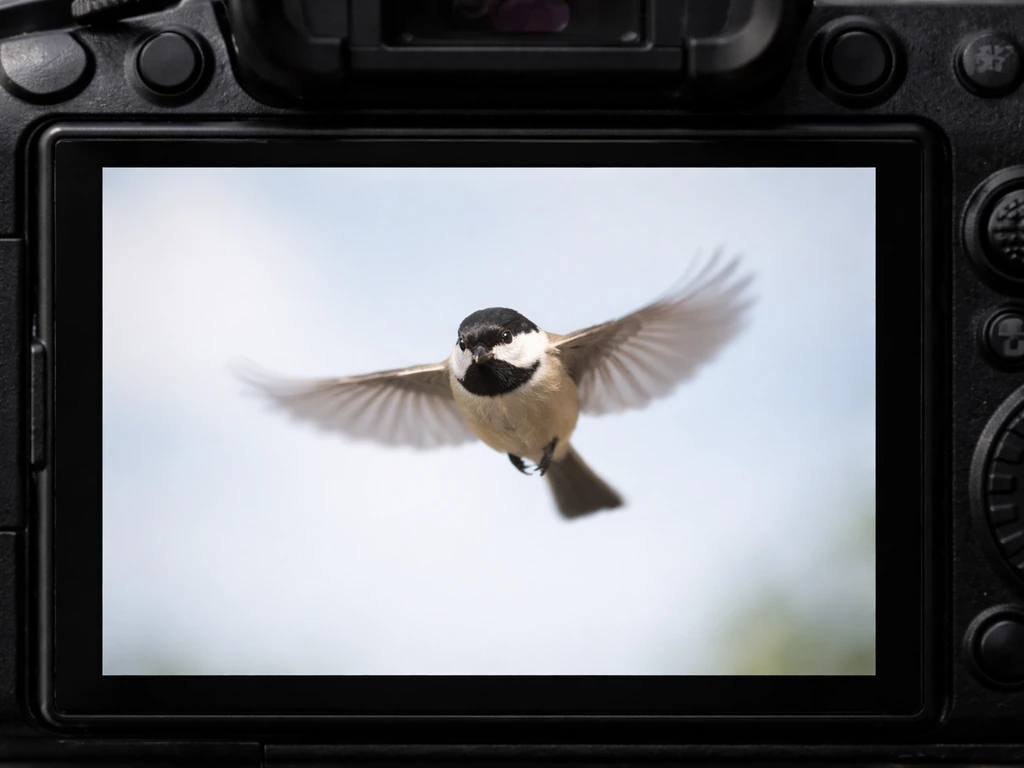
Flight photography feels intimidating at first, but it's about practice more than settings. Keep both eyes open if you can (one through the viewfinder, one watching the bird's broader environment). This helps you anticipate direction changes before they happen. For a full breakdown, check out how to photograph a bird in flight, which walks through tracking technique and the specific settings that work for different flight speeds.
Lighting and composition basics that make photos look good fast
Good light is the fastest shortcut to better photos. Shoot with the sun behind you and hitting the bird's face directly. This "front lighting" gives you bright, even color on feathers and catchlights in the eyes (that little white sparkle that makes bird photos feel alive). Backlight (sun behind the bird) creates a silhouette or a blown-out background, and while that can be artistic, it's not what you want when you're learning. Overcast days are genuinely underrated: soft, diffused light wraps evenly around the bird, eliminates harsh shadows under the beak, and produces gentle, saturated colors that hold up in editing.
Background management
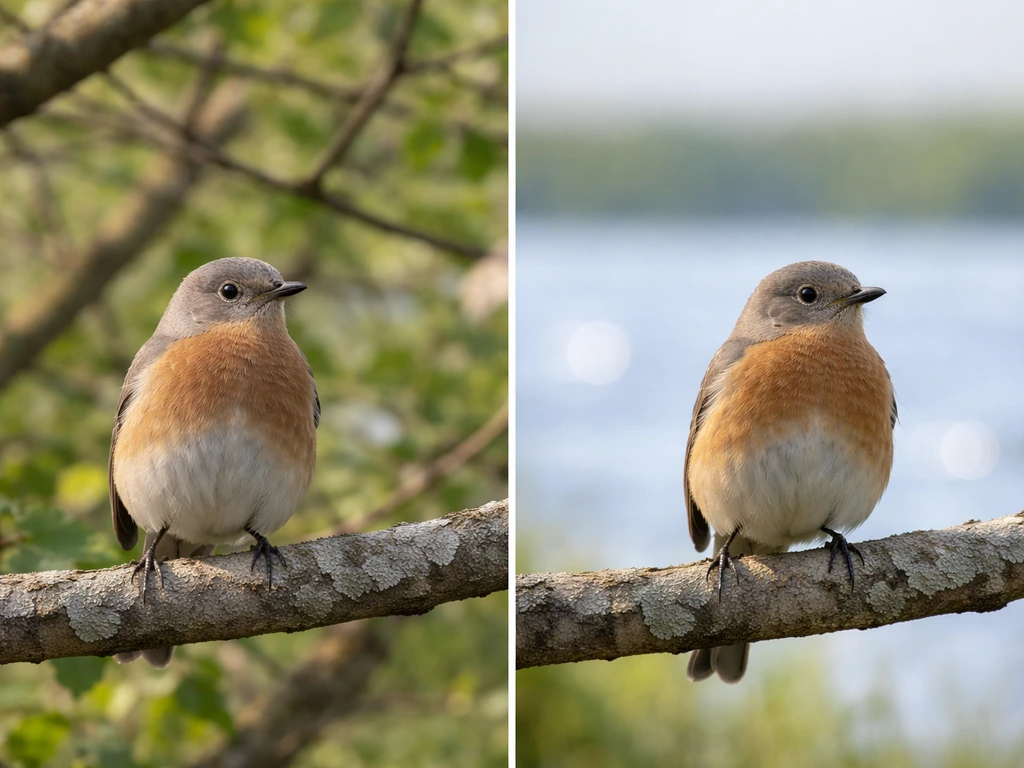
A distracting background ruins an otherwise great photo. The fix is simple: lower your position until the background behind the bird is distant sky, water, or out-of-focus foliage instead of a cluttered fence or parked car. Your wide aperture (f/5.6–f/6.3) is doing the blurring work, but it only works if the background is far behind the subject. Move around the bird, not just toward it. A few steps to the left can completely change a background from garbage to beautiful.
Simple framing rules
Don't center the bird in every frame. Place it on a rule-of-thirds intersection (one third from the edge, one third from the top or bottom). Leave space in front of the bird's beak in the direction it's looking, this is called "look room" and it makes the photo feel less cramped. Fill the frame enough that you can see feather detail, but leave a little breathing room around the bird rather than cropping its tail or wingtips. These small compositional choices are what separate a snapshot from a photo worth sharing.
Workflow: reviewing photos, basic editing, and learning from results
The improvement loop is where most beginners skip out. They come home, glance at a few photos, feel frustrated, and don't connect the dots between what went wrong and what they should do differently. Here's a better workflow.
- Import everything to your computer and use a program like Lightroom, Capture One, or even the free version of Darktable to view photos at 100% zoom.
- Sort into three rough piles: sharp and well-exposed (keep), fixable with editing (maybe), and technically failed (delete). Be ruthless with the delete pile. Keeping bad photos clutters your view of what's actually working.
- Check sharpness on the eye first. A photo that's sharp everywhere except the eye is still a reject. A photo that's slightly soft elsewhere but has a tack-sharp eye can still work.
- Apply basic edits in this order: exposure correction, highlight recovery, shadow lift, white balance adjustment, and then a gentle sharpening pass. Don't over-process. Bird photos look best when feather color is natural, not boosted into neon.
- Save your best 5–10 from each session and study what they have in common: time of day, distance, angle, behavior. That's your personal data for next time.
- Write a one-line note to yourself about what you'd do differently. This sounds tedious but it's the fastest way to improve.
Shooting RAW instead of JPEG gives you far more latitude to fix exposure and white balance errors in post without destroying image quality. If your camera supports it, switch to RAW today. The files are larger, but the editability is worth it. If storage is a concern, RAW + small JPEG is a good compromise while you're learning which shots you actually keep.
For a broader look at improving your overall capture process, it's worth reading through how to take bird photos, which covers the full shooting workflow from finding a subject to finishing a frame. And once you feel ready to level up your technique across different scenarios, tips for bird photography offers a solid collection of field-tested advice that complements everything in this guide.
Common beginner mistakes and quick fixes
Every beginner makes these. I made all of them. Knowing the pattern in advance means you can diagnose and fix problems on the spot instead of coming home confused.
| Problem | Likely Cause | Quick Fix |
|---|---|---|
| Blurry bird, sharp background | Shutter speed too slow OR AF tracking the wrong thing | Raise shutter speed to 1/1000s+; switch to continuous AF and put the focus point on the bird's head |
| Sharp bird, blown-out sky | Exposure is metered for a dark bird or shadow area | Dial in -1 to -1.5 stops of exposure compensation |
| Photo too dark overall | Metering fooled by bright background (sky/water) | Add +1 stop exposure compensation or spot-meter on the bird |
| Grainy/noisy image | ISO too high, usually because shooting in shade late in the day | Move to a brighter position; raise your ISO ceiling gradually rather than capping it too low |
| Bird flew away before you shot | Approaching too fast or in a straight line | Slow down, approach at an angle, stop when bird looks alert |
| Out-of-focus burst: all frames soft | AF mode set to single-shot instead of continuous | Switch to AF-C / Servo AF before you shoot anything that moves |
| Shaky photos even at fast shutter speeds | Mirror shock or pressing the shutter too hard | Use electronic shutter if available; squeeze the shutter gently instead of jabbing it |
One mistake that catches almost everyone: staying too far back and cropping heavily in post. Digital cropping destroys sharpness. It's better to get closer (carefully) or accept that you need a longer lens, than to shoot at 300mm and crop to 20% of the frame. Learn your minimum approach distance for each species you photograph and work within it.
Your next steps right now
Here's exactly what to do today to get started. Pick up your camera and set it to Aperture Priority, f/6.3, Auto ISO with a 3200 ceiling, and continuous AF. Head to the nearest park or water body within 30 minutes of your home, ideally in the first couple hours of morning light. Choose one species to focus on: a duck, a heron, a pigeon at a fountain. Anything large and approachable. Spend an hour on that one subject, working your way through different positions and distances. Shoot bursts, review on the camera screen, adjust. Come home, pull the best 10 frames, and note what the sharp ones have in common. That one session will teach you more than any amount of reading.
Bird photography rewards patience and consistency more than expensive equipment. The photographers with the stunning portfolio shots got them by showing up repeatedly to the same locations, learning the behavior of the birds there, and making small adjustments each time. You can start building that experience today, with what you already have.
FAQ
What’s the best beginner bird photography lens if I’m limited to one zoom?
Choose a 100–400mm zoom if you can, because it covers both closer backyard birds and subjects farther away without needing to crop heavily. If your budget only allows a 70–300mm, prioritize brighter lens models and plan to shoot from closer angles near feeders or ponds, since heavy cropping will reduce detail.
Should I use Auto ISO or should I cap it lower than 3200?
Start with the article’s Auto ISO approach (up to 3200) for your first outings, then cap it lower only if your camera’s higher ISO looks noisy in your files. A practical test is to take a few bursts in the same light, compare detail on the bird’s eye, and set your maximum ISO to the highest value where the eye stays clean after light editing.
How do I avoid missing focus when birds are moving quickly or partially hidden?
When autofocus seems to hunt, reduce complexity by using a smaller, more precise focus area (for example, a single point) and keep it on the eye. If the bird goes behind branches, briefly pause your panning until the head reappears, then re-lock and resume tracking, rather than firing through multiple unstable frames.
Is RAW worth it for a beginner if I only want “good enough” photos?
Yes, especially for birds because small exposure and white balance errors are common under mixed light (shade near trees, bright sky, water reflections). If storage is tight, shoot RAW plus small JPEG for the first few sessions, so you can quickly share keepers while still having RAW for retouching the sharpest images.
What shutter speed should I use at sunrise or in shady forests?
If light drops, keep the minimum shutter speed you can manage, then let ISO rise rather than dropping shutter too far. As a rule of thumb for birds that aren’t perfectly perched, aim to maintain a fast baseline like 1/1000s when possible, and be more selective with flight when light is weak.
Do I need burst mode for perched birds too?
It helps, even with perched birds, because head turns and eye blinks happen fast and are often the difference between “sharp” and “shareable.” Use short bursts, then review immediately for eye sharpness. Long bursts just fill your card and make it harder to find the moments that matter.
How close is too close, and what should I watch for to know the bird is stressed?
If the bird stiffens, raises its head repeatedly, freezes, or starts to move away in short steps, you’re likely inside its flush distance. Pause your approach, stay still, and wait for calm behavior before continuing. Avoid direct staring, and approach at an angle rather than straight on.
What’s the best way to stop backgrounds from ruining beginner bird photos?
Lower your position when possible and move sideways to change what’s behind the bird, not just closer to it. Background blur only works when the background is far behind the subject, so even a perfect aperture will look busy if the fence, trunk, or rocks sit close to the bird.
How do I handle birds that keep hopping between branches or perches?
Treat each perch as a mini session: track the bird while it moves, but aim to re-confirm focus the moment the head settles. If your camera supports it, animal/bird recognition plus eye focus can reduce misses, but you still need to pause your shutter presses for a split second as the bird lands.
What’s a common mistake with “front lighting,” and when should I break the rule?
Front lighting is great, but if the sun is too low or too close to the frame edge, you may get flare or harsh contrast on feathers. If that happens, shift your position so the sun hits the bird’s face at an angle, or use overcast conditions where the light is naturally diffused.
How should I shoot in flight as a beginner if my frames are consistently blurry?
Blurry flight photos usually come from losing tracking or using too-slow shutter speed. First, confirm your shutter is staying fast enough, then keep a continuous tracking mode engaged and place the focus on the bird early, not after it enters the frame. Also practice panning with the bird, so the camera stays locked while you fire a short burst.
Is it better to crop or to use a longer lens for beginner bird photography?
For quality, it’s better to get closer carefully or use a longer focal length than to rely on heavy cropping. Digital cropping reduces fine feather detail and can make sharpness look worse, so before the next outing, identify your real working distance and pick a lens that fits it.
Next Article
How to Take Bird Photos: Step by Step for Beginners
Step-by-step beginner guide to take bird photos, from gear and camera settings to focusing, flying birds, and fixes for