You can legally and safely collect naturally shed bird feathers, but only if you know the rules first. In the U. S. , the Migratory Bird Treaty Act (MBTA) prohibits possessing feathers from most native wild birds without a permit, even ones you find lying on the ground.
How to Collect Bird Feathers Safely and Responsibly

Marcus Hendricks
29 Apr 2026

USFWS guidance lists feathers, including “partial remains,” as migratory bird items that may require a permit to possess depending on the situation USFWS guidance lists feathers as “partial remains” that may require a permit. That means you need to check species legality before you pick anything up.
Once you know what you can legally keep, collecting is straightforward: look for naturally molted feathers in the right spots, handle them cleanly, dry and store them properly, and you'll end up with a beautiful collection that won't attract pests, smell, or get you in legal trouble.
Legality and ethics: the stuff you need to know before you touch anything
This part isn't optional reading. If you're in the U.S., the MBTA makes it illegal to possess feathers, nests, eggs, or any other parts of migratory birds without a federal permit. That list covers nearly every wild North American bird you can think of, including songbirds, raptors, waterfowl, and shorebirds. It doesn't matter if the feather was just lying on the trail. Even a naturally molted feather falls under the law if it belongs to a protected species. The U.S. Fish & Wildlife Service (USFWS) enforces this seriously.
There is some nuance. In late 2024, the USFWS added an authorization at 50 CFR 21.16 that allows individuals to salvage migratory bird specimens under specific conditions, but with a big catch: you must promptly donate the specimen to an authorized receiver or completely destroy it. So casual personal collecting of wild migratory bird feathers is still legally tricky in most contexts.
What is generally safe to collect in the U.S.: feathers from non-native species like European Starlings, House Sparrows, and Rock Pigeons (these aren't protected under the MBTA), and feathers from domesticated birds like chickens, peacocks, or turkeys. If you're outside the U.S., the rules are similar in spirit. The UK's Wildlife and Countryside Act restricts keeping wild bird parts, Canada's Migratory Birds Convention Act covers most migratory species with some limited exemptions tied to recognized constitutional rights, and the EU Birds Directive protects wild bird species across member states.
The practical takeaway: if you can't confidently identify the species, don't pocket the feather. Misidentification is a real risk, and the USFWS Feather Atlas itself warns that feather identification isn't definitive without expert confirmation. Look up the species before you collect, and when in doubt, leave it. The Feather Atlas is a free online image database from the USFWS that can help you identify North American flight feathers before and after you're in the field.
On the ethics side, the American Birding Association's code asks birders to avoid stressing birds or exposing them to danger. That means you're only looking for naturally shed feathers, never pulling feathers from a living bird, and never disturbing nesting areas during your search. The goal is zero impact on the birds themselves.
What feathers are actually worth collecting
Not every feather you find is worth picking up. Here's how to quickly decide if a feather is worth your time and container space.
Species and legal status first
Start by asking: do I know what bird this came from, and is it legal to keep? That kind of identification step is also the core of how to pluck a bird responsibly, even when you are only collecting shed feathers do I know what bird this came from. If yes to both, proceed. If no to either, leave it. Feathers from domestic or non-native species are your safest bet as a beginner. Chicken feathers, peacock feathers, and pigeon feathers are easy to source legally and give you plenty of practice with handling and cleaning before you move on to anything more complex.
Freshness and condition
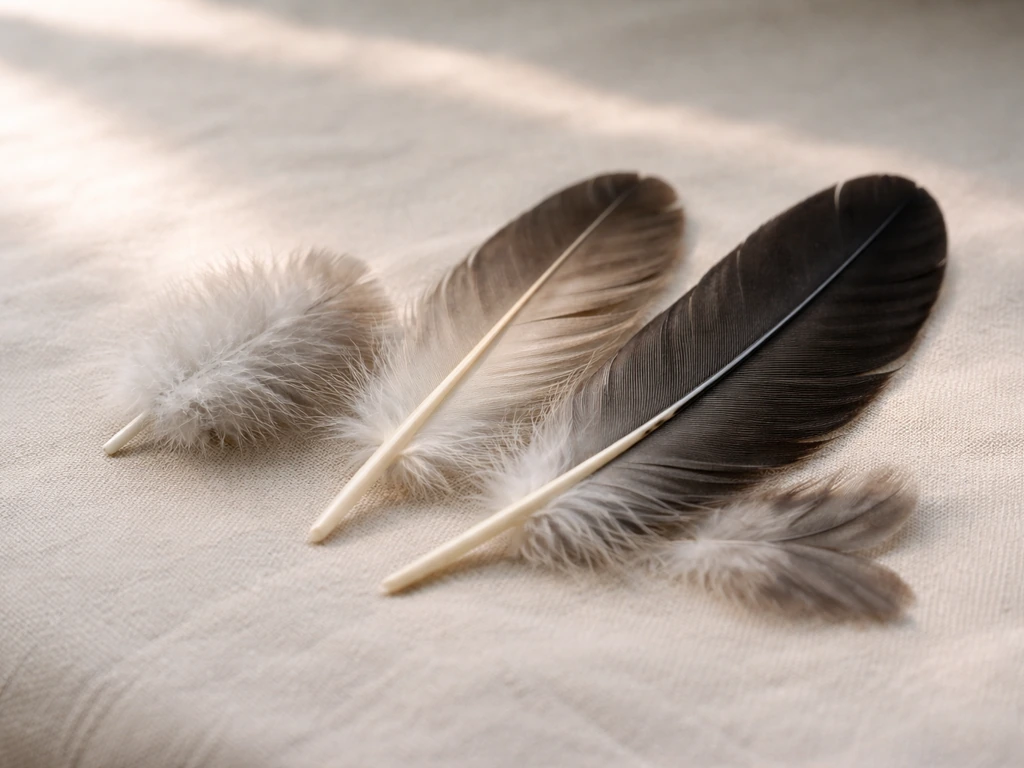
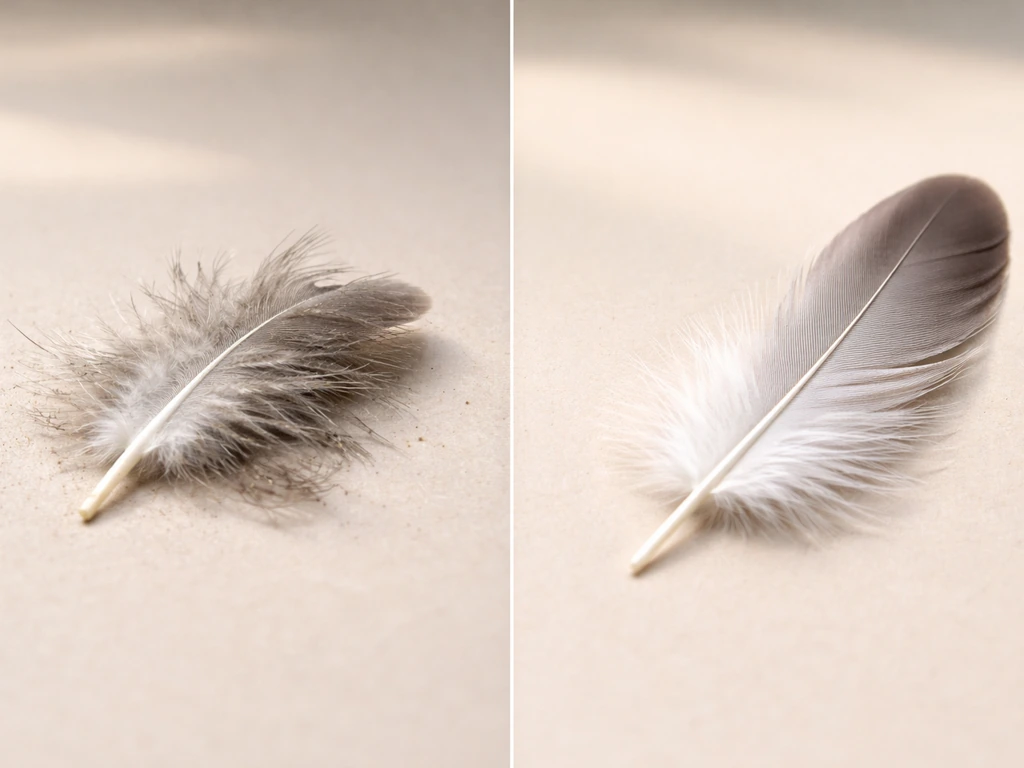
A good feather is clean, intact, and not too weathered. Look for feathers with barbs that are still zipped together (meaning the feather looks flat and smooth, not frayed and separated). Avoid feathers that are matted, discolored from moisture, smell musty, or show signs of parasite activity like tiny holes or white powdery residue. Fresh molted feathers are usually still vibrant in color. Feathers that have been rained on repeatedly or sat in dirt for weeks will be much harder to clean and preserve.
Timing matters here too. Birds undergo molt in predictable patterns: inner primary flight feathers tend to drop first, working outward, and central tail feathers are usually shed before outer ones. Molt typically happens once or twice a year depending on the species, so knowing your local birds' molt schedules helps you find fresh feathers in the right places at the right time of year.
Quality checklist at a glance
- Barbs are connected and the feather looks flat, not shredded
- No strong odor (a slight earthy smell is okay; anything musty or rotten is a red flag)
- Color is still visible and not bleached out from sun exposure
- No visible mites, lice, or egg clusters on the shaft
- Calamus (the hollow base of the quill) is clean and dry, not wet or soft
- No obvious cracks or splits in the rachis (the central shaft)
Tools and setup before you head out
You don't need a lot of gear, but having the right stuff makes the whole process cleaner and safer. This is especially important because wild feathers can carry bacteria, mites, and other pathogens. Gloves are non-negotiable.
| Tool | What it's for | Notes |
|---|---|---|
| Nitrile or latex gloves | Protect your hands from pathogens and parasites | Disposable; bring a few pairs |
| Tweezers or tongs | Pick up feathers without direct skin contact | Long-nose tweezers work best for small feathers |
| Small paper envelopes or coin envelopes | Store individual feathers after collection | Paper breathes better than plastic; reduces moisture buildup |
| Pencil and waterproof marker | Label each envelope with species, date, and location | Pencil won't smear if the envelope gets damp |
| Small magnifier or loupe (optional) | Inspect feather condition and check for parasites up close | A 10x loupe works well |
| Field notebook or phone | Record metadata: where, when, species guess, feather type | Photos help with later identification |
| Small zip-lock bags | Secondary containment for envelopes during transport | Keeps things organized and contained |
| Hand sanitizer | Clean hands between handling different feathers | Reduces cross-contamination between samples |
Keep your collection kit in a dedicated bag or box so it doesn't mix with other outdoor gear. I learned the hard way that a loose feather in a hiking backpack pocket is a disaster by the time you get home.
How to collect feathers in the field: step by step
- Put on your gloves before touching anything. This protects you and also prevents oils from your skin from degrading the feather's structure.
- Scan the ground before you pick anything up. Common spots for shed feathers include under trees where birds roost, along the edges of ponds or wetlands, near bird feeders, below power lines, and in open grassy areas where birds preen. During active molt seasons, you may find small clusters of feathers in a single area.
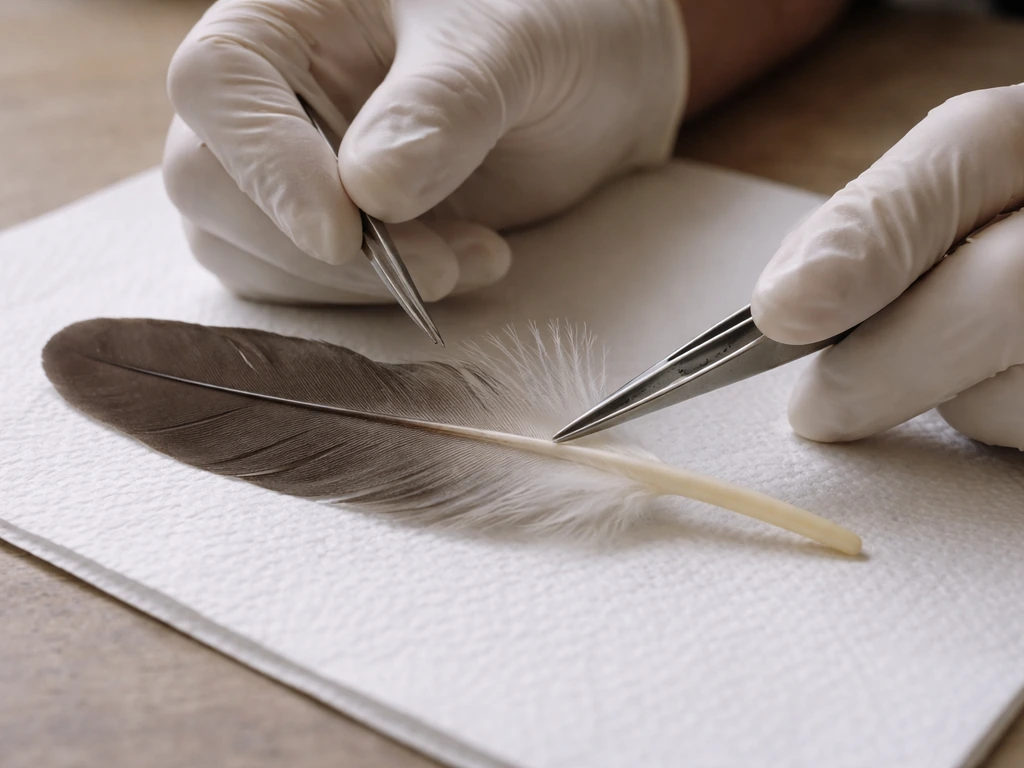
- Use tweezers to lift the feather gently by the rachis (the central shaft), not by the barbs. Gripping the soft barb area can cause them to separate or flatten in ways that are hard to reverse.
- Do a quick condition and species check on the spot. If you have a magnifier, use it. Look for the red flags mentioned earlier: mites, damage, odor, moisture. If the feather passes, move to the next step.
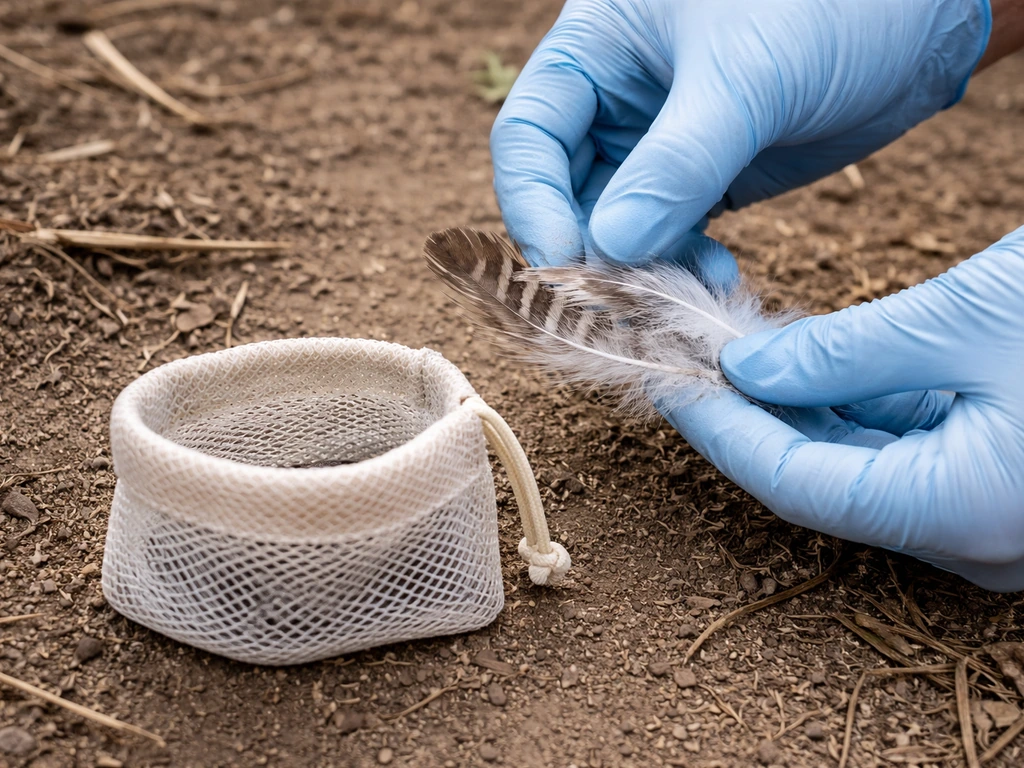
- Slide the feather into a pre-labeled paper envelope with the tip going in first. Write the species (or your best guess), date, and location on the envelope immediately. Don't rely on memory.
- Sanitize your hands (or swap gloves) before handling the next feather. Keeping samples separate prevents cross-contamination and keeps your records accurate. Each unique feather or location gets its own envelope.
- If you find a bird carcass with feathers still attached: do not pull feathers from it. In most cases, possessing feathers from a protected species is illegal regardless of how the bird died. Contact your local wildlife agency or the USFWS if you find a dead bird of an uncommon or protected species. They may want it for research or salvage purposes.
- Never disturb active nests, roosts, or feeding areas to look for feathers. Keep a respectful distance from any live birds you encounter.
Cleaning, drying, and storing your feathers
Raw feathers from the field often carry dust, tiny bits of soil, and surface bacteria. Cleaning them properly makes them safe to handle, nicer to look at, and much longer-lasting. Skip this step and you're inviting mold, smell, and pests into your storage area.
Cleaning
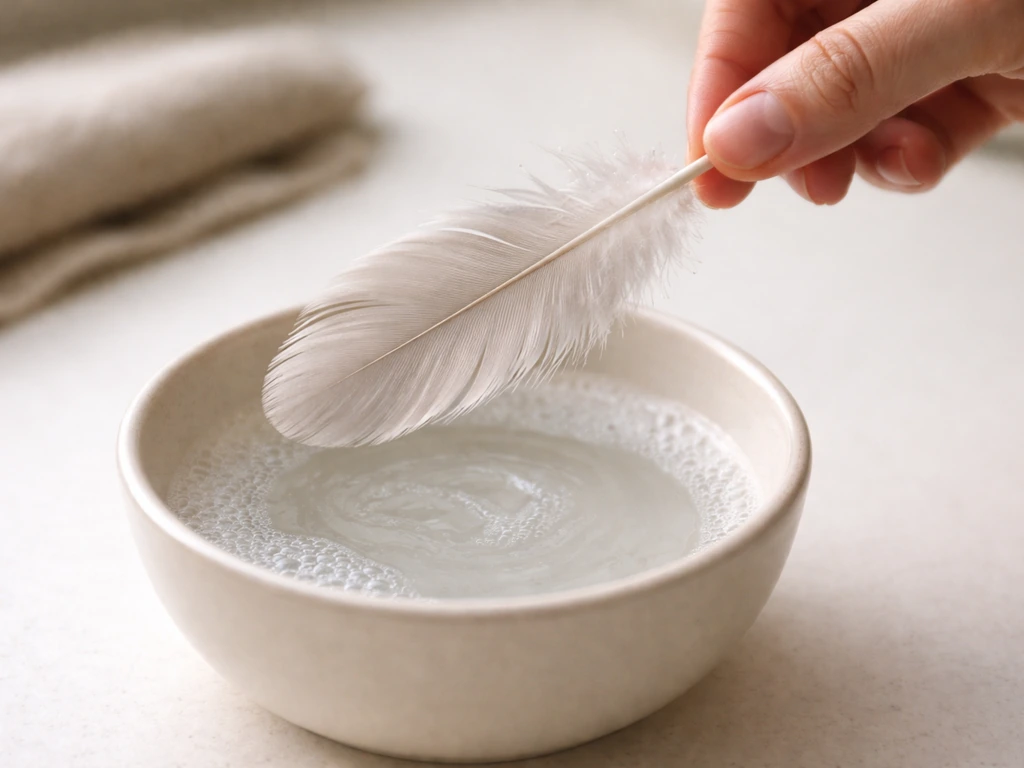
- Fill a small bowl with lukewarm water and add a tiny drop of mild dish soap. You barely need any soap at all.
- Holding the feather by the rachis, dip it into the soapy water and gently work your fingers from the base of the barbs toward the tip. Never rub against the grain (base to tip is the direction you want).
- Rinse the feather thoroughly under a gentle stream of cool water until all soap is gone. Soap residue left on feathers can attract dust and cause the barbs to stick together.
- Gently shake off excess water. Do not wring, twist, or press the feather between towels.
Drying
Air drying is the simplest method: lay the feather flat on a clean paper towel in a well-ventilated spot, or hang it by the calamus (base of the quill) with a small clip. Keep it away from direct sunlight, which fades colors. For faster drying, a hairdryer on a warm (not hot) setting works well. Hold it several inches from the feather and move it continuously. As the feather dries, you can gently zip the barbs back together with your fingers, working from the shaft outward, to restore its natural flat shape. This is honestly satisfying once you get the hang of it.
Storing
Once completely dry, place each feather in a clean paper envelope or wrap it loosely in acid-free tissue paper. Label everything: species (or best ID), date found, and location. Store your collection in a cool, dry place away from humidity. A flat box with a lid works better than a drawer, which can cause feathers to bend. Add a small cedar block or sachet to the storage container as a natural pest deterrent. Avoid plastic bags for long-term storage since they trap moisture and promote mold growth.
If you're seriously worried about parasites (especially if a feather looked questionable in the field), you can freeze the sealed envelope at 0°F (-18°C) for at least 72 hours before adding it to your main collection. This kills any mites or insect eggs that may have survived cleaning. Let it return to room temperature inside the sealed bag before opening to prevent condensation.
Using feathers for crafts and displays
Once your feathers are clean, dry, and properly labeled, you've got a lot of options. The most common hobby uses are nature journaling (pressing feathers into a journal alongside sketches and field notes), display framing (mounting feathers on card stock or in a shadow box with species labels), and crafting like fly tying, jewelry, bookmarks, or decorative arrangements.
For display or craft use, the key to preserving quality long-term is limiting handling. Every time you touch a feather barehanded, your skin's oils slightly degrade the structure. Use tweezers or cotton gloves when working with display feathers. If you want to mount a feather, a thin strip of archival-quality tape at the calamus end is enough to hold it without damaging the barbs.
To keep display feathers looking their best over time, store them out of direct light when not displayed, keep humidity low, and check your storage container every few months for any sign of pests or mold. Featherfolio's care guidance also notes that cedar has traditionally been used as an insect deterrent in feather storage, so that cedar sachet in your box isn't just old-fashioned advice.
If you want to go deeper on identifying what you've collected, checking the species and feather type against the USFWS Feather Atlas is a great next step. It's specifically built for identifying North American flight feathers and is the same resource professionals use. Related to this, learning how to identify bird feathers more systematically can help you build a well-organized and legally sound collection. If you want a step-by-step approach, use a feather identification guide that covers key features like size, shape, and coloration identify bird feathers. You can use clear visual markers and compare features step-by-step to learn how to identify bird feathers accurately.
Common mistakes and how to fix them
| Mistake | What goes wrong | Fix |
|---|---|---|
| Skipping the legal check | You could unknowingly possess a protected species feather | Always identify the species before collecting; when in doubt, leave it |
| Not wearing gloves | Skin oils damage barbs; you risk exposure to bacteria or mites | Always glove up before touching field feathers |
| Storing feathers before they're fully dry | Mold grows inside envelopes, especially at the calamus end | Let feathers air dry completely (several hours minimum) before sealing in storage |
| Using plastic bags for long-term storage | Trapped moisture causes mold and odor over weeks | Use paper envelopes or acid-free tissue; add silica gel packets if humidity is a concern |
| Handling display feathers barehanded repeatedly | Barbs weaken, color dulls, and the rachis gets greasy | Use tweezers or cotton gloves every time |
| Skipping the freeze step for questionable feathers | Mite eggs or insect larvae survive and spread to your collection | Freeze sealed feathers at 0°F for 72+ hours if parasites are suspected |
| Mixing multiple feathers in one envelope | Feathers get tangled, barbs break, and you lose track of which is which | One feather per envelope, labeled immediately in the field |
| Pulling feathers from a carcass | Illegal for protected species; also risks disease exposure | Leave carcass feathers alone and contact your local wildlife agency if needed |
The most common beginner error I see is rushing to collect without confirming legality first. It's easy to get excited when you spot a beautiful feather on a trail, but two seconds of hesitation to ask 'do I know what this is and can I legally keep it?' will save you a lot of trouble. The second most common issue is poor drying, which leads to a musty-smelling collection within weeks. Take the drying step seriously and your feathers will last for years.
FAQ
If I find a single feather on my property, do I still need a federal permit in the U.S.?
Often yes. In the U.S., most native wild bird feathers are covered under the Migratory Bird Treaty Act, even when the feather is naturally shed. The deciding factor is the species, not where you found it. If you cannot confirm it is from a non-protected species or a domesticated bird, leave it where it is.
What should I do if I cannot identify the species with confidence?
Do not collect it. Misidentification is a common legal and ethical risk, because a protected bird can look similar to a non-protected one. If identification tools do not get you to a confident species level, the safest choice is to leave the feather behind.
Are feathers from pet birds (like parrots or finches) regulated the same way as wild bird feathers?
Feathers from domesticated birds you own are generally treated differently than wild migratory birds. The key is documentation and control: if the feather truly came from your pet or a legal domestic source, it is not the same as picking up wild specimens. If the origin is unclear, treat it as wild and avoid collection.
Can I wash a wild feather with soap and water to make it clean?
Be cautious. The article covers air-drying, freezing for pests, and storage practices, but it does not recommend soaking or heavy washing. For most feathers, gentle cleaning after field dry is safer than saturating the material, because excess moisture can encourage mold and weaken structure.
How long should I freeze the feathers before putting them into long-term storage?
Freeze sealed feathers at 0°F (-18°C) for at least 72 hours, then allow them to return to room temperature while still sealed before opening. That prevents condensation, which can restart moisture problems after freezing.
What are the signs that a feather is too weathered or contaminated to keep?
Avoid feathers that smell musty, look matted or clumped, show parasite signs (tiny holes or white powdery residue), or are heavily discolored from moisture. Dirt that has been there a long time is also harder to decontaminate cleanly without leaving residues that attract pests.
Do I need to dry feathers immediately after collecting them?
Yes, as soon as possible. Delaying drying increases the chance of musty odor, mold, and pest attraction. If you cannot dry right away, keep the feather contained and dry-leaning (not enclosed with other damp items) until you can properly air-dry.
Is cedar really necessary, or can I use other pest repellents?
Cedar can help as a natural deterrent, but it is best used as a supplement to correct storage (cool, dry, low humidity, breathable packaging). If you use cedar sachets, monitor your collection periodically and keep feathers away from direct contact with loose cedar fragments that could shed into the container.
Can I store feathers in plastic bags if they are sealed?
Not for long-term storage. Plastic can trap moisture and promote mold growth, even if the feather seems mostly dry. Prefer paper envelopes or acid-free tissue wraps in a lidded flat box so air exchange and humidity control are more stable.
How often should I check my feather storage for pests or mold?
Every few months is a practical baseline. If you live in a humid area or notice any condensation, check more frequently. Also inspect after any thawing or after adding new feathers to catch problems early.
What is the safest way to label feathers if I am not 100% sure of the ID?
Label with the best ID you have plus a confidence note or “best guess,” along with date and location. This keeps your collection organized and helps future re-identification without pretending certainty when you have doubts.
Can I frame or mount feathers right after cleaning, or should I wait?
Wait until the feather is completely dry. Handling a damp feather during mounting increases the risk of hidden moisture leading to odor or mold later. When mounting, limit direct contact with bare hands and use tools like tweezers or gloves to reduce oil transfer.
Next Article
How to Pluck Bird Feathers Safely: Step-by-Step Guide
Step-by-step on safe feather plucking, tools, bird prep, wing body tail techniques, plus cleaning, storage, and troubles