You can make convincing bird sounds with just your mouth, and adding your cupped hands makes them louder, more resonant, and more directional. The core skills are breath control, mouth shaping, pitch placement, and rhythm matching. Once you understand those four things, you can imitate a surprising number of common birds within a single practice session. If you want a full walkthrough, this section on how to do the bird call will help you turn those basics into specific, recognizable calls. This guide walks you through exactly make a bird caller, from your first whistled note to recognizable species-specific calls. how to make a bird caller. how to do a bird call easy
How to Make Bird Sounds With Your Mouth and Hands

Marcus Hendricks
23 Mar 2026

Basic bird-call sounds to aim for first
Before you try to sound like a specific bird, it helps to know the three main categories of bird sound you'll be working with. Most beginner-friendly calls fall into one of these groups, and each one uses a slightly different mouth technique.
- Pure whistles: single-pitch or smoothly sliding tones, like the chickadee's "fee-bee" two-note song. These are the easiest to start with because you just need a clean, focused airstream.
- Chip calls and short bursts: sharp, quick sounds like "chip, chip, chip" or "chek." These rely on a sudden release of air with the tongue or lips rather than a sustained tone.
- Trills and rolling phrases: rapid repeated notes like the Swainson's thrush's upward-spiraling melody or a warbler's buzzy trill. These need lip or tongue vibration and steady breath pressure.
For a complete beginner, start with pure whistles. A clean two-note whistle (high note then slightly lower note) already sounds like several real species. Once you can do that reliably, move to chip calls, then work up to trills. Trying to nail a complex trill before you can produce a clean whistle is the most common mistake people make.
Mouth techniques: shaping pitch, tone, and rhythm

Every bird sound you make with your mouth comes down to four variables: the shape of your lips, the position of your tongue, how hard and steadily you push air, and your timing. Change any one of these and the sound changes noticeably.
Lip and jaw position
For a pure whistle, round and slightly pucker your lips as if you're sipping through a straw but with a bit more opening. Too wide a mouth shape flattens the sound. Too tight and you lose volume. The sweet spot is a small, oval opening. Relax your jaw downward slightly so you're not clenching. A tense jaw kills resonance and makes the sound flat and breathy.
For chip calls, press your lips together lightly and release them with a short puff of air, the way you'd make a "p" or "b" sound but without voicing it. Practice the syllable "pit" whispered very quickly. That sharp consonant release is what gives chip calls their crisp quality.
For blank" rel="noopener noreferrer">lip trills (the foundation of rolling bird calls), keep your lips very lightly closed and let a steady stream of breath vibrate them. A BGSU PDF poster/abstract on lip trills also describes them as a voice exercise used by singing-voice teachers and speech professionals, linking lip trill cycles to acoustic or aerodynamic measurement such as airflow and microphones or EGG blank" rel="noopener noreferrer">lip trills ... let a steady stream of breath vibrate them. The key word is lightly. If your lips are pressed too firmly together, they won't vibrate. If you're straining and nothing is happening, relax a little and increase your breath pressure gradually until the vibration starts on its own.
Tongue placement and the "cup tongue" trick

Your tongue position controls where resonance lives in your mouth. For bright, high-pitched bird sounds, raise the middle of your tongue toward the roof of your mouth (like the "ee" vowel position). For rounder, lower tones, drop the tongue and open the back of your throat (like "oh" or "oo"). Practice sliding between these positions while sustaining a whistle and you'll hear the pitch change.
One useful technique for directing trill vibration upward is the "cup tongue" approach: curl the sides of your tongue upward so the tongue forms a slight channel or cup shape. This directs your breath stream more precisely and gives trills a more focused, bird-like quality rather than a loose, diffuse sound.
Breath control and rhythm
Bird calls depend on consistent breath pressure, not volume. A stronger push of air doesn't automatically make a better sound. What you want is a steady, controlled stream. Think of it like holding a candle flame at arm's length: enough breath to keep the flame bending steadily, not enough to blow it out. Practice sustaining a single whistle note for 3 to 5 seconds without it wavering in pitch. When you can do that, you have the breath control needed for most basic calls. Once you master consistent breath pressure, you'll be able to put those skills into easy bird calls like simple whistles and chips basic calls.
Rhythm matters enormously because birds call in very specific patterns. The American robin, for example, sings a string of around 10 clear whistled syllables, each rising and falling in pitch, with a steady rhythm and a pause before repeating. Practicing with a metronome set to around 60 to 80 bpm helps you internalize timing so your imitations don't sound rushed or uneven.
Imitating specific birds by sound pattern
The fastest way to learn bird imitation is to treat each species as a rhythm and pitch pattern rather than trying to reproduce a sound perfectly from memory. Here are five practical targets at different difficulty levels.
Black-capped chickadee (beginner)
The chickadee gives you two excellent entry-point calls. The song is a clean two-note whistle transcribed as "fee-bee," where the first note is higher and the second drops slightly in pitch. Hold the first note for about half a second, drop pitch smoothly, and hold the second note for slightly longer. The alarm call is the famous "chick-a-dee-dee-dee": a brighter, faster series of segmented notes that speeds up toward the end. Use your tongue to articulate each "dee" separately rather than slurring them together. The segmented, note-by-note rhythm is what makes this call recognizable.
American robin (beginner to intermediate)
The robin's song is a series of cheerful phrases transcribed as "cheer-up, cheerily, cheerio," repeated with rises and falls in pitch and a steady overall rhythm. Whistle each syllable group cleanly, let the pitch rise on "cheer" and fall slightly on "up," and pause briefly between phrase groups before starting again. The key is keeping it smooth and unhurried. If you're wondering how to make a bird caller that still sounds natural, focus on consistency and timing before trying harder sounds. Robins sound confident and unhurried, not clipped or rushed.
Violet-green swallow (intermediate)
Swallow calls tend to cluster into two types: a bright "chee-chee" call (two quick identical notes) and a more complex twitter. The chee-chee call is a good intermediate target because it requires quick pitch accuracy across two rapid notes. Whistle "chee" twice in fast succession with a slight upward flick on each note. If it sounds flat, raise your tongue position toward the "ee" vowel and push slightly more air.
Swainson's thrush (intermediate to advanced)
The thrush is a real challenge and a great goal to work toward. Its song spirals upward in pitch across multiple fluted phrases, often with a trill-like quality toward the end of each phrase. To approximate it, start a sustained whistle at a comfortable mid-pitch and gradually slide upward over 2 to 3 seconds, letting the final part of the note roll into a light lip trill. It takes time to get the smooth upward glide without breaking, but even a rough approximation of the spiraling quality is recognizable.
Sharp chip calls (beginner)
Many warblers and sparrows use short, sharp chip calls. A yellow-rumped warbler's call is often transcribed simply as "chek." To make this sound, position your tongue just behind your front teeth, push a short burst of air, and add a very brief voiced element at the end. It should sound almost like a quiet, sharp click followed by a tiny vowel. Practice it in rapid series: "chek, chek, chek, chek." The evenness of spacing is what sells it.
Hand-assisted calls: using cupped hands and airflow together
Cupping your hands around your mouth does two things: it gives your sound a resonance chamber that deepens and projects the tone, and it lets you control airflow direction so the call carries farther. You can combine this hand cupping with your whistle or chip technique to create distinct bird-call patterns. This is especially useful outdoors, where ambient noise competes with your imitation.
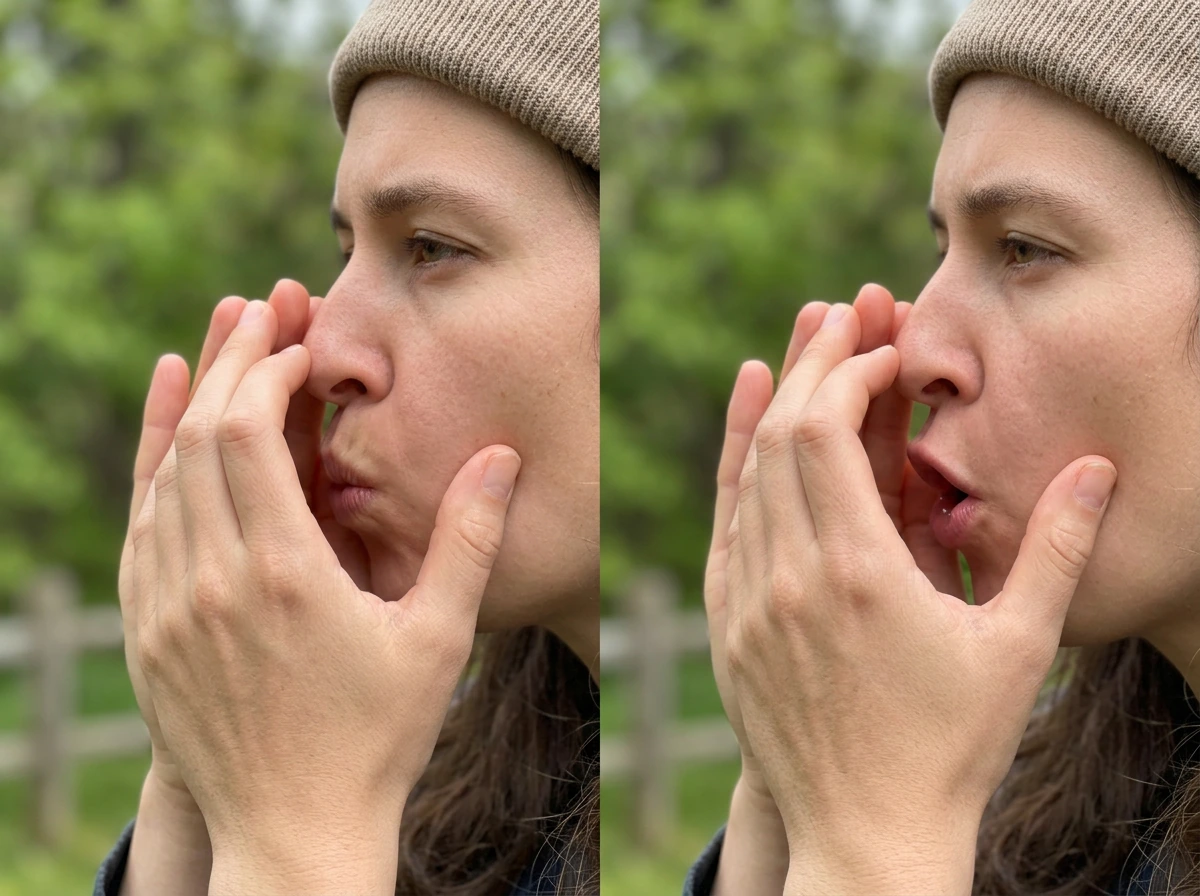
Basic hand cup position
Bring both hands together as if you're holding a small amount of water in your palms. The thumbs should be roughly parallel and touching or nearly touching. Bring this cupped shape up to your mouth with your thumbs closest to your lips. Instructables’ “Bird Call Hands” also recommends aligning your thumbs closest to your lips and shaping the airflow by moving your fingers rather than moving your whole hand. Your mouth sits in the opening created between your thumbs. Don't press your hands against your face so tightly that you cut off airflow, but keep the seal reasonably snug so air is directed forward through the gap between your thumbs rather than escaping around the sides.
Tuning the resonance with cup depth
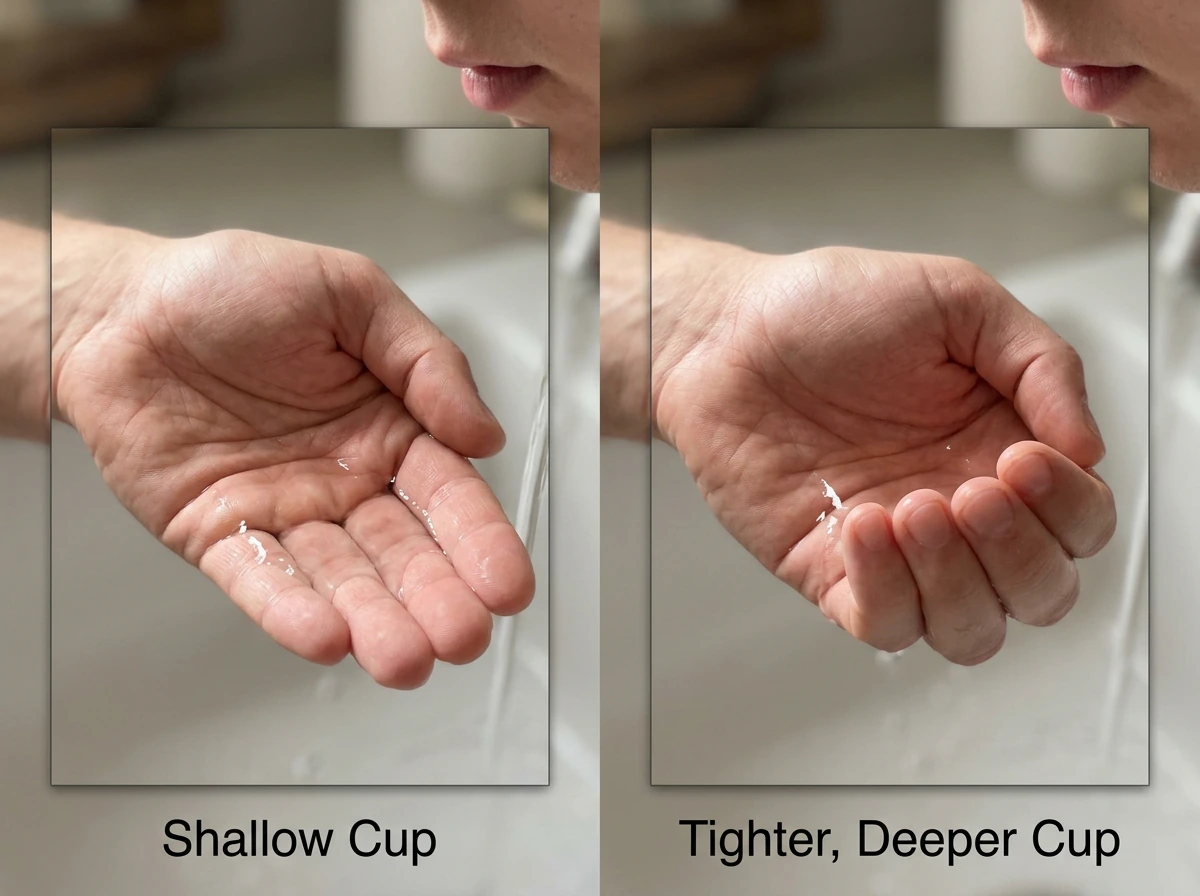
The depth and width of the cup you form changes the resonance character of the sound. A deeper, tighter cup (fingers curled more) produces a more hollow, rounded tone, good for owl-like or thrush sounds. A shallower, wider cup (palms more open) gives a brighter, more projected sound, better for chip calls and sharp whistles. Experiment by producing the same whistle note while slowly opening your hands outward. You'll hear the tone shift from dark and enclosed to bright and open. Match the cup shape to the type of call you're making.
Combining hand movement with sound
You can add a tremolo or vibrato effect by slowly opening and closing the gap between your palms while sustaining a note. This interrupts the airflow slightly and creates a wavering quality that mimics some bird calls naturally. To do this, keep your mouth and breath completely steady and do all the modulation with your hands. Practice opening and closing your palms at a rate of about once per second and then speed it up as you get comfortable.
Troubleshooting common issues and getting consistent results
Most problems with bird sound imitation come down to a small number of fixable issues. Here's how to diagnose and correct the most common ones.
| Problem | Likely cause | Fix |
|---|---|---|
| Sound is breathy and weak | Lips too loose or breath pressure too low | Tighten lip opening slightly; increase breath pressure steadily |
| Pitch is flat or won't rise | Tongue too low, jaw too open | Raise tongue toward 'ee' position; close jaw slightly |
| Lip trill breaks or stops | Lips pressed too hard together | Relax lip contact; let lips hang lightly and push more air |
| Call sounds rushed or uneven | No rhythmic anchor | Use a metronome at 60–80 bpm; count beats before starting |
| Hands break the resonance seal | Air escaping at sides of hands | Interlace fingers more firmly; press side edges of palms together |
| Sound is too nasal | Too much air going through the nose | Focus airflow forward through the mouth; try slightly pinching the nostrils to check |
| Can't sustain note long enough | Shallow breathing | Take a fuller breath before each call; practice sustaining single notes for 5 seconds |
Consistency comes from repetition at slow speed. If a call sounds wrong, don't just repeat it faster. Slow it down until you can produce each element correctly, then gradually speed back up. This is exactly how musicians practice difficult passages, and it works just as well for bird calls.
Practice plan: drills, timing, and recording yourself
A short, focused daily practice beats long occasional sessions. Aim for 10 to 15 minutes per day. Here's a structured drill sequence you can follow from day one.
- Warm up with a lip trill for 30 seconds. Keep your lips relaxed and maintain steady breath. This releases tension in your lips, face, and throat and connects your breath to your tone before you start making specific calls.
- Practice a single sustained whistle note for 5 seconds without pitch wavering. Do this 5 times at different pitch levels: low, mid, and high. This builds breath control across your range.
- Work on the chickadee 'fee-bee' call for 3 minutes. Whistle it slowly first (1 note per 2 seconds), then speed up to natural bird tempo. Focus on the clean pitch drop between the two notes.
- Add rhythm work: set a metronome to 70 bpm and practice chip calls on the beat ('chek, chek, chek'). Then try the robin's 'cheer-up, cheerily' pattern with two beats per syllable group.
- Add hands for the last 3 minutes. Repeat your best call from the session with cupped hands, tuning the cup shape to get the clearest resonance. Notice how the projection and tone change.
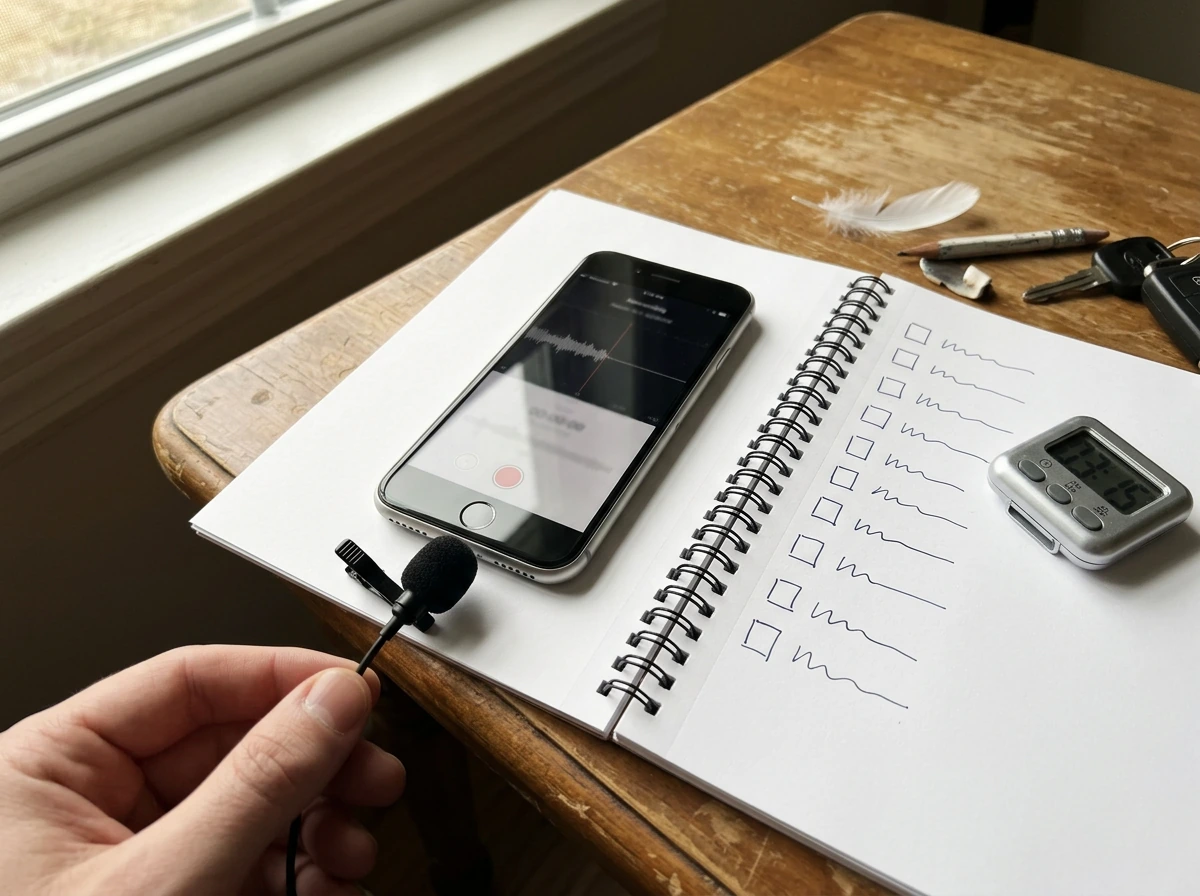
- Record yourself on your phone for the final 60 seconds of the session. Play it back and compare it against a recording of the actual bird (Cornell Lab's All About Birds has free recordings). Listen for pitch accuracy and rhythm evenness, not perfection.
Recording yourself is probably the single most useful feedback tool available to you. Your brain processes the sound differently when you're making it versus when you hear it played back. Many people are surprised to find their imitation sounds much closer (or much less close) to the real bird than they thought while doing it. Weekly recordings also let you track progress, which keeps the practice from feeling like it's going nowhere.
After you've got two or three calls solid, you can branch out into more complex patterns. Related skills like making a swallow bird call After you've got two or three calls solid, you can branch out into more complex patterns. Related skills like making a swallow bird call or learn different bird calls for specific species are natural next steps once you have the core mechanics down. Related skills like making a swallow bird call or learn different bird calls for specific species are natural next steps once you have the core mechanics down. are natural next steps once you have the core mechanics down.
Safety, comfort, and when to seek further help
Bird call imitation is low-risk, but you are using your voice and producing sound with your vocal cords for some of the techniques, especially voiced chip calls and any imitation that uses your speaking voice rather than a pure whistle. A few basic guidelines keep this comfortable and sustainable.
- Stop if your throat feels sore, tight, or fatigued. This is your body telling you to rest, not push harder.
- Stay hydrated. Dry vocal cords are more prone to irritation. Drink water before and during practice.
- Don't force volume. Projecting loudly by pushing more air against tightened muscles is how vocal strain happens. If you want more volume, use your cupped hands to project the sound rather than driving more air through your throat.
- Take a day off if you wake up hoarse. Hoarseness means your vocal cords are already inflamed and need rest, not more use.
- If hoarseness persists for more than two weeks, or if you notice pain, a lump feeling in the throat, or a significant change in your voice, see a doctor. These can be signs of a voice disorder that a speech-language pathologist can assess and treat with proper voice therapy techniques.
Most bird call practice is whistle-based and doesn't put much stress on the vocal cords at all. Pure whistled sounds bypass the larynx entirely, which is why this is generally a very comfortable skill to develop. The cautions above mostly apply if you start experimenting with rasping, buzzing, or growling sounds that require more muscular effort from your throat.
How to ring a bird how to ring a bird That loop of practice, listen, adjust is how you go from making vague bird-adjacent noises to producing calls that actually make birds look up.
FAQ
How do I know if my hand-cupping is helping or hurting my bird call?
If your hands make the sound louder but less bird-like, reduce how “sealed” the cupping is. A seal that is too tight can restrict airflow and flatten the timbre. Keep the gap between your thumbs directing forward, but leave a small, consistent escape path at the sides so you do not choke the breath stream.
What should I fix first when my bird calls sound off (mouth, tongue, breath, or rhythm)?
Yes. Pick one call type to troubleshoot at a time, usually start with a pure two-note whistle. If the whistle is clean but the next call sounds off, the issue is typically tongue articulation or rhythm, not breath control. If the whistle also wavers, go back to steady 3 to 5 second note holds before adding complexity.
My “chek” or chip call turns into a soft hiss, how do I make it crisp?
To keep chip calls from sounding like random clicks, focus on the consonant release timing. Practice the “pit” syllable whispered quickly, then shorten the air puff so each “chek” has a crisp start and a tiny voiced tail only at the end. If you hear a trailing “ssss” or “h,” you are likely pushing too much air.
What do I do when my lip trill won’t start vibrating?
If lip trills stop vibrating, do not force the lips tighter. Lighten the closure first, then increase breath pressure gradually until vibration begins on its own. You can also adjust tongue height slightly toward an “ee” position to support steadier feedback in the resonance.
How can I change pitch from high, bright notes to lower, round ones reliably?
Match the tongue position to the bird’s pitch without changing everything else. Use the same breath pressure and rhythm you already trained for, then slide only your tongue height (toward “ee” for brightness, toward “oo” or “oh” for roundness). If pitch shifts but volume collapses, your mouth opening is probably too tight.
Can I add tremolo or vibrato with my hands, and how do I avoid making the sound warbly?
Use “hand vibrato” only when your mouth and breath are already steady. If your note wobbles because your breath is unstable, opening and closing the palms will just make the wobble louder instead of musical. Keep the pitch steady for 2 to 3 seconds first, then add the once-per-second gap modulation.
How should I practice a specific species call when I cannot copy the sound from memory?
For species-specific patterns, you can train accuracy before speed by clapping or tapping the rhythm while you whistle only the rhythm lines. After you can place the timing correctly at slow speed, add the pitch shape and shorten the pauses to match the bird. This prevents the common mistake of memorizing “sound” instead of timing.
What is the best way to make my bird calls carry farther outdoors without blowing harder?
If outdoor noise is drowning you out, make the call more directional by tightening the cupping depth slightly (a bit deeper, more focused). Also try shallower cups for brighter notes when you are competing with wind or leaves. If you are still not heard, reduce distance from the target area, then project again rather than blowing harder.
Are bird call exercises safe for my vocal cords, and what should I avoid?
Avoid strained throat sounds if you are not prepared for it. Stick mostly to whistled techniques, especially early on, because they bypass the larynx and are easier to sustain. If you experiment with buzzing or growling, stop as soon as you feel scratchiness, and return to pure whistle practice the next session.
Why does my call sound fine at home but thin or breathy when I try it elsewhere?
Head or neck angle can affect resonance a little. If your sound sounds flat, try lowering your jaw slightly with a relaxed face, then keep your mouth opening consistent. If your sound becomes thin or breathy, you likely opened too wide or loosened the lip shaping too much.
Next Article
How to Do the Bird Call: Step-by-Step Practice Guide
Step-by-step practice to do bird calls with voice or simple tools, match the right species, and improve timing and tone.