Fitting a bird comb comes down to two things: knowing exactly what type of comb or comb-like accessory you have, and placing it so your bird can use it comfortably without rubbing, snagging, or slipping out of position. Get those two things right and the whole process takes about ten minutes.
How to Fit Bird Comb Safely Step by Step

Marcus Hendricks
12 May 2026
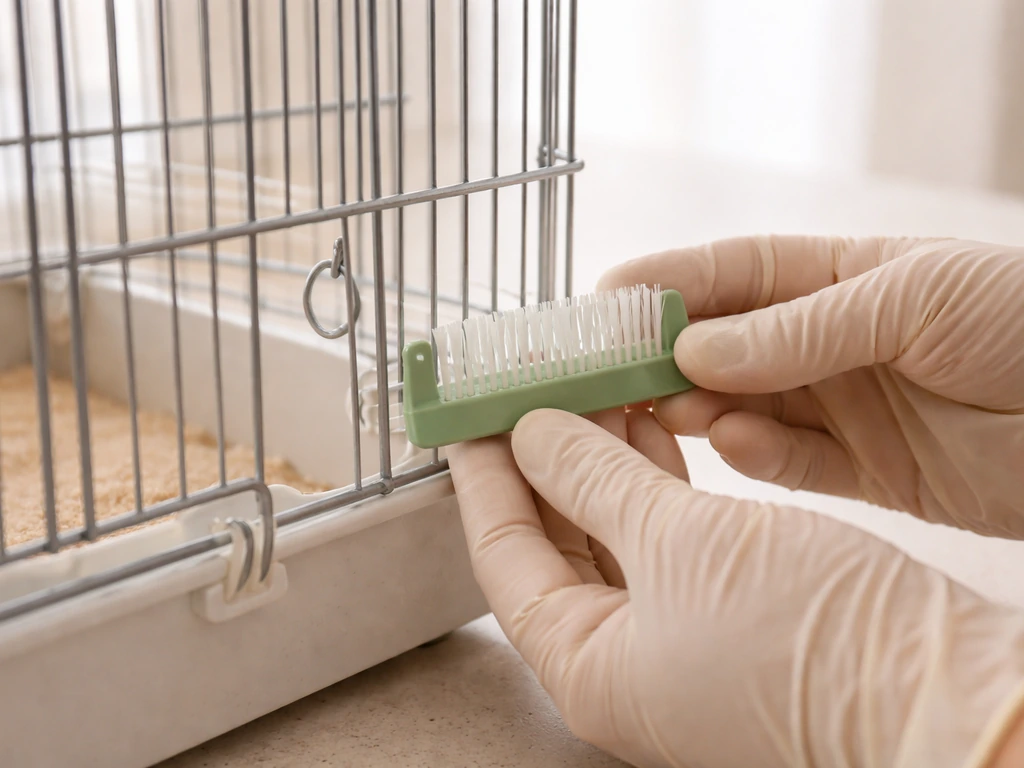
Figure out what 'bird comb' means for your bird and setup
The term 'bird comb' pops up in a few different contexts, and the fitting process changes depending on which one you're dealing with. Before you do anything else, identify your item. Here are the most common things people mean when they search for this:
- A grooming perch with a textured, comb-like surface: This is a sandpaper or pumice-coated perch that gently files nails and beak as the bird grips and moves across it. These fit inside cages on standard perch mounts.
- A comb attachment for a grooming tool: Some bird grooming kits include a comb head that attaches to a handle for working through feathers, especially on larger birds like parrots or macaws.
- A comb-patterned toy or enrichment item: These are cage accessories shaped with tine-like structures that birds can rub against, chew, or preen on. They clip or hang inside the cage.
- A beak-grooming block with comb ridges: A solid mineral or cuttlebone-style block with raised ridges the bird rubs its beak across. These fix to cage bars with a clip or screw fitting.
If you are not sure which one you have, look at the attachment hardware. A grooming perch has screw-thread ends or spring clips designed for cage bars. A comb grooming tool for feathers has a handle grip and interchangeable heads. A comb toy or beak block usually has a simple clip or hanging ring. Once you know your item type, the rest of this guide will make a lot more sense.
Tools, supplies, and safe preparation before you start
Rushing into fitting anything inside a bird's cage or near a bird's body is how you end up with a stressed bird and a poorly placed accessory. A little prep goes a long way.
What you will need
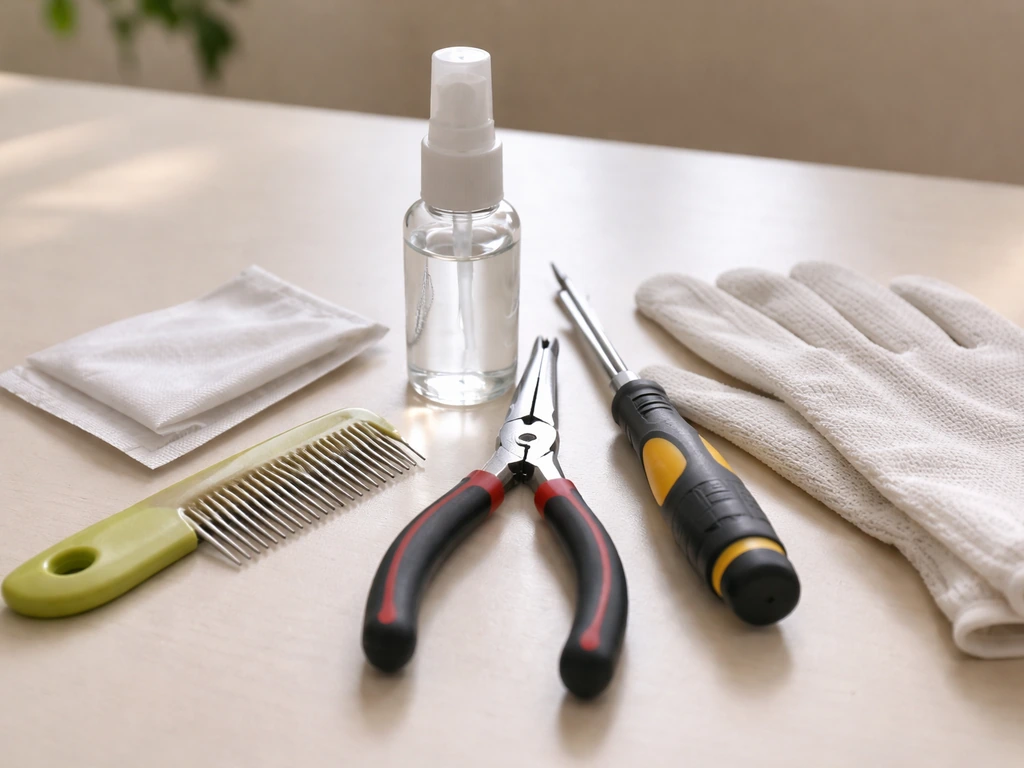
- The bird comb or grooming accessory itself, clean and dry
- A small flathead or Phillips screwdriver (for perch-style combs with screw fittings)
- Needle-nose pliers (useful for tightening spring clips without pinching your fingers)
- A soft cloth or bird-safe disinfectant spray to wipe down the comb before first use
- Treats your bird loves, for positive reinforcement during and after the fitting
- A second person if your bird is large, nervous, or not yet hand-tame (seriously, this helps)
Getting your bird ready
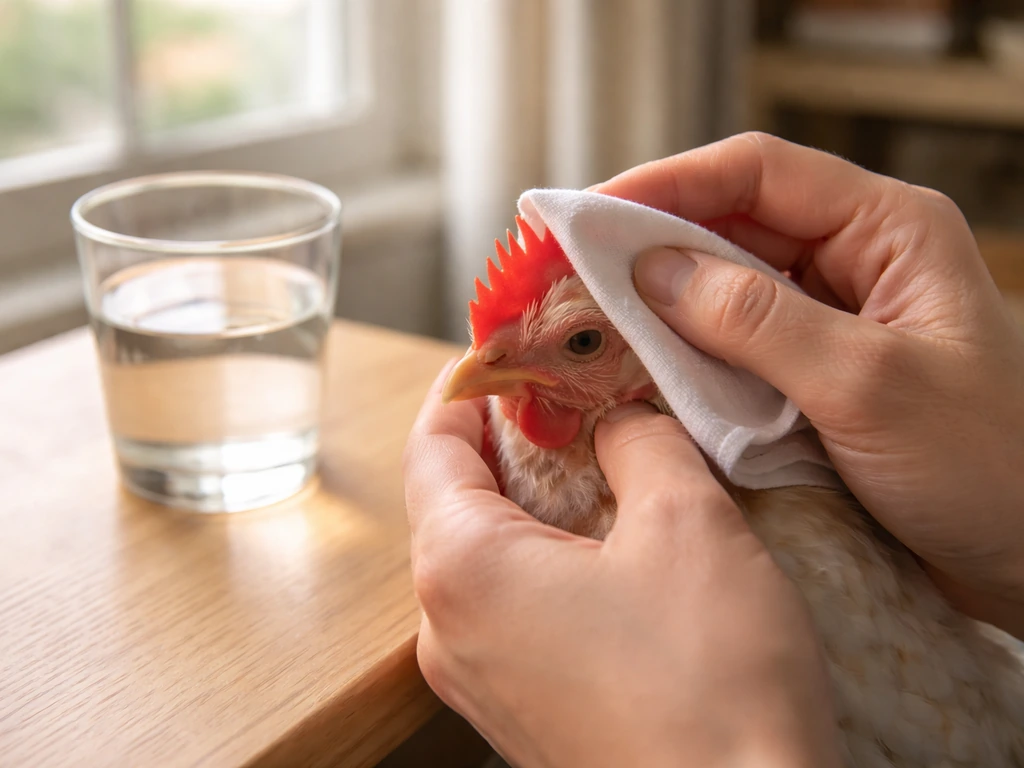
Do not try to fit anything when your bird is already wound up. Pick a calm time of day, ideally mid-morning when most birds are relaxed after their morning routine. If your bird is not used to being handled or having things adjusted in the cage, spend a few minutes doing something familiar first, like offering a treat or letting the bird step up and step back down a few times. This is basically what Lafeber's training materials describe as building handling tolerance through repetition and positive reinforcement, and it genuinely makes the whole process calmer for everyone involved.
Clean the comb before fitting it. A quick wipe with a bird-safe disinfectant and a rinse with plain water removes any manufacturing residue or dust. Let it dry fully before putting it anywhere near your bird.
Step-by-step: how to fit the comb
The steps below are organized by comb type. Find your type and follow that section. Do not skip the fit-check steps at the end of each one because that is where most beginner mistakes show up.
Fitting a grooming perch (comb-textured surface)
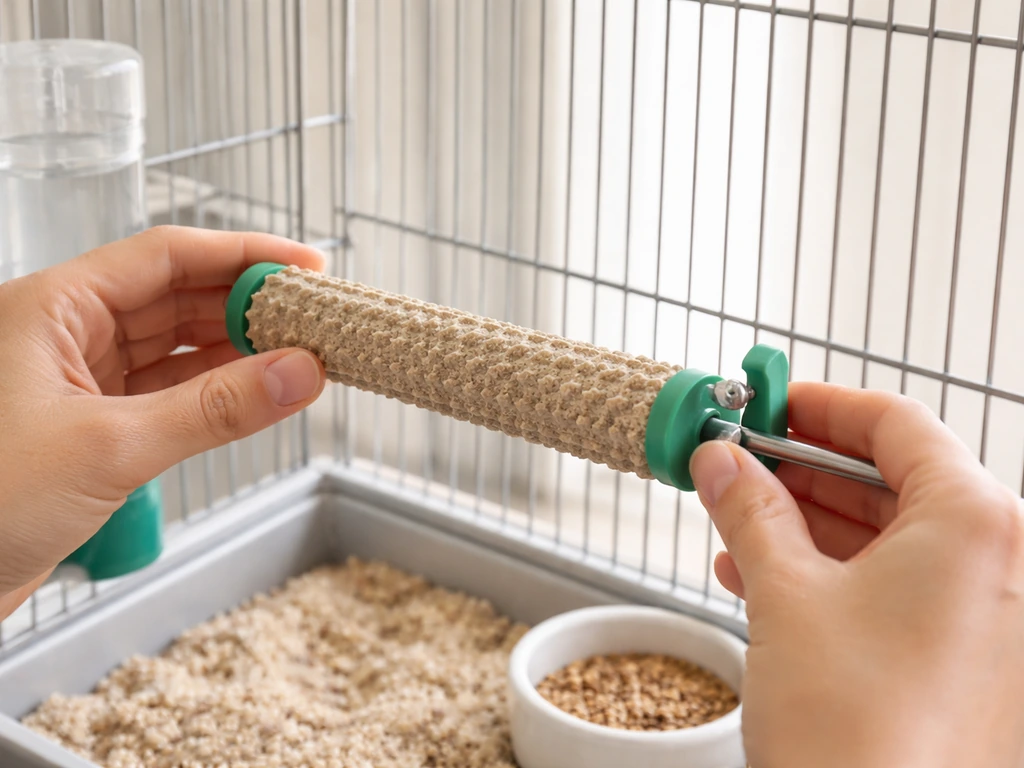
- Choose a low-to-mid cage position. Lafeber specifically recommends placing grooming perches low in the cage and not in a spot that blocks access to food or water. The idea is that the bird uses it as a stepping stone to reach another perch, toy, or the food dish, so it gets regular contact with the textured surface without being forced onto it.
- Thread the bolt end through the cage bar from outside the cage. Most grooming perches have a bolt end and a wing-nut or screw cap. Push the bolt through a horizontal bar gap.
- Inside the cage, thread on the washer and nut or cap. Hand-tighten first, then use your screwdriver or pliers to snug it up. You want it firm, not gorilla-tight. If you over-tighten, you can crack the perch or strip the fitting.
- Check that the perch sits level or at a very slight downward angle toward the cage interior. A perch that tilts downward too steeply will not be comfortable for gripping.
- Offer a treat near the perch to encourage the bird to step onto it voluntarily. Watch how it grips. The textured surface should contact the underside of the toes and nails naturally when the bird stands in a normal position.
Fitting a feather-comb grooming tool (handheld)
- Attach the comb head to the handle following the manufacturer's click-in or screw-on method. Give it a firm tug to confirm it is locked in before bringing it near the bird.
- Introduce the tool to the bird before using it. Let the bird sniff it and inspect it from a safe distance. Some birds are immediately suspicious of new objects. This is normal.
- Start at the chest or back feathers, not near the face or wings. Use slow, gentle strokes in the direction of feather growth. Do not drag the comb against the grain.
- Work in short sessions, 60 to 90 seconds maximum at first, and watch the bird's body language the entire time. Flattened feathers, pinned eyes, or an open beak are signs to stop immediately.
- Check the comb tines after each session for caught feathers or debris. A clogged comb drags on the feathers and is uncomfortable.
Fitting a comb toy or beak-grooming block
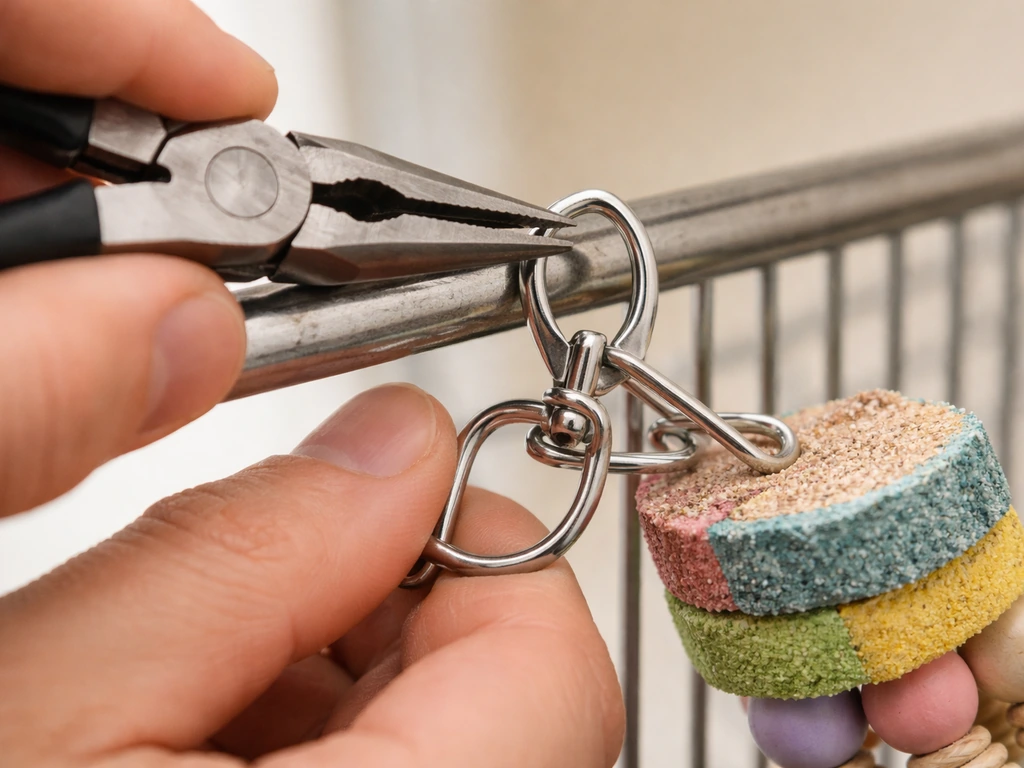
- Identify the fitting type on your accessory: spring clip, quick-link ring, or bolt-and-nut.
- For spring clips, use needle-nose pliers to open the clip wide enough to hook over a horizontal cage bar. Let the clip close fully around the bar. Give the accessory a firm shake to confirm it does not slide along the bar or pull free.
- For hanging ring fittings, thread a quick-link (a small metal ring with a screw closure) through the ring and around a cage bar or hanging point. Screw the closure shut with your fingers and then give a half-turn extra with pliers.
- Position the accessory at a height where the bird can reach it while standing comfortably on a nearby perch. It should not require the bird to stretch awkwardly or lean dangerously.
- Check clearance on all sides. The comb ridges or tines should have at least 1 to 2 cm of open space around them so the bird cannot get a toe or a band caught between the comb and the cage wall.
Adjustments and common fit problems
Most fit problems fall into four categories. Here is how to recognize and fix each one. Merck Veterinary Manual notes that nail trimming can decrease stability and increase fall risk, and suggests blunting the nail tip while leaving enough nail for a stable grip as a compromise Management of Pet Birds.
| Problem | What it looks like | Fix |
|---|---|---|
| Too loose or slipping | The perch or accessory rotates, slides along the bar, or wobbles when the bird lands on it | Tighten the bolt or clip, add a rubber washer between the fitting and the cage bar for grip, or reposition to a bar with a tighter spacing |
| Too tight or rubbing | The bird avoids the item, shakes its head after contact, or you notice feather wear or redness near the contact area | Loosen the fitting slightly, check for sharp edges on the comb, and sand or file any rough spots with a nail file before replacing |
| Misalignment | The comb sits at an awkward angle, the bird has to contort to use it, or the comb face points away from where the bird naturally stands | Refit the accessory one bar higher, lower, or to a perpendicular bar to change the angle of presentation |
| Bird ignores it completely | After several days the bird has not voluntarily interacted with the accessory | Try moving it closer to a favorite perch or near the food dish; some birds need weeks of exposure before accepting a new object |
One thing I learned the hard way: do not reposition the comb three times in one day. Birds notice changes in their environment and constant rearranging can make a perfectly good accessory feel threatening. Move it once, give it three to five days, then reassess.
Care and maintenance of the fitted comb
Once the comb is fitted and your bird is using it, maintenance is simple but important. A dirty or degraded comb can harbor bacteria or develop sharp edges that were not there when it was new.
- Wipe down smooth-surface comb accessories weekly with a damp cloth and bird-safe disinfectant. Rinse with clean water and dry before putting them back.
- Check textured grooming perches every two weeks for heavy debris buildup in the surface texture. A stiff bristle brush (unused, kept just for this purpose) works well to scrub out grit and dried droppings.
- Inspect fittings every time you clean. A nut that was snug last week can vibrate loose over time, especially if your bird is an active chewer or a heavy lander.
- Replace a grooming perch when the textured surface has worn smooth (it is no longer doing the filing job it is supposed to do) or when you see cracks in the perch body.
- For comb-style toys with tines, check every tine individually for breaks or bends after the first month of use. A broken tine can create a sharp point or a gap that traps toes.
- For handheld feather combs, clean the tines after every session by pulling removed feathers free and wiping with a damp cloth. Dry fully before storing to prevent rust on metal tines.
When to stop and get help
Some situations call for removing the comb immediately and stepping back to reassess, or calling an avian vet. Do not push through these warning signs.
- Your bird is showing persistent stress behaviors around the comb: screaming, feather plucking near the contact area, excessive head shaking, or refusing to go near that side of the cage.
- You can see redness, swelling, or broken skin on any part of the bird that contacts the comb. Even mild skin irritation from a grooming perch can escalate quickly if not addressed.
- A toe, band, or talon has become caught between the comb and the cage. Do not try to force it free yourself. Stay calm, cover the cage with a light cloth to reduce panic, and call your vet.
- The comb has cracked or broken and you cannot fully inspect the inside for sharp edges or fragments the bird might ingest.
- The bird's beak or nails are not improving despite weeks of using a grooming perch. As Lafeber notes, grooming perches help maintain nail condition between trims but are not a substitute for a proper nail trim when nails are already too long. If the nails are overgrown, a vet or experienced groomer needs to do a proper trim first.
The RSPCA is clear that poorly performed or poorly set up grooming tools can cause injury, so if you are ever unsure whether an accessory is safe for your specific bird, ask an avian vet before fitting it. Purdue’s guidance on general caged-bird husbandry emphasizes that providing an appropriate variety of safe perches and toys matters, because poor choices can contribute to problems such as lack of wear that leads to overgrown beaks and nails. A five-minute phone call is worth avoiding a trip to the emergency clinic.
Once you have the comb fitted and your bird is comfortable, you are in a good routine. From here, it is worth exploring related grooming topics like how to file a bird beak safely and what goes into routine bird grooming overall, since comb fitting is just one part of keeping your bird well-maintained and healthy. If your goal is learning how to bird mouth a rafter, focus on matching the shape of the rafter cut and ensuring the edges are smooth before you let the bird use it how to file a bird beak safely. If you are switching from a cage accessory to an outdoor roof fitting like a whirly bird, check the installation steps for a tin roof first so it is secured safely and correctly. If you are working on a similar beak or mouth fit, use our guide on how to calculate bird mouth cut to choose the right amount safely how to file a bird beak safely.
FAQ
How can I tell if my bird comb is the wrong size or placement before my bird starts using it?
Do a fit-check without the bird touching it first. Look for any spots where the comb can shift, gap at the mount, or rub against feathers or skin when you lightly test it with a gentle push. If you can feel sharp movement or see snagging points through the bars or near the mounting surface, adjust or stop. Also confirm there is clearance so the comb does not interfere with beak, wings, or the bird's normal perching position.
What should I do if my bird keeps trying to dislodge or chew the comb right after fitting it?
Remove it and reassess the attachment and tolerance, not just the comfort. Refit once with the hardware fully seated, then wait three to five days before trying again. If your bird is actively chewing and carrying the comb away, the attachment may be loose, the material may be irritating, or the bird is not ready for that accessory type. In that case, switch to a different mounting style (for example, a hanging ring or a perching-safe grooming tool) rather than repeatedly reinstalling the same one.
Is it safe to fit a comb while my bird is molting or has damaged feathers?
Be more conservative during molting or if feathers look broken, frayed, or skin appears irritated. Even a gentle comb can snag and worsen damage. Wait until your bird is calm and skin and feather areas look stable, then introduce the accessory gradually, using the minimum handling exposure and stopping at the first sign of rubbing or stress. If you see ongoing feather breakage or redness, consult an avian vet before continuing.
How often should I clean the comb once it is in the cage?
At minimum, wipe and rinse on a regular schedule (commonly weekly), and immediately after you notice visible debris, food, or droppings. Also clean sooner if the comb is in a high-scratch area where seed hulls accumulate. Dry fully before putting it back, and inspect for wear, loose parts, or rough edges that can form over time.
Can I use household disinfectants or soap to clean a bird comb?
Avoid household cleaners unless the product is specifically labeled for bird-safe use and rinse requirements are clear. Residue is a common reason birds react to a newly cleaned accessory. For most combs, a bird-safe disinfectant followed by a plain-water rinse, then complete drying, is the safer approach.
What are the warning signs that mean I should stop fitting and call an avian vet or remove the comb immediately?
Stop right away if you see bleeding, persistent swelling, repeated scratching focused on the comb area, refusal to perch near the fitted accessory, or clear signs of pain when the bird touches it. Also stop if the comb develops sharp edges, cracks, or missing hardware after a short period. When in doubt, a quick avian vet phone call is the safer decision.
Should I remove the comb if it looks clean but my bird refuses to use it after several days?
Yes, pause and troubleshoot the cause instead of forcing routine. If it is clean and still not tolerated after several days, the issue is often placement, attachment tightness, comb spacing, or accessory type mismatch. Remove it, verify the mount is secure and not twisting, then try either one adjustment and wait again or switch to a different comb-style accessory that matches how your bird normally grooms.
How do I prevent the comb from slipping or rotating inside the cage?
Check that the mounting hardware matches the cage bar or perch type, and ensure it is fully seated or latched (not just partially engaged). After installation, do a brief stability test by lightly applying pressure from different angles. If it rotates, the problem is usually an incompatible hardware design or an uneven mounting surface, so do not keep tightening without confirming the correct attachment method.
Is there any reason to fit a comb in a different part of the cage over time?
You can relocate it occasionally, but avoid frequent moving in the same day. A common mistake is repeated repositioning, which can make the accessory feel threatening. If you need to change location, move once, wait three to five days, then reassess based on calm behavior and whether the comb is rubbing or snagging any feathers.
Next Article
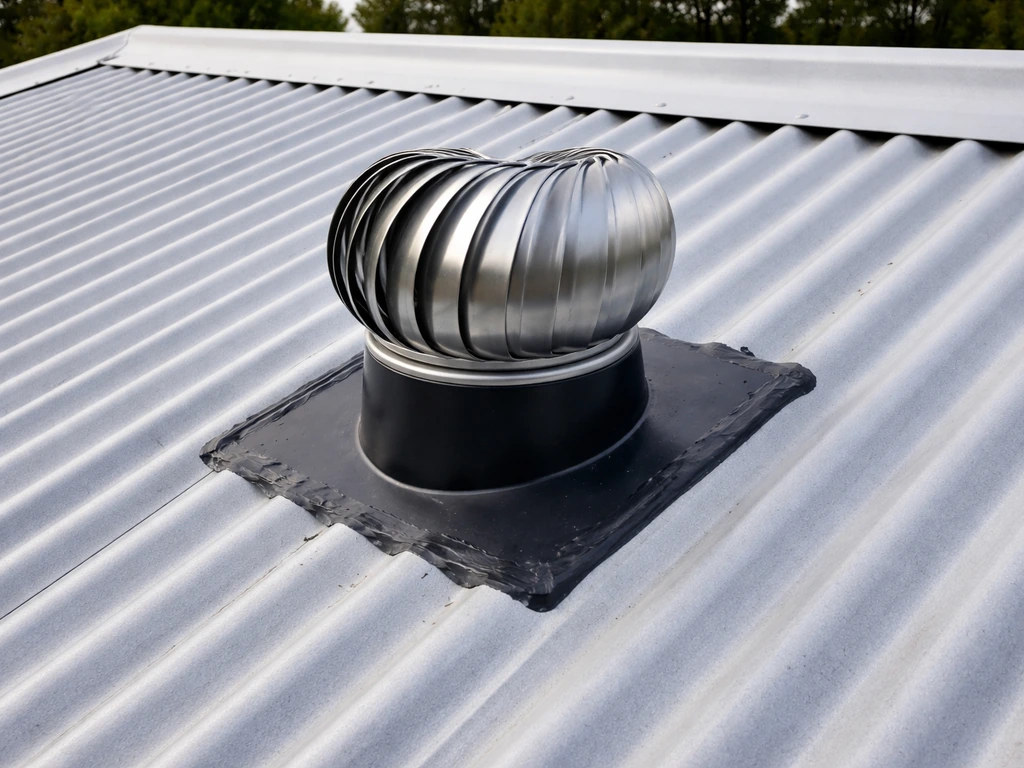
How to Install a Whirly Bird on a Tin Roof Step by Step
Step-by-step guide to install a whirly bird on a tin roof, with location, mounting, sealing, tools, and leak fixes.