Put a capo on the 2nd fret, tune to standard, and you can play 'Free as a Bird' using open chord shapes in G. The song is beginner-accessible: most of the chord work revolves around G, Em, and D7, with a few slightly trickier voicings like Ebmaj7 and Cm that are worth learning because they give the song its signature dreamy, Beatles-y flavour. Start with rhythm and chord shapes, get those transitions smooth, then layer in the melodic bits once the chords feel automatic.
How to Play Free as a Bird on Guitar: Beginner Guide

Marcus Hendricks
27 Apr 2026
What 'Free as a Bird' actually is on guitar
'Free as a Bird' is a Beatles song released in 1995 on the Anthology 1 compilation. It was built around a John Lennon home demo from the late 1970s, with Paul, George, and Ringo adding their parts around it. The song has a gentle, floating quality, partly because of the tempo and partly because of those harmonic substitutions the Beatles loved: instead of a straightforward I-vi-IV-V progression, you get moments where a minor iv chord (that's Cm if you're thinking in the key of G with capo) or a major chord on the flat VI degree (F major) slides in where you'd expect something more predictable. That's what gives the song its slightly bittersweet, wistful character. On guitar, you're essentially playing in the key of G with capo 2, which puts you in the recorded key of A without needing to barre anything uncomfortable.
One thing worth knowing upfront: the song has two distinct phases harmonically. The earlier verses and chorus follow one set of chord movements, and then from the guitar solo section onward, the progression shifts noticeably. I'll walk through both. If you've worked through other bird-themed guitar pieces like 'Bird on a Wire' or 'And Your Bird Can Sing,' some of those chord-change habits will carry over here nicely. For a similar feel, you can also use this as a guide when learning how to play Bird on a Wire on guitar.
Gear, tuning, and basic setup
You don't need anything special for this song. Here's what to sort out before you start playing:
- Tuning: Standard tuning (EADGBe). No alternate tuning needed.
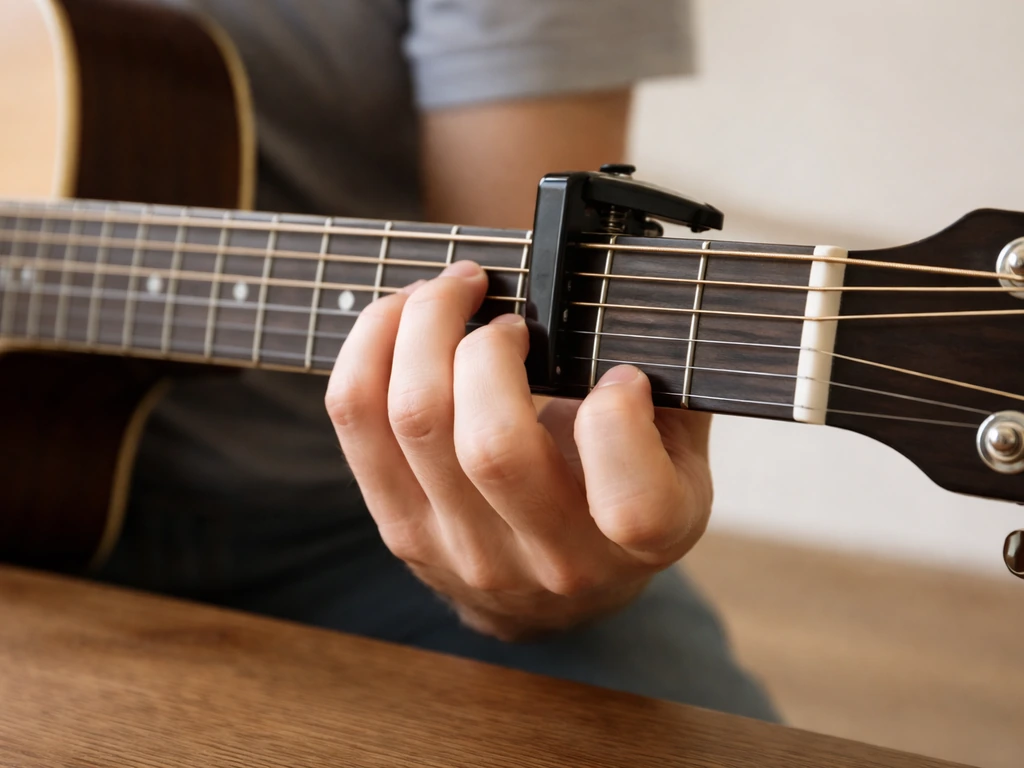
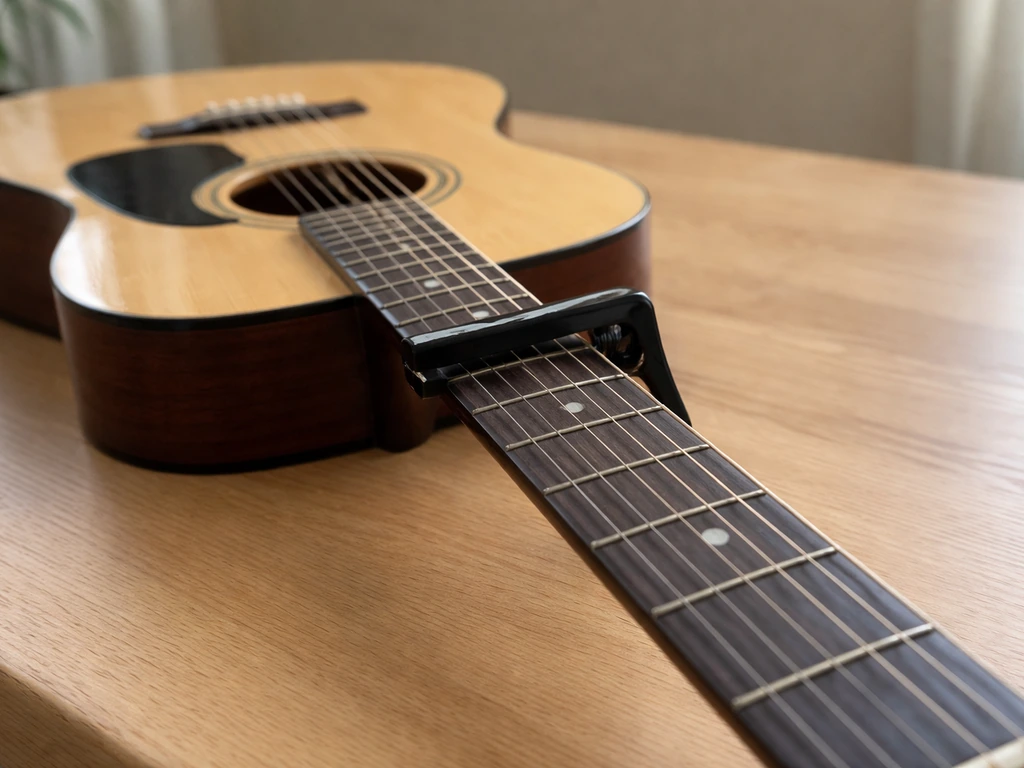
- Capo: Place it on the 2nd fret. All chord names from here on are relative to the capo. When I say 'G,' I mean the open G shape with the capo acting as your nut.
- Guitar type: Acoustic works best for this song's warm, airy feel. An electric with a clean tone and a touch of reverb also sounds great. The original recording used a mix of both, so either is valid.
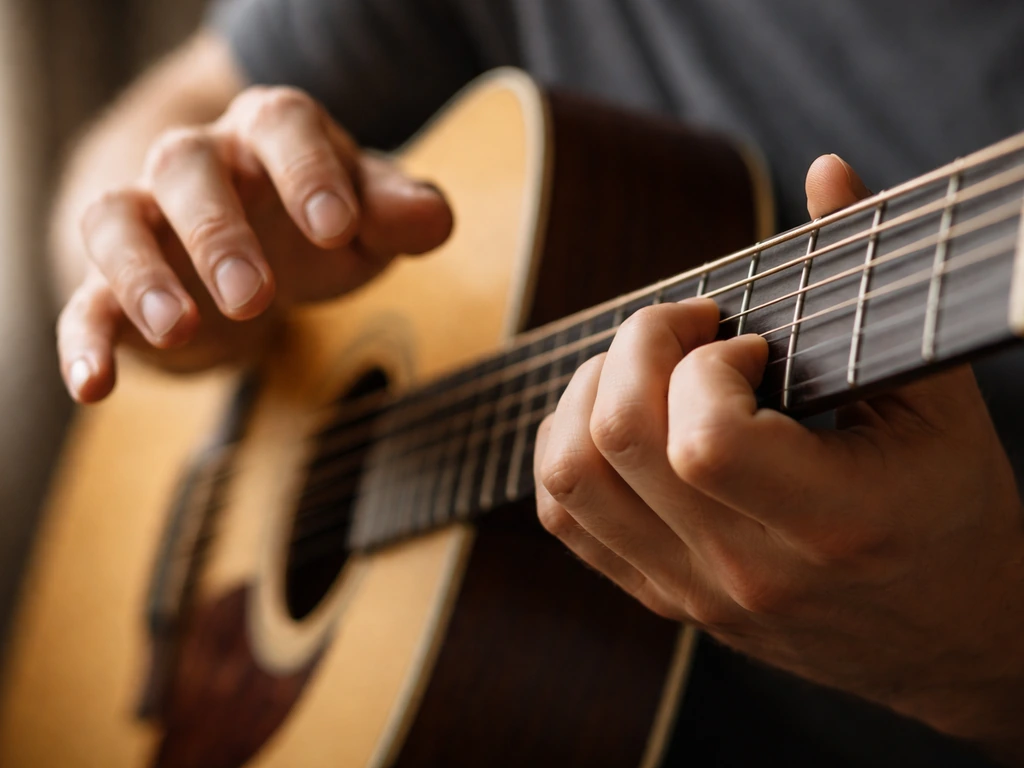
- Pick or fingers: The song suits a hybrid approach. You can strum with a light pick for the rhythmic chords, or fingerpick if you want a softer texture. Start with a pick if you're a beginner; it's easier to control timing.
- Tempo: The song sits around 80 BPM. It's slow enough to be forgiving, which is good news. Don't rush it. That gentle floating feel only works if you resist the urge to speed up.
For strumming, use a simple down-down-up-down-up pattern to start. The song is in 4/4 time. Once you're comfortable with chord changes, you can get more nuanced with your strumming, but that basic pattern will get you through the whole song without sounding wrong.
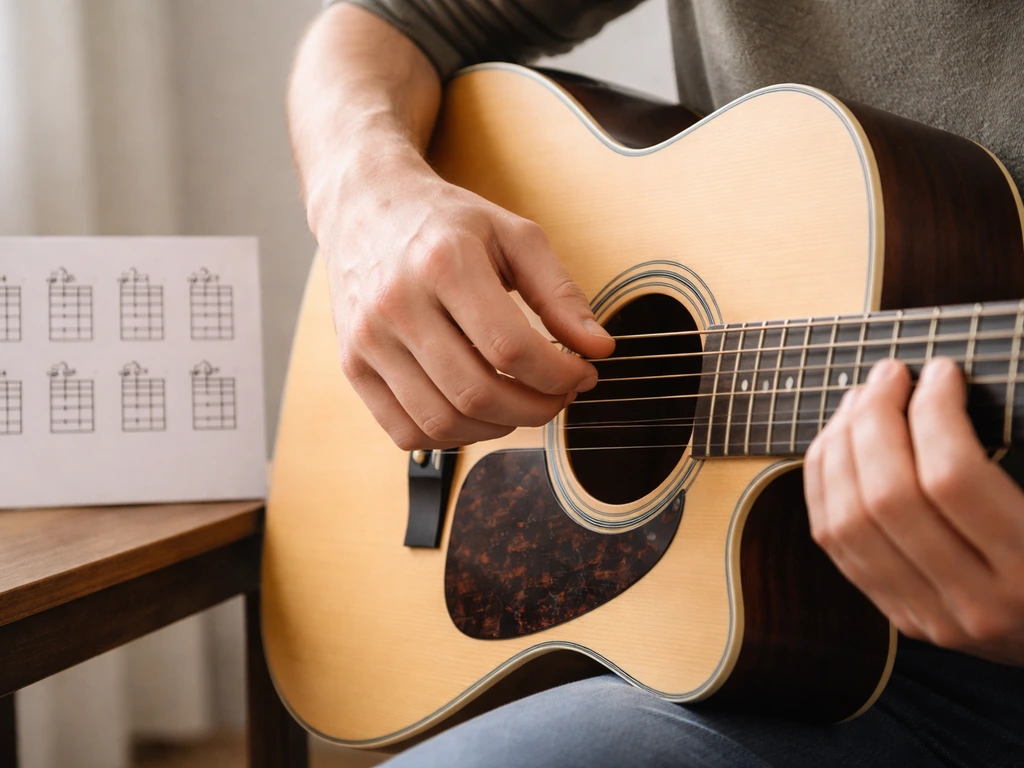
Chord shapes you need to know
Most of these are standard open chord shapes. Two of them (Ebmaj7 and Cm) are a little less common, so I've included fingering notes to help.
| Chord | Fingering (relative to capo) | Notes |
|---|---|---|
| G | Standard open G: 3-2-0-0-0-3 | Very common. If your pinky won't stretch, use the 3-2-0-0-3-3 version. |
| Em | 0-2-2-0-0-0 | Easy two-finger chord. One of the most comfortable transitions in the song. |
| D7 | x-x-0-2-1-2 | Only four strings. Keep your ring finger anchored on the G string. |
| Ebmaj7 | x-x-1-3-3-3 (barre the top three strings at 3rd fret, 1 on A string) | This is the 'dreamy' chord in the intro. Take it slow at first. |
| Cm | x-3-5-5-4-3 (full barre at 3rd fret) | This is the minor iv chord. It's a barre chord. Beginners: try a simplified Cm at x-3-5-5-4-x and mute the high e. |
| Em7/D | x-x-0-0-0-0 or 0-2-0-0-0-0 | A passing chord in the chorus. The open voicing works perfectly here. |
| F | 1-3-3-2-1-1 or simplified xx3211 | Appears in later sections as the 'flat VI' substitution. Use a barre or the simplified two-string version if barre chords are new to you. |
The Ebmaj7 stumps a lot of beginners at first. The way I think about it: it's almost like you're playing a partial barre at the 3rd fret on the top three strings, with your index finger sitting on the 1st fret of the A string. It takes a few days of muscle memory to land it cleanly. Don't let it stop your practice momentum. Play through it roughly, keep going, and it'll click.
Chord changes and rhythm: how to practice transitions
Before you try to play the song all the way through, isolate your tricky transitions and drill them as pairs. Here are the ones that need the most attention:
- G to Ebmaj7: These share no common fingers, so you're doing a full repositioning. Practice switching slowly 10 times, then speed up gradually.
- Em to Cm: Moving from an easy open chord to a barre chord is the biggest jump. Keep your elbow tucked under the guitar neck; it helps your barre fingers squeeze from behind.
- D7 to G: This is actually fairly smooth. Your middle finger can stay near the same position. Focus on getting the G ring finger (or pinky) down quickly.
- Em7/D into the next chord: Because Em7/D is so open, the transition out of it is usually easy. Use it as a 'reset moment' in the chorus.
Use the 'one-minute changes' technique: set a timer for 60 seconds and switch between two chords as many times as you can cleanly. Count your reps. Do this daily for each pair and you'll see real improvement within a week.
Section-by-section walkthrough
Intro
The intro sets the mood. With capo on 2, play: G - Em - Ebmaj7 - D7. Give each chord roughly two beats. The Ebmaj7 is the standout moment here; let it ring and resist the urge to rush past it. That sustained, slightly ambiguous chord is what makes the intro feel like you're floating. Repeat this sequence twice before the first verse kicks in.
Verse
The verse uses a very similar foundation to the intro but expands slightly: G - Em - Cm - D7. You'll notice the swap from Ebmaj7 to Cm here. That's the minor iv chord I mentioned earlier. It gives the verse a slightly more grounded, melancholic feel compared to the intro's dreamy quality. The progression repeats for each verse line. Take it slow and make sure Cm is clean before you try singing over it.
Chorus
The chorus is where things open up a bit. The sequence goes: G - Em - Ebmaj7 - D7 - G - Em - Em7/D, then continues into the next section. The return of Ebmaj7 here (versus Cm in the verse) is intentional: it lifts the emotional register right when the vocal melody rises. Em7/D is a smooth passing chord, almost a glide rather than a hard stop. Let your strumming hand stay relaxed through that transition.
Later verses and the section after the guitar solo
This is where the song shifts harmonically. From the guitar solo section to the end, the chord progression changes in a way that catches a lot of learners off guard. The F major chord (your flat VI) starts appearing more prominently. If you're referencing a chord sheet, pay close attention to the section markings here because playing the early-verse chords over this section will sound noticeably off. Slow down, track where you are in the recording, and accept that this second half needs its own practice time separate from the first half.
Outro/ending
The outro resolves gently, drifting back toward G. Keep your strumming light and let the final chord ring out fully. Resist the urge to add a flashy ending strum; the song's character is understated. A simple, quiet resolve is the right call.
Adding the melody and lead notes
Once your chord work is solid, you can start picking out the lead melody to fill in the spaces between vocal lines and to add texture during instrumental sections. To apply the same beginner-friendly approach on the recorder, follow the steps in our guide on how to play blue bird on recorder. If you want to do the same thing on guitar, follow this guide for how to play blue bird on guitar how to play blue bird on recorder. The main melodic motif in 'Free as a Bird' sits mostly on the B and high e strings, which is convenient because those are the strings your chord fingers are already hovering near.
With capo on 2, the intro/verse melody revolves around notes in the G major scale (G-A-B-C-D-E-F#). A practical approach for beginners: play your chord shape, strum it once or twice, then use your picking hand to pluck individual strings on the top two strings to mimic the vocal melody. You don't need to play every note; even hitting three or four key melody notes between chord strums will make you sound much closer to the recording.
The George Harrison-style lead work on the original recording uses a lot of sliding notes and subtle bends. If you want to get into that territory, focus on: slides between the 4th and 5th frets on the B string (relative to capo), a gentle half-step bend on the 7th fret of the high e string, and hammer-ons within the G and Em chord shapes. None of these are technically hard; they just require you to listen carefully to the recording and match what you hear one note at a time. Slow the recording down to 75% speed using a tool like YouTube's playback speed setting, and it becomes much easier to pick out individual notes. MakeUseOf explains exactly where YouTube's playback speed control is in the player and how to adjust it blank" rel="noopener noreferrer">Slow the recording down to 75% speed using a tool like YouTube's playback speed setting. Slow the recording down using YouTube’s playback speed controls if you need more time to pick out the notes blank" rel="noopener noreferrer">YouTube playback speed controls.
Your practice plan and how to fix common problems
A simple week-by-week plan
- Days 1-2: Learn the chord shapes individually. Spend 10 minutes just getting G, Em, D7, and Ebmaj7 under your fingers. Don't try to play the song yet.
- Days 3-4: Practice the intro progression (G - Em - Ebmaj7 - D7) slowly with a metronome at 60 BPM. Do one-minute changes between each pair of chords.
- Days 5-6: Add the verse (G - Em - Cm - D7). Drill the Em-to-Cm transition specifically. Play along with the recording at half speed.
- Day 7: Play the intro and both verse types back-to-back. Don't worry about the chorus yet; getting the verses clean is a real win.
- Week 2: Add the chorus, learn the F chord, and tackle the second-half progression. Start playing along with the full recording.
- Week 3 onward: Add melody notes, work on dynamics (playing softer and louder in the right places), and refine your strumming feel.
Fixing the most common sticking points
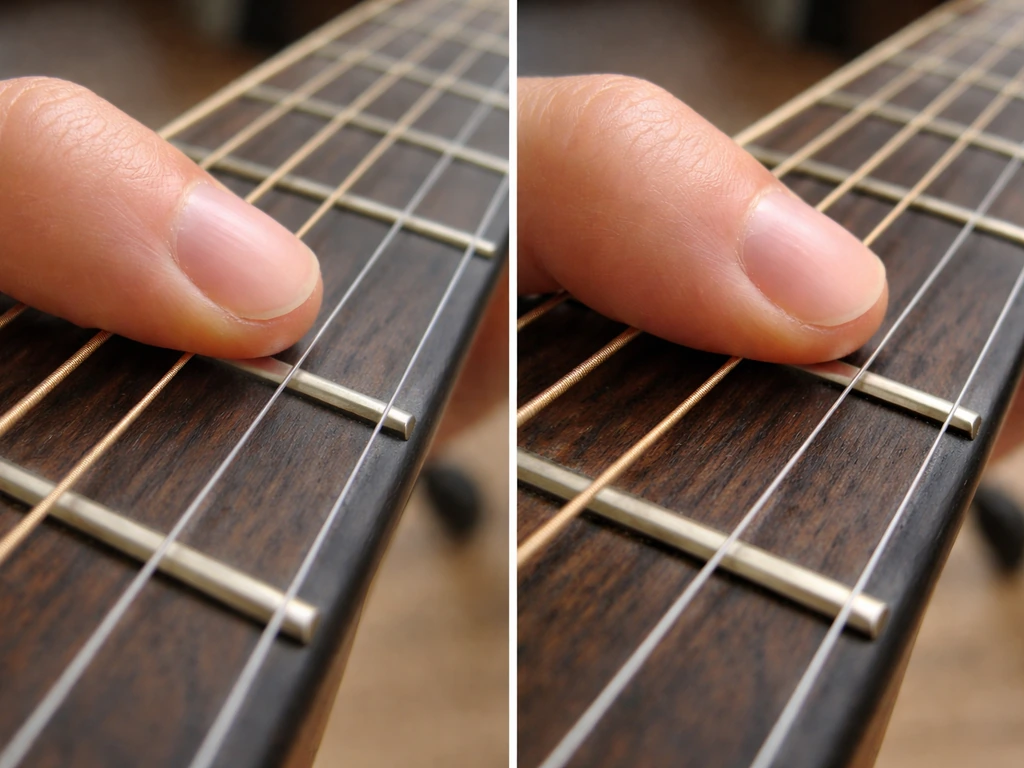
- Buzzy chords: Almost always a finger placement issue. Make sure your fingertips are pressing right behind the fret wire, not on top of it or too far back.
- Ebmaj7 sounds muted: Check that your index finger on the A string isn't accidentally touching the low E string and muting it. Also make sure the barre fingers on the top three strings are pressing evenly.
- Cm barre chord won't ring clean: Squeeze from behind the neck with your thumb positioned roughly behind your index finger. If it still buzzes after a few days, use the simplified partial barre version (mute the low strings) until your hand strength builds.
- Losing your place in the song: Use the recording as your metronome. Play along with it rather than playing along with silence. The song's tempo is forgiving enough that this works even at early stages.
- Transitions feel slow: Don't freeze between chords. Keep your strumming hand moving even if your fretting hand is slightly late. A silent beat is more disruptive than a slightly messy chord.
- Second-half chords feel disconnected: Treat the second half of the song as a separate piece to learn. Isolate it, slow it down, and only combine it with the first half once both halves are solid on their own.
One thing I learned the hard way: don't skip using a backing track or the actual recording once you know the basic shapes. Playing in isolation builds habits around your own tempo, and those habits can clash badly when you finally try to play along with the song. Drop the recording in as early as day three or four, even if it feels too fast. Let the song pull you into its rhythm rather than fighting it later.
If you enjoy this style of gentle, melody-rich guitar playing, the same capo-and-open-chords approach works beautifully for other bird-titled songs in this territory. The chord logic you're building here directly supports those kinds of pieces and makes each new one easier to pick up than the last.
FAQ
What should I do if my Ebmaj7 sounds buzzy or muted when I try “how to play free as a bird on guitar” with a capo on 2?
Focus on clean contact on the top three strings, then confirm the A string at the 1st fret is fretted but not heavily muted. If the chord still buzzes, lighten your fretting pressure, use a slight finger roll so pads sit flat, and strum only the strings you’re confident about for the first few days, then add the full strum as it clears.
Do I need to barre anything for Ebmaj7 and Cm, or can I play the song with partial shapes?
You can avoid full barre. For Ebmaj7, think partial coverage of the top strings at the 3rd fret while your index finger handles the 1st fret on the A string, and keep the rest of your fingers in a compact position. For Cm, aim for the cleanest open-string options you can manage, then adjust finger placement until each note rings without excessive damping.
How can I practice the “two phases” of the harmony so I do not get lost during the solo section and the chord shift to F major?
Mark a clear “checkpoint” by ear: practice with the recording and pause right when F major starts appearing more often. Then loop only the second-half chord progression, even if you already know the first-half changes, because your hands will otherwise revert to the early-verse muscle memory.
What’s the safest tempo for beginners so the song does not fall apart when I switch chords?
Start at a tempo where you can switch on the first try at least 80 to 90 percent of the time. Use a slow playback speed, then increase gradually, but do not raise tempo until Cm and Ebmaj7 transitions feel automatic, since those are the main points where rhythm usually collapses.
The down-down-up-down-up strumming feels too “square,” how do I make it sound more like the recording without changing chords?
Keep the same basic pattern but soften the attack by strumming slightly closer to the middle of the strings and reducing volume on the upstrokes. Also, let the standout chord (Ebmaj7 in the intro) ring for the full two beats, instead of landing back into the next chord early.
How do I keep Em7/D from sounding like a random chord in the chorus, especially during the glide feel?
Treat Em7/D as a transition chord, not a strong landing point. Lighten your strumming when you hit it, ensure the chord is clean for that beat, and move quickly into the next harmony. Practicing it as a two-chord drill (the chord before Em7/D into Em7/D) helps your timing.
Should I play with a pick or fingers for “Free as a Bird,” and what changes if I use fingers?
Both can work, but for beginners a pick usually makes the strumming pattern more consistent. If you switch to fingers, keep your plucking controlled and avoid aggressive alternating patterns, because the song’s character depends on gentle dynamics and chord ring rather than fast articulation.
Can I sing over the transitions if I struggle with timing, or should I wait until chords are perfect?
Do not wait for “perfect.” Practice singing using rhythm-first placement: strum the chord once at the right time, then focus on landing the chord change cleanly on the beat where the vocal phrase shifts. If you miss, recover by keeping the strumming steady for one bar while you reset your chord shape.
What’s an easy way to add the melody without overthinking the notes on the B and high e strings?
Use a “pluck after the strum” habit. Strum the chord once or twice, then pick only two or three high-e and B string notes that match the vocal contour, even if you skip other notes. The goal is recognizable phrasing, not complete note-for-note replication.
How can I make the slides and gentle bends easier if I’m new to those techniques?
Isolate one technique at a time. For B-string slides, practice moving slowly between the target frets while keeping your finger pressure steady, then add them into the chord shape context. For the high-e bend, bend just to the correct pitch, hold for a moment, then release smoothly, do not try to make it loud.
I hear my timing gets worse when I play with a backing track, how should I integrate it?
Start using the recording early, but keep yourself protected by practicing with “repeat points.” Loop short sections (for example, one verse line or the intro twice), then play along for that small chunk only. This builds tempo alignment without letting your early isolation habits dominate.
What if I do not have a capo, can I still play the song using open chords?
Yes, but you will need to transpose. The capo on 2 is what lets you use open G-shapes while sounding in the recorded key. If you skip the capo, either shift chord shapes to a more workable key for open chords, or be prepared for more barre shapes to match the pitch relationships.
Next Article
How to Play Bluebird on Guitar: Beginner Tutorial
Beginner guide to play Bluebird guitar: chords, strumming rhythm, sections, and practice plan with troubleshooting.