A bird whistle toy produces bird-like calls by directing a stream of air through a chamber, a reed, or around a small ball (called a "pea") that rattles and interrupts airflow to create a trilling effect. Most beginners either blow too hard, hold the toy at the wrong angle, or skip the five-minute setup check that makes the difference between a convincing chirp and a sad squeak. This guide walks you through everything from unboxing to field use, so you can get a clear, consistent call on your first or second try.
How to Use a Bird Whistle Toy: Step by Step Guide

Marcus Hendricks
17 Apr 2026
What your bird whistle toy actually does (and what to check on yours)
Before you blow into anything, figure out which type of toy you have. The mechanism determines your technique, so it's worth taking 60 seconds to identify it.
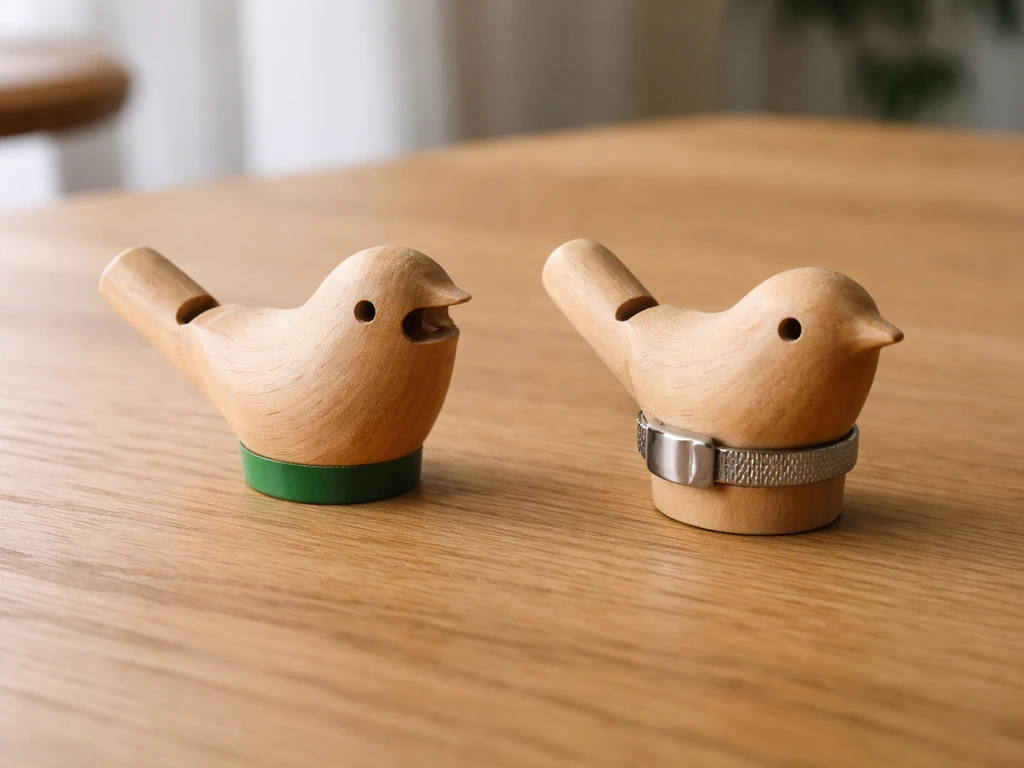
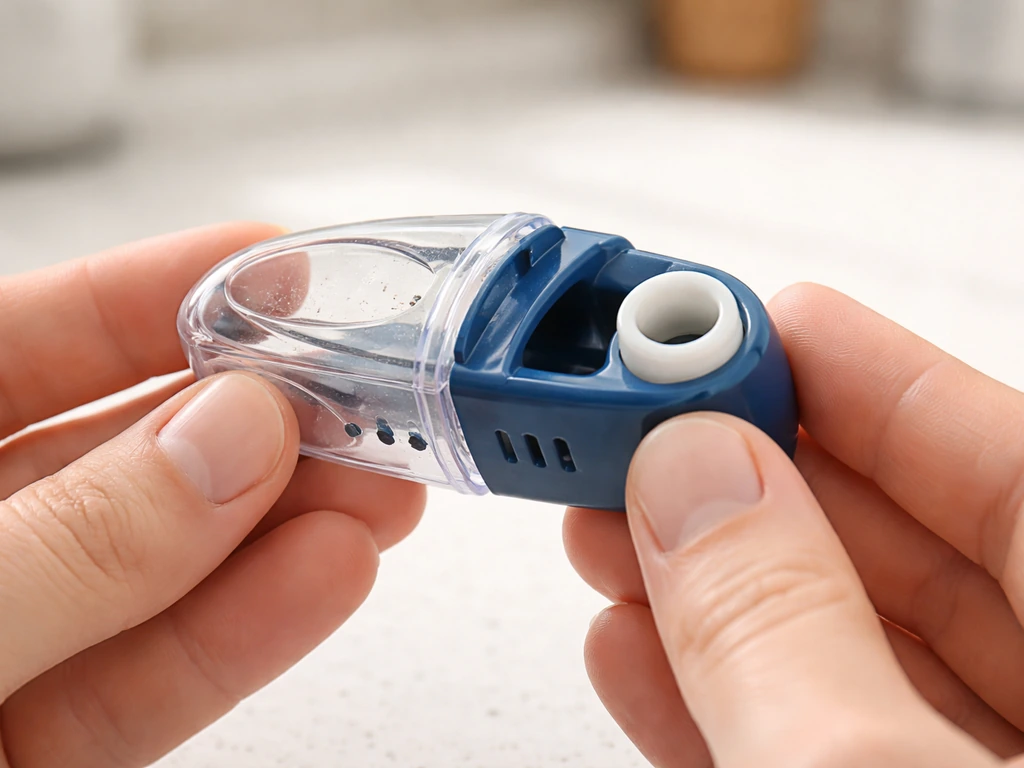
- Pea whistle: Has a small ball (the "pea") inside a round or cylindrical chamber. When you blow, the pea vibrates rapidly and interrupts the airflow, producing a rolling, fluttery trill. It works on the same principle as a classic police whistle. Look for a visible seam on a round body, or give it a gentle shake — you'll hear the pea rattling inside.
- Pea-less whistle: No ball inside. Airflow passes through a shaped channel or internal fin to create sound. These are quieter and more consistent but produce a cleaner, less "trilly" tone. Good for single-note bird calls.
- Slide whistle: Has a sliding rod or piston you push and pull while blowing. The piston changes the effective length of the air column inside the tube, which raises or lowers pitch. Very beginner-friendly because it takes very little air pressure to produce a sound.
- Water/ocarina-style bird whistle: Filled with a small amount of water. The air bubbles through the water to produce a liquid, warbling call. Common in souvenir shops and children's toy sets.
- Finger or hand whistle: Requires you to curl your fingers or cup your hands in a specific shape — no physical toy involved, just your body. If this is what you're after, a dedicated guide on how to bird whistle with your hands will serve you better than this one.
Once you know your type, check these three things: (1) Is the opening or nozzle clear? Even a tiny bit of debris blocks airflow. (2) Are there any moving parts that feel stuck or gummy? (3) If it's a water whistle, is the water chamber cracked? A crack means it will leak and won't hold pressure. Fix or replace before you try to use it.
Unboxing and getting it ready to sound right
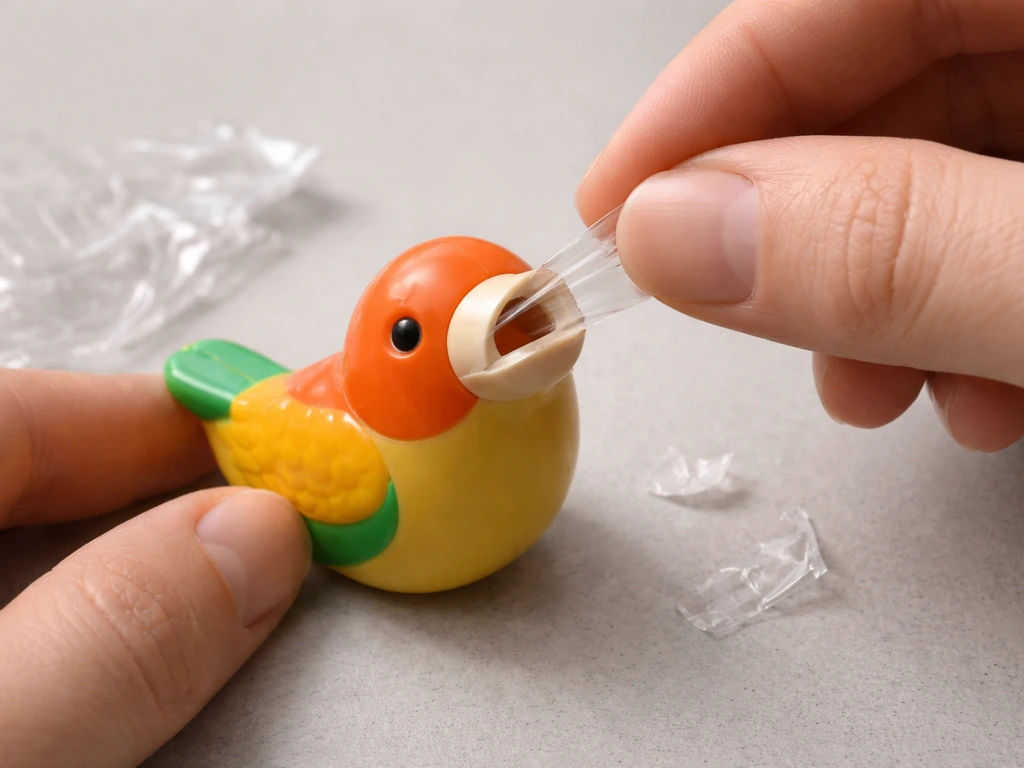
Most bird whistle toys ship with a protective film, a small plug in the mouthpiece, or a thin layer of manufacturing residue inside the chamber. None of these are obvious, but all of them will ruin your first attempt if you skip this step.
- Remove all packaging, including any sticker or film over the mouthpiece or vent holes.
- Rinse the whistle under warm (not hot) running water for about 20 seconds. This flushes out dust, plastic shavings, or factory residue. Skip this step for any electronic or battery-powered call toy — wipe those down with a damp cloth instead.
- Shake it dry and let it air out for 5 to 10 minutes. If there's moisture trapped in the chamber of a pea whistle, the pea will stick and you'll get a weak, muffled sound.
- For a water whistle: fill the chamber to the marked line (usually about halfway). Too much water kills the airflow; too little and you lose the warble. If there's no marked line, one-third full is a safe starting point.
- For a slide whistle: pull the slide out to its full length, blow once gently, then push it all the way in and blow again. This confirms the slide moves freely and the seal is intact before you commit to a technique.
- Check for any small detachable parts (lanyards, caps, plugs). These are choking hazards if you're using the toy around young children. Set them aside or attach them securely.
How to blow it: the technique that actually produces clear calls
This is where most people go wrong. They blow as hard as they can and get a shrill screech, or they barely exhale and get nothing. The secret is controlled, steady airflow, think of blowing through a straw to cool soup, not blowing out birthday candles.
Positioning
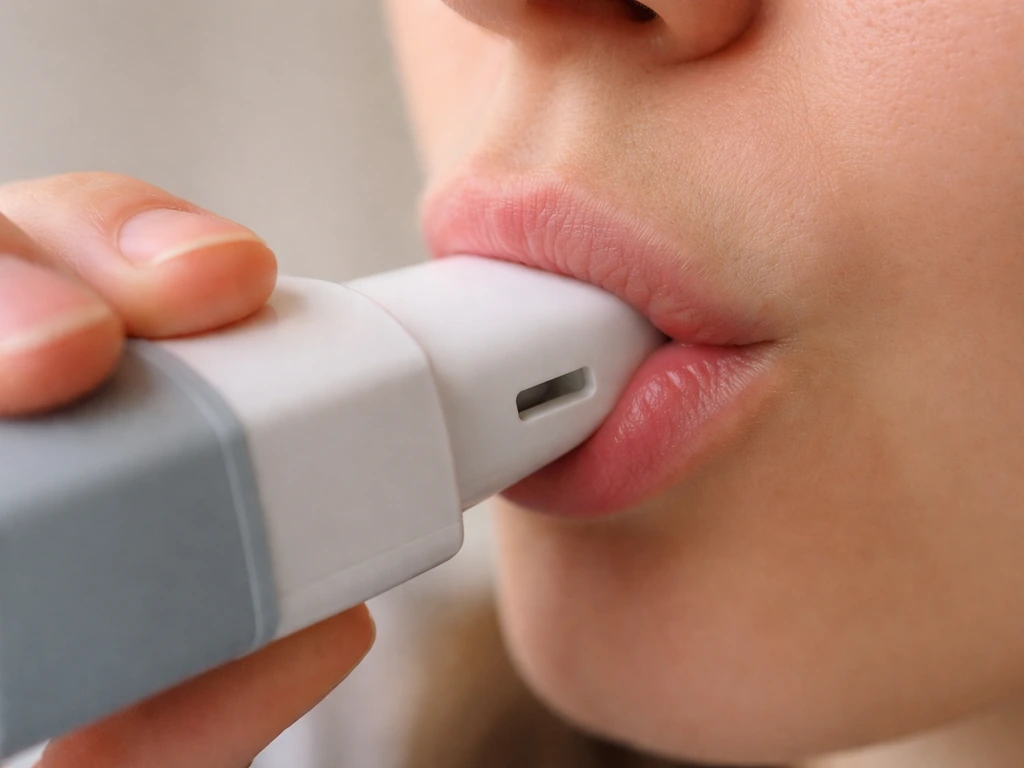
Hold the mouthpiece lightly against your lips, not jammed in. Your lips should form a relaxed seal around the rim. If you press too hard, you partially block the exit vent on the other side and choke the sound. For pea and pea-less styles, keep the whistle level (parallel to the ground). Tilting it even 20 to 30 degrees changes where the pea sits in the chamber and can silence it completely. That one cost me an embarrassing few minutes in the field before I figured it out.
Blowing force and timing
- Start with about 30% of your maximum breath pressure. This is softer than you think.
- Hold the breath steady for 1 to 2 seconds to let the chamber resonate. Don't pulse or stutter your breath on the first try.
- Listen for the tone. If it's clear, increase slightly to find the sweet spot. If it screeches, back off.
- Once you have a clean, sustained tone, practice short bursts (0.5 seconds on, 0.5 seconds off) to simulate natural call patterns.
- For a pea whistle, you want to feel a subtle flutter or vibration against your lips — that's the pea doing its job, vibrating rapidly inside the chamber.
Practice drills that help fast
Spend five minutes doing these in order: (1) One long, sustained note. Just hold it and listen. (2) Three short bursts, evenly spaced. (3) Two short, one long (think of a classic bird alarm call rhythm). (4) A slow fade from loud to soft by reducing breath pressure mid-note. If you can do all four cleanly, you're ready for actual bird-call patterns. If you want to develop more advanced vocal technique alongside the toy, reading up on how to chirp like a bird is genuinely useful for understanding the rhythm and phrasing of natural calls.
Adjusting pitch, volume, and call patterns
Not every bird whistle toy lets you adjust pitch, but many do through some combination of breath, position, or a physical mechanism. Here's what works for each type.
| Whistle type | Pitch control | Volume control | Call pattern control |
|---|---|---|---|
| Pea whistle | Slight angle change (minor effect); mostly fixed | Breath pressure (higher = louder) | Rhythm of your breath bursts |
| Pea-less whistle | Fixed or very limited | Breath pressure | Rhythm of your breath bursts |
| Slide whistle | Slide position (push in = higher pitch, pull out = lower pitch) | Breath pressure | Combined slide movement and breath rhythm |
| Water whistle | Water level (more water = lower pitch) | Breath pressure | Breath rhythm; tilt angle changes warble character |
For slide whistles specifically: the blank" rel="noopener noreferrer">slide shortens or lengthens the internal air column. A shorter column vibrates faster and produces a higher pitch. A longer column vibrates more slowly and produces a lower pitch. This is the same physics that governs a trombone. Practice gliding the slide smoothly while maintaining steady breath pressure and you can mimic a lot of natural rising and falling bird calls. If you want to go deeper on technique for different styles, how to use a bird whistle covers more call-matching approaches for specific bird species.
For water whistles: adding a small amount of water lowers the resonant pitch because the water fills part of the chamber and changes the effective air volume. Experiment by adding water a few drops at a time and testing between additions. Tipping the whistle slightly left or right while blowing changes the bubble pattern, which gives you a different warbling texture. It's more expressive than it looks.
Troubleshooting: no sound, weak sound, squeaks, or inconsistent calls
If it's not working right, run through this checklist before assuming the toy is broken. In my experience, 90% of problems come down to one of these.
No sound at all
- Check that the mouthpiece opening isn't blocked. Debris, a stuck sticker, or a manufacturing plug can completely seal the inlet.
- For a water whistle: you may have overfilled it. Pour some out, shake dry, and try again.
- For a pea whistle: give it a gentle shake. If the pea isn't rattling, it may be stuck (usually from moisture). Let it dry completely, then try again.
- Check that you're not covering a vent hole with your fingers. Some designs have a small hole on the side or top that must stay open.
Weak or muffled sound
- Most likely cause: too much moisture inside the chamber. Shake it out and air dry for at least 10 minutes.
- Second most likely: you're blowing too softly. Add about 10% more breath pressure and see if it opens up.
- For slide whistles: check that the piston seal hasn't dried out. A tiny amount of lip balm or slide grease (the kind used on brass instruments) applied to the piston rod will restore the airtight seal.
Squeaks or harsh overtones
- You're almost certainly blowing too hard. Drop to about 25% of your max pressure and build back up slowly.
- The angle may be off. Try leveling the whistle perfectly horizontal.
- If it's a pea whistle and the squeak happens at the very start of each blow, the pea may be sitting in the wrong position. Give it a gentle tap or short sharp puff to reposition it, then try again with steady airflow.
Inconsistent or intermittent sound
- Uneven breath pressure is the most common cause. Practice holding a single sustained note on a non-musical instrument (like a straw in a glass of water) to train consistent exhalation.
- For pea whistles: partial blockage in the chamber. Rinse under warm running water and shake vigorously to clear.
- For slide whistles: the slide may be binding at certain positions. Clean the rod with a damp cloth and apply a light lubricant.
Cleaning and safe handling for outdoor use
Bird whistle toys go in your mouth repeatedly, often outdoors. Keeping them clean isn't optional, mold and bacterial buildup inside a damp chamber can happen within a few days in warm weather. Audubon also advises drying feeders completely before refilling and suggests regular cleaning, including using a vinegar solution and then rinsing Keeping them clean isn't optional, mold and bacterial buildup inside a damp chamber can happen within a few days in warm weather..
- After every outdoor session, rinse the whistle under warm running water. For water whistles, empty the water chamber completely — stagnant water is where the problem starts.
- Once a week with regular use, soak plastic whistles in a solution of one part white vinegar to four parts water for 10 to 15 minutes. This breaks down mineral deposits and light mold. Rinse thoroughly afterward.
- Never use bleach on plastic whistles. It degrades the material over time and leaves a residue in the chamber.
- If the whistle has a reed (a thin flexible strip that vibrates), do not scrub it. Rinse gently. Reeds are fragile and a bent or cracked reed means replacement, not repair.
- Let it air dry completely before storing, especially if it goes into a bag or case. A sealed, damp whistle is a petri dish.
- For shared use (multiple people in a group): each person should use their own whistle. If sharing is unavoidable, wipe the mouthpiece with an alcohol wipe between users.
- Small detachable parts (caps, lanyards, peas that have come loose from a broken chamber) are a serious choking risk for children under 3. Store out of reach.
Using it for bird watching: what to practice and when to hold off
A bird whistle toy can genuinely improve a birding session, but it can also cause real harm to wildlife if used carelessly. Here's how to do it right.
What to practice before you head out
Learn two or three calls specific to birds in your region before going into the field. Most bird whistle toys can credibly mimic short, simple calls: a chickadee's two-note whistle, a titmouse's repeated "peter-peter," or a basic sparrow chip note. Listen to recordings of these calls on a birding app, then try to match the rhythm and pitch on your whistle at home. You'll know you're close when the intervals and note lengths feel natural rather than mechanical. Once you're out, how to bird whistle offers additional guidance on mimicking specific species calls with more precision.
What to listen for in response
When a bird responds to a whistle call, it usually does one of three things: it goes quiet (it heard something unfamiliar and is being cautious), it calls back (curiosity or territorial response), or it moves toward you (strong territorial response). A call-back response is a great sign your whistle is convincing. Give the bird 30 to 60 seconds to respond before trying again. Over-calling is the most common beginner mistake, it sounds unnatural and drives birds away instead of attracting them.
When not to use it
There are situations where using a bird call whistle is genuinely harmful or prohibited. During nesting season (roughly March through July in the Northern Hemisphere), repeatedly calling to a territorial bird causes real stress. A stressed bird may abandon its nest or spend time responding to you instead of feeding its chicks. Many national parks and wildlife reserves explicitly prohibit the use of recorded or artificial bird calls, check the rules for your location before you go.
If you are using a more body-based approach rather than a toy (some birders prefer this), the technique for how to whistle with fingers like a bird is worth knowing as a quieter, more discreet alternative. As a general rule: two or three calls maximum per location, then wait and listen. If the bird hasn't responded after three attempts, move on.
A note on specialized styles
Some birders and hobbyists use culturally specific whistle techniques to produce distinctive sounds. The Chicano bird whistle style, for instance, involves a particular lip and breath combination that produces a very different tonal quality from a standard toy whistle. If you're curious about this technique and want to expand your range, how to chicano bird whistle is a good place to start. And if you've ever wondered why a water-filled whistle sounds so different from a dry one, the mechanics are genuinely interesting, how does water bird whistle work explains the physics of air bubbling through water to create that characteristic liquid warble.
The short version: use the whistle sparingly, learn the calls you want to mimic before going into the field, and always prioritize the bird's wellbeing over getting a closer look. A well-timed, accurate two-note call at the right moment is far more effective than repeated blasting, and it keeps your bird watching sessions ethical and sustainable.
FAQ
What should I do if my bird whistle toy sounds squeaky, not chirpy, on the first attempt?
If you hear mostly a squeak or scratchy noise, first confirm you are using controlled airflow (not maximum force), then check for an obstructed exit vent or a mouthpiece still covering a protective plug or film. After that, try re-seating the whistle in the same hand position each attempt, because a small lip seal change can dramatically alter the reed or pea movement.
Can temperature or moisture affect how to use a bird whistle toy, and how do I compensate?
Yes. Many toys work best when you start with a warm-up routine inside (one long note, then short bursts) so the reed or internal chamber is dry and responsive. If your whistle gets cold outdoors, let it warm in your pocket for a few minutes before testing, because temperature can change airflow behavior and make pitch feel inconsistent.
How should I clean and dry a bird whistle toy without damaging it?
Always clean after use, and more often in humid weather. A practical routine is to rinse (if the manufacturer allows), then air-dry fully with the mouthpiece facing down so water or saliva does not pool inside. If your toy cannot be rinsed, use a dry, soft pipe-cleaner or cotton swab to remove moisture from the chamber and vents.
If my whistle has no slide, how can I still adjust pitch?
For pitch control, the “slow fade” breath change mostly affects volume and sometimes slight tone, but real pitch shifts come from mechanism and angle. If your model has no slide and no water chamber, your strongest adjustment levers are mouth seal pressure consistency and keeping the toy level so the pea sits the same way each time.
How do I know I am using the right call pattern, not just making bird-like sounds?
Use the same two or three calls you practiced at home, and match both rhythm and spacing, not just note count. If birds call back, stop immediately after the call-response and wait 30 to 60 seconds. Many beginners fail by repeating the call pattern rapidly, which reads as persistent noise rather than a natural brief call.
My whistle worked yesterday but suddenly won’t make sound. What are the most common quick fixes?
Start by blowing for a second or two, then pause to listen to the sound quality. If it instantly stops working, inspect the nozzle opening and any removable mouthpiece parts for film or a slightly misaligned insert. For pea styles, ensure the toy is level, since a small tilt can seat the pea so it will not interrupt airflow properly.
Is it hygienic to share a bird whistle toy between people?
Do not share mouthpiece contact with other people, especially outdoors where cleaning is harder. If you must pass it, use a separate mouthpiece cover or have each person use their own toy, and clean thoroughly after. This reduces the risk of spreading bacteria and mold buildup in the damp chamber.
When is it unsafe or possibly prohibited to use a bird whistle toy?
In many places, the concern is less about the toy itself and more about frequency and timing. To stay safer, keep sessions short, use few attempts per location, and avoid calling at known nest sites during nesting season. Also follow local posted rules at parks and reserves, since “artificial calls” or “bird call devices” may be regulated even when the toy is small.
What should I do if no bird responds after multiple tries?
If the bird does not respond, resist the urge to increase intensity or number of attempts. Wait, listen, and only repeat the same call pattern up to three times per location, then move on. If you change too many variables at once (angle, pitch, call type, volume), you lose the ability to tell what worked.
How do I fine-tune water whistle warble without overfilling?
For water whistles, add water gradually (few drops at a time), then test between additions. If you overfill, the warble can become weak or unstable because the chamber is too damp or the effective air volume changes too much. Tipping also affects texture, so keep the same tip angle while adjusting water so you can reproduce results.
Next Article
How to Whistle With Fingers Like a Bird: Step-by-Step
Learn finger-and-mouth bird whistle steps, lip and breath control, fixes for squeaks or no sound, plus practice drills.