Yes, you can learn to chirp like a bird today. Not perfectly, and not identically to what a bird does anatomically, but close enough to fool a casual listener and close enough to be genuinely fun. The key is picking one specific target sound, learning the mouth and breath mechanics for that sound, and then drilling it with a real feedback loop. That's the whole game. This guide walks you through each step.
How to Chirp Like a Bird: Beginner Step-by-Step Practice

Marcus Hendricks
10 Apr 2026

What chirping like a bird actually means
Before you make a single sound, it helps to understand what you're actually trying to do. Birds produce sound using a specialized organ called the syrinx, which sits where the trachea splits into two bronchi. You don't have one. You have vocal folds, a tongue, lips, and a lot of oral cavity to work with. That means true acoustic replication is impossible, but convincing approximation is absolutely achievable. You're going for perceptual mimicry, not acoustic cloning.
There's also a real distinction worth knowing: bird songs (typically long, complex, and associated with mating) are different from bird calls (shorter, used for alarms, contact, or flock coordination). As a beginner, calls are your target. They're shorter, simpler in structure, and far easier to repeat reliably. A chickadee's "fee-bee" or a cardinal's sharp "chip" is a call. A thrush's long elaborate phrase is a song. Start with calls.
Picking the right bird sound to copy

Don't just "try to chirp." Pick a specific target. This is the single biggest mistake beginners make, and it cost me weeks of unfocused practice before I figured it out. When you have a precise reference, you can measure your progress. Without one, you're just making noise.
For first attempts, choose a common local species with a short, clear call. Good starter targets include the black-capped chickadee (two-note "fee-bee" whistle), the American robin's short "tuk" contact call, the northern cardinal's sharp "chip," and the house sparrow's basic chirp. All of these have clean onset notes, short durations (think 100 to 200 milliseconds per note), and manageable pitch ranges for the human voice.
Use the Merlin Bird ID app from Cornell Lab to find and verify your target. blank" rel="noopener noreferrer">Merlin's Sound ID feature is trained on large libraries of verified recordings, and it shows spectrogram shapes that visually represent what each species' calls look like as sound. This matters because you'll use the spectrogram later to compare your own chirps against the real thing. Download the app, search your target species, and listen to the call recordings (not the songs) repeatedly before you attempt anything yourself. Learning to bird whistle goes hand in hand with this step, especially if you want to extend your range beyond pure vocal mimicry into whistle-assisted calls.
The basic mechanics: breath, mouth shape, and timing
Here's the technical core. Three things produce a clean chirp: a controlled breath pulse, a specific mouth and tongue configuration, and precise timing for note onset and cutoff. Get all three right and you'll have a recognizable chirp. Miss any one of them and you'll get something that sounds more like a cough or a squeak.
Breath control: short, clean pulses
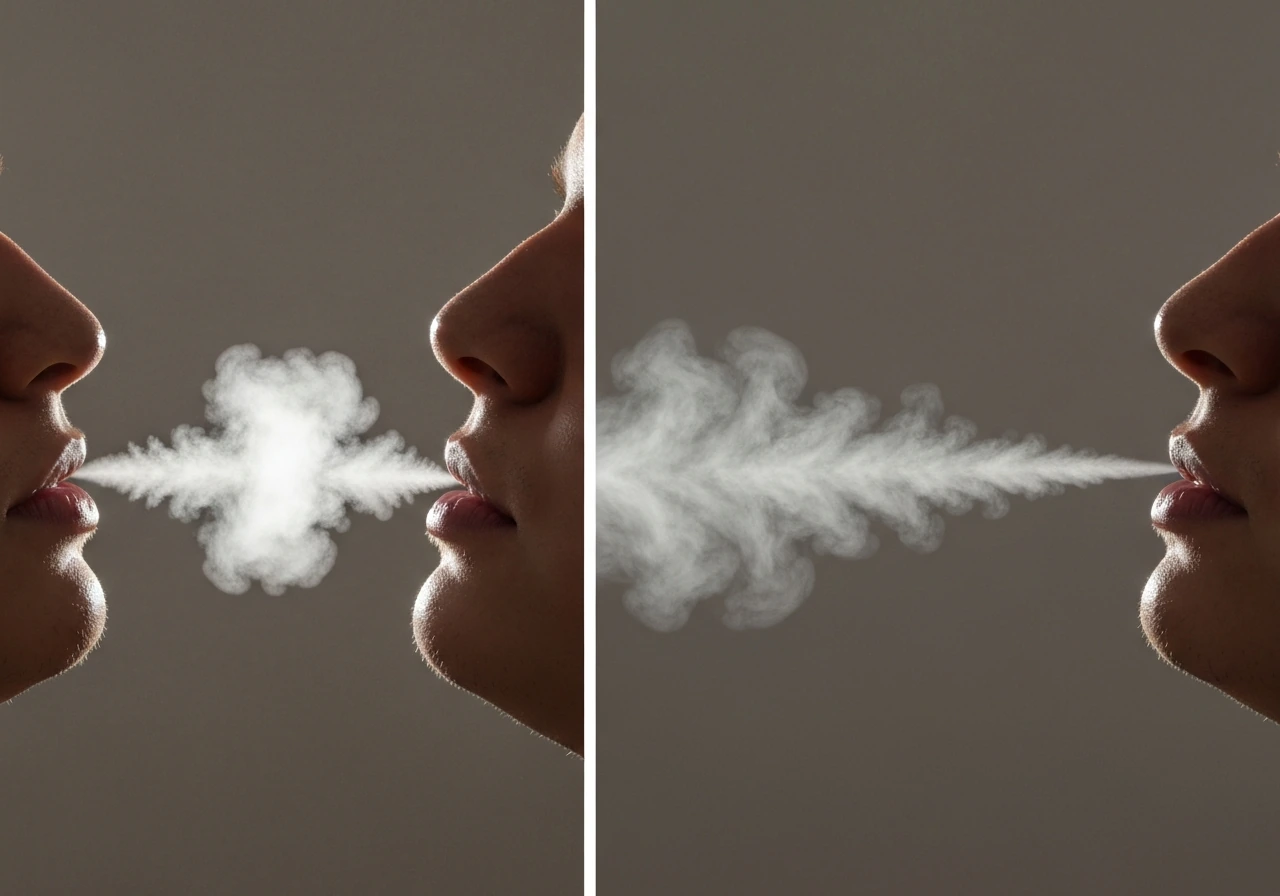
A chirp is not a sustained note. It's a short, sharp air pulse with a defined start and stop. Think of the staccato technique wind players use: start the air with a "tu" tongue release, then cut it immediately. The air should travel for a fraction of a second. If you're blowing for more than about half a second per note, you're overblowing. The goal is a puff, not a stream.
The breath itself should come from your diaphragm, not your throat. Throat-pushed air creates tension and breathiness. Coordinating airflow from your core with glottal control (your vocal folds opening and closing) is what separates a crisp chirp from a breathy hiss. This is the same principle behind SOVT (semi-occluded vocal tract) training used by singers: you learn to coordinate air pressure and resistance without pushing. The concept transfers directly to short-note mimicry work.
Tongue and mouth position
Your tongue position does most of the shaping work. For higher, brighter chirps, place the tongue tip against the roof of the mouth about halfway between your front teeth and the back of your palate. Releasing from there while pushing a short air burst creates a bright, forward sound. For lower, rounder chirps, drop the tongue and round your lips slightly. Experiment with both. Your target recording will tell you which direction to go.
Lip shape also matters. A narrower mouth opening raises the perceived pitch and adds edge to the sound. A more open mouth softens and lowers it. Many bird calls also involve a quick frequency sweep (the note rises or falls slightly mid-call). You can approximate this by subtly moving your tongue during the air pulse rather than holding it completely still.
Rhythm and note spacing
Real bird calls are highly stereotyped, meaning they repeat with very consistent timing between notes. If your target is a two-note call like the chickadee's "fee-bee," the gap between notes and the duration of each note are just as important as the pitch. Clap the rhythm of your target recording before you try to voice it. Internalizing the timing pattern first makes everything else easier.
Your practice routine: from warmup to full chirp sequences
Don't skip warmups. Your vocal mechanism needs to be ready before you ask it to produce precise, short sounds repeatedly. Lip trills are discussed in the poster as a voice exercise involving aerodynamic, acoustic, and laryngeal interactions, supporting their use as warmups. I learned this the hard way after practicing too hard too fast and ending up with a sore throat and no improvement. Ten minutes of warmup saves you from that.
- Breath pulse warmup (2 minutes): Hiss steadily for 5 seconds, then cut to silence sharply. Repeat 10 times. This trains your body to feel the difference between sustained airflow and a hard cutoff. You want the cutoff to feel effortless, not forced.
- Lip trill or straw hum (2 minutes): Hum through a coffee stirrer or do a lip trill (like a motorboat sound) at a comfortable pitch. This is a SOVT exercise and it warms up your vocal folds gently while making you aware of airflow resistance. Stop if your throat tightens.
- Tongue placement drill (2 minutes): Without voicing, press your tongue tip to mid-palate and release it repeatedly, making a soft "t" click. Then add a tiny breath pulse. This trains the mechanical motion you'll use for chirp onset.
- Single-note attempts (5 minutes): Now try your target's first note only. One note, then stop. Listen back to what you just produced. Don't rush into sequences yet. Aim for a sound that resembles your target recording, even loosely.
- Two-note sequence (5 minutes): Once your single note is somewhat stable, add the second note with correct timing. Count the rhythm out loud first: "one-two, one-two" at the exact speed of the recording. Then voice both notes together.
- Short bout practice (5 minutes): String together three to five repetitions of the full call with natural pauses between, mimicking how the bird actually produces it. Birds repeat calls in bouts, not as a single isolated utterance. Practicing bouts builds the muscle memory for reliable repetition.
Keep sessions short at first. Fifteen to twenty minutes per day is better than an hour-long grind. Vocal technique is built through repetition over days, not one intense session.
How to use recording and feedback to actually improve
This is where most beginners leave progress on the table. They practice, but they don't compare systematically. Here's the drill that actually works.
- Record your reference: Play your target bird's call through a speaker and record a 10 to 15 second clip on your phone at a consistent volume and distance. This is your comparison benchmark.
- Record yourself: In the same room, at the same recording distance, record yourself producing the same call five to eight times in a row. Keep your phone position consistent across all sessions.
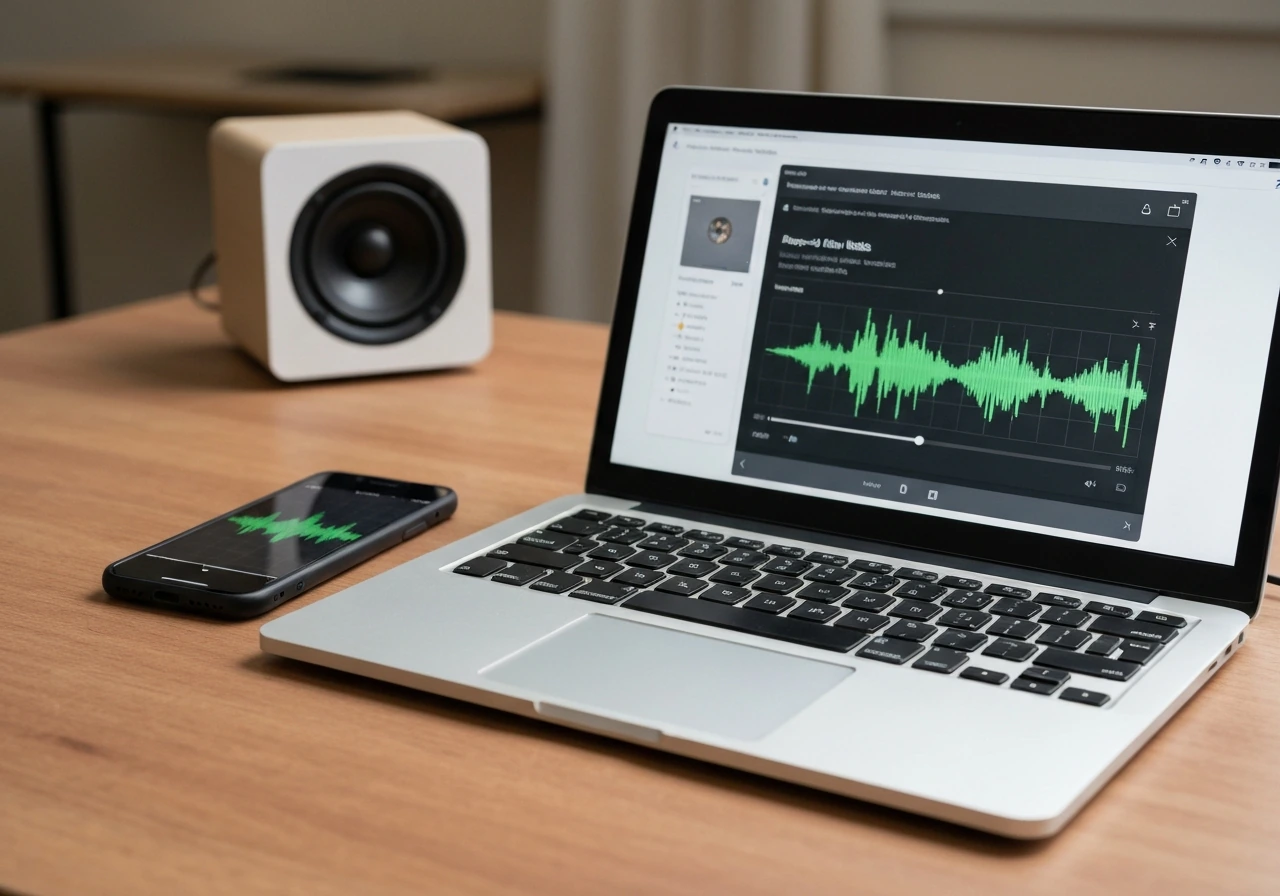
- Compare on a spectrogram app: Use an app like Spectrogram Pro or the built-in display in Merlin. Play your recording and look at the shape of the note. Then play the reference and compare. Are the shapes similar? Is your pitch sweeping in the right direction? Is your note duration close?
- Identify one specific mismatch: Don't try to fix everything at once. Pick one thing that's clearly wrong, such as your note starting too slowly, or your pitch being too flat, and spend the next session focusing only on that.
- Re-record and compare again: After adjusting, record another set and compare the spectrograms side by side. You're looking for your chirp shape to gradually converge toward the reference shape.
A useful way to think about what you're listening for: there are two layers in any bird call. The slow "envelope" (how the overall loudness rises and falls across the note) and the faster internal pitch contour (whether the frequency sweeps up, down, or stays flat). Try to match both, but start with the envelope because it's more perceptually obvious. When you feel ready to go deeper on verification tools, understanding how to use a bird whistle for comparison playback is a natural next step.
Common mistakes and how to fix them
| Mistake | What It Sounds Like | Fix |
|---|---|---|
| Too breathy | Hissy, airy note with soft edges | Add more glottal closure by thinking 'crisp' onset. Try starting the note with a 'tu' tongue release instead of just breathing out. |
| Too loud / strained | Harsh, forced tone that doesn't sound birdlike | Reduce air pressure. Chirps are quiet and delicate. Imagine you're filling a thimble with air, not a bucket. |
| Pitch too flat | Note sounds dull, doesn't have the bright edge of the real call | Raise your tongue closer to the palate and narrow your lip opening slightly to brighten the resonance. |
| Wrong rhythm | Notes are evenly spaced when they shouldn't be, or rushed | Clap the rhythm of the reference recording 10 times before attempting it vocally. Then hum the rhythm before adding full tone. |
| Can't repeat reliably | First chirp sounds decent, next ones fall apart | You're not yet in muscle memory. Slow the sequence down by 30%, nail it slowly, then gradually increase to target speed. |
| Throat fatigue | Voice gets rough or raspy after a few minutes | You're pushing from the throat. Reset with a lip trill warmup, drop your shoulders, and use diaphragm support instead. |
Using bird call tools to speed up your learning
You don't have to rely on pure vocal production alone, especially while you're learning. Several tools can either supplement your practice or help you produce bird sounds while your vocal technique catches up.
Sound apps
Merlin Bird ID is your best free resource. A Reddit discussion in r/birding also points out Merlin expanding into identifying bird songs from audio. Use it to find clean reference recordings for your target species, and use its Sound ID spectrogram display to visually compare your attempts. Cornell also has the Macaulay Library, which hosts thousands of recordings sorted by species and call type, so you can find multiple examples of the exact call you're targeting and hear natural variation between individuals.
Bird whistles and call devices
Physical bird whistles can produce remarkably accurate calls when used correctly and can help you internalize the target sound's pitch and rhythm while your vocal production catches up. If you're curious about how these work mechanically, there's a great explanation of how a water bird whistle produces its warbling sound that makes the physics surprisingly clear. For people interested in making bird sounds with their hands rather than a device, bird whistling with cupped hands is a technique worth exploring alongside pure vocal mimicry.
If you'd rather use finger-based whistle techniques to hit higher pitches than your voice can reach cleanly, the approach described in whistling with fingers like a bird gives you a second toolkit to work from. And if you have a toy whistle on hand, it's more capable than most people realize. A guide on how to use a bird whistle toy covers technique that transfers well to beginner practice sessions.
Specialty whistle types
Some bird whistles require specific technique that's quite different from straight blowing. The chicano bird whistle, for example, uses a particular airflow and lip approach that produces a very specific sound profile. If you've come across one and aren't sure how to make it work, the dedicated guide on how to use a chicano bird whistle breaks it down clearly.
A word on volume and hearing safety
If you're using playback devices or loud call speakers during practice, keep the volume reasonable. Extended exposure above 85 dBA can cause cumulative hearing damage, and some electronic call devices can get loud quickly in a small room. If you're playing reference calls through a speaker right next to your ear for comparison, use headphones at moderate volume or keep the speaker at arm's length. Your hearing is irreplaceable, and this hobby is supposed to be enjoyable long-term.
What to expect and where to go from here
After two to three days of focused practice (15 to 20 minutes per day), most beginners can produce a recognizable approximation of a simple two-note call. It won't fool a birder, but it will often prompt a real bird to respond, which is genuinely exciting the first time it happens. After two weeks, with consistent recording-and-comparison feedback, your notes will start to have cleaner onsets, more accurate pitch contour, and reliable repeatability. That's real progress.
From there, you can branch into more complex call sequences, try different species, or start combining vocal mimicry with whistle tools for a wider repertoire. The core skill, which is precise short-note control with feedback-driven iteration, transfers to every new target you take on. Start with one chirp, get it right, and then build from there.
FAQ
How do I know if my chirp is too breathy versus too tight?
If it sounds airy or hisses with no clear start and stop, your vocal folds are staying too open or your breath pulse is too strong. Try slightly shorter air bursts and “clearer” onsets (faster cutoffs). If it sounds scratchy, strained, or you feel throat effort, reduce pressure, slow down the tonguing release, and check that you are releasing from the tongue without pushing from your throat.
What if I can’t match the pitch, but my timing is close?
Start treating pitch as the last variable. Match the rhythm and note length first (especially the gap between notes). Then adjust tongue height and mouth aperture in small steps, testing one change per session, so you can tell which setting moves the contour in the right direction.
Should I record and compare every attempt, or only after a few tries?
Record in short batches, then label which version you think is closest. For learning, do at least one “baseline” recording and one “after adjustment” recording per 15 to 20 minute session. This makes it obvious whether your targeted change (tongue position, lip opening, or breath duration) actually improved the onset and cutoff.
My chirps sound like coughs or squeaks, what’s the most common cause?
That usually means the note onset is late or the air burst is uncontrolled. Focus on a crisp tongue release (a “tu” style attack) and make sure the air pulse ends quickly. Also check that you are not blowing for more than about half a second per note, which tends to smear the sound into squeak or cough-like noise.
How much volume should I use when practicing chirps?
Aim for comfortable, moderate loudness that still captures a clear start and stop. Practicing at very high volume can encourage throat pushing and will also make hearing reference playback harder to compare accurately. If you need guidance, use a quieter room and keep reference audio at a similar perceived loudness.
Do I need to use my diaphragm, or is throat breathing enough for chirps?
For consistent, clean chirps, diaphragm-supported airflow helps because it gives you repeatable pressure without throat tension. If you notice you can produce a sound only when you “push” with your neck muscles, reset by relaxing the throat and generating the breath pulse from your core, then reattempt a short note.
How do I match calls that have a frequency sweep (rising or falling)?
Instead of holding your tongue in one fixed spot for the entire note, make a subtle tongue or jaw movement synchronized to the pulse duration. Practice by exaggerating the contour slightly at first, then reduce the movement until it matches the target’s sweep shape while keeping the onset and cutoff crisp.
What’s the best way to practice two-note calls without getting one-note practice only?
Use a “rhythm lock” approach: clap or tap the timing of the call first, then voice the first note only, pause for the exact gap, and voice the second note only. When both notes separately are consistent, combine them. This prevents your brain from drifting on the interval between notes.
How long should I wait before changing my technique target?
Change one variable per day (tongue position, lip opening, or breath pulse duration) and keep the target fixed. If you do not see improvement in onset sharpness or note cutoff after about a week of 15 to 20 minute sessions, then refine your target selection or reassess your form rather than constantly experimenting mid-session.
Is it normal to feel sore or tired at the beginning?
Mild fatigue can happen, but soreness is a warning sign that you are overreaching (too many attempts, too much pressure, or throat tension). If you feel soreness, stop for the day, use gentler warmups, and next session shorten your total practice and aim for softer, shorter notes.
Can I use whistles or playback without it slowing my vocal progress?
Yes, as long as you use them as a reference or bridge, not a replacement. A practical method is to whistle or play the target, record yourself, then immediately compare and correct one feature (envelope, pitch contour, or timing). If you can’t reproduce it right after hearing it, treat that as feedback about your current limitation.
Next Article
How to Bird Whistle With Your Hands: Step-by-Step
Step-by-step guide to bird-whistling with hand cupping, plus no-hands mouth technique, drills, and troubleshooting pitch