If you want to improve your bird shooting results today, start with these three things: know your local rules cold, set up in the right spot at the right time, and practice your mount and swing until they feel automatic. If you want a practical walk-through, start with this guide to bird hunting and build your plan from there these three things. Everything else builds on those. Whether you're chasing ducks at dawn or walking up pheasants in a field, the same core principles apply: stay legal, stay safe, and give yourself the best setup before you ever pull a trigger.
Bird Shooting Tips: Safe, Legal Setup and Accuracy Guide

Marcus Hendricks
21 May 2026
Legal and ethical rules before you do anything else
This is the part most beginners rush past, and it's the part that can land you in serious legal trouble if you skip it. Bird hunting in the United States is governed by both federal and state law, and you need to satisfy both before you head out.
At the federal level, migratory game bird hunting is regulated under Title 50 CFR, Part 20. That means the U.S. Fish and Wildlife Service (USFWS) sets the framework for seasons, bag limits, and methods, and states work within that framework. These federal migratory game bird hunting rules are codified in Title 50 CFR, Part 20, and they set an annual framework meant to protect breeding stock while still allowing recreational hunting. If you're hunting ducks, geese, doves, or other migratory birds, you need federal HIP (Harvest Information Program) certification in addition to your state hunting license. HIP registration is usually quick and free through your state agency.
For waterfowl specifically, you also need a Federal Duck Stamp. The Duck Stamp Modernization Act of 2023 now makes an electronic version (E-Stamp) legal, but you must have it in hand when hunting. A sales receipt is not enough. Either carry the signed physical stamp or have your valid E-Stamp accessible. States like Indiana, Texas, and Maryland all layer their own stamp requirements on top of the federal one, so check your specific state's requirements. Texas, for example, requires a Texas migratory game bird stamp endorsement plus federal duck stamp plus HIP certification.
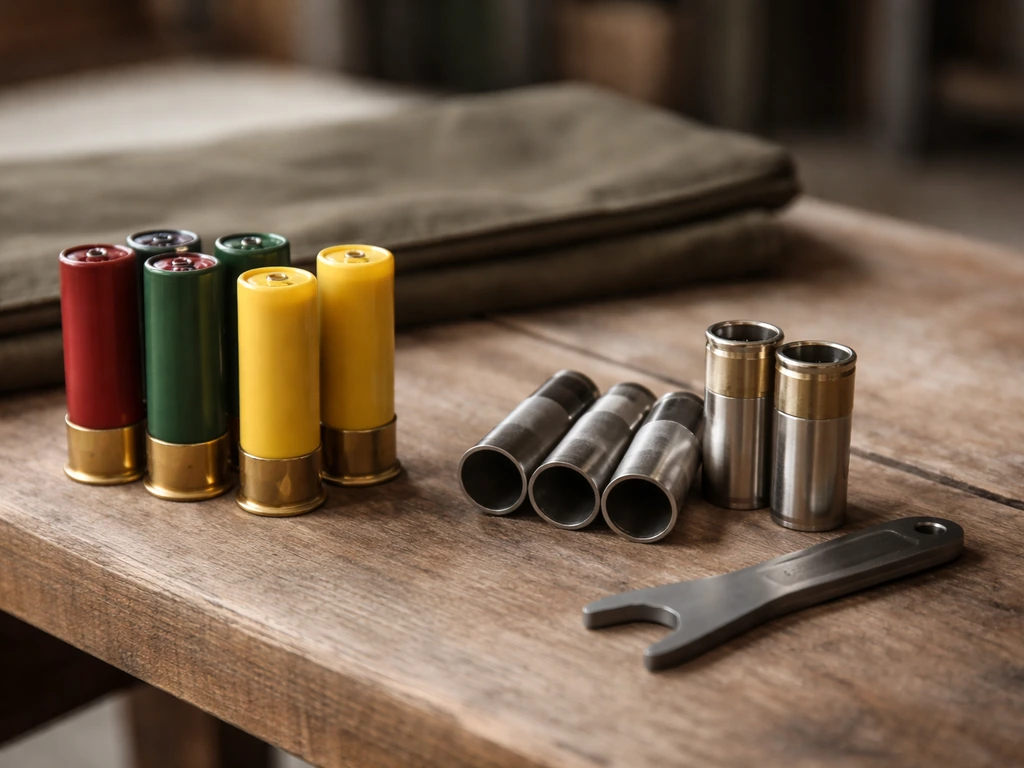
On the shot type issue: if you're hunting waterfowl or coots, lead shot is federally prohibited. You must use nontoxic shot (steel, bismuth, tungsten-based loads, and other approved alternatives). This is non-negotiable and enforced in every state. Hunting with lead shot over water is one of the fastest ways to get a ticket and harm the environment.
Beyond the paperwork, federal law (50 CFR § 20.21) also spells out prohibited hunting methods. You can't use motor vehicles to herd or concentrate birds, you can't use certain electronic calls for some species (migratory songbirds are fully protected), and you can't shoot from a moving motorboat at certain species. Read your state's digest and the federal rules for the specific bird you're targeting.
One more thing on the ethical side: know your target before you shoot. Under federal transport regulations (50 CFR § 20.43), you're required to keep a fully feathered wing or the head attached to harvested migratory birds during transport so game wardens can identify the species. That rule exists for a reason. Misidentifying a protected species is a real risk, especially with some duck species that look very similar. Carry a field guide or a species ID app and be 100% sure what you're looking at before you fire.
Choosing the right location, season, and gear
Location and timing
Good bird shooting starts with being in the right place at the right time. For migratory birds, legal shooting hours are typically from one half-hour before sunrise until sunset. That half-hour before first light matters more than most beginners realize. Birds are moving at first light, and if you're not in position before shooting hours open, you'll watch the action from the parking lot.
Scout your location the day before if you can. Walk the area, look for sign (feathers, droppings, tracks, feeding areas), and identify natural funnels where birds travel. For upland birds like pheasants, focus on transitions between cover types: the edge where a cornfield meets a brushy ditch is usually more productive than either habitat alone. For waterfowl, look for backwater areas, flooded timber, or feeding flats near open water.
Public land is absolutely usable, but pressure is real on heavily hunted public areas. Midweek hunts, walking farther from access points, and targeting less popular areas within the unit will all dramatically improve your experience. Private land with permission is ideal when you can get it.
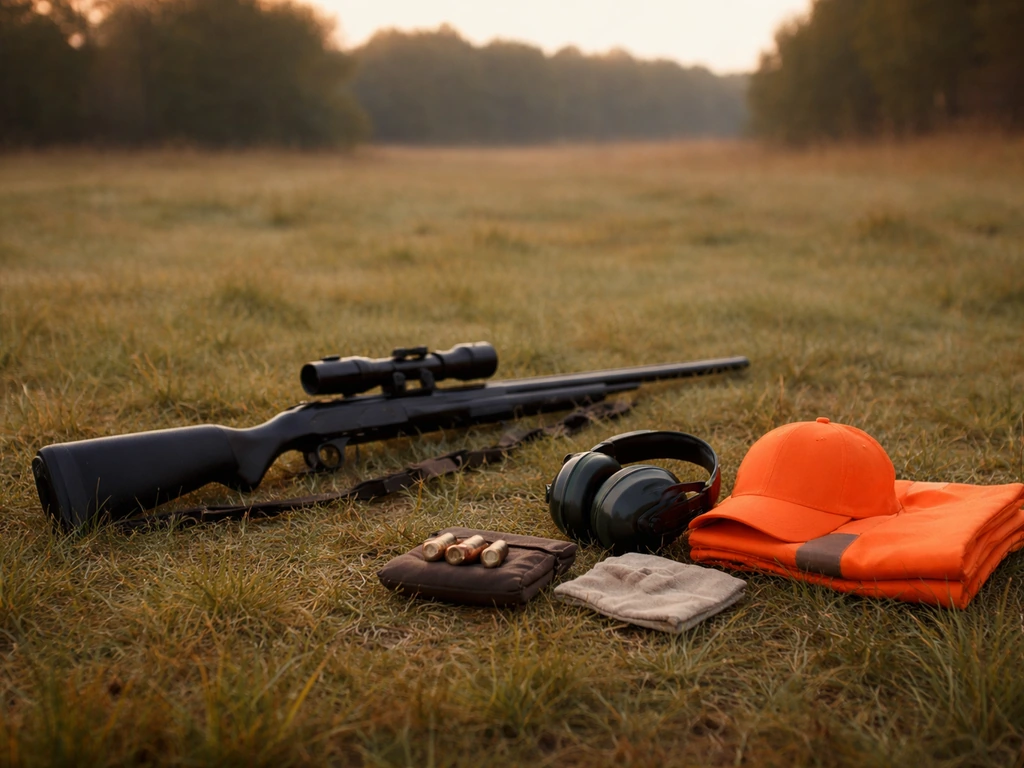
Gear selection
For most bird hunting, a 12-gauge or 20-gauge shotgun is the practical starting point. A 12-gauge gives you the most flexibility in load selection and choke options. If recoil is a concern, a 20-gauge is totally capable for upland birds and even ducks at reasonable ranges. Over-under and semi-automatic shotguns are both popular choices. Semi-autos reduce felt recoil noticeably, which helps with follow-through.
Choke selection is one of the most underrated decisions you'll make. A choke tightens or loosens the shot pattern at the muzzle. For pass shooting at ducks or geese at distance, a modified or full choke (with steel-compatible tubes) is appropriate. For close-flushing upland birds, an improved cylinder or skeet choke gives you a wider pattern that's more forgiving. Never run lead-shot chokes with steel shot because the pressure can damage the barrel.
| Situation | Choke Recommendation | Shot Type |
|---|---|---|
| Close upland birds (under 25 yards) | Improved Cylinder or Skeet | Lead (upland), or approved nontoxic |
| Mid-range upland birds (25-40 yards) | Modified | Lead (upland), or approved nontoxic |
| Waterfowl pass shooting (30-50 yards) | Modified (steel-rated) | Steel or approved nontoxic |
| Long-range waterfowl (50+ yards) | Full or Extra-Full (steel-rated) | High-velocity steel or bismuth |
Camouflage matters more for some species than others. Ducks and geese have excellent color vision and will flare hard at movement or contrast. Earth tones and pattern-matched camo for your environment (marsh, timber, field) make a real difference. Upland birds like pheasants are less visually acute but will spook at movement and loud noise. Blaze orange is required in many states for upland hunting for safety reasons even if it compromises concealment.
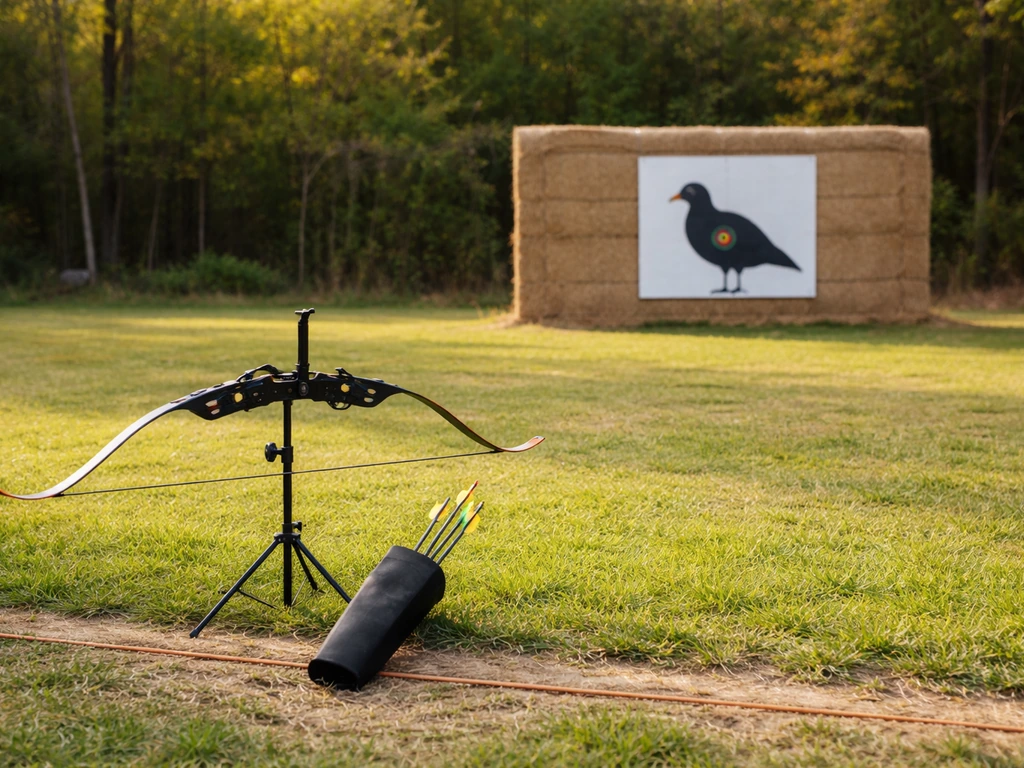
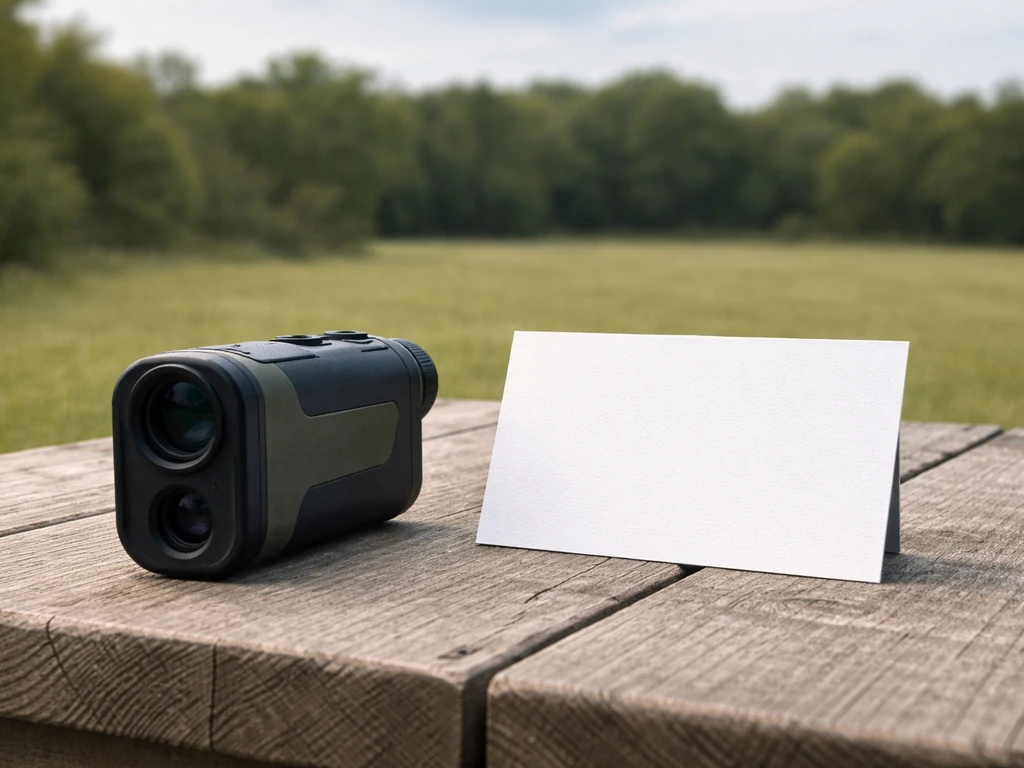
Binoculars are worth carrying even for hunting. A compact 8x32 or 10x42 pair lets you identify species before they're in range, which keeps you legal and helps you make smarter decisions about whether to call them in or wait. Using archery bird tips like proper distance judgment and calm movement can help you spot opportunities sooner and stay ethical in your shot selection identify species before they're in range. If you're interested in expanding your skills beyond hunting, the same binoculars work perfectly for bird watching between seasons.
Step-by-step setup and technique for successful bird shooting
Setup is everything. I've had days where the birds were thick and I went home empty-handed because I was positioned wrong. Here's a routine that works:
- Arrive early and move quietly. Get to your spot at least 30 minutes before legal shooting hours. The noise you make getting into position is often what ruins the morning. Move slowly, avoid silhouetting yourself on ridgelines, and keep your footfalls quiet.
- Set up with the wind in your favor. Birds almost always land and flush into the wind. Position yourself so birds approaching your decoys or feeding area are flying toward you, not crossing or flying away. Wind also carries your scent, so keep it blowing away from where birds are coming from.
- Use natural cover and concealment. Tuck into existing structure: brush piles, ditch edges, cattails, fence lines. If you're in a blind, break up your outline and keep movement to a minimum. Motion in a blind will flare birds just as fast as being fully exposed.
- Place decoys in a landing zone in front of your shooting position. For ducks, a J-hook or C-curve spread with an opening (the landing zone) positioned within 25-35 yards of you works well. Birds will key on the opening and cup their wings right in front of you.
- Call sparingly and read the birds' response. Overcalling is one of the most common beginner mistakes. Start with a series of 5-6 quacks (for mallards) when birds are far off, then go to softer feeding chuckles as they get closer. If they're committed and coming in, stop calling. Let the decoys do the work.
- Pick one bird and commit. When a group comes in, the temptation is to shoot at the flock. This almost always results in a miss. Pick one specific bird, focus on it, and forget the rest exist.
- Mount the gun smoothly and swing through. Don't stop your swing when you pull the trigger. A stopped swing is the single biggest cause of misses on crossing shots. Keep moving.
Shot placement, distance estimation, and accuracy drills
Most birds are cleanly taken with a shot to the head and neck area or through the body where vital organs are concentrated. For waterfowl coming in to decoys, shots within 35-40 yards are ideal with steel shot. At those distances, a modified choke and a 3-inch shell with #2 or #4 steel gives you good pattern density and enough energy for a clean kill. Beyond 50 yards, the odds of wounding rather than cleanly harvesting birds increase significantly, and it's not worth the shot.
Estimating distance takes practice. A useful field trick: know how big your decoys appear at known distances. Set a decoy at 40 yards before the hunt and study how it looks. During the hunt, use that mental image to judge range. With upland birds, a bird that fills about half your field of view when focused with binoculars is typically 30-40 yards out on most optic setups.
Drills that actually move the needle
Shooting clay targets is the single best off-season and pre-season practice tool available. Sporting clays is specifically designed to mimic bird flight and is worth prioritizing over trap or skeet for hunters. It presents crossing shots, incoming shots, quartering-away shots, and high birds in the same round. If you can get your hit rate on sporting clays above 70%, you'll be a noticeably more effective bird hunter.
- Practice gun mounts daily at home (unloaded gun, verify safe before every session). A smooth, consistent mount is the foundation of accuracy. Mount the gun 50 times a day for two weeks and your field performance will improve noticeably.
- Focus on a spot ahead of the clay (or bird), not on the target itself. Your eyes should be soft-focused on the leading edge and front of the target.
- Shoot the same target presentation repeatedly until you understand the lead required, then change the angle. Repetition on one shot shape builds muscle memory faster than random variety.
- Record and review: shoot a round, have someone watch your swing, or use a GoPro. Seeing your own gun mount and swing is genuinely eye-opening.
- Try skeet station 4 (the crossing shot from the center stake) repeatedly. It's the most direct test of sustained lead and follow-through.
Reading bird behavior and wind
Birds telegraph a lot about their mood if you know what to watch for. Ducks that are "working" a decoy spread will circle, lose altitude on each pass, and drop their feet. That's your cue that they're committed. If they make one pass and arc away without losing altitude, something spooked them: motion in the blind, a piece of gear shining in the light, or your decoy spread looking unnatural.
Upland birds like pheasants hold tighter on calm, overcast days and flush more wild on windy days. In high wind, birds use dense cover and are harder to find but tend to hold longer when a dog gets close. On calm bluebird days, birds scatter and run ahead of you rather than flushing. Adjust your pace and strategy accordingly.
Wind direction dictates everything. Birds almost universally land and take off into the wind. For waterfowl, always set your spread so birds landing into the wind are coming toward your position, not away from it. If the wind shifts during the hunt, be willing to move your decoys or relocate rather than stubbornly working a setup that's now wrong. I've made that mistake more times than I'd like to admit, and a 15-minute reset is almost always worth it.
Light matters more than most hunters acknowledge. A low morning sun at your back puts birds flying toward you looking directly into glare, which can actually work in your favor for concealment. But if the sun is in your eyes, picking up birds at distance becomes hard and you'll be slower to react. In the afternoon, reposition so the sun is at your back or side.
Non-negotiable safety procedures
Safety in the field isn't a formality. Every year, preventable accidents happen because someone got sloppy on one of these fundamentals. Build these habits now and they'll protect you and everyone around you for life. A simple way to apply this is the Frank Bird Safety Pyramid, which starts with basics like awareness and safe gun handling.
- Treat every gun as loaded at all times. Even if you just unloaded it 10 seconds ago. This is the rule that catches people when they least expect it.
- Never point the muzzle at anything you're not willing to destroy. In a blind or on a walk, muzzle awareness is constant. Know where your barrel is pointing every single second.
- Keep your finger off the trigger until you're on target and have made a conscious decision to shoot. Trigger finger discipline is what separates safe shooters from dangerous ones.
- Identify your target completely before shooting. In dawn or low-light conditions, this is especially critical. A silhouette is not an identification. Know the species, confirm it's legal, and confirm what's behind it.
- Know your backstop. In flat open fields or over water, your shot can travel hundreds of yards. Never shoot at a low angle toward other hunters, roads, or structures.
- Communicate your position and movements clearly when hunting in a group. Everyone in the party should know where the others are before anyone raises a gun. Establish safe zones of fire before the hunt starts and stick to them.
- Unload your gun before crossing fences, entering a vehicle, or approaching a dog on a retrieve. These are the moments when accidental discharges happen.
- Keep a first aid kit accessible and know your location. Cell signal is often poor in good bird habitat. Download an offline map and tell someone your planned location and expected return time.
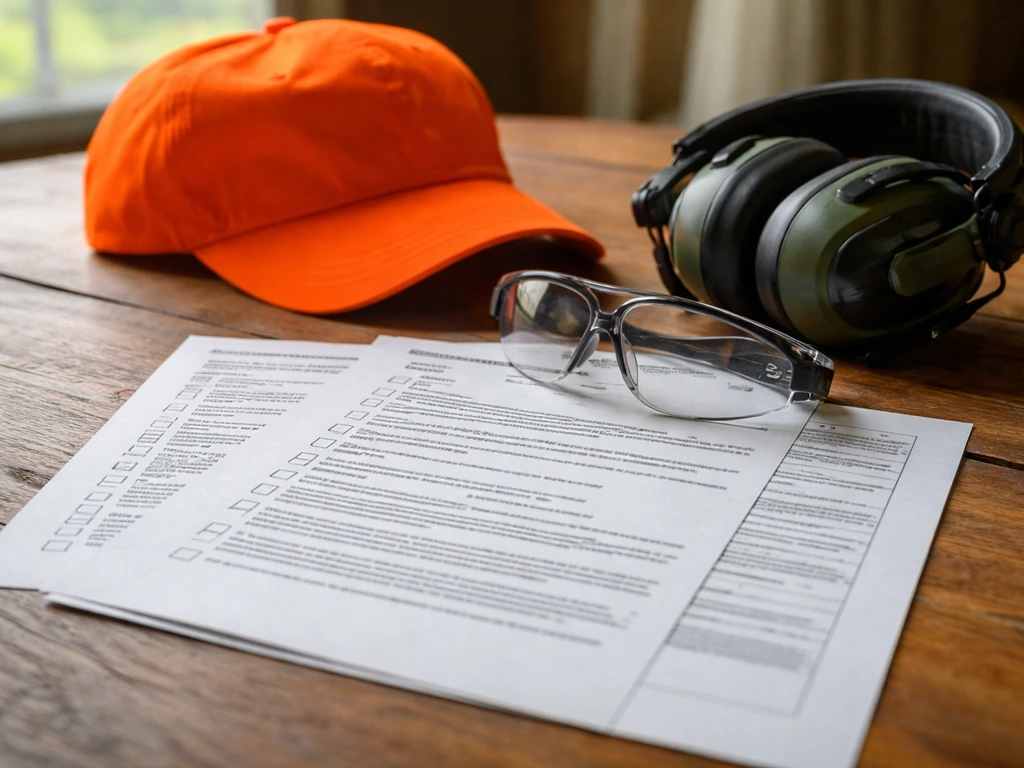
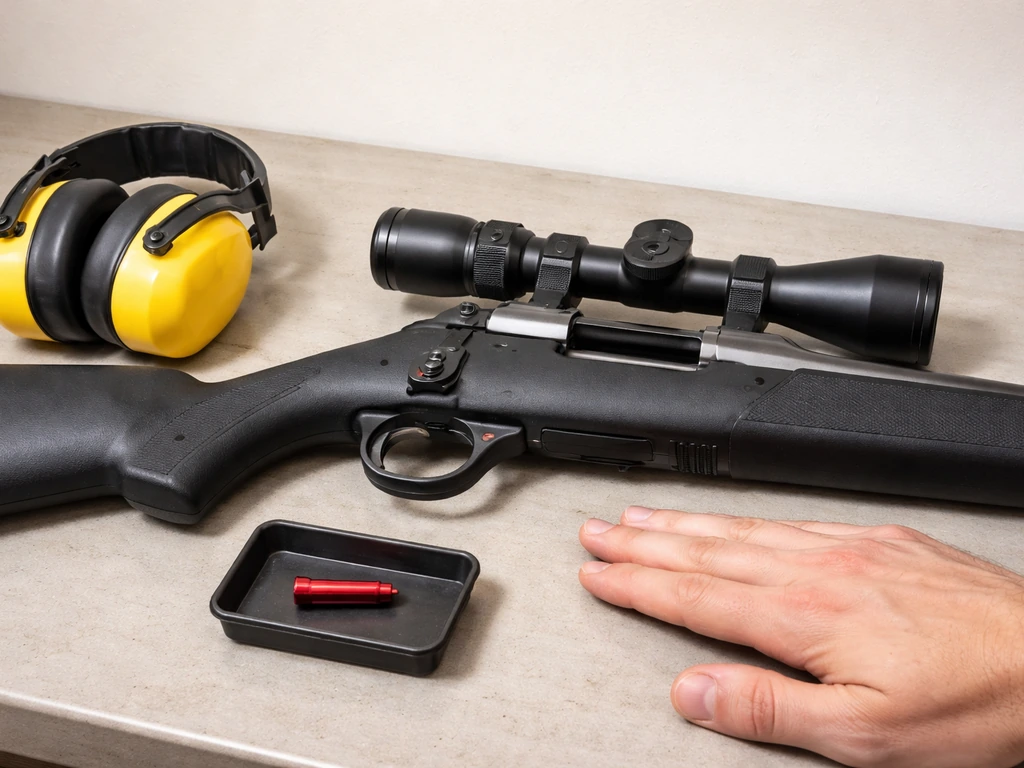
Range rules apply even in the field. If you're practicing at a shooting range before a hunt (which you absolutely should be), follow all posted range commands, never go downrange while anyone is shooting, and always wear ear and eye protection. These habits carry over to safe field behavior.
Why you're missing and how to fix it fast
Missing birds is normal, especially early on. The good news is that most misses come from a handful of fixable causes. Once you understand what's actually going wrong, you can correct it in the next session rather than repeating the same mistake all season.
| Common Miss Reason | What It Looks Like | The Fix |
|---|---|---|
| Stopping the swing | Shots go behind crossing birds consistently | Focus on the beak, swing through, and keep moving after the shot |
| Lifting the head off the stock | Shots go high, especially on incoming birds | Keep your cheek welded to the stock through the entire shot |
| Shooting at the flock | Shells fired, nothing falls | Pick one bird before you mount the gun, never change targets mid-swing |
| Wrong lead on crossing birds | Shots consistently behind at range | Increase perceived lead; at 40 yards a crossing duck needs 4-6 feet of visible lead with most methods |
| Flinching or anticipating recoil | Inconsistent patterns, shots low and left (for right-handers) | Dry-fire practice, lighter loads in practice, focus on follow-through |
| Range too long | Birds hit but not recovered, or miss entirely | Wait for birds to commit into closer range; 35-40 yards is ideal for most bird shooting |
If you're consistently struggling with a specific shot type, drill it on the clay range before going back to the field. Sporting clays stations can replicate almost any bird-shot scenario. Ask the range operator to throw the target that's giving you trouble repeatedly until you understand the sight picture required. It usually takes 20-30 repetitions of a specific shot angle before the right lead starts to feel intuitive. If you want to sharpen your bird shooting, practice arrow and target lead until your lead starts to feel intuitive.
Also revisit your gear setup if you've ruled out technique. A choke that's too tight creates a dense, unforgiving pattern. A shell with too little shot energy won't cleanly take birds at the range you're shooting. These variables matter and they're easy to adjust once you identify them as the problem.
Finally, keep a simple field journal. Arrow tips can help you tune your sight picture and improve consistency when you transition from training to the field arrow tips for bird hunting. After each outing, write down what conditions were like, what worked, what didn't, and what you'd change. Over a season or two, patterns emerge that no amount of reading can teach you. The hunters who improve fastest are the ones who pay close attention to what the birds are telling them and actually change their approach in response.
FAQ
Do bird shooting tips differ a lot between migratory birds, upland game, and non-migratory species?
Yes. Migratory birds (like many ducks and doves) usually trigger extra federal requirements and stricter method limits, while many upland birds are governed mainly by state regulations. Also, the “safe setup” you use changes by species (range expectations, shot selection, and how you camouflage or position), so confirm the exact season and species before choosing load and choke.
If I’m hunting on public land, what’s the best way to avoid accidental rule violations from boundaries and access points?
Treat property boundaries like you treat shooting safety, slow down and verify your location before daylight. Public areas often have special restrictions near trails, water bodies, buildings, and posted no-hunting zones. A simple habit is to mark a legal return route before you set up, then keep your shooting lane and decoy placement inside the allowed area.
What do I need to carry to be compliant with the federal duck stamp and HIP requirement in practice?
Plan for verification, not just “proof at home.” For the E-Stamp, keep your valid electronic record accessible on your phone or device before you load into the field, since a receipt typically does not substitute. If you use physical gear, consider keeping the signed stamp in a consistent pocket of your hunting vest so it’s easy to present without digging mid-hunt.
Can I switch shot types or use lead shots “just this once” if the water area is small?
No. For waterfowl and coots, the lead prohibition applies regardless of how small the pond or blind area is. If you’re tempted to improvise mid-day, bring an extra box of approved nontoxic loads so you never have to decide under pressure.
Is there a safe way to handle the “what’s my target?” problem when birds look similar?
Yes, build in a no-trigger rule until the ID is stable. Use binoculars to confirm key differences (bill shape, head pattern, and posture) and only shoot when the bird is clearly the species you intend. If identification is uncertain, wait for a better angle or let the bird pass, because misidentification can create both legal and ethical issues.
How should I adjust my approach if birds start showing up after legal shooting hours open?
Don’t take a “late” shot just because birds are already flying. Instead, reposition to be ready for the next window within legal hours, and focus your first action on being mounted and settled before you have shots available. If you miss the first minutes, recover by tightening your setup routine, decoy alignment, and calling cadence rather than shooting impulsively.
What’s the most common choke mistake when using steel or other nontoxic shot?
Using the wrong choke for the shell. Steel shot requires steel-compatible tubes, and lead-shot chokes should not be used with steel because pressure and pattern issues can occur. If you’re unsure what a tube is rated for, check the choke markings at home and verify it matches your planned shot type before you arrive.
How do I choose between improved cylinder versus tighter chokes for upland birds without overthinking it?
If you expect close, fast flushing (tight cover, walking hunts), start wider (improved cylinder or skeet range). If you’re seeing birds that consistently fly farther out across fields, you can move tighter in controlled increments, but avoid going too tight unless your clay practice confirms you can hit reliably at that longer distance.
What’s a realistic distance goal to avoid wounding birds, especially when wind pushes shots off line?
Use distance limits that account for both range and crosswind, then set a personal “maximum” that matches your clay hit rate rather than guessing. If you are beyond the range where you consistently break targets on sporting clays from similar angles and speeds, assume you’re at higher risk of wounding and choose to wait or pass.
When the wind shifts, is it better to move decoys or relocate my blind position?
Either can work, but choose the faster option that restores a correct bird approach. If moving decoys keeps the wind working and you can do it without creating noise and movement that spooks birds, adjust decoys. If the setup is now fundamentally wrong (birds are landing from a bad direction or your backstop is compromised), relocate the blind and reset your shooting lane even if it costs time.
What should I do if my misses look like the same problem, but I cannot tell if it’s distance, lead, or pattern?
Run a short diagnostic loop before the next outing. First, verify choke and load pairing at home, then compare how your misses look on the clay side using the same shot angle. If birds are missing in the same “relative” spot (behind, ahead, high, low), that points to lead or sight picture; if misses are inconsistent but pattern suggests tightness, revisit choke and shell energy.
What’s the best way to practice lead and sight picture if you don’t have a sporting clays course nearby?
You can still build the same skills with a regular trap or an outdoor practice setup using consistent crossing angles. The key is repeating one scenario enough times that the lead becomes automatic, then increasing difficulty only after you can reliably hit targets. If you have a range operator, ask for repeatable target throw angles similar to the shot you struggle with.
Is it safe and legal to shoot from inside a vehicle or with a vehicle nearby for bird hunting?
Often it is restricted, and the federal rules include prohibitions on certain methods involving motor vehicles for herding or concentrating birds. Even when not explicitly banned for your species, shooting from or around moving vehicles creates major safety risk. Follow state rules and treat any “from a vehicle” plan as an extra compliance and safety check before hunting.
Do I need blaze orange if I’m hunting waterfowl or in areas with upland hunting seasons running too?
Many states require orange for upland seasons and some require it more broadly during overlapping seasons. Since the visibility and safety rules differ by state and sometimes by land type, check your specific state’s upland safety requirements and local regulations for waterfowl hunting areas, especially if you’re near hunters using different firearms.
Next Article
Archery Bird Tips: Safe Target Practice and Bird Learning
Beginner archery bird tips for safe, ethical practice using bird targets, plus setup checklist, form routine, and bird l