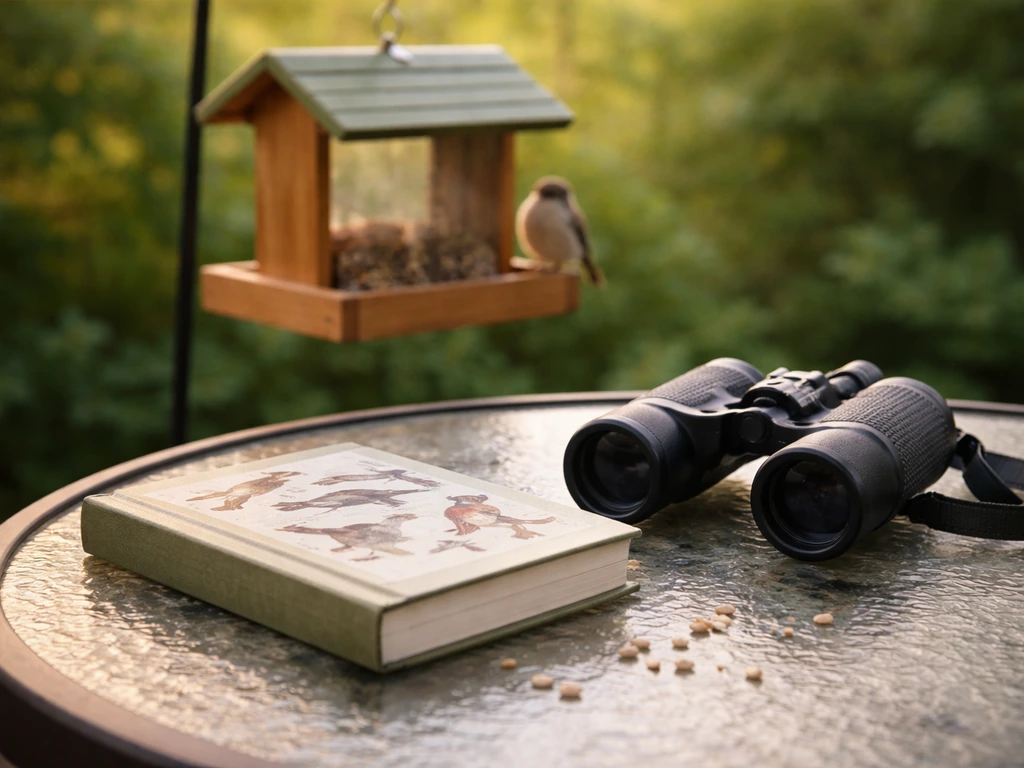
You can start bird watching from home today with almost nothing. Pick a window, grab a pair of binoculars if you have them, and download a free bird ID app. That's genuinely enough to get going. From there you layer in a feeder, a bird bath, maybe a field guide, and suddenly you've got a living, changing hobby that runs itself outside your window every single morning.
How to Bird Watch From Home: A Beginner Plan to Start

Marcus Hendricks
20 May 2026
What 'from home' actually means for bird watching
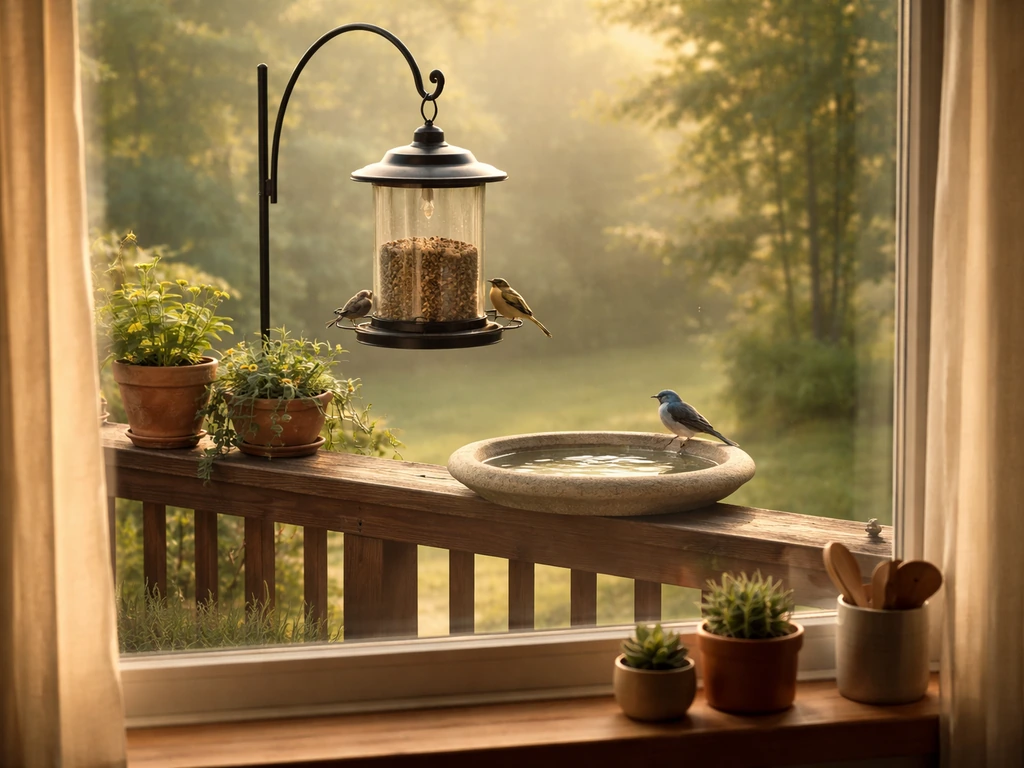
Bird watching from home isn't a lesser version of the hobby. It's just a different setup. You're creating a viewing station rather than hiking through a park, and the birds come to you. The three main options are a window setup, a balcony, or a full backyard feeding station, and each works differently depending on your space.
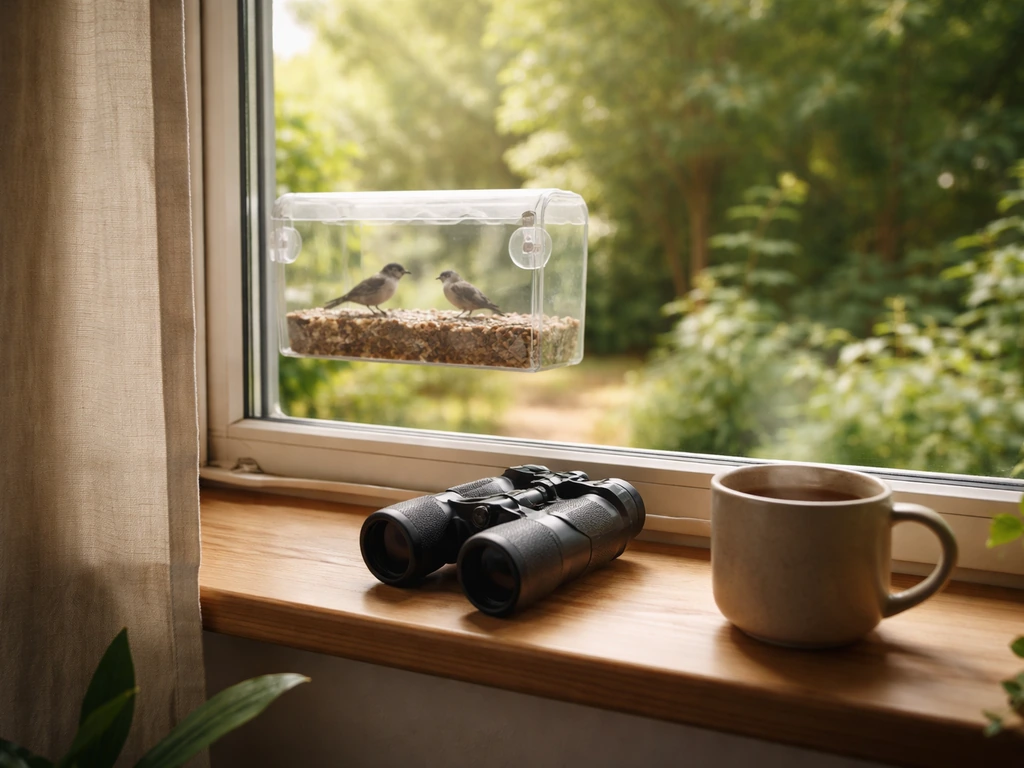
- Window setup: Ideal if you rent, live in an apartment, or just want the easiest possible start. You watch from indoors, use a feeder mounted on the glass or nearby, and keep a notebook on the sill.
- Balcony: A step up. You can hang or mount feeders on railings, set out a small bird bath, and actually sit outside among the birds. Works brilliantly in urban areas.
- Backyard feeding station: The full setup. Multiple feeder types, a proper bird bath, maybe a brush pile or nesting box. More birds, more species, more fun.
Start with what you have. If you only have a window right now, that's your setup. You can always expand later once you get hooked, and you will get hooked.
Pick your spot and make it safe for birds
Before you put out a single seed, you need to think about window collisions. This is the part most beginners skip, and it matters. Birds can't see glass the way we do. They see the reflection of sky or trees and fly straight into it. A feeder near an untreated window can actually do more harm than good.
The safest feeder placement relative to windows follows a clear rule: place feeders either less than 3 feet from a window, or more than 10 to 30 feet away. The logic behind the close placement is counterintuitive but real. If a bird flushes from a feeder that's only 3 feet from the glass, it hasn't built up enough speed to cause a fatal collision. Beyond about 3 feet, birds can accelerate to a dangerous velocity before impact. The Alaska Department of Fish and Game specifically recommends the under-3-foot rule if you can't treat your windows. Michigan Audubon extends the far-distance threshold to 30 feet or more. Michigan Audubon also discusses why window collisions are a risk around feeders and how bird behavior affects that danger Michigan Audubon extends the far-distance threshold to 30 feet or more.. Either way, there's no completely safe distance, so window treatments matter too.
The easiest fix is UV-reflective or high-contrast window decals placed on the outside of the glass. Chewy’s expert guidance also recommends treating windows with decals designed to deter window strikes when feeders must be placed within about 3 to 25 feet UV-reflective or high-contrast window decals. These are visible to birds but barely noticeable to you. You can buy a sheet of them for a few dollars. Space them no more than 2 inches apart vertically and 4 inches apart horizontally, because birds try to fly through any gap that looks big enough for their body.
Other hazards to address before you start
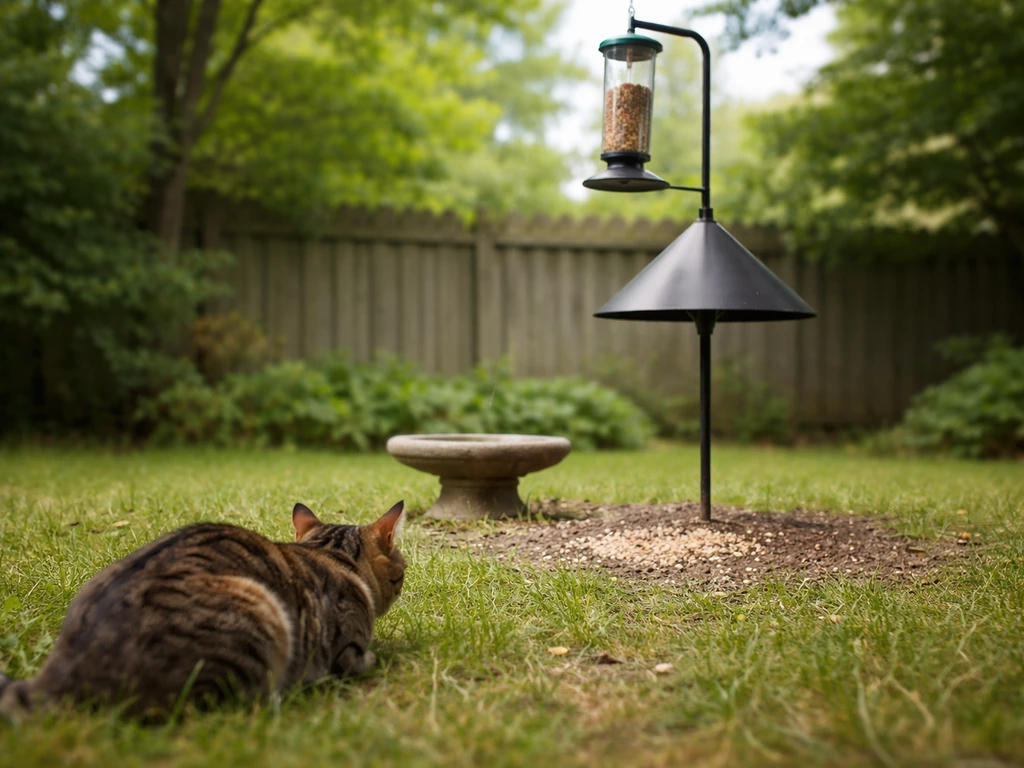
- Cats: Keep feeders and bird baths high enough that an outdoor cat can't ambush birds feeding on the ground below. A baffle (a cone-shaped guard) on a feeder pole helps. If you have a cat, keep it indoors during peak feeding times, typically early morning.
- Unsafe feeders: Avoid feeders with sharp metal edges or mesh holes large enough to trap small feet. Check for rust regularly.
- Placement near dense cover: A feeder right up against a thick hedge gives lurking predators too easy a target. Leave a few feet of open space between the feeder and any cover so birds can see threats coming.
- Standing water: Bird baths are great, but standing water that isn't refreshed can carry disease. Plan to change the water every 2 to 3 days minimum.
Setting up a bird-friendly yard or space
You don't need a big yard to do this well. A balcony railing feeder and a small dish of water can attract a surprising variety of birds. But if you do have outdoor space, here's how to set it up in layers.
Food
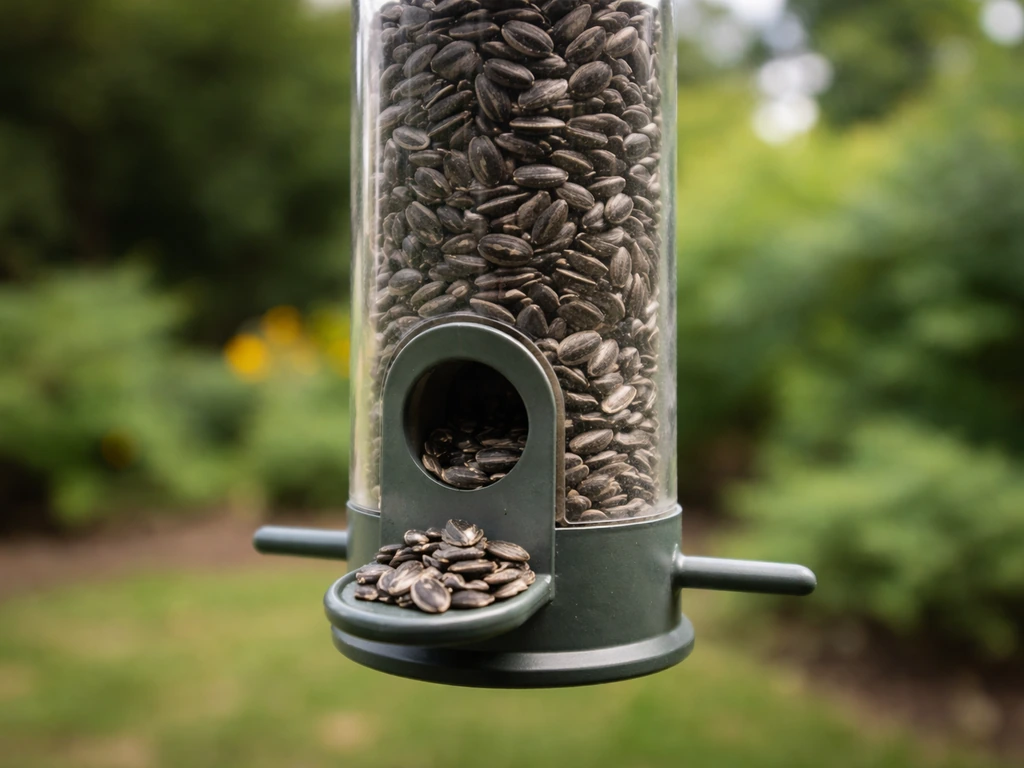
Start with one tube feeder filled with black-oil sunflower seeds. This single seed type attracts more species than anything else, including chickadees, finches, nuthatches, and sparrows. Once you're comfortable, you can add a suet cage for woodpeckers and a nyjer (thistle) feeder for goldfinches. Avoid cheap mixed seed bags that are mostly milo and millet, which most birds ignore and which pile up and mold under the feeder.
Water
A bird bath is often more attractive to birds than a feeder, especially in summer. Place it in an open spot (not under a tree where debris falls in constantly), and keep the water shallow, no more than 2 inches deep. A small solar fountain that keeps water moving attracts even more birds because moving water catches the light and sound. Change the water every 2 to 3 days and scrub the basin weekly.
Shelter
Birds need a place to perch near feeders, watch for danger, and wait their turn. A brush pile in a corner, a dense shrub, or even a few branches propped up near your feeding area serves this purpose. If you want to go further, a simple nest box (birdhouse) mounted 5 to 10 feet up on a pole gives cavity-nesting birds like bluebirds, wrens, or chickadees a place to raise young. Match the entry hole size to the species you're hoping to attract. A 1.5-inch hole is ideal for wrens and chickadees.
The gear you actually need (and how to use it)
You don't need expensive equipment to start. Here's what's genuinely useful for a home setup.
| Gear | What to get | How to use it |
|---|---|---|
| Binoculars | 8x42 or 8x32 for beginners | Hold steady, focus on the bird's eye first, then take in the whole body |
| Field guide | Regional print guide (Sibley, Peterson, or National Geographic) | Keep it on the sill; look up birds right after you spot them |
| Bird ID app | Merlin Bird ID (free from Cornell Lab) | Use Sound ID to identify by call, or Photo ID to snap and identify |
| Camera or phone | Your phone is fine to start | Shoot in burst mode; birds move fast. Zoom in on photos later to check markings |
| Notebook or checklist app | Paper notebook or eBird app (free) | Log species, time, weather, and behavior; builds your personal record |
Binoculars are the one investment worth making early. If you want to take this hobby further later, a beginners guide to bird photography can help you learn simple camera settings for photographing the birds you attract. The 8x42 size hits a sweet spot: 8x magnification is enough to see detail without the image shaking too much, and 42mm lenses gather plenty of light for early morning watching. Spend $80 to $150 for a decent pair. Anything cheaper tends to have distorted edges and eyestrain-inducing optics. I learned this the hard way after buying a $25 pair that gave me a headache every session.
For apps, Merlin Bird ID from Cornell Lab is unbeatable and free. The Sound ID feature listens through your phone's microphone and identifies birds calling nearby in real time. It's almost magical when you're starting out and don't yet know your calls.
How to identify birds at your feeder or in your yard
Identification gets easier fast once you know what to look at. When a new bird shows up, work through these features in order rather than trying to take everything in at once.
- Size: Compare it to something you already know. Is it smaller than a robin? Bigger than a sparrow? Pigeon-sized?
- Shape: Look at the overall silhouette. Is the tail long or short? Is the body round and fat (like a junco) or lean and upright (like a thrush)?
- Beak: This alone can ID a bird's family. Thick and conical beaks crack seeds (finches, sparrows). Thin pointed beaks catch insects (warblers, wrens). Hooked beaks mean a bird of prey.
- Coloration and markings: Look for eye rings, wing bars, cap colors, and breast patterns. A white eye ring on an otherwise brown bird is a specific clue. Wing bars narrow it down further.
- Behavior: Does it creep down a tree trunk headfirst? That's a nuthatch. Does it hang upside down on a suet cage? Probably a chickadee or titmouse. Does it pump its tail constantly? Likely a wagtail or phoebe.
- Movement and posture: Hoppers (robins, thrushes) vs. walkers (starlings, pigeons) vs. creepers (Brown Creeper) all behave very distinctively.
Take notes even if they feel messy. 'Small brown bird, streaky chest, hopped on ground, maybe 5 inches' is enough to narrow it down in a field guide. You don't need perfect notes, just enough to jog your memory later.
Use bird sounds to identify what you're hearing
Half your bird watching from home will be audio before it's visual. You'll hear a bird before you see it, and sometimes you'll never see it at all. Learning even a handful of calls dramatically expands what you notice.
Start by focusing on the birds already visiting your feeder and memorizing their calls. Chickadees make a clear 'chick-a-dee-dee-dee' that's unmistakable. Cardinals have a loud, melodic whistle. House sparrows give a repetitive, fast chirping. Once you lock in those common ones, unfamiliar sounds stand out immediately.
How to use sound tools effectively
- Merlin Sound ID: Open the app, tap Sound ID, and let it run while you sit quietly near your window or outside. It logs every species it detects. Review the list after 10 minutes for a snapshot of what's active.
- Cornell Lab's All About Birds website: Every species page has recordings of calls and songs. Use it to preview what a bird sounds like before it shows up, so you recognize it when it does.
- Xeno-canto: A free online database of bird call recordings from around the world. Great for digging deeper on a specific call you can't place.
- Listen for alarm calls: When birds suddenly go quiet or switch to short, sharp chip notes, something has spooked them. Usually a hawk, a cat, or a sudden movement. This behavioral clue is worth learning early.
A quick tip that changed my morning routine: sit outside for 10 quiet minutes before touching your phone. Your ears calibrate to the ambient sound, and you start hearing individual birds layered inside what initially sounds like general noise. It's a genuinely satisfying skill to develop.
Attract more birds and keep things healthy
The best time to put out feeders is late summer through early spring, when natural food is scarcer. That said, feeders attract birds year-round if maintained well. Here's how to maximize visits without creating problems.
Timing and seed strategy
- Refill feeders in the morning before birds start their active feeding period, roughly 30 minutes after sunrise.
- Don't overfill. Seed that sits in a feeder more than a week can mold, especially in wet weather. Fill only what birds consume in 5 to 7 days.
- Black-oil sunflower seeds attract the widest range. Add nyjer seed in a separate mesh sock for finches. Suet cakes bring in woodpeckers and nuthatches, especially in cold months.
- Native plants are your secret weapon. Berry-producing shrubs like elderberry, winterberry, and serviceberry draw birds that never visit feeders. Native coneflowers and sunflowers provide seed heads birds love.
- Remove feeders temporarily if you notice a disease outbreak (birds looking fluffed up, lethargic, or with eye swelling). Clean and disinfect before putting them back.
Cleaning schedule (don't skip this)
Dirty feeders spread disease among birds, particularly salmonella and House Finch eye disease. Clean tube feeders every 2 weeks with a 10% bleach solution (1 part bleach, 9 parts water), rinse thoroughly, and let them air dry completely before refilling. Bird baths need the same treatment weekly. Platform feeders that collect debris need cleaning every few days in wet weather.
Troubleshoot common problems and your first-week routine
No birds showing up
This is the most common beginner frustration. Birds often take 1 to 3 weeks to discover a new feeder, especially if there are no other birds feeding in the area to act as a signal. Be patient. Make sure your feeder is visible (not hidden under a roof overhang), that the seed is fresh (stale seed smells off and birds avoid it), and that there's at least one perch nearby where birds can sit and assess safety before approaching.
Feeder clogs and seed waste
Tube feeders clog when seed gets wet and swells or clumps. If your ports are blocked, poke them clear with a thin stick or pipe cleaner and check the feeder's drainage holes. Seed waste under feeders is mostly filler that birds kick out. Switch to a better seed mix or use no-waste hulled sunflower hearts to reduce mess. A tray attachment below a tube feeder catches fallen seed and reduces ground waste.
Too many aggressive species (starlings, grackles, house sparrows)
Starlings and grackles can't easily use tube feeders with small ports, so switching from a platform feeder to a tube-style one often solves this. For suet, use an upside-down suet feeder, where birds have to hang to feed from below. Woodpeckers can do this easily. Starlings mostly can't. If house sparrows are a problem, remove any nest boxes that don't have species-specific hole sizes.
Glare or bad viewing distance from your window
Glare off the glass is a real issue, especially in morning light. Polarized sunglasses help. You can also sit slightly back from the window rather than right up against it, which reduces reflections and actually gives you a broader field of view. If your feeder is too far away to see detail, move it closer (following the under-3-foot or over-10-foot safety rule), or upgrade to binoculars with better close-focus capability.
Birds behaving strangely at feeders
A bird that sits fluffed up, hunched, or repeatedly falls off the feeder may be sick. Remove the feeder for 3 to 5 days, clean it thoroughly, and watch whether the sick bird leaves the area. Contact a local wildlife rehabilitator if you find a bird on the ground that can't fly. Don't try to hand-care for wild birds yourself without guidance.
Your first-week birding routine
Keep it simple. The goal for week one is just to show up consistently and start recognizing faces. New bird owner tips also help you avoid common mistakes, so your setup feels easy from day one.
- Day 1: Set up one feeder with black-oil sunflower seeds and place it following the window safety rule. Download Merlin Bird ID.
- Day 2 to 3: Sit near your window for 10 to 15 minutes in the morning. Note anything you see or hear. Open Merlin Sound ID and let it run.
- Day 4: Look up the first bird you identified. Read about its behavior and range on All About Birds. Listen to its call recording.
- Day 5: Add a bird bath if possible. Note whether new species arrive.
- Day 6: Start a simple log, even just a notes app on your phone. Write the date, the species you saw, and one observation about its behavior.
- Day 7: Review your week. How many species did you identify? Check eBird's species lists for your area to see what else you might realistically expect to attract.
Once you've got your home setup running, it naturally opens up into other directions. Backyard bird watching tips build on exactly this foundation, and if you find yourself wanting to photograph what you're seeing, a beginner's guide to bird photography is a great natural next step. A beginners guide to bird watching helps you turn those first visits into a simple routine you can grow from week to week Backyard bird watching tips. For now though, the most important thing is just starting. A window, a feeder, and 15 minutes in the morning is all it takes.
FAQ
My feeder is near a window, but I cannot treat the glass. What should I do first to reduce collisions?
Choose a window spot that stays bright in the hours you can watch, but avoid placing feeders where birds will hit the glass at speed. If you cannot add UV decals or treats the safety rule, use the distance guideline (either very close or far away) plus decals on the outside. Then start with one feeder so you can monitor bird traffic and adjust placement after collisions or near misses.
How do I keep a bird bath from turning into algae or a “bird magnet” that birds ignore?
Treat moving water like a small system, not a one-time setup. Keep the basin shallow, remove algae buildup, and scrub the interior surfaces weekly. If birds are not using it within a week, try relocating the bath to a more open area with nearby cover for safety, or add a simple dripper to increase splash and shine.
Do I need a different home setup schedule for summer heat and winter cold?
Plan for weather changes. In hot weather, clean more frequently (especially around baths) and check seed freshness daily when humidity is high. In freezing temperatures, keep water from turning solid and use a heated or de-iced water method that does not create dangerous hot spots. Also expect birds to visit more reliably if natural food is scarce, which usually means you can stick with the same schedule but increase cleaning effort.
What are the most common reasons a feeder gets visitors for a week and then suddenly stops?
If you see fewer birds than expected, first look at visibility and perches, not just seed type. Make sure the feeder is in a visible line from your viewing position, not blocked by a fence, planter, or overhang. Add or improve nearby cover (dense shrub or brush pile) so birds can assess safety. Also confirm that the feeder ports are not clogged and that seed is not getting wet and molding.
I bought a mixed seed bag, and birds are ignoring it. What should I switch to and how fast?
Stop trying to “match the species” with fancy mixes. Start with black-oil sunflower for broad attraction, then add only one targeted food at a time (suet for woodpeckers, hulled sunflower hearts for mess-free feeding, nyjer for goldfinches). This way you can tell which change caused the new arrivals and you reduce waste and mold.
What should I do if birds look sick around my feeder, and should I remove the feeder immediately?
If a bird sits fluffed up or won’t leave normally, pause feeding and clean the feeder thoroughly. Remove it for 3 to 5 days, disinfect using the same approach you’d use for routine cleaning, and check the ground for sick or grounded birds. Reintroduce with fresh food and clean surfaces only after activity returns, since you want to avoid reinfecting the area.
Can I design my home setup to discourage starlings and grackles without scaring away smaller birds?
Yes, but do it intentionally. In the same area, starlings and grackles often dominate smaller-port feeders, so switching to a larger-access platform can reduce stress if you do not mind their presence. If you want to favor smaller birds, keep a tube feeder but ensure there are nearby perches and consider a second station layout that is visible yet allows smaller birds to approach more safely.
After moving a feeder or adding decals, how long should I wait to judge whether collisions are reduced?
Use your setup as a control area. If you add decals and change feeder distance, give it at least several days to a couple of weeks, because birds take time to discover new resources. During that period, watch for near-collisions and adjust only one variable at a time (like distance or decal spacing) so you know what actually improved safety.
How do I reduce mess and pests under a tube feeder?
Yes. If you are seeing lots of ground waste, switch to hulled sunflower hearts or use a tray attachment to catch fallen seed. Keep debris cleaned up, because the waste can mold and attract pests. For feeding on the balcony or small yard, reducing ground litter also makes the area easier to manage for sanitation.
What’s the quickest fix when a tube feeder keeps clogging after wet weather?
Watch for drought and mold triggers. Tube feeders clog when seed gets wet and swells, so check frequently after rain or heavy dew. Make sure the feeder hangs with drainage holes clear, and keep it sheltered if your design allows it, without blocking bird access or reducing visibility too much.
My birds are visiting, but I cannot identify them well from the window. What should I adjust first?
If you cannot see the birds clearly through the glass, reposition rather than immediately buying more gear. Try sitting slightly farther back to reduce glare, or move the feeder closer within the safety guideline. If the birds remain too far for detail, upgrading to binoculars with better close-focus helps you see feather patterns without needing to press your face against the window.
How can I get better at identifying birds without spending money on lots of equipment?
You can keep the hobby low-cost and still improve identification. Focus on a short routine: record 2 to 3 common birds you already attract, learn their calls first, then use your ID app only when you have a clear photo or a strong audio match. This prevents random “guessing” and helps you build confidence quickly.
Next Article
Beginners Guide to Bird Photography: Gear, Settings, and Tips
Beginner-first guide to bird photography: gear, camera settings, focus, finding birds, field tactics, and a quick practi
