The best way to find naturally shed bird feathers is to visit places where birds congregate, go at the right time of year (late summer through early fall is peak molt season), and slow down enough to actually scan the ground. Feathers are out there, but they blend in surprisingly well. Once you know what to look for and where to look, you will start spotting them everywhere.
How to Find Bird Feathers: A Beginner’s Field Guide

Marcus Hendricks
4 May 2026
One important thing to get out of the way right up front: in the United States, the Migratory Bird Treaty Act (MBTA) makes it illegal to possess feathers from native migratory birds without a permit, even if you found the feather lying on the ground. That covers most wild songbirds, raptors, waterfowl, and shorebirds. Bald and golden eagle feathers have an even stricter law. The U.S. Fish & Wildlife Service explains possession and acquisition rules for migratory bird and eagle feathers, including what is allowed and how it should be handled Bald and golden eagle feathers have an even stricter law.. This does not mean feather hunting is pointless. It means you need to know what you are picking up, focus on legally collectible species (like non-native pigeons, European starlings, and domestic or game birds), and be responsible about the whole thing. More on that below.
Where to Actually Find Shed Feathers
Birds drop feathers wherever they spend time. The trick is finding spots where they gather repeatedly, because that is where feathers accumulate.
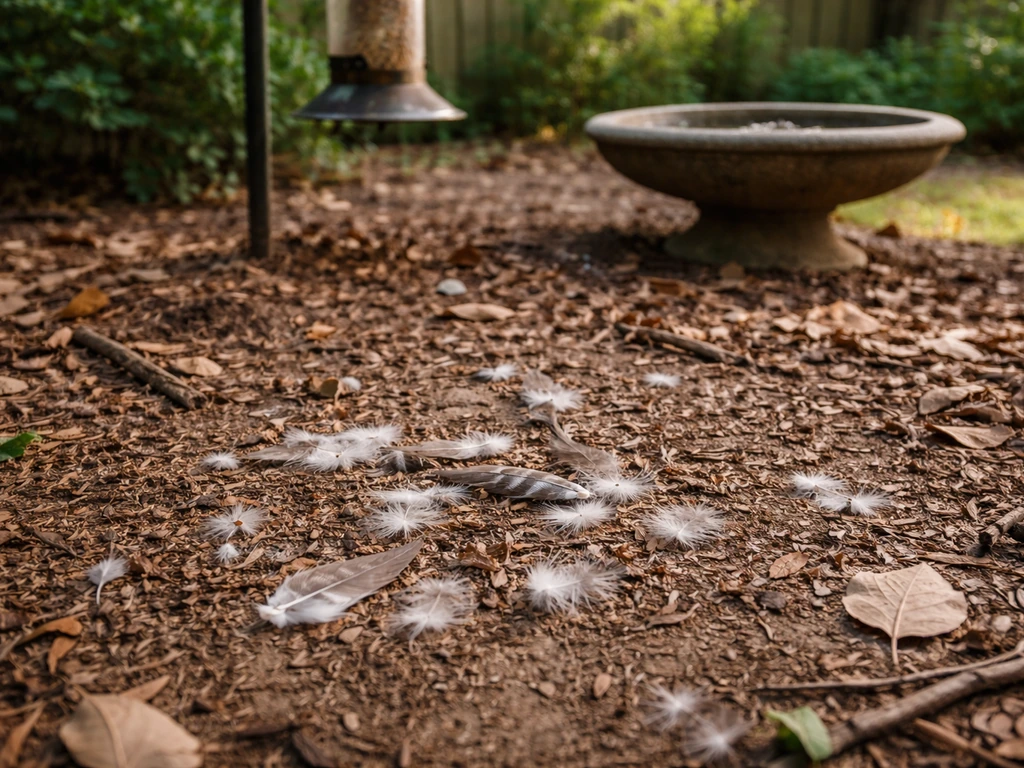
Your own yard and near bird feeders
If you have a bird feeder or a birdbath, start there. Birds that return daily to the same feeding spot will molt and leave feathers nearby, often right under the feeder or on the edge of a birdbath. I have found more feathers within ten feet of a feeder than anywhere else. Check the ground under feeders and around any shrubs or bushes where birds perch.
Parks and open green spaces
Urban and suburban parks are goldmines, especially near ponds, duck ponds, or open lawns where geese and ducks graze. These are often non-native or domestic birds, which actually puts you in a better legal position for collecting. Look along the water's edge and on open grass. Pigeons congregate under bridges, overpasses, and building ledges, and they drop plenty of feathers.
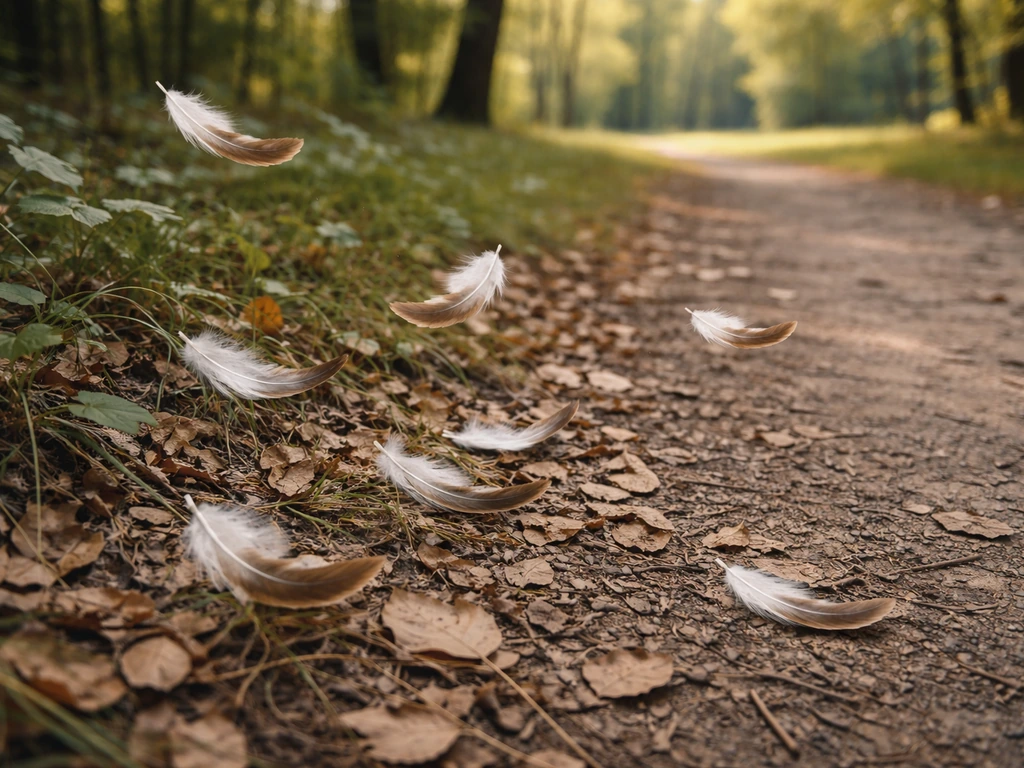
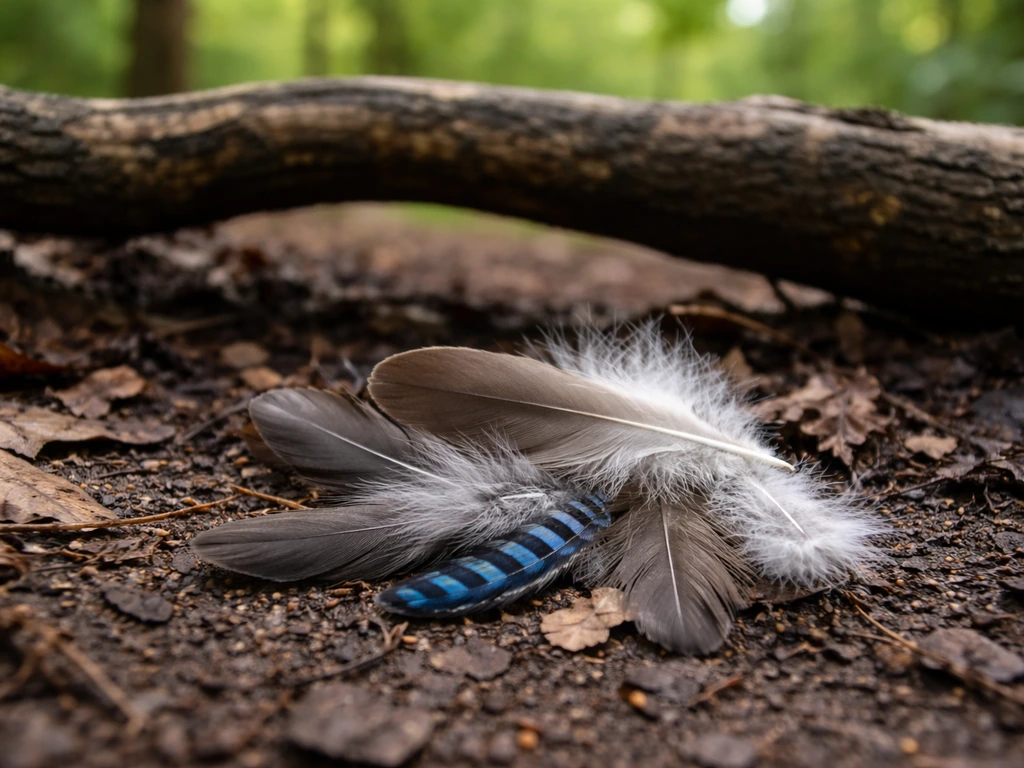
Nature trails and wooded edges
Trail edges where sunlight hits the path are good spots because feathers that drift off into undergrowth are hard to spot, but ones that land on a dirt trail are easy to see. Pay attention to the edges where forest meets open field, called ecotones. A huge variety of species use these transition zones, so feather diversity goes up.
Beaches and shorelines
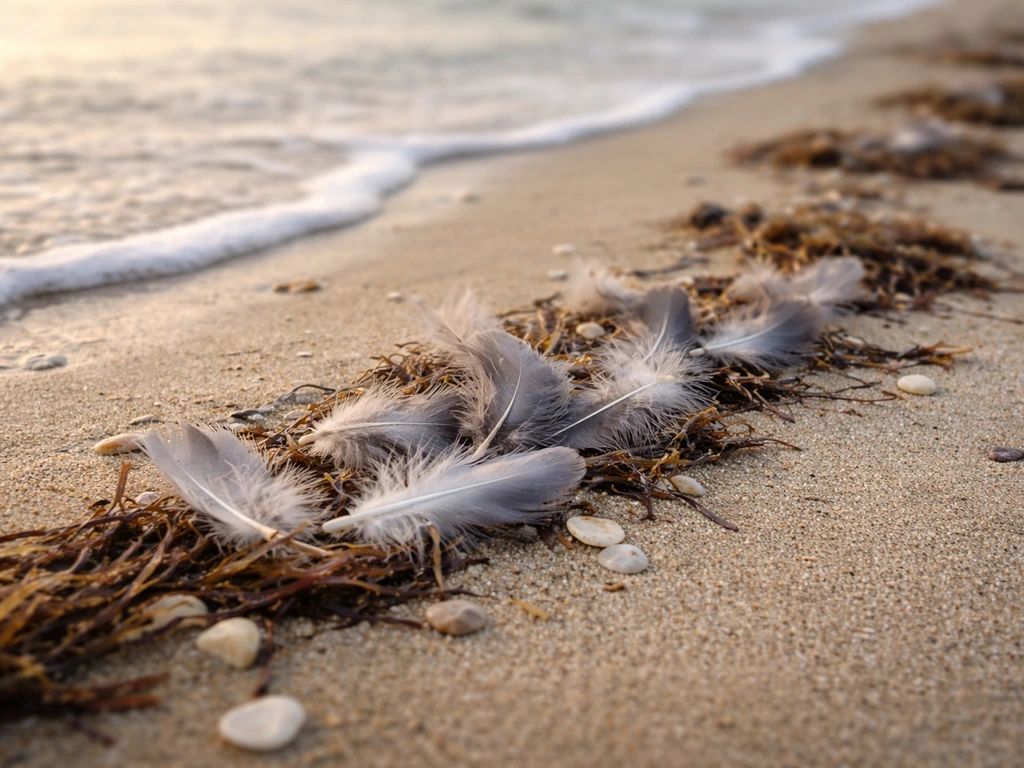
Shorelines concentrate feathers because wind and water carry them to the tide line and strand them there. Walk the high-tide line on a beach and you will often find gull, tern, or shorebird feathers. Lakeshores work similarly. The catch is that water damages feathers quickly, so shoreline finds tend to be more worn and waterlogged. Still worth checking.
Nesting areas and roost sites
Under a tree where a hawk or owl regularly perches, you will often find a cluster of feathers from prey animals as well as the raptor's own dropped feathers. Heronries (colonies of nesting herons) drop enormous numbers of feathers during breeding season. If you know of a local nesting colony or regular roost, it is worth a visit during or just after breeding season.
When to Go: Timing Your Search
Timing matters more than most people realize. Birds replace their feathers through a process called molt, and understanding the molt cycle tells you exactly when to expect feathers on the ground.
- Late summer through early fall (roughly July through October) is the peak window for most North American birds. This is when the post-breeding molt happens, and birds are actively shedding and regrowing their full set of feathers. More feathers dropping means more feathers on the ground.
- Early spring brings a partial molt in many species as they grow breeding plumage. You will find fewer feathers than in fall, but more colorful ones from species showing off.
- Waterfowl molt on a slightly different schedule. Many ducks go through a complete summer molt that leaves them temporarily flightless, so mid-summer around wetlands and ponds can be very productive.
- After a storm is one of the best times to search. Rain knocks feathers off perches and out of shrubs, and wind carries them to open ground where they are easy to spot. Go out within a few hours after a storm passes.
- Early morning is better than midday. Overnight, birds settle in and feathers accumulate. By midday, wind has scattered things and foot traffic has disrupted the ground cover.
How to Search Effectively
The single biggest mistake beginners make is walking too fast. Feathers are small, they blend with leaves and grass, and they move in the wind. Slow down to about half your normal walking pace and actively scan the ground about five to ten feet ahead of you.
The scanning technique
Sweep your gaze in a slow arc from left to right as you walk. You are looking for a shape that breaks the pattern of the ground: a slight curve, a pointed tip, a flash of color, or something that looks like it does not belong. Feathers often catch light differently than leaves or grass, especially if they have any iridescence or gloss to them.
Walking routes that work

Do a slow loop around the perimeter of open areas rather than cutting straight across them. Birds tend to stay near cover, so feathers accumulate at edges. If you are searching a park with a pond, walk the entire shoreline. In a yard with feeders, do a slow spiral outward from the feeder.
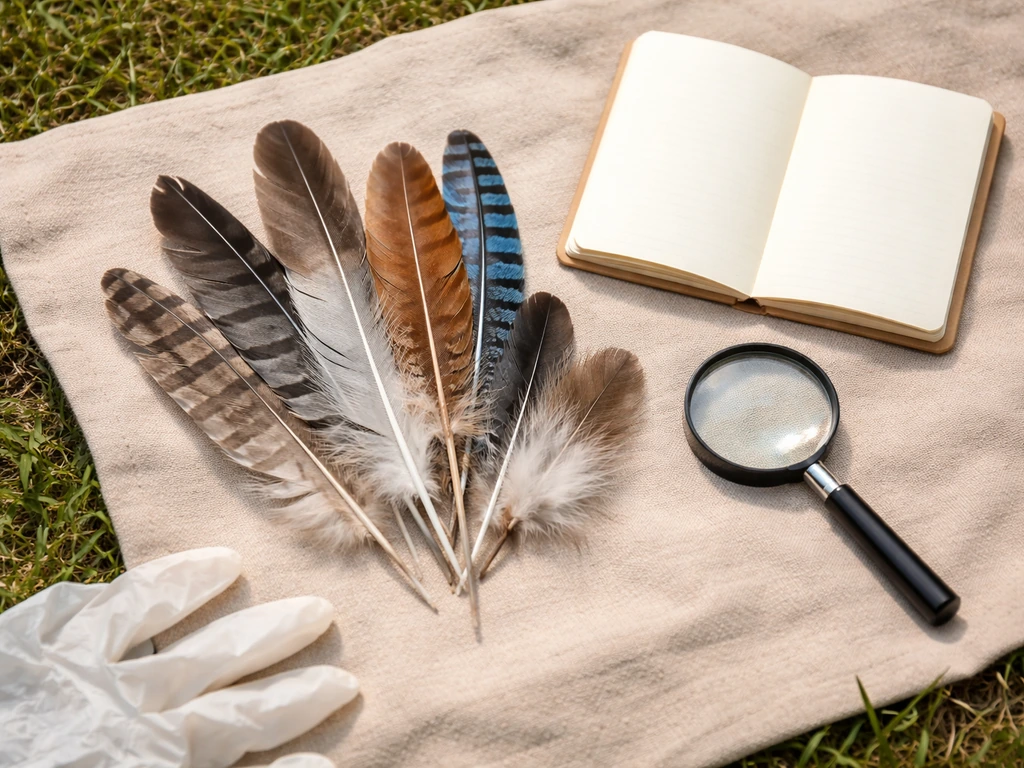
Tools that help
- A pair of tweezers or disposable gloves for picking feathers up without contamination
- Small zip-lock bags or paper envelopes to store finds (paper bags are actually better for long-term storage since they breathe)
- A phone camera for photographing feathers in place before you pick them up, especially useful for identification later
- A hand lens or loupe (10x magnification) to examine feather structure up close
- A small notebook to jot down location, date, and habitat for each find
How to Tell a Real Feather from a Look-alike
Not everything that looks like a feather is one. Plant fibers, certain dried seed heads, and even some types of fungal growth can fool a beginner at a glance. Here is how to confirm you have the real thing.
A genuine bird feather has a central shaft called the rachis. This is a solid (or partially hollow at the base) rigid structure that runs through the middle of the feather. At the base, the rachis transitions into the calamus, the hollow quill end that was once embedded in the bird's skin. Run your finger along the shaft from base to tip: it should feel smooth and firm, not plant-like or fibrous. The vanes on either side of the rachis are made of interlocking barbs and barbules, which is why you can zip a feather back together after pulling it apart.
Down feathers are the exception. They look fluffy and have almost no visible rachis. Their barbs are loosely arranged and do not interlock the way contour feather barbs do. This gives them that soft, cloud-like appearance. If you find something small, soft, and fluffy with no clear central shaft, it is probably a down feather.
If you are still not sure, try zipping the vane of a suspected feather back together by running your thumb and finger up the barbs from the base toward the tip. A real flight or contour feather will zip back up satisfyingly. A plant fiber or fake material will not.
Basic Identification: What Kind of Feather Did You Find?
Identifying exactly which species a feather came from can be genuinely difficult, even for experts. But you can narrow it down significantly using a few simple clues.
Step one: determine feather type
Start by figuring out what part of the bird the feather came from. This tells you a lot before you even think about species. Flight feathers (primaries and secondaries) are long, stiff, and often asymmetrical, with the leading edge narrower than the trailing edge. Tail feathers are usually more symmetrical. Body contour feathers are smaller and more rounded. Down feathers are the soft, fluffy underlayer. Knowing the type gives you a framework for the next step.
Step two: use habitat and size as clues
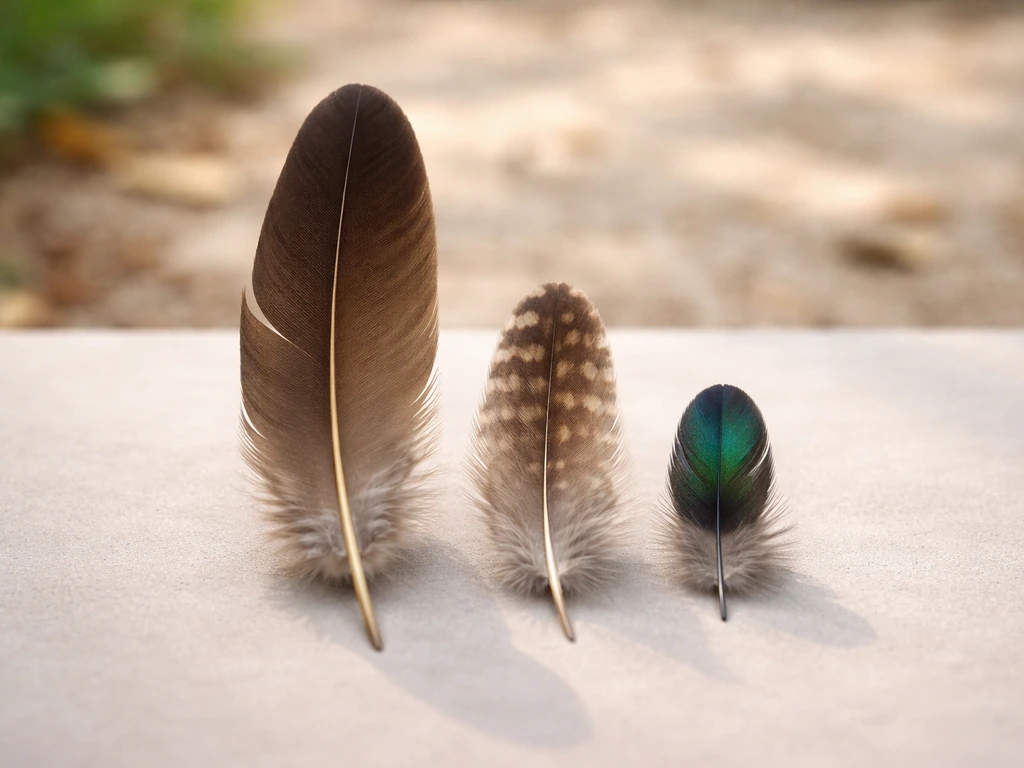
Where you found the feather is one of the most powerful clues. A large brown feather found at a beach pond almost certainly came from a goose, duck, or heron. A small iridescent feather found under a city feeder is probably from a starling or pigeon. Size matters enormously: a feather as long as your forearm came from a large bird; one the size of your thumbnail came from a small songbird.
Step three: look at color, pattern, and shaft shape
Color and pattern help narrow things down to a family or even a species. Barred patterns (alternating bands of color) are common in raptors and woodpeckers. Iridescent green or purple often points to starlings or hummingbirds. A curved shaft suggests a wing feather from the outer edge of the wing (primaries curve toward the wingtip). A very straight shaft suggests a secondary or tail feather. For deeper identification work, the U.S. Fish & Wildlife Service's Feather Atlas is a free online database that lets you compare feathers by species, and it is an excellent next step once you have a candidate.
| Feather Type | What It Looks Like | Likely Location on Bird | Common Source |
|---|---|---|---|
| Primary flight feather | Long, stiff, often asymmetrical, curved shaft | Wingtip | Most flying birds |
| Secondary flight feather | Shorter than primary, more symmetrical, straighter shaft | Inner wing | Most flying birds |
| Tail (rectrix) feather | Symmetrical or slightly tapered, stiff rachis | Tail fan | Most birds |
| Contour/body feather | Small, rounded, softer than flight feathers | Body surface | All birds |
| Down feather | Fluffy, no clear central shaft, very soft | Underlayer beneath contour feathers | Waterfowl, young birds |
If you want to go further with identification after finding a feather, check out the related guide on how to identify bird feathers, which covers anatomy-based ID methods in much more depth.
Handling, Cleaning, and Storing What You Find
Found feathers can carry bacteria, parasites, or mites, so a little basic biosafety goes a long way. Do not be alarmed, just be sensible.
Safe handling
Pick up feathers with tweezers or wear disposable gloves. If you use your bare hands, wash them thoroughly with soap and water afterward. Do not touch your face before washing. This is the same basic hygiene you would use after handling any wildlife-adjacent material.
Cleaning feathers
- Gently shake off any loose debris outdoors before bringing feathers inside.
- Fill a small bowl with lukewarm water and a tiny drop of dish soap.
- Submerge the feather and gently swish it without scrubbing. Let it soak for a minute.
- Rinse under cool, gentle running water.
- Pat very lightly with a soft cloth and then let air-dry flat on a paper towel. Do not use a hair dryer at high heat as it can damage the barb structure.
- Once dry, you can gently stroke the vane from base to tip to realign the barbs.
Pest prevention
Feathers can harbor feather mites or lice. A simple and effective treatment is to seal the cleaned, dry feather in a zip-lock bag and place it in your freezer for at least 48 hours. This kills any hitchhiking insects or mites without damaging the feather. Many serious collectors do this as standard practice.
Storage
Store feathers flat in a paper envelope or between two pieces of cardboard inside a folder. Paper is better than plastic for long-term storage because it lets moisture escape and prevents mold. Keep them out of direct sunlight, which fades colors over time. Label each envelope with the date, location, and any notes on the habitat or species you suspect. That context becomes really valuable later, especially if you decide to study identification more seriously.
What to Do If You Find Something Unusual
You find a large pile of feathers
A sudden cluster of intact, cleanly separated feathers with no blood or carcass nearby usually means a predator caught a bird and plucked it before eating. Raptors like falcons and Cooper's hawks do this routinely. The feathers are scattered in a rough circle where the plucking happened. This is completely normal, and the feathers you find this way are still naturally shed in the sense that a human did not cause them. However, if those feathers belong to a protected migratory species (almost certainly they do), the MBTA rules still apply.
You find a dead bird
Do not pick it up barehanded and do not attempt to collect feathers from it. Under the MBTA, possessing a dead protected bird (or its parts) is just as regulated as the feathers alone. If the bird appears to have died recently and you want to report it, contact your local wildlife agency or your state's department of natural resources. Some states have reporting programs for certain species. Wear gloves if you need to move the bird off a path for safety reasons.
You find an injured bird
Do not try to handle or treat it yourself. Contact a licensed wildlife rehabilitator in your area. The National Wildlife Rehabilitators Association has a directory, and many states have hotlines. Getting a bird into proper care quickly is the most important thing.
The legal reality and what you can safely collect
To recap the rules plainly: in the U.S., collecting feathers from native migratory birds is illegal without a federal permit under the MBTA, full stop, even for feathers found on the ground. For example, the U.S. Department of Justice has described a federal case involving the unlawful sale of eagle feathers covered by federal protections. That said, feathers from non-native, non-protected species are fair game. European starlings, house sparrows, rock pigeons, domestic chickens, turkeys, peacocks, and most game birds bred in captivity are legal to collect. If you live somewhere with limited wild bird access or want a guaranteed legal and ethical source, look for feathers from domestic poultry, legally farmed game birds, or specialty craft suppliers who source feathers from legal operations. That is not as exciting as finding something on a trail, but it is a solid backup.
A quick note on going deeper
Once you start finding feathers, you will naturally want to know more about what you have. If you want a complete, start-to-finish workflow for how to collect bird feathers, follow the steps on searching, identifying, and handling what you find. The related guides on how to identify bird feathers and how to collect bird feathers cover those next steps in detail, including more advanced anatomy-based identification and responsible long-term collecting habits. If you are wondering how to pluck a bird safely and legally, the best approach is to focus on feathers you find and keep animal handling minimal how to collect bird feathers. If you are interested in the actual mechanics of feather structure and how birds maintain their plumage, the companion pieces on plucking and feather anatomy round out the picture nicely.
FAQ
What time of day should I look for bird feathers to maximize my chances?
For the most reliable finds, check shortly after birds return to a consistent routine, such as early morning and late afternoon, and then revisit during the late summer to early fall molt window. In midwinter and midsummer, you may still find feathers, but clusters are usually smaller because molt is less active.
I’m finding feathers are hard to spot, does where I walk matter?
Yes, but only in a practical way. Feathers that end up inside dense grass or leaf litter are easy to miss because they blend in, so instead of walking faster, pause and scan in short segments (for example 10 to 15 steps at a time) and look at ground texture changes where feathers would land or snag.
How can I identify the species without getting stuck on exact matches?
Start by confirming the feather type first (flight, tail, body contour, or down). Then use the location and size to narrow the likely source, and only after that consider color patterns. Species-level ID can be unreliable from a single feather, especially when similar birds share patterns, so documenting “what part” and “where found” often beats chasing an exact species.
What if the feather is broken, dirty, or looks water damaged?
If the feather is badly damaged, missing barbs, or waterlogged, identification may be limited, but it can still be confirmed as a feather by checking for a central rachis and proper interlocking vane structure (unless it is down). For shore finds that look frayed, prioritize the shaft feel and base structure over the tip appearance.
How do I know if a feather I found is actually legal to collect in the U.S.?
Don’t assume a feather is automatically legal to keep just because it appears “non-native” or “common.” If you are in the U.S., MBTA coverage applies to native migratory birds, and rule exceptions are not always obvious from appearance. When unsure, treat the feather as protected and skip collecting, or look for clearly legal sources like domestic poultry.
If feathers look fresh and clustered, does that change the legal or safety approach?
A feather that looks “fresh” from a predator site can still come from a protected migratory bird, so the legal issue remains. The practical difference is safety, because sites with carcasses or feeding activity can attract scavengers and involve pathogens, so avoid handling anything that appears to be associated with a recently killed bird.
Do I really need to freeze feathers, or is basic washing enough?
Feathers can carry mites or lice, and the risk is mainly during handling and storage. The simplest approach is to wear gloves or use tweezers, avoid touching your face, and after collection either freeze for at least 48 hours once the feather is dry, or at minimum wash hands thoroughly after handling.
How should I store feathers if they are damp when I collect them?
Most feathers store best once fully dry. If a feather is damp, mold can start quickly, even in a paper envelope. Dry it at room temperature away from sunlight first, then store flat between paper and cardboard, label the collection details, and keep it out of humid areas.
What should I label besides the date and location when I store feathers?
For long-term identification work, keep a small “context note” with each envelope, such as habitat (pond edge, bridge ledge, forest edge), weather conditions, and your best guess of bird size or color. Those details often matter more than a perfect photo when you later compare to atlases.
Should I separate feathers into groups right away, or is it better to sort later?
Yes. If you are collecting multiple feathers from the same suspected area, open each piece and check for basic structure (rachis and vane interlocking) before mixing them. Sorting by feather type and then by size reduces confusion later when you try to match patterns.
What’s the best way to tell a real feather from nest fibers or plant material when I’m unsure?
If you cannot confirm it is a real bird feather after the rachis and vane checks, stop collecting. Many plant fibers and fibers from nest material can mimic feather shapes, and trying to force an ID can lead you to keep the wrong items and contaminate your collection.
Next Article
How to Collect Bird Feathers Safely and Responsibly
Learn how to collect bird feathers safely: legal checks, find shed feathers, clean, dry, store, and label for crafts.
