Here's the short answer: grab a pair of binoculars, head to a local park or green space early in the morning, move slowly, and use a free app called Merlin to help you put names to what you see and hear. That's it. You don't need a lot of gear, a field guide library, or years of experience to have a genuinely good first outing. This guide walks you through every step, from packing for your first trip to logging birds and getting better fast.
Bird Watching Tips for Beginners: Start Today and Spot Birds

Marcus Hendricks
10 Apr 2026
Getting started: gear-lite setup and your first outing
The biggest mistake new birders make is thinking they need a ton of stuff before they can begin. You don't. A solid pair of binoculars and a free app on your phone will cover 90% of what you need on day one. If you want to go deeper on how to start bird watching from scratch, that's a great resource to bookmark, but for now here's the practical gear rundown.
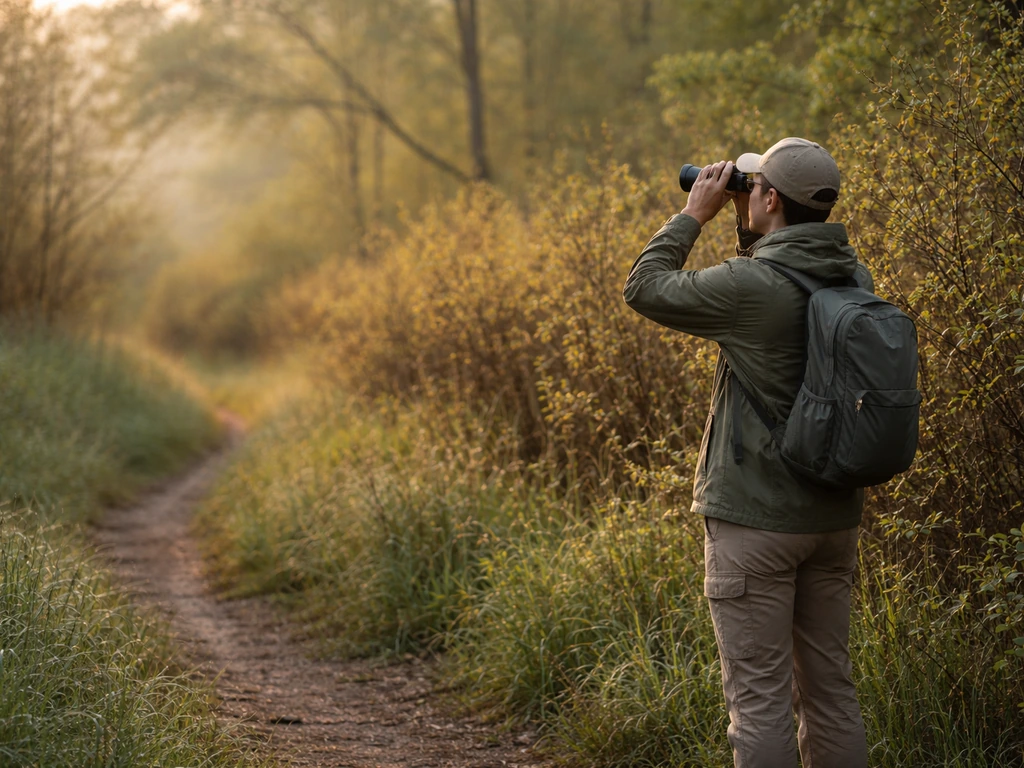
The one piece of gear actually worth buying now: binoculars
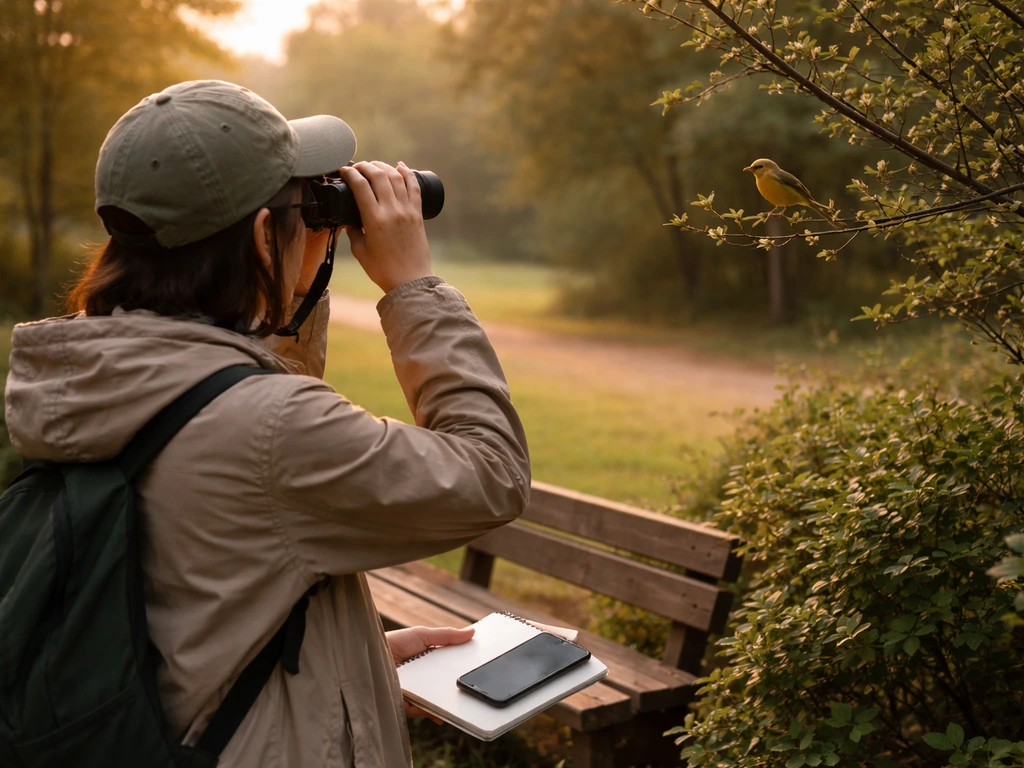
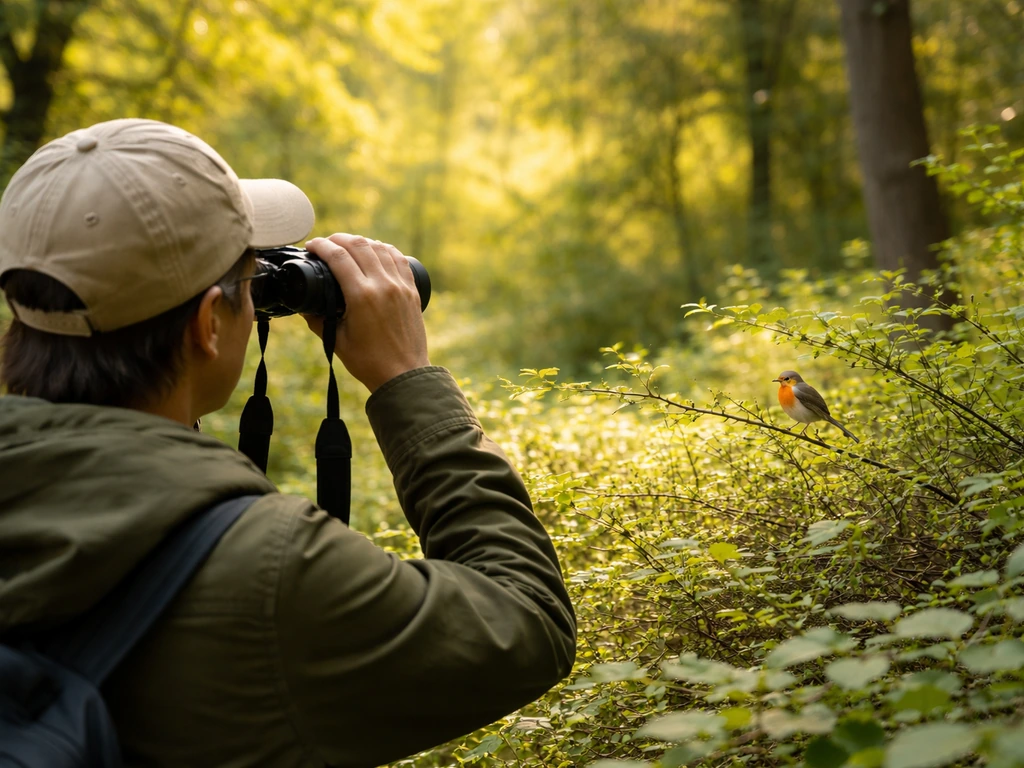
Binoculars make a massive difference. Your naked eye can spot a bird, but you'll constantly be squinting at a silhouette and guessing. A decent pair lets you see color, beak shape, wing patterns, and behavior, which is everything you need for identification. For a beginner, the sweet spot is 7x or 8x magnification with a 30mm to 42mm objective lens (the big front lens). Audubon specifically recommends 7- to 8-power binoculars because they're bright and deliver a wide field of view, which makes it much easier to find a bird quickly and follow it if it flies. Going higher than 8x sounds appealing, but it actually narrows your field of view and makes it harder to track movement, which is the opposite of what you want when a warbler is hopping through branches. Audubon notes that higher-power binoculars, such as 10x, can reduce brightness and narrow the field of view, which can make birds harder to follow when they fly.
Once you have binoculars in hand, take five minutes to set them up properly before your first outing. Adjust the eyecups (twist them up if you don't wear glasses, down if you do), set the central focus wheel on something you can see clearly at medium distance, and then fine-tune the diopter (usually a separate ring on the right eyepiece) until both eyes see equally sharp. After that, you'll re-focus with the main wheel each time you look at a new bird, but the diopter setting stays put. Skipping this setup is something I did on my first outing and I spent an entire hour thinking I just had bad eyes.
What to skip for now
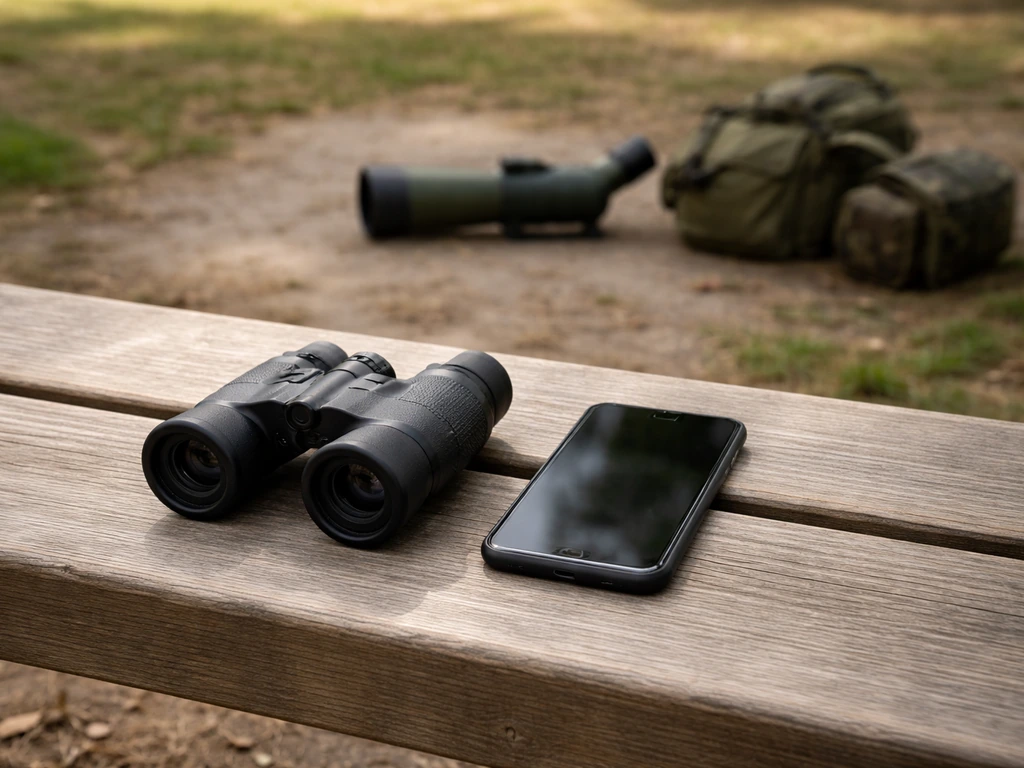
- Spotting scopes: great for shorebirds and waterfowl at distance, but overkill for a beginner in a local park
- Expensive field guides: a free app does the same job and fits in your pocket (more on that below)
- Camo clothing: unnecessary unless you're doing very specialized photography; muted, natural colors work fine
- A tripod: only needed if you buy a spotting scope, which you're not doing yet
Planning your first outing
Keep your first outing simple: pick a local park, nature trail, or even a suburban green space within 20 minutes of home. Plan for 1 to 2 hours. Wear comfortable shoes and layers since mornings can be cooler than expected. Bring water, put your phone on silent (not vibrate), and you're basically ready. There's no need to drive to a famous birding hotspot on day one. Familiar, accessible spots let you focus on learning rather than logistics.
Where and when to find birds
Timing is probably the single biggest factor beginners underestimate. Birds are most active in the first two to three hours after sunrise, which birders call the "morning rush." They're feeding, singing, and moving around constantly. By mid-morning activity drops noticeably, and midday in summer can feel almost dead. If you're struggling to find birds, check the clock first. Going out at 7am versus 11am can be the difference between seeing 20 species and seeing 4.
For location, think about habitat variety. The edge where two habitat types meet, a forest next to a meadow or a pond next to a shrubby thicket, tends to hold more bird species than deep uniform forest or open lawn. Water is always a magnet: ponds, streams, marsh edges, even a small creek. If your local park has any of these features, head there first. Urban parks with mature trees are surprisingly productive. Don't overlook your own backyard either. Some of the most common birds are also the most interesting to watch up close once you slow down and actually look.
Simple field tactics that actually work
- Walk slowly and stop often. Moving fast is the #1 reason beginners flush birds before they ever see them.
- Stay on the edges of trails rather than the middle. Birds in shrubs and understory can be at eye level when you're at the edge.
- Listen for rustling or movement first, then look. Your ears will find birds faster than your eyes most of the time.
- Stand still for 5 minutes in one productive-looking spot. Birds calm down and come back to you if you stop moving.
- Face away from the sun so birds aren't backlit and you can see their colors properly.
How to identify birds you actually see
New birders often try to memorize dozens of species before going out, and then freeze when a real bird appears. Flip that process. Go out first, see what's there, and then look it up. What you want in the field is a quick mental checklist of features you can scan in a few seconds before the bird flies off.
The features that matter most
- Size and shape: Compare to a bird you already know. Is it sparrow-sized, robin-sized, or crow-sized? Is the body round and compact or slim and long-tailed?
- Beak shape: Thick and seed-cracking? Thin and insect-probing? Hooked like a hawk? Beak shape tells you a lot about what a bird eats and narrows down the family fast.
- Color patterns: Note the key patches. Cap, eye stripe, wing bars, breast color, and tail tip are the areas where field marks (the distinctive markings that separate species) tend to show up.
- Tail and wings in flight: Long tail? Short rounded wings? Distinctive pattern underneath? Many birds look totally different in flight.
- Behavior: Does it creep down tree trunks headfirst (nuthatch), bob its tail up and down (wagtail, phoebe), or walk instead of hop (crow, starling)? Behavior narrows it down even before you see color.
You won't catch all five of these on every bird, especially at first. Aim for two or three solid observations and you'll usually have enough to make a confident ID later. I spent a lot of early outings jotting down a quick note on my phone: "sparrow-sized, rusty cap, streaky brown, two white wing bars." That's almost always enough.
Using birdsong as an ID tool
Here's something that surprised me early on: experienced birders identify most birds by ear before they ever raise their binoculars. Sound is often faster and more reliable than sight, especially in dense vegetation where you hear a bird for 30 seconds before you ever see it. You don't need to memorize songs before going out, but you should start paying attention to them. When you hear something, note the pattern: is it a repeating phrase, a trill, a sharp chip note, or a long complex melody? Then use an app (see the next section) to match it. Over time, songs stick in memory surprisingly fast, especially for common species you hear on every outing.
Tips and tricks for better spotting (and staying patient)
Knowing what to do when nothing seems to be happening is part of the skill. Being a good birder is partly about reading the environment and adjusting. Understanding how to be a bird watcher in a practical sense means learning patience as an active tool, not just waiting around.
- Use the "pishing" trick: a soft, repeated "psh psh psh" sound can draw curious songbirds out of dense cover toward you. It sounds ridiculous but it genuinely works.
- Scan in layers: check the ground, the shrub layer, the mid-canopy, and the treetops separately. Different species occupy different levels and you'll miss half of them if you only look at one height.
- Don't stare at one spot. Let your eyes move softly across the vegetation and look for movement, not shape. Your peripheral vision is better at catching movement than your focused center vision.
- Stay quiet near water. Birds at a pond or stream are often more relaxed than birds in dense cover, but noise sends them off fast.
- Avoid sudden movements when raising binoculars. Turn your body slowly to face the bird, then raise the binoculars smoothly. Fast movements spook birds at close range.
- Go back to the same spot multiple times. Familiarity with a patch means you'll notice what's new or unusual, and the birds there will recognize you're not a threat.
Patience isn't about standing silently miserable for an hour. It's about staying curious and observational even during quiet stretches. Watch what birds do, not just what they are. You'll learn faster by watching a single robin's behavior for five minutes than by scanning for ten different species in the same time.
Recording what you see and getting better fast
Writing things down, even just a quick note on your phone, is one of the best habits you can build from day one. You'll forget more than you think. A simple field log doesn't need to be fancy. Just jot the date, location, weather, and a short list of species (or descriptions if you couldn't ID something). These notes also give you something to look back at as your skills grow, which is genuinely motivating.
The one app you actually need
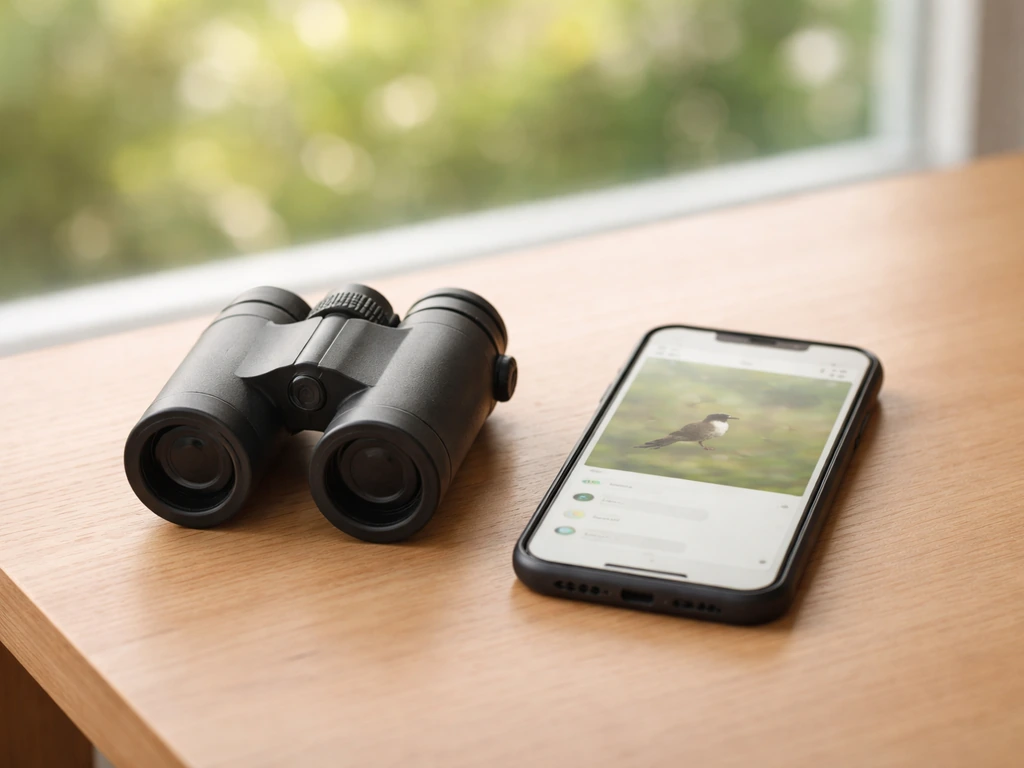
Merlin Bird ID, made by the Cornell Lab of Ornithology, is free to download and use on both iOS and Android. It's become the go-to tool for beginners and experienced birders alike, and for good reason. It includes a photo ID feature, a step-by-step "What Bird" questionnaire, access to recordings of bird songs, and its standout feature: Sound ID. Point your phone's microphone at the soundscape around you and Merlin identifies birds in real time as they call. Sound ID works by matching audio against a massive library of recordings from the Macaulay Library, and the system is trained on a minimum of 150 recordings per species to ensure reliability. It's not magic, but it's remarkably accurate for common species and it will speed up your learning more than almost anything else.
Beyond Merlin, eBird (also free, also from Cornell Lab) is worth knowing about once you've had a few outings under your belt. It lets you log your bird sightings, see what other birders are reporting near you, and find local hotspots sorted by recent activity. It's essentially a social network for birders, and the data is legitimately useful for finding productive spots.
What to practice on your next few outings
Progress in bird watching is cumulative and it happens faster than most beginners expect. The basics of bird watching click quickly once you've had a few real outings and started connecting what you see with what you've read. Here's a practical progression:
- Outing 1 to 3: Focus on getting comfortable with binoculars and making basic size/shape observations. Don't stress about species counts.
- Outing 4 to 6: Start noting two or three field marks per bird and try to make an ID using Merlin before the outing ends.
- Outing 7 onward: Start paying serious attention to songs. Use Merlin Sound ID to build a mental library of common calls in your area.
- After your first month: Try logging sightings in eBird to start tracking your own progress and discovering new spots.
A quick gear comparison: what to buy vs. skip as a beginner
| Item | Worth buying now? | Notes |
|---|---|---|
| 7x or 8x binoculars (30-42mm lens) | Yes, buy first | The most impactful purchase; look for a budget-friendly option around $100-$150 to start |
| Merlin Bird ID app | Free, download now | Does the job of a field guide plus sound ID; no purchase necessary |
| Physical field guide | Optional | Useful for reference at home, but Merlin replaces it in the field |
| eBird account | Free, set up soon | Great for logging sightings and finding local hotspots after a few outings |
| Spotting scope | No, skip for now | Overkill until you're regularly birding open water or grasslands |
| Camo or specialized clothing | No, skip entirely | Muted natural colors are fine; comfort matters more than concealment |
You're more ready than you think
There are plenty of tips for bird watching out there, but the most important one is simply going. The gap between reading about birding and actually standing outside at 7am watching a bird through your binoculars is enormous, and all the skill development happens on the second side of that gap. Pick a morning this week, download Merlin tonight, and head somewhere with trees or water. You'll come back with a short list of birds, maybe a blurry phone photo, and the distinct feeling that you want to do it again. That's exactly how it starts.
FAQ
How do I avoid getting lost or overwhelmed while I’m trying to scan for birds?
Use a simple routine, take five to ten slow scans in the same area, then move 20 to 30 steps. Keep your binoculars on one habitat edge (tree line, pond edge, or shrub boundary) instead of swinging everywhere, and stop moving briefly each time you hear a bird or see movement.
What should I do if my binoculars feel “off” after I set the diopter once?
Re-check the diopter only if you change people, glasses position, or the right eyepiece. If the image is sharp left eye but blurry right, tighten or re-run the diopter until both eyes match, then keep that ring alone for the whole session.
Are 7x or 8x binoculars enough if I want to see birds farther away?
They’re beginner-friendly because they keep a wide view for tracking, but at long distance you may only identify general size and behavior. If you can’t confirm details, focus on getting a confident “good enough” description for Merlin’s questionnaire, then move closer later if the space allows.
How can I use Merlin when I’m not sure what I’m seeing or the bird won’t sit still?
Start with the most obvious cues first (size category, color patches, and habitat). If the bird disappears fast, capture a short audio sample when possible (Sound ID is most reliable with multiple calls), then use the photo or “What Bird” answers after you’re back at a quieter moment.
What if Sound ID keeps naming the wrong bird?
Reduce background noise by stepping away from roads, turn off music and notifications, and hold the phone consistently for a few seconds while the bird calls. If there are multiple birds calling at once, run Sound ID again after the loudest caller pauses.
Should I record everything I see, or is it better to focus on a few species?
For early outings, prioritize quality over quantity. Aim to choose one or two likely species you can describe well, get one to three solid observations each, and only then add extra species if they’re easy. This prevents “guessing paralysis” when you later try to confirm IDs.
How do I build a realistic “field log” without spending the whole walk writing?
Use a 10-second template: date, location, weather, and then one-line descriptors (size, key colors, and one behavior). If you cannot ID, write the distinguishing trait you noticed (for example, “two white wing bars” or “long tail forager on ground”).
What time should I go if I can’t make it right at sunrise?
Go as early as you can, but treat the first two to three hours after sunrise as your priority window. If you arrive late, adjust expectations, focus on species that remain active later, and look especially around water and shaded edges where birds keep feeding.
What are the best “first habitat” locations for beginners?
Seek habitat variety in one short area, like a forest edge next to a meadow, a pond near reeds, or a creek next to shrubs. Even in small parks, those transitions concentrate birds, making it easier to learn multiple identification cues without traveling far.
How do I know whether I should use my ears or my binoculars first?
When vegetation is thick or you keep hearing birds but not seeing them, start with sound. Once you get a direction cue (where calls are coming from), then lift binoculars briefly to confirm features before moving.
What’s a good beginner mistake to watch for during bird ID?
Don’t trust a single feature in isolation, like wing bars or one color patch, since lighting and angle can mislead you. Combine at least two observations (example, size plus behavior, or habitat plus call pattern) before relying on the app or a field guide.
Next Article
Tips for Bird Watching: A Beginner Plan to Find IDs Today
Beginner bird watching tips: choose time and spot, pick gear, use sounds and visual cues, and ID birds fast and ethicall