Bird watching is one of those hobbies that sounds simple until you're standing in a park with binoculars, staring at a bush that was definitely moving two seconds ago. The good news: you don't need years of experience to have a genuinely great first outing. You need a decent spot, the right timing, a basic kit, and a few field habits that experienced birders use every single time. This guide covers all of it, in order, so you can walk out your door today and actually see birds.
Tips for Bird Watching: A Beginner Plan to Find IDs Today

Marcus Hendricks
6 Apr 2026
Picking your spot, your timing, and a simple goal
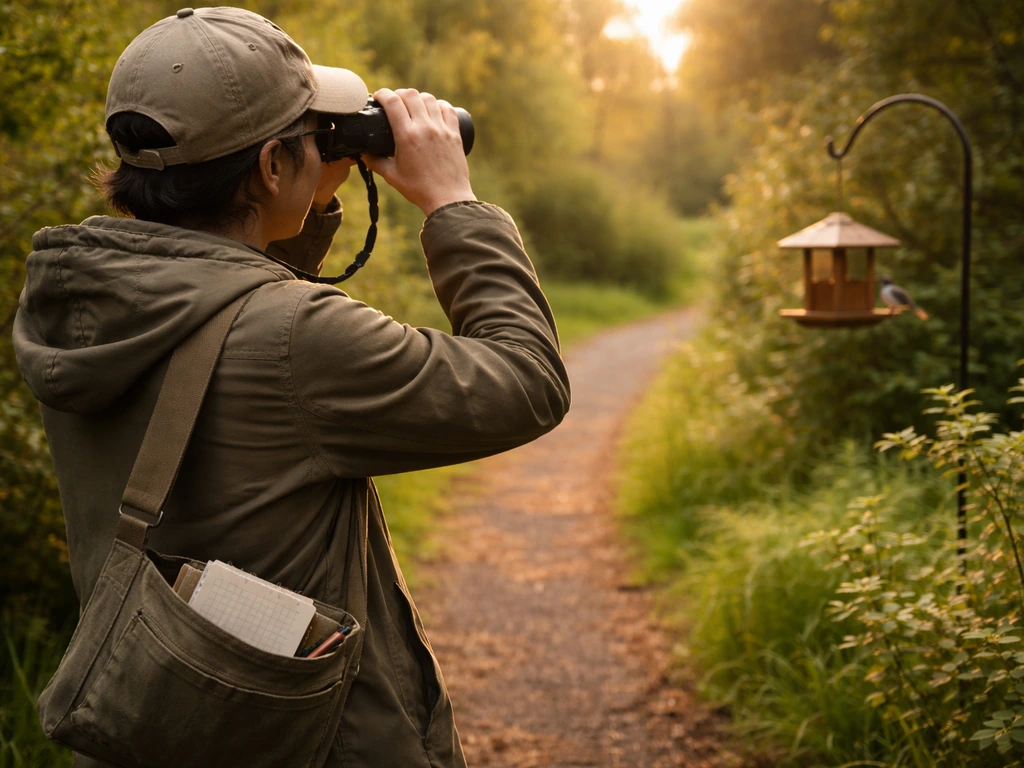
Start close to home. Seriously. Audubon's advice for beginners is clear: you don't need to travel far. A nearby park, a hedge by your house, street trees, open water, or even a well-placed bird feeder in your yard can all produce solid birds. The idea is to find what Audubon calls a "habitat patch", a place you can revisit safely and start to know well. Familiarity pays off fast. Once you know which bush the sparrows like in the morning, you know where to look every time.
One of the best location upgrades you can make early on is finding a habitat "edge", a spot where two different environments meet, like a forest opening up into a meadow, or a lawn that runs up to a pond. Edges tend to concentrate birds because they offer food, cover, and water all within a short flight. Areas with water nearby are especially reliable. Even a birdbath can draw surprising variety.
For reliable, beginner-friendly locations near you, open eBird and browse the Hotspots feature. eBird Hotspots are shared locations where multiple birders log their sightings, so you can literally see which nearby parks are producing birds this week before you even leave the house. eBird Hotspots are shared locations that birders use to record sightings, and eBird aggregates that data with its “Explore” tools for those hotspots eBird Hotspots are shared locations where multiple birders log their sightings. That's a massive shortcut compared to guessing.
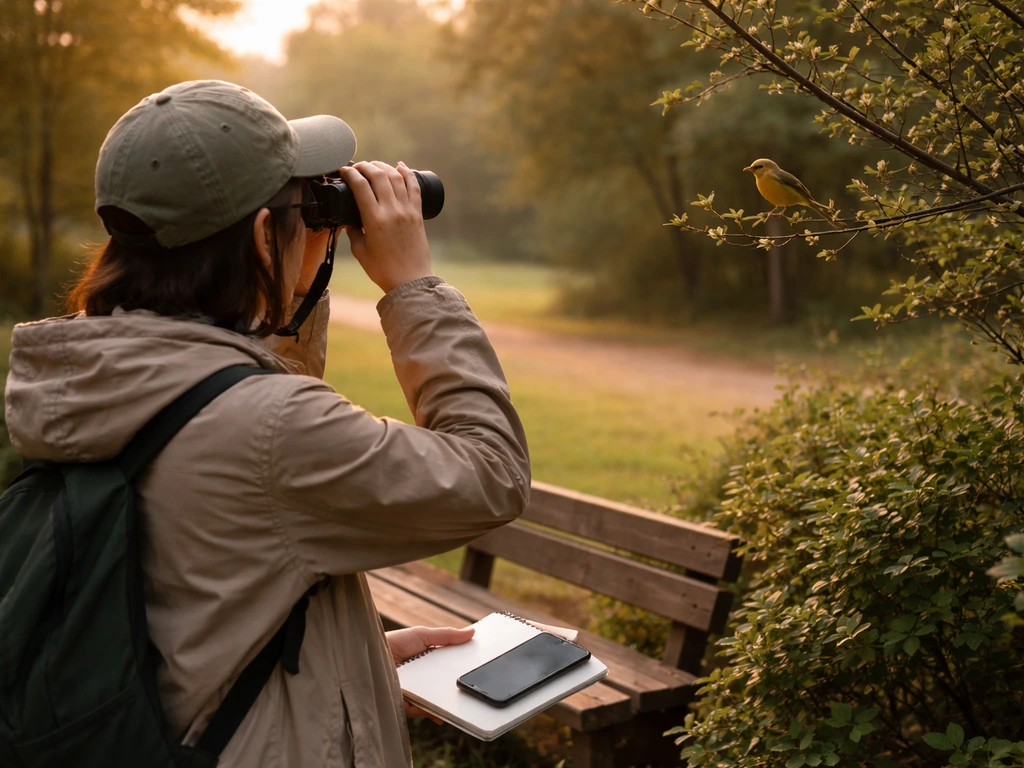
Timing matters more than most beginners expect. The sweet spot is dawn to about 11am. Birds are most active, most vocal, and easiest to spot in that early morning window. After that, many retreat to shady spots near water and go quiet. You get a second window in the late afternoon, running from a few hours before sunset until dusk, when activity picks up again. Midday is generally the worst time, so plan around it. If you're after shorebirds specifically, aim to arrive about 3 hours before high tide, when birds concentrate in shallower water and are much easier to observe.
Set one small goal for your first outing. Not "see 30 species", something like "identify five birds I've never looked up before" or "figure out what's singing in that oak tree." Small, concrete goals keep you focused and make the outing feel like a win rather than a missed opportunity.
The gear you actually need (and how to choose it)
You can bird watch with nothing but your eyes, but a decent pair of binoculars changes everything. The single most important piece of gear, full stop. Here's what to look for without getting lost in specs:
Binoculars: magnification and brightness
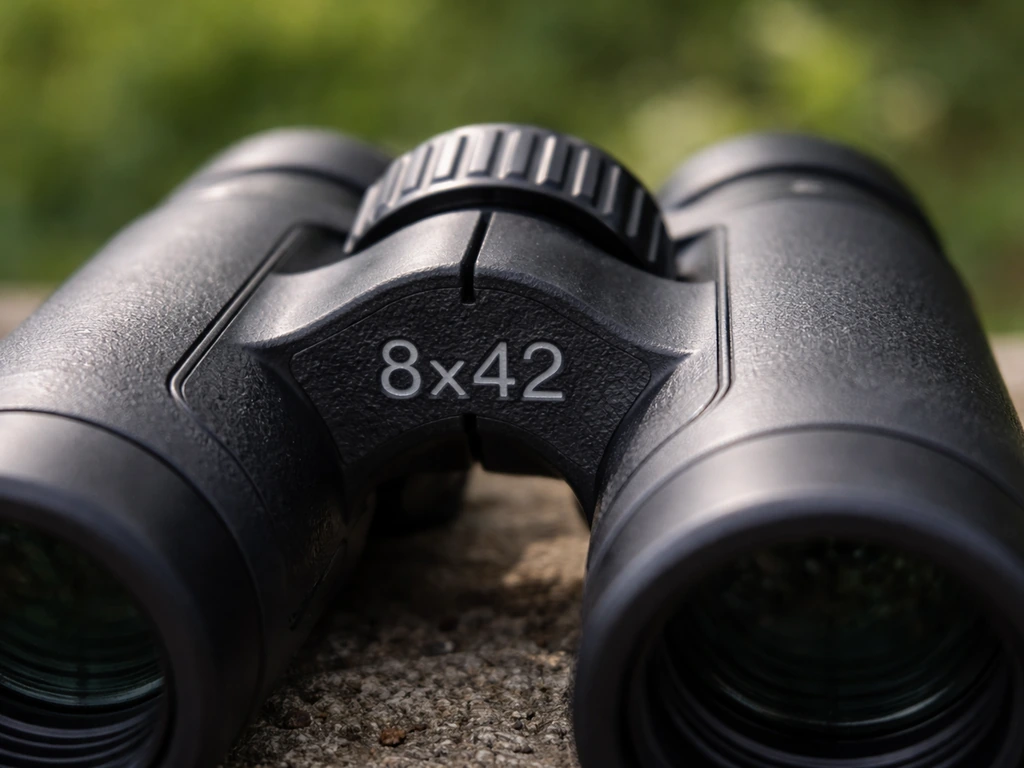
Binoculars are described by two numbers, like 8x42. The first number is magnification, the second is the objective lens diameter in millimeters. Most experienced birders prefer 7x or 8x because the wider field of view makes it much easier to find and follow moving birds, especially in flight. Go higher than 8x and the image shakes with every hand movement, the field of view narrows, and you'll lose birds constantly.
The second number (objective lens size) affects brightness. To get an idea of how bright a binocular will feel in dim conditions, divide the objective size by the magnification. That gives you the "exit pupil" in millimeters. An 8x42, for example, has an exit pupil of 5.25mm. An 8x56 gives you 7mm, which is significantly brighter in low light, like dawn or dusk birding. For beginners birding in decent daylight, an 8x42 hits a great balance of brightness, portability, and price.
| Binocular Type | Magnification | Exit Pupil | Best For | Downside |
|---|---|---|---|---|
| 7x35 | 7x | 5.0mm | Beginners, wide field of view | Less detail on distant birds |
| 8x42 | 8x | 5.25mm | All-around birding, most popular | Slightly heavier than smaller options |
| 10x42 | 10x | 4.2mm | Distant birds, open habitats | Narrower field of view, shakier image |
| 8x56 | 8x | 7.0mm | Dawn/dusk, low-light birding | Bulky and heavy to carry all day |
For most beginners, an 8x42 is the right call. Don't buy 10x thinking more is better. It almost always makes birding harder, not easier.
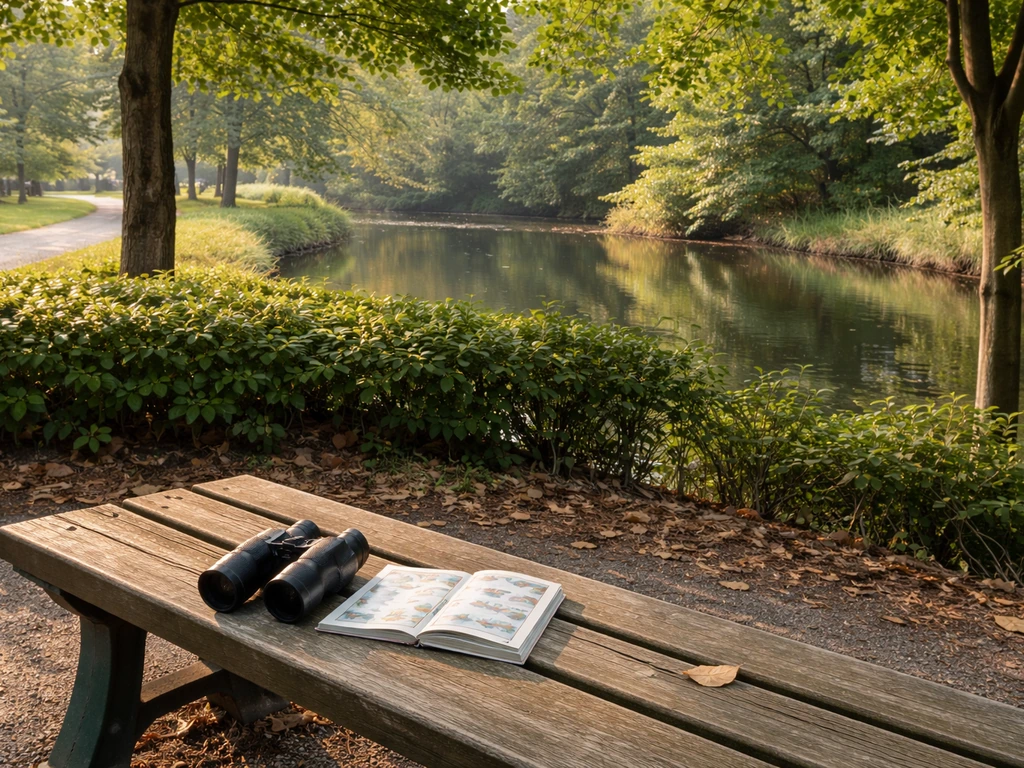
Field guide or app?
Get both, honestly, but start with the Merlin Bird ID app from Cornell Lab. It's free, works offline (the Photo ID mode identifies birds from your photos even without cell service), and its Sound ID feature listens in real time and suggests who's singing, recognizing 458 species in the US and Canada. Cornell Chronicle reports that Merlin’s Sound ID can recognize the sounds of more than 400 species from the U.S. and Canada recognizing 458 species in the US and Canada. It's like having an expert standing next to you whispering "that's a White-throated Sparrow" before you've even found the bird in your binoculars. A printed regional field guide is still worth having for deeper reading at home, but Merlin is your in-the-field tool.
Clothing and comfort
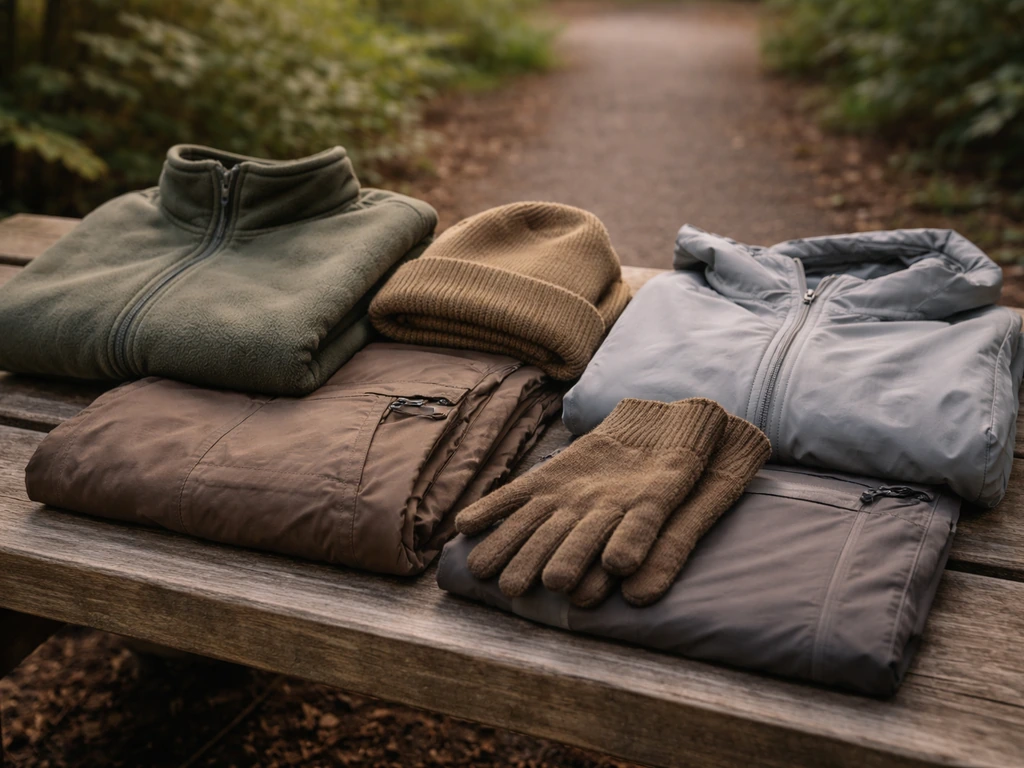
- Wear neutral, earthy tones — greens, tans, browns, or grays. Avoid white and bright colors that startle birds.
- Dress in layers. Early mornings can be cold even in spring. You can peel layers off as the day warms.
- Wear comfortable, quiet shoes. Crunchy sneakers on dry leaves will clear an area in seconds.
- Bring water, a small snack, and sun protection if you're going out for more than an hour.
- A small notebook or your phone's notes app is enough for logging what you see.
How to identify birds fast: the 4-key workflow
The fastest way to ID a bird uses four cues in this order: size and shape, color pattern, behavior, and habitat. Cornell Lab's All About Birds calls these the "4 keys" to bird identification, and once this sequence is automatic, your identification speed jumps dramatically. Here's how to use them in the field.
Size and shape first, always
Before you even reach for your binoculars, ask: is this bird sparrow-sized, robin-sized, or crow-sized? That one question eliminates hundreds of species immediately. Then look at the shape: is the bill short and stubby (seed eater) or long and thin (insect probe)? Is the tail long or short? Is the neck long? A useful trick from field experts: compare the bill length to the width of the bird's head. A bill shorter than the head width points you toward one group, longer to another. Downy and Hairy Woodpeckers look almost identical in color, but the Hairy's bill is nearly as long as its head, a reliable separator once you know to look.
Color pattern, not just color
Don't just register "brown bird." Look for field marks: specific patches of color or contrast. Eye rings, wing bars, streaked or plain chests, cap colors, and tail patterns are all field marks. Two birds might both be brown overall, but one has a rusty cap and the other has a streaked crown, and those details are what separate them in a field guide. Focus on where the markings are, not just what color they are.
Behavior tells you a lot
What is the bird doing? Is it creeping headfirst down a tree trunk (a nuthatch), hopping along the ground flicking its tail (a towhee), or hovering over water before diving (a kingfisher)? Behavior is often faster than any plumage detail because you can read it at a distance before you even get your binoculars on the bird. Many species have distinctive movement signatures you'll start to recognize before you can see the color.
Habitat as a filter
A bird that looks vaguely like a warbler is a lot easier to nail down when you know you're standing in a swamp versus a high-elevation pine forest. Habitat is a filter. If you're at the edge of a freshwater marsh, a whole group of species becomes likely and another group becomes almost impossible. Use where you are to pre-filter what you're looking for, and your identifications will become faster and more confident.
Using bird sounds to find and confirm what you're hearing
This is the skill that transforms birding from a visual hunt into a full sensory experience. Sound lets you identify birds you can't see yet, and that's most of them. Birds hidden in dense brush, high in the canopy, or across a wetland are often singing clearly even when they're invisible. Once you can match a sound to a species, your effective "field of view" expands enormously.
The easiest way to start learning bird sounds is passive: just open Merlin's Sound ID, hold your phone up, and let it listen while you stand still. It labels the species in real time as they sing. You're not trying to memorize anything yet, you're just building an association between the sound you're hearing and the name on the screen. After a few outings, those sounds start to click without the app.
Audubon's guidance points out that songs are often repeated and may be linked to flight displays, which makes them easier to track than short, single calls. Songs typically follow a pattern you can start to anticipate. Calls are shorter, often alarm-based or contact-based, and harder to learn at first. For beginners, focusing on songs, particularly the distinctive, repeated songs of common local species, is the most efficient path to learning bird sounds quickly.
One thing to avoid: playing recordings of bird calls out loud in the field to attract birds. More on this in the ethics section, but the short version is that it can cause real stress to birds, especially during breeding season, and it's widely considered poor practice in the birding community. Let Merlin listen passively instead of broadcasting calls to lure birds in.
Field techniques that actually work
How to move (and when to stop)
Slow down by about half of what feels natural. Then slow down again. Most beginners cover too much ground too quickly and flush every bird before they get a good look. Move 10 to 20 steps, stop, and stand still for 30 to 60 seconds. Birds that froze when they heard you coming will start moving again. You'll hear and see far more by stopping than by walking.
When you approach an area where you've spotted activity, move toward it at an angle rather than straight on. Direct approaches feel threatening to birds. Come in gradually from the side, using vegetation as cover when you can. If a bird flushes and flies a short distance away, don't chase it. Stop, wait, and let it settle. Chasing almost never ends with a better look.
Scanning technique
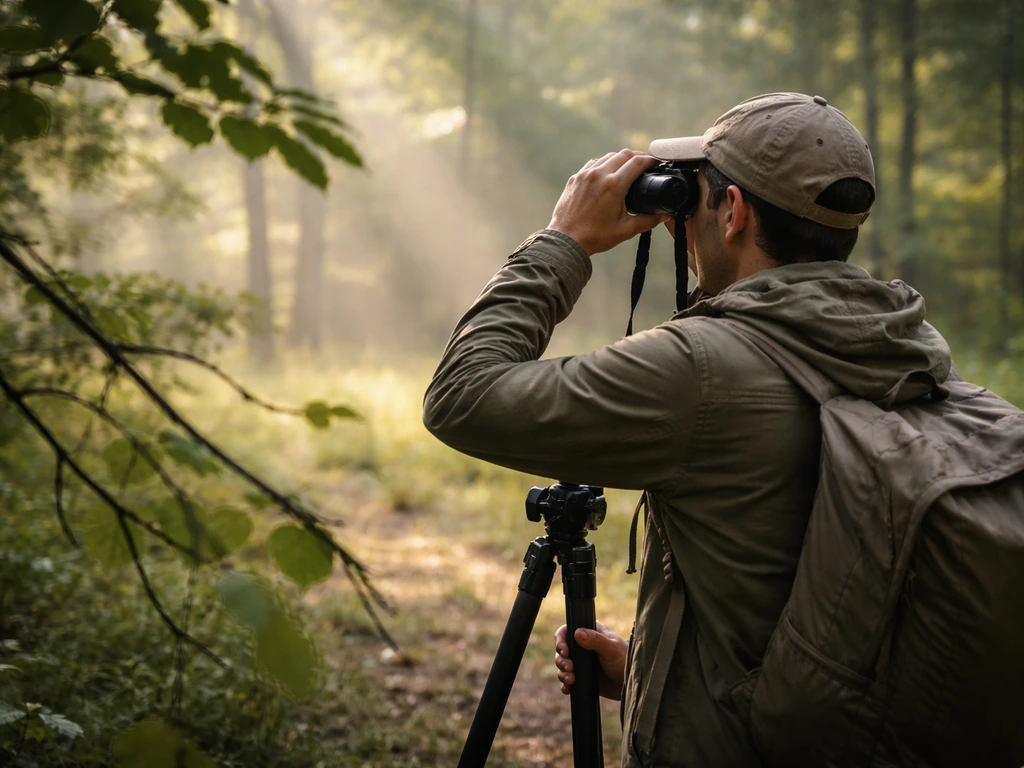
Start with your naked eye before lifting your binoculars. Scan for movement, silhouettes on branches, and shapes that don't quite fit the foliage. Once you spot something, use a reference point ("three branches left of that broken limb, halfway up") to lock onto the location, then raise your binoculars to that exact spot. This sounds obvious but is the single biggest frustration for new birders: you see a bird, lift your bins, and the bird has vanished because you lost the reference point.
Taking notes in the field
You don't need a formal system, but write something down. Even a quick note on your phone, "small brown bird, streaked chest, hopping on the ground, dense brush edge, 7:30am", is enough to look up later. Sketch a quick shape or mark what caught your eye. Field notes solve the problem of "I definitely saw something interesting but now I can't remember anything about it." If you want to log your sightings properly and contribute to science, the basics of bird watching include using eBird, which lets you enter your sightings by specific location and contribute to a massive shared dataset that researchers actually use.
Staying comfortable and birding ethically
Ethical birding isn't just politeness, it's what keeps this hobby sustainable. The American Birding Association's Code of Birding Ethics sets the baseline, and almost everything comes down to one principle: the welfare of the bird comes before your need to see it better.
- Stay on trails and paths. Trampling vegetation destroys habitat and nesting areas that birds depend on.
- Don't play recordings of bird calls or songs out loud. It can stress birds that are resting or actively defending breeding territory, and it's widely frowned upon by the birding community — even in casual park settings.
- Keep your distance from nests. If a bird is agitated, calling repeatedly, or dive-bombing you, you're too close. Back up.
- Keep noise levels low. Talk quietly, move quietly, and silence your phone ringer. Even one loud noise can clear an active area for 15 minutes.
- Leave the habitat as you found it. Don't break branches for a better view, don't move rocks or logs to disturb insects, and don't leave trash.
- Be patient and non-intrusive. If a spot is crowded with other birders, coordinate quietly rather than all pushing forward at once.
On personal safety: tell someone where you're going, especially for early morning or remote outings. Stick to known trails. Bring your phone with a downloaded offline map if you're heading somewhere unfamiliar. Most birding spots are very safe, but dawn outings in parks can mean you're one of the first people there, so basic awareness matters.
Comfort on the day also matters more than beginners expect. If you're cold, hungry, or your feet hurt after 45 minutes, the outing ends early. Good socks, water, and a snack genuinely extend your time in the field. The birds are more active early, but you have to be willing to stay out long enough to find them.
Your starter plan for today
If you want to walk out the door today with a real plan, here it is. This is the same approach I'd use on a first outing in any new area.
- Check eBird Hotspots for the closest productive location. Pick somewhere with water nearby if possible.
- Aim to arrive within an hour of sunrise, or go 2 hours before sunset if mornings don't work for you.
- Download Merlin Bird ID before you leave. Grab the bird pack for your region. It takes 2 minutes.
- Wear muted colors and bring water, a snack, and something to take notes with.
- When you arrive, stop before you enter the main area and just listen for 2 to 3 minutes. Open Merlin's Sound ID and see what it picks up.
- Walk slowly. Stop frequently. Use the 4-key workflow (size/shape, color pattern, behavior, habitat) on every bird you see.
- Write down or voice-record anything interesting, even if you can't ID it yet.
- Set a goal of identifying 5 birds by name before you leave. That's it.
That's a complete first outing. No expensive gear, no expertise required, no pre-built knowledge base. If you want to keep going from there, how to start bird watching covers the bigger picture of building a practice over time, including how to pick a dedicated birding area and track your progress across seasons. And if you're wondering what the day-to-day life of a dedicated birder actually looks like, how to be a bird watcher is worth a read once you've got your first few outings under your belt.
The learning curve in birding is real but it's also genuinely fun. Every outing teaches you something. You'll misidentify birds, everyone does, for years, and that's fine. The point is to get outside, pay attention, and let the birds surprise you. They will.
If you're looking for a structured foundation to build on, the collection of bird watching tips for beginners on this site goes deeper on specific skills you'll want to develop after your first few outings, from improving your binocular technique to building a personal checklist system that keeps you motivated.
FAQ
What should I do if I only see a bird for a few seconds?
If you can only get a quick look, capture the “ID order” fast: note size group (sparrow, robin, crow), then the bill shape, then one field mark (wing bar, eye ring, cap, tail pattern). If you have Merlin, take a photo or activate Photo ID immediately, and save your guess even if you are not sure. Avoid spending minutes trying to perfect the ID before the bird leaves.
How can I identify birds by sound when the audio is brief or unclear?
Use Merlin’s Sound ID as the primary aid, then confirm with one visual cue when possible. Calls are often shorter and harder, so don’t try to learn a bird from a single call alone, especially for species with similar “contact” notes. Focus on repeated songs for confidence, and use habitat to separate similar-sounding species in different environments.
Are the best times for bird watching always early morning and late afternoon?
Not usually. Dawn to late morning and late afternoon are best for most species, but you can still have good sightings on overcast or rainy mornings because birds stay active near cover and water. If visibility is poor, slow down and rely more on sound and movement, then use a habitat patch you can revisit once conditions improve.
How do I improve if I don’t have time to travel or bird in new places often?
A “cold start” helps: pick one habitat patch and one season-specific target (for example, backyard feeders for sparrows this week, or an edge with water for ducks). The fastest way to improve IDs is repeated practice in the same place, so you can recognize patterns in time, behavior, and field marks rather than learning from scratch every outing.
What’s the best way to avoid scaring birds when I’m trying to get a closer look?
If you flush a bird, it’s usually a distance and approach problem. Stop sooner, move at an angle, and pause before you reach the bird’s “comfortable zone.” Use vegetation or terrain as cover when you can, and after a short fly-off, wait for it to settle instead of following right after it.
How do I choose binoculars without getting stuck in technical specs?
Use your “exit pupil” idea to guide expectations, but also match the bin to your real conditions. If you bird mainly at dawn or dusk in woods or near water, brightness matters more (a larger objective can help). If you bird mostly in daylight in open areas, an 8x42 balance is usually enough, and less weight can improve steadiness over time.
I keep losing the bird when I lift my binoculars. What’s the fix?
Pick a consistent reference routine: always scan with eyes for movement, then pick a landmark position (branch, trunk, or fixed gap in foliage) before raising binoculars. If the bird is on the move, track your landmark along with it, and accept a “good enough” ID from the cues you can actually see, rather than chasing perfect views.
What should I write down in my field notes so they help with later identification?
Field notes are most useful when they include what you observed in your next-best order, not everything at once. A short template like “time, location type (edge/marsh/woods), size group, one field mark, behavior, and song/call if heard” is enough. Save photos too, because later you can compare the bill shape and pattern more carefully.
Is it ever okay to play bird calls to help identify a bird I’m seeing?
Don’t use call playback to attract birds, especially near nests or during breeding season. If you need to verify an ID, use passive listening or your own recorded sound cues privately for learning purposes, and then confirm by habitat, behavior, and any visual field marks when the bird appears naturally.
What if I’m confident it’s a certain type of bird but unsure of the exact species?
A good rule is: if you cannot confidently assign the size group and one field mark, label the bird as “uncertain” and write why (for example, “only seen briefly, brown overall, no visible wing bar”). Later, use Merlin Photo ID, compare photos, and revisit the habitat patch at a better time window to confirm with behavior or song.
How should I plan around tides if I want to see shorebirds?
Yes. If you arrive about 3 hours before high tide, you will often see more shorebird activity and clearer foraging behavior as birds concentrate in shallower feeding zones. Also watch for tide-driven habitat changes, like exposed mudflats, because “good places” shift as water levels change throughout the same location.
What gear or supplies are actually worth bringing on a first birding trip?
Prioritize comfort and safety so you don’t have to shorten the outing. Wear supportive shoes, bring a refillable water bottle, and add a small snack you can eat without rushing. If you’re out early, consider layering for temperature swings, because mornings can be much colder than you expect.
Next Article
Basics of Bird Watching: A Beginner Guide to Start Fast
Bird watching basics for beginners: gear, locations, times, sight and sound ID skills, logging, etiquette, and next step