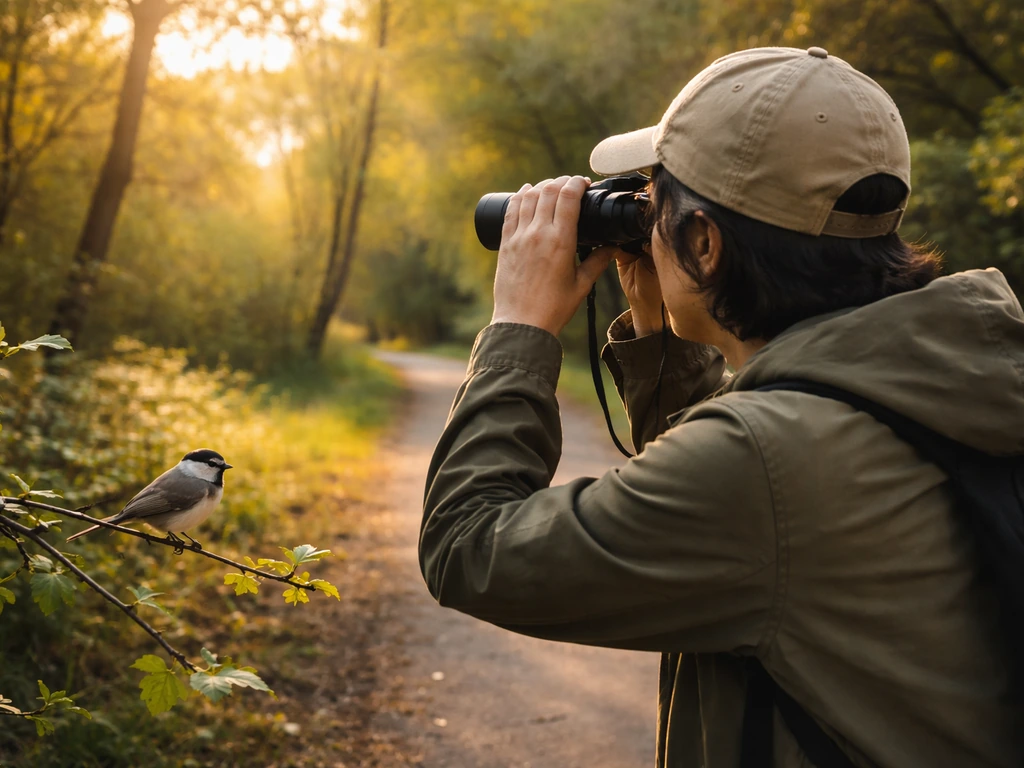
Bird watching is exactly what it sounds like: you go outside (or look out a window), watch birds, and try to figure out what you're looking at. That's it. There's no exam, no license, and no minimum species count required. But if you want to do it well, enjoy it faster, and maybe even turn it into something more serious, a little structure goes a long way. Here's everything you need to know to get started this week and keep improving through your first month and beyond.
How to Be a Bird Watcher: Beginner to Pro Guide

Marcus Hendricks
3 Apr 2026

Start bird watching with a simple plan
The single biggest mistake beginners make is waiting until they have the "right" gear or the "right" location. You don't need either. You need a plan that's simple enough to actually follow. If you're figuring out how to start bird watching, the honest answer is: start in your backyard or nearest park, this week, with whatever you have.
Here's a realistic first-week plan you can actually stick to:
- Day 1: Spend 15 minutes near a window or outside in your yard or neighborhood. Don't try to identify anything. Just notice how many birds you see and roughly what they look like.
- Day 2: Download the free Merlin Bird ID app (from Cornell Lab). Open it, tap "Start Bird ID," and answer the questions about a bird you spotted yesterday.
- Day 3: Go to a local park or green space. Arrive in the morning. Walk slowly and stop often.
- Day 4: Try Merlin's Sound ID feature. Open it, press record, and let it listen. See what comes up.
- Day 5: Create a free eBird account at ebird.org. Log your first checklist, even if it's just three species from your yard.
- Day 6 and 7: Repeat any of the above, and start writing down what you see in a small notebook or phone notes app.
One important note: even if you're watching birds from your living room window or listening to them on your morning walk, that counts. Audubon makes a good point that birding doesn't require you to physically "watch" a bird. Appreciating bird song at home is legitimate birding, full stop.
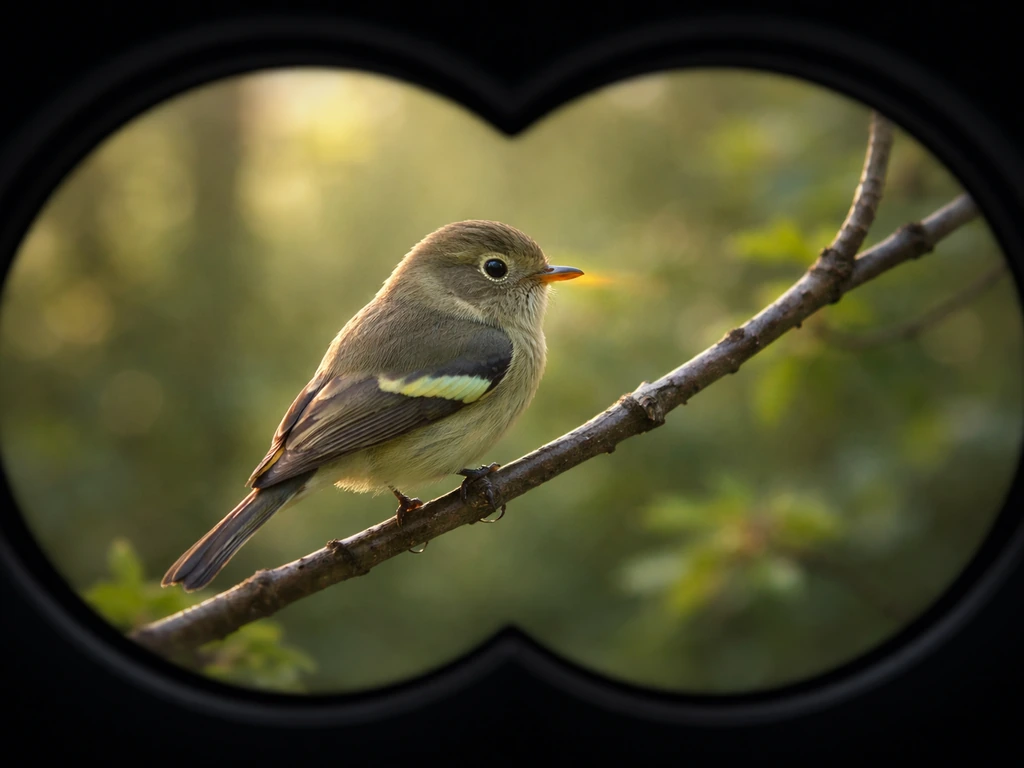
Basic gear and beginner equipment choices
You don't need much to start, but a pair of binoculars will transform your experience. Bare eyes work fine for big obvious birds, but once you want to tell a house sparrow from a song sparrow at 20 feet, you'll want optics. The good news is that a decent starter pair costs less than a dinner out.
Choosing your first binoculars
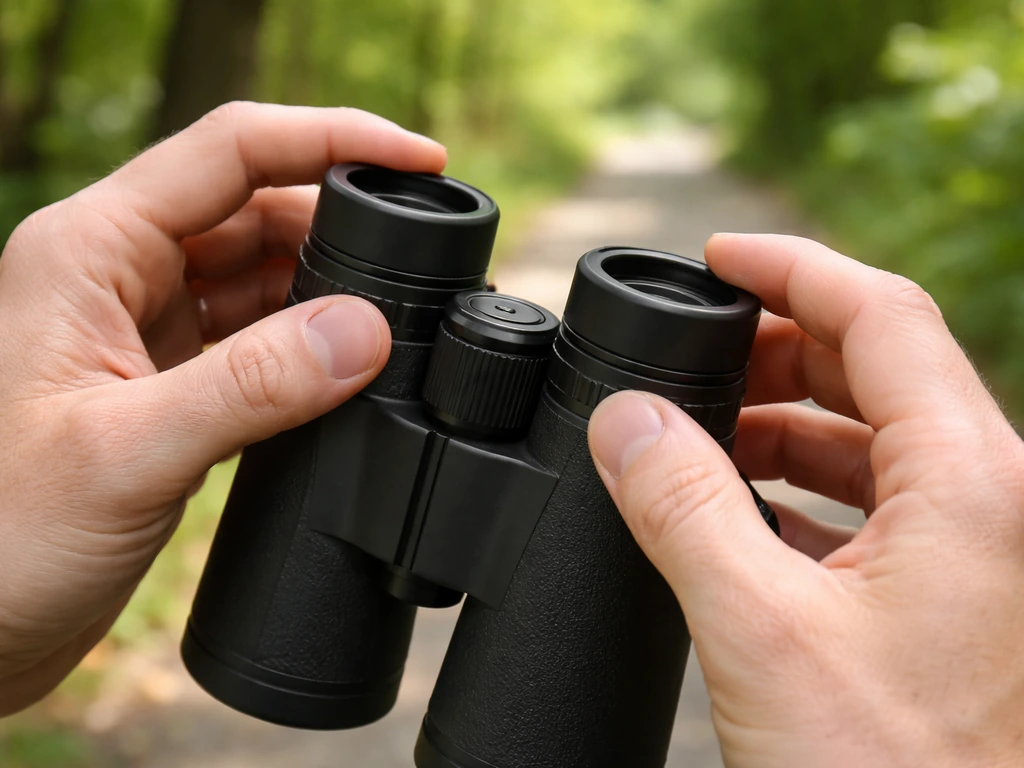
The number one rule: don't overthink it. For most field birding, 8x42 binoculars hit the sweet spot. The "8x" is the magnification, and "42" is the diameter of the front lenses in millimeters. A larger objective lens gathers more light (useful in dim morning conditions), but it also adds weight. Columbus Audubon offers a useful rule of thumb: 7x or 8x with 30 to 42mm objective lenses balances locating birds, gathering light, and keeping the weight manageable for long outings. You can also calculate exit pupil (objective divided by power) to gauge low-light performance. For 8x42, that's 5.25mm, which is solid.
Before you head out, spend five minutes setting up your binoculars properly. Adjust the eye cups, set the diopter (the individual focus ring, usually on the right eyepiece), and practice quickly locating a stationary object like a rooftop or treetop. Cornell Lab's beginner guide to binocular setup walks through this workflow step by step, and it's worth doing at home before you're standing in a field trying to find a warbler.
Apps and field guides
For a beginner in 2026, a field guide app will serve you better than a printed book for day-to-day use. Merlin Bird ID (free, from Cornell Lab) is the go-to. Merlin Bird ID launched in 2014 and is a free bird identification app developed by the Cornell Lab of Ornithology. A printed regional field guide is still worth having for home reference, but Merlin's photo-based ID and Sound ID features are hard to beat in the field. We'll cover Sound ID in more detail in the identification section below.
| Item | Budget Option | Mid-Range Option | Notes |
|---|---|---|---|
| Binoculars | Celestron Nature DX 8x42 (~$70) | Vortex Diamondback HD 8x42 (~$200) | 8x42 is the most versatile size for beginners |
| Field Guide | Merlin app (free) | Sibley's Field Guide (~$25) | App first, printed guide for home |
| Notebook | Any small notebook (~$2) | Rite in the Rain waterproof notebook (~$10) | Don't skip this; notes matter |
| Clothing | Any quiet, neutral-colored outfit | Moisture-wicking layers for your climate | Avoid bright colors and noisy fabrics |
| Bag/Pack | Any small daypack you own | Lightweight backpack with water bottle pocket | You'll want hands free |
How to find birds (locations, times, and observation spots)

Birds are everywhere, but some spots are dramatically better than others. Edges are your best friend. The transition zone between two habitats (where a forest meets a meadow, or where a pond meets tall grass) consistently holds more bird activity than either habitat alone. Wetlands, parks with mature trees, and scrubby brush areas all punch above their weight.
Timing matters more than location, honestly. The two to three hours after dawn are the most productive window for most species. Birds are feeding, singing, and moving. Midday is quieter. Evening picks up a bit, especially in summer, but morning is reliably the best. On overcast days, activity can stay higher into mid-morning.
Using eBird to find local hot spots
eBird's "Explore" feature is one of the most useful tools a beginner has. You can search for recent sightings near your location and pull up a list of nearby "hot spots," which are public birding locations that other users have submitted checklists from. Cornell Lab explicitly recommends using eBird to check recent sightings at a local location before you visit, so you know what's likely to be there. Before a trip or outing, open the eBird Mobile app and install "eBird packs" for your region so your device has a local bird list ready even if you lose cell service.
Feeder birding as a starting point
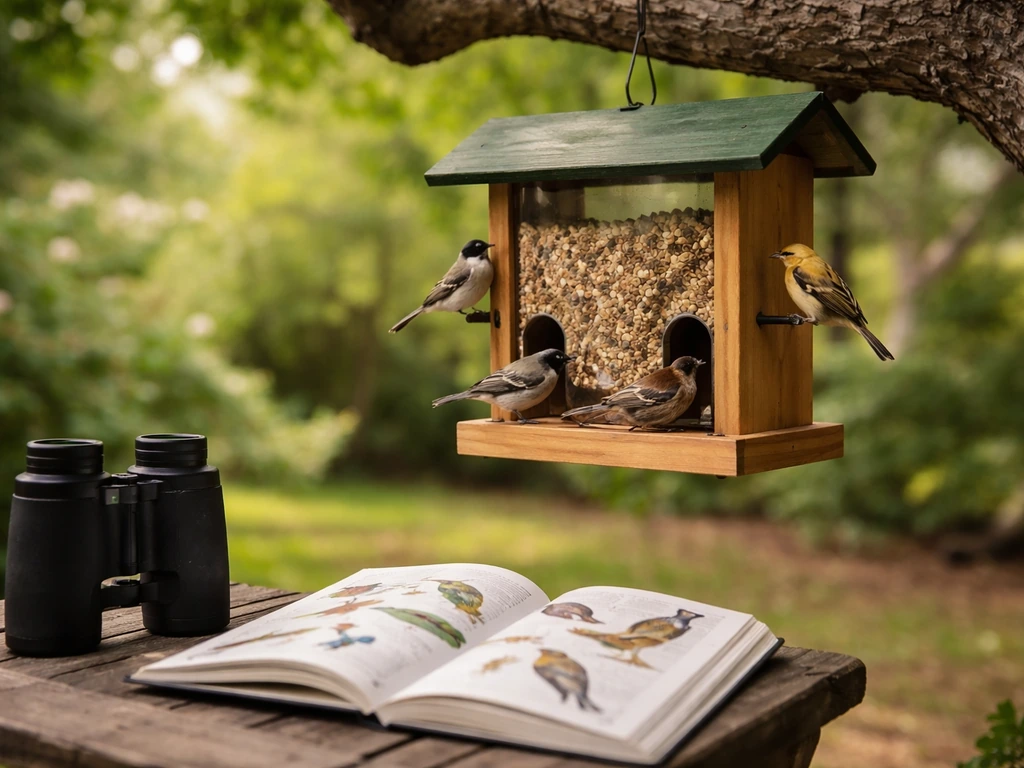
If you're not ready to hit the trails yet, feeder birding is a legitimate and genuinely rewarding place to start. Almost anyone can do it: set up a basic seed feeder, hang it in a visible spot, and watch from a window. You'll be surprised how quickly species diversity builds up. This is also a great way to learn common birds before you encounter them in the field, where they're moving and harder to identify.
How to identify birds and use bird sounds and resources
Identification is where most beginners get frustrated, and it's usually because they're trying to memorize too many species at once. Don't do that. Start with your ten most common local birds and learn them cold before adding more. Once you can recognize a house sparrow, American robin, and European starling on instinct, everything else starts clicking faster.
Using field marks
Field marks are the physical features you use to identify a bird: eye rings, wing bars, bill shape, tail length, and leg color are examples. When you see an unfamiliar bird, don't just stare at it. Run through a mental checklist: How big is it compared to something I know? What shape is the bill? What color is the head, back, and belly? Does it have any distinctive markings? Getting into this habit early will make you a much faster identifier.
Learning bird sounds
Here's a reality check: most birds you'll encounter in the field, you'll hear before you see them. Learning bird sounds is not optional if you want to be a competent birder. The good news is that there are excellent free tools to help. Merlin Sound ID can identify more than 450 bird species by sound, and it works offline too. You can record a bird without cellular service and then get a list of possible matches when you're back in range. That's genuinely useful in remote spots.
One important thing to know about Sound ID: it's trained on precisely labeled audio data, which means it can struggle when multiple species are vocalizing at the same time. It's a fantastic starting point, not a final word. Always confirm a sound ID by comparing your recording to the audio examples inside Merlin. Listen for the specific qualities the app highlights, and make sure what you recorded actually matches.
Beyond Merlin, Audubon offers a "Birding by Ear" learning series with a dedicated "Start Listening for Songs and Calls" step, which is a great structured way to train your ear over a few weeks. Cornell Bird Academy also runs a course called "Bird Song Basics: Getting Started with Birding by Ear" if you want something more structured. And if you want a deep library of sounds for offline listening, the basics of bird watching include getting familiar with resources like xeno-canto, which hosts a massive archive of bird vocalizations you can search by name or filter by region. The Bird Call Xeno app (built on xeno-canto) even supports offline access and smart search.
For deep research dives into specific species sounds, the Macaulay Library at Cornell is the gold standard. You can search for a specific species, filter results by geography or quality, and even download metadata in a spreadsheet for more systematic study.
Build skills fast with practice routines and note-taking
The fastest way to improve is consistent, low-pressure practice. A 20-minute morning walk three to four times a week will do more for you than one intense all-day trip every month. Here's what a useful practice routine looks like:
- Pick one patch: a specific park, trail section, or yard. Visit it repeatedly. Familiarity with the baseline birds makes new or unusual species much easier to spot.
- Move slowly and stop often. Most birds you'll flush by moving too fast. Take three steps, stop, scan, listen.
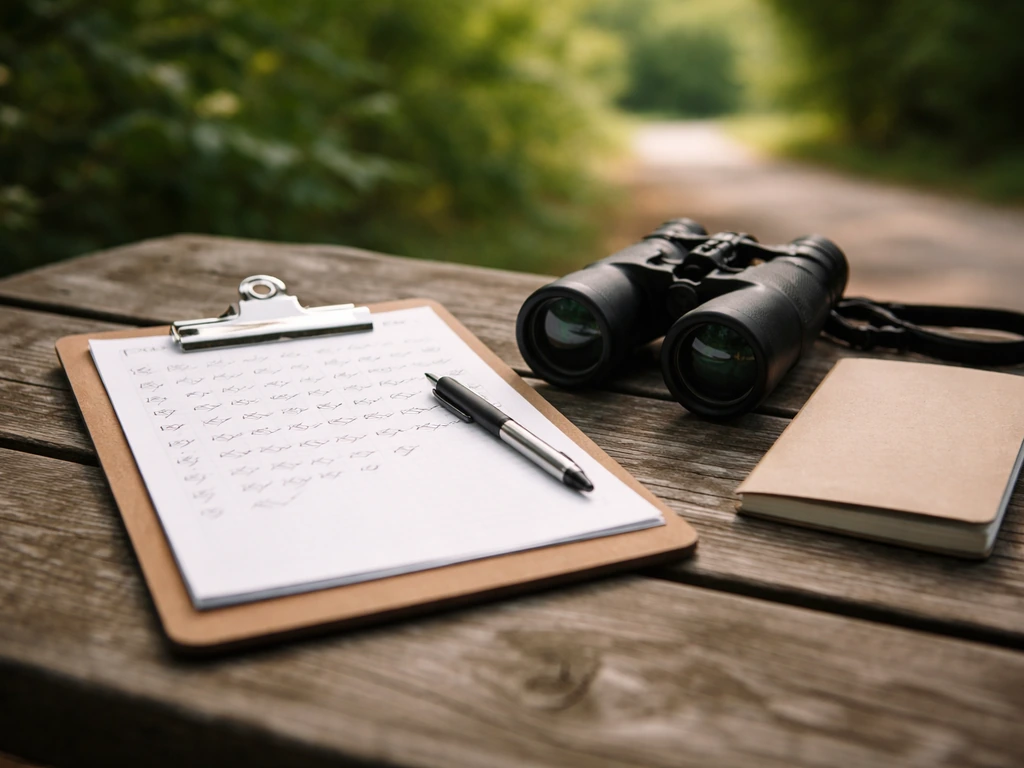
- Keep a field notebook. Write down the species, the time, the weather, behavior you noticed, and anything you couldn't identify. Even rough sketches help lock in memory.
- Review your notes within 24 hours. This sounds tedious but it dramatically improves retention.
- Use Merlin to look up any bird you couldn't confirm in the field. Run through its calls and compare them to what you heard.
Note-taking is one of those things beginners skip and then regret. You will forget details faster than you think. Even basic notes like "small brown bird, streaky breast, seen at feeder 7:15am" give you enough to work from later. Some of the most useful tips for bird watching come down to exactly this: slow down, write things down, and revisit what you recorded.
For your first month, aim for this progression: week one is pure observation with no pressure to identify anything. Week two, start using Merlin and eBird on every outing. Week three, begin submitting complete eBird checklists where birding was your primary purpose and you've recorded every species you could identify by sight or sound to the best of your ability. Week four, revisit your patch and see how your notes from week one compare to what you're noticing now. The difference will genuinely surprise you.
Level up: records, community groups, and citizen science
Once you've got a rhythm going, the next step is contributing your observations to citizen science, which makes your data useful to researchers and conservationists while also making you a better birder. Two programs are especially worth knowing about.
eBird: your ongoing checklist system
eBird is where your observations live and grow over time. The concept of a "complete checklist" is central to making your data scientifically useful. A complete checklist means birding was your primary purpose during that outing and you recorded every species you could identify, by sight and/or sound. eBird Mobile makes this straightforward: use the Quick Entry workflow to type in species counts as you go, and if you stay in one spot the app will auto-set your protocol to "Stationary." Your checklist data then feeds directly into bird research and conservation efforts globally. One thing to note: don't include captive birds, pinioned birds, or free-roaming pets that return to a house or enclosure on your checklists. eBird has clear rules about this, and it keeps the data clean.
Project FeederWatch: easy citizen science at home
If you have a feeder, Project FeederWatch is a perfect entry point into structured citizen science. You pick two consecutive "count days" per period, watch your feeders for as long as you can, and record the maximum number of each species you see simultaneously (not a running total, just the highest count you see at one time). For example, if you see one chickadee in the morning and four in the afternoon, your tally is four, not five. You also log the date and how much time you spent watching. It's simple, structured, and your data contributes to a long-running dataset tracking feeder bird populations across North America.
Joining local birding groups
Local Audubon chapters, bird clubs, and Facebook groups for regional birding are where you'll learn the fastest. Experienced birders are almost always happy to have beginners along on walks, and you'll absorb more in one outing with a knowledgeable group than you will in a month alone. Look up your regional Audubon chapter, search for "[your city] birding group" on Facebook or Meetup, and show up. You'll also hear about local rarities. That brings up one fun birding culture term: "twitching." When a rare bird shows up somewhere unexpected and birders drop everything to go see it, that's twitching. You'll understand the impulse eventually.
There's also a growing movement around mindful or slow birding, which emphasizes quiet observation and enjoying birds for their own sake rather than chasing species counts. It's a good mindset to absorb early, especially if you find yourself getting frustrated with what you haven't identified rather than appreciating what you have. Following some of the best bird watching tips for beginners on this front can genuinely change how you experience outings.
From hobbyist to professional bird watcher career paths
Most birders stay enthusiastic amateurs their whole lives, and that's completely valid. But if you're serious about making birds part of your professional life, there are real paths to do it. They just require building experience and a documented record before any of them open up.
What professional birding actually looks like
Professional roles in birding generally fall into a few categories: field technician or monitoring work (collecting data on bird species locations, timing, and movements for conservation organizations), guiding (leading bird watching tours for paying clients), research support (assisting academic or government research projects), and content creation (writing, photography, and video for magazines, nature platforms, and environmental organizations). Each path has different entry requirements.
Building toward field and conservation work
Field technician roles, like Audubon's Bottomland Forest Bird Technician position (which involves collecting detailed information on bird species locations, timing, and movements for monitoring programs), typically require point count survey experience, solid species ID skills across a regional list, and familiarity with data recording protocols including eBird. These roles are often seasonal and competitive, but they're genuinely accessible if you've built two to three years of consistent field experience and a solid eBird checklist history.
Guiding and tour leading
Guiding is more accessible than it looks. Local nature centers, Audubon chapters, and tour companies regularly bring on guides who know their regional birds deeply. You don't need a biology degree. You need excellent local species knowledge, good communication skills, and the ability to help non-birders get on a bird quickly. Start by volunteering to lead walks for your local club. Build a reputation. Then approach tour companies or nature centers with a track record in hand.
Research, writing, and photography
If field work isn't your direction, research support roles (banding station assistants, survey assistants for academic labs) and content creation are both viable. For writing and photography, your portfolio is everything. Start documenting your observations with quality photos and writing up trip reports. Cornell Bird Academy has training that covers how to explore birding hot spots, compile sightings, and share them in ways that support bird research and conservation, which is good practical experience for anyone leaning toward the science communication side.
Realistic steps to go professional
- Build an eBird history: submit complete checklists consistently for at least one to two years. This is your verifiable field record.
- Learn your regional species list deeply: aim to confidently identify 150+ species in your area by sight and sound.
- Volunteer for surveys and banding stations: these are where you build point count and data collection experience.
- Take structured courses: Cornell Bird Academy and similar programs add credentials and fill gaps in your knowledge.
- Document everything: photos, recordings uploaded to Macaulay Library, field notes, and trip reports form your professional portfolio.
- Connect with professionals: attend regional ornithological society meetings, reach out to state wildlife agencies about volunteer survey opportunities, and network at birding festivals.
The path from beginner to professional birder is slower than most people want, but it's real. The birders who make it work are the ones who keep going out, keep logging their observations, and keep building relationships in the birding community. The skills compound over time in a way that's genuinely satisfying, even long before you get paid for any of it.
FAQ
What should I do if I see a bird but I cannot confidently identify it?
If you cannot identify a bird, still record it accurately as best you can (location, date, time, distance, behavior, and any field marks you noticed). In eBird, use the closest matching species or an appropriate group label (like “sparrow sp.”) when you genuinely cannot narrow it down, instead of guessing a specific species.
How do I use Sound ID when there are multiple birds singing at once?
If you are using Merlin Sound ID, record in short, clean windows and only for one bird when possible. When multiple birds overlap, switch to manual comparison by listening to the app’s highlighted qualities and matching your recording to the specific audio examples in Merlin.
I struggle to keep birds in view with binoculars, what should I adjust?
Binoculars can make tracking easier if you practice a consistent workflow: scan slowly with your eyes, bring the bird into your field of view, then use small right-hand movements to stabilize. If you can’t keep the bird centered, try a lower magnification (like 7x or 8x) and remember that steadiness matters more than chasing higher power.
How should I choose the 10 common birds to learn first if I’m new to my area?
The best “first birds” are the ones you reliably encounter near you, not a national list. Pick your top 10 based on your local checklist history in eBird or what you regularly see at feeders and common parks, then learn those first before expanding.
What’s the best way to confirm an ID when Merlin suggests a couple of similar species?
If the app’s suggested species looks close, confirm with at least one independent clue beyond the overall shape, such as bill shape, tail pattern, or distinctive head markings. For sounds, confirm by looking for the same call type quality and rhythm you heard, not just the general “family” match.
Does feeder or window birding count, and how can I make it more productive?
If you’re going birding from a window or a balcony, widen your “search area” rather than staring at one feeder spot. Include different viewing zones (front yard, side tree line, nearby shrubs) and note wind direction, because birds often shift feeding areas when gusts change.
Can I improve at birding by ear even if I’m not comfortable with species IDs yet?
Yes, start with bird song training when you can’t see much (early morning, cloudy days, dense woods). A simple approach is to learn one species at a time by ear, then go to the field and verify by looking for a consistent behavior that matches the recording (perching spot, flight call timing, or feeding area).
How do I build a “patch” when birds change a lot by season?
A local patch strategy should change with seasons. Revisit the same area at similar times of day once or twice per season, then add one new micro-habitat you never checked before (wet edge, brush line, park edge). Over time, your notes will reveal which spots shift with migration.
What are common eBird mistakes that make beginner checklists less useful?
For eBird, the biggest quality issue beginners run into is incomplete or inconsistent checklists. Use complete checklists for outings where birding is the main purpose, and avoid mixing “incidental bird moments” into the same checklist protocol.
How do I count birds correctly when individuals move around a lot?
To avoid overcounting, follow what you’re actually counting at the moment you record it. For stationary counts, record the maximum number you see simultaneously (especially for feeder programs), and if birds move quickly, pause briefly and mentally cap the peak count before moving on.
What should I do to prepare for offline birding so I don’t lose identifications and notes?
If you want offline capability, download regional eBird packs ahead of time and test that Merlin’s Sound ID/ID features work without cell service where you plan to go. Also carry a small note app template for time, location, and field marks so you can capture details immediately even if your phone is offline.
What’s the most realistic first step if I want to move from amateur birding toward a career?
If you’re considering professional or career-adjacent paths, focus on one “proof of skill” habit first: build a clean eBird checklist history with complete checklists and accurate counts for your region. Then add one supporting skill, like public speaking for guiding or systematic photo documentation for content creation.
Next Article
How to Start Bird Watching: Beginner Guide and First Trip
Step-by-step guide on how to start bird watching: pick a spot, minimal gear, first trip routine, and easy ID tips.