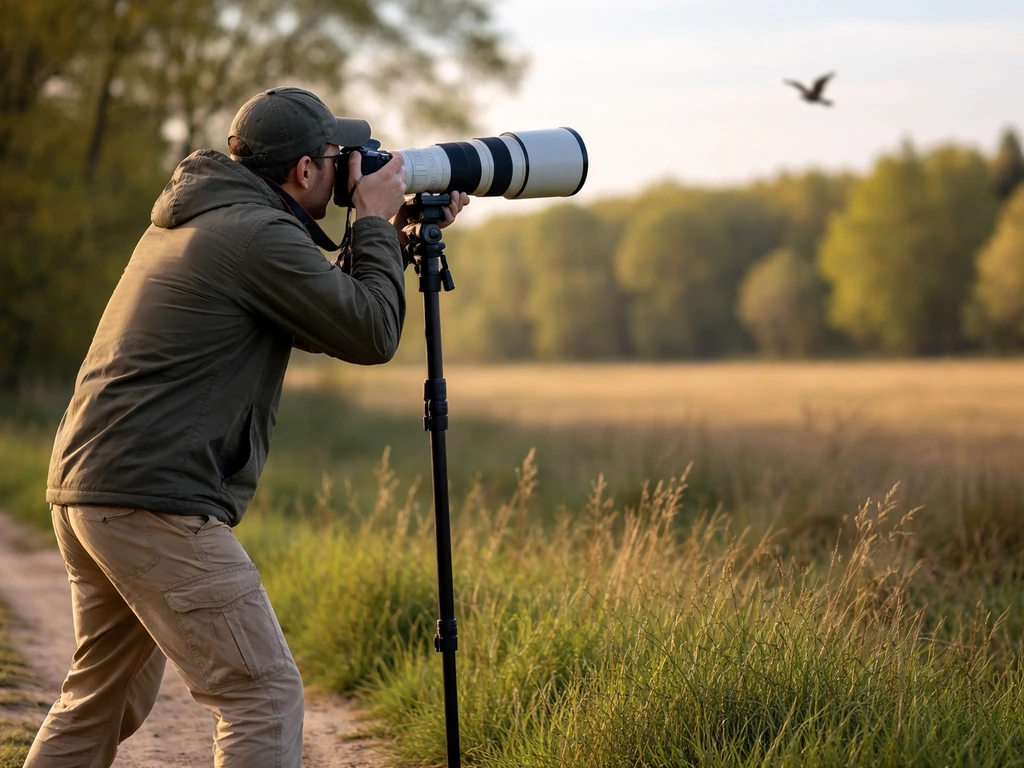
To get sharp bird photos consistently, you need a shutter speed of at least 1/1000s for perched birds and 1/2000–1/4000s for birds in flight, a fast continuous autofocus mode locked onto the bird's eye, and enough light to keep your ISO from killing detail. Get those three things right and you'll see an immediate improvement, even if your gear is modest.
How to Take Sharp Bird Photos: Settings and Field Tips

Marcus Hendricks
18 May 2026

I know how frustrating it is to come home with hundreds of frames and find nothing sharp enough to keep. I've been there many times. The good news is that blurry bird photos almost always come down to a handful of fixable causes, and once you know what to look for, you can diagnose and correct them in the field before you even leave the spot.
What causes blurry bird photos (and how to fix each one)
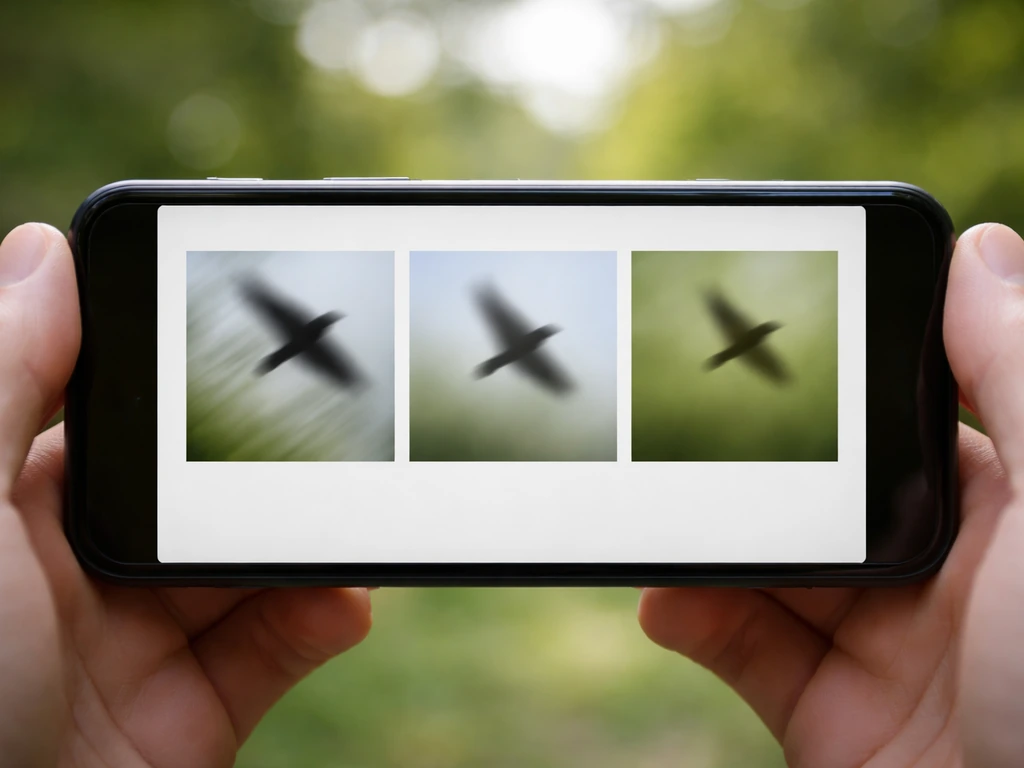
Before you tweak any setting, it helps to know exactly which kind of blur you're dealing with. Here's a quick way to tell: if the entire image looks equally soft or streaky, you're dealing with camera shake or motion blur. If a specific part of the scene is sharp while the bird is not, you have a focus problem. That one diagnostic saves a lot of guesswork.
| Blur Type | What It Looks Like | Main Cause | Fix |
|---|---|---|---|
| Motion blur | Bird is streaky, wings smeared | Shutter speed too slow | Raise shutter speed to 1/2000s or faster |
| Camera shake | Whole frame is soft or double-edged | Handholding at slow speed or long focal length | Use stabilization, brace yourself, raise shutter speed |
| Missed focus | Background sharp, bird soft | AF locked onto wrong subject or focus point drifted | Switch to eye/animal tracking AF, use a narrower focus area |
| Focus hunting | Frame after frame soft, AF keeps searching | Low contrast, low light, busy background | Move to better light, use a center point to acquire focus first |
| Diffraction/lens softness | Soft even when focused correctly | Aperture too narrow (f/16+) or cheap optics at max zoom | Shoot between f/5.6–f/8, avoid extreme ends of zoom range |
| Insufficient depth of field | Eye sharp but body or wingtip soft | Aperture too wide at close distance | Stop down slightly to f/6.3–f/8 when bird is very close |
The most common culprit for beginners is shutter speed. It feels counterintuitive because birds sometimes look still, but even a perched songbird makes tiny head movements, and a flying bird can cross your frame faster than you can blink. When in doubt, go faster.
Gear setup for sharp birds
Camera body
A mirrorless or DSLR with a dedicated animal or bird tracking AF mode makes a real difference. Modern mirrorless cameras from Sony, Nikon, Canon, and Fuji all have subject-recognition AF that can lock onto a bird's eye automatically, which takes a huge amount of work off your shoulders. That said, even an older APS-C DSLR can produce sharp bird photos if you master the settings. If you're shooting on a smartphone, get as close as you safely can, use the native zoom rather than digital crop, and tap to focus on the bird before shooting. Results will be limited at distance, but for backyard birds you can still get decent shots.
Lens and focal length
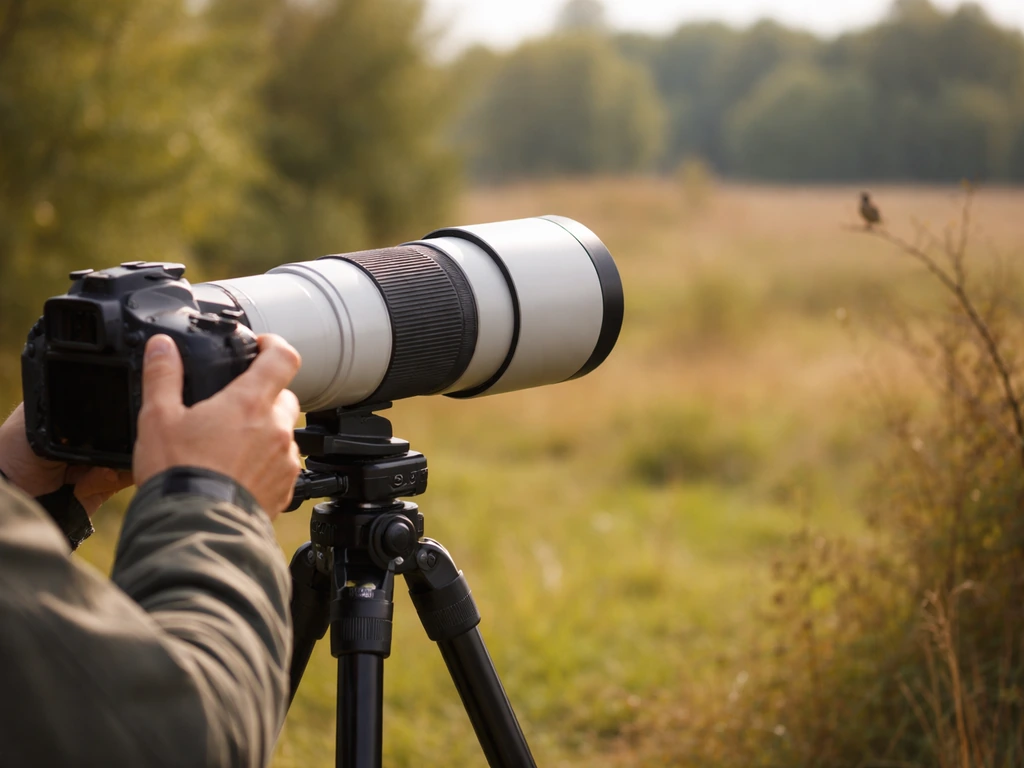
For most bird photography you want at least 300mm of reach, and 400–600mm is better. Longer focal length means you can stay far enough away not to spook the bird while still filling the frame. The tradeoff is that longer lenses amplify camera shake, so your shutter speed needs to go up accordingly. A rough rule: your minimum shutter speed (in fractions of a second) should match or exceed your focal length. So at 500mm, that's at least 1/500s just to handle shake, and 1/2000s or more for any real bird movement. Prime lenses are typically sharper than zoom lenses at equivalent focal lengths, but a quality zoom like a 100–500mm or 150–600mm gives you versatility that matters in the field when birds aren't cooperating.
Support: tripod, monopod, or gimbal
A tripod gives you the most stability but limits how fast you can track a moving bird. For songbirds at a feeder or wading birds that stay put, a tripod is excellent. For birds in flight or unpredictable woodland birds, a monopod is often a better balance of stability and mobility. A gimbal head (a fluid-motion tripod head designed for heavy lenses) is the gold standard for flight shots because it lets you swing the camera fluidly while still dampening vibration. Hand-holding with image stabilization turned on works fine at faster shutter speeds and is often the most practical option when you're walking and shooting. The key with any support is using it consistently rather than switching back and forth mid-session.
Autofocus and focus strategy for moving birds
This is where most photographers lose the most shots. Getting AF right for birds means choosing the right mode, the right area, and knowing when to override the camera.
Choose the right AF mode
- Use continuous autofocus (called AF-C on Nikon/Sony, AI Servo on Canon). This mode keeps adjusting focus as the subject moves, which is essential for any bird that isn't completely still.
- Single AF (AF-S or One-Shot) is fine for a perched bird you're certain won't move, but switch back to continuous the moment you think flight is likely.
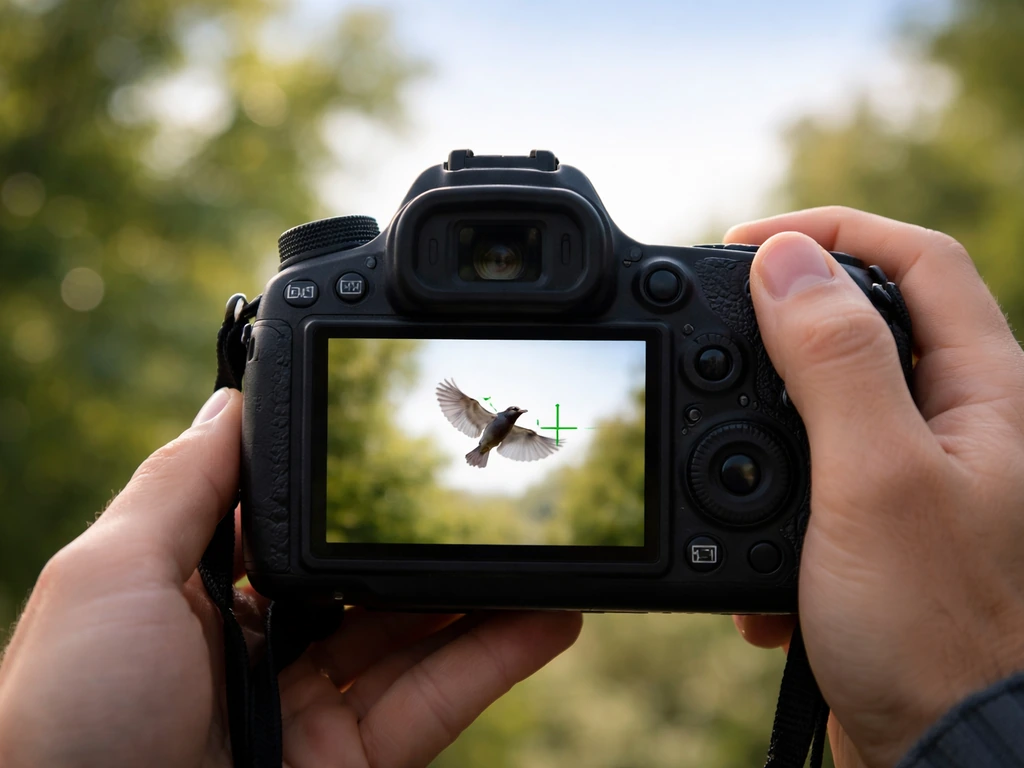
- If your camera has subject recognition or animal/bird AF, turn it on. It genuinely works and dramatically reduces missed shots.
Focus area selection
Wide area AF with tracking is great when there's only one bird against an uncluttered background. But when you're shooting in a tree canopy or a busy marsh with reeds, a wide area will grab onto the nearest branch instead of the bird. In those situations, narrow your focus area to a small zone or single point, acquire focus on the bird's eye manually by placing your point over it, then let tracking take over. Sony's bird AF guide actually recommends narrowing recognition to 'Eye' only when there are other subjects in the frame, precisely to stop the camera from drifting to unintended subjects. That advice applies broadly regardless of brand.
Back-button focus
Back-button focus (BBF) is a technique where you separate focusing from the shutter button. You assign continuous AF to a button on the back of the camera (usually AF-ON), and the shutter button only fires the shot. This means you can hold the back button to track a bird, release it when the bird pauses, and the focus locks there without the shutter button re-engaging AF. It sounds complicated but becomes second nature quickly, and it gives you much more precise control over when the camera is actively tracking versus holding focus. Most intermediate bird photographers swear by it.
When to use manual focus
There are specific situations where AF actually works against you. If you know a bird is going to land on a particular branch or perch, you can pre-focus manually on that spot and wait. blank" rel="noopener noreferrer">Nikon specifically recommends this approach when using Pre-Release Capture features, because the buffer behavior can confuse AF. Pre-focusing on a perch is also a great technique for garden setups and bird photography perch setups where you control where the bird will land. For more mattk.com bird photography tips, focus on how you set up your perch so the bird is sharp when it lands bird photography perch setups.
Camera settings for sharpness
Shutter speed
This is your most important sharpness control. Here's a practical starting point based on what the bird is doing:
| Bird Behavior | Minimum Shutter Speed | Notes |
|---|---|---|
| Perched, not moving | 1/500s | Also controls camera shake at long focal lengths |
| Perched, moving head/body | 1/800–1/1000s | Head turns are faster than they look |
| Walking or wading slowly | 1/1000–1/1500s | Feet and legs blur easily |
| Taking off or landing | 1/2000s | Wing tips move faster than body |
| Active flight | 1/2000–1/4000s | Go to 1/4000s for small fast birds like swallows |
| Hovering bird (e.g., hummingbird) | 1/4000s+ | Wing beat can exceed 50 times per second |
When you're starting out, I'd suggest setting your shutter speed first and letting ISO ride to compensate. A sharp photo with a little noise is always better than a blur-free-noise photo that's soft.
Aperture
Most telephoto lenses are sharpest stopped down one or two stops from wide open. If your lens opens to f/5.6, try shooting at f/6.3 or f/7.1. This gives you a bit more depth of field so an angled bird stays in focus from beak to tail, and it often hits the lens's optical sweet spot. Avoid going narrower than f/11 on telephoto glass because diffraction starts softening the image. Wide open (f/5.6 or f/6.3) is fine for isolating a bird against a blurred background, but watch your depth of field at close distances.
ISO
Modern cameras handle ISO 1600–3200 well. Don't be afraid to go there if the light demands it. Noise at high ISO is fixable in post; blur is not. I use auto ISO with a minimum shutter speed set in camera. That way, the camera raises ISO automatically before it lets my shutter speed drop below my threshold. Check your camera menu for 'ISO Auto Min SS' or similar, it's one of the most useful settings for bird photography.
Burst shooting
Shoot in burst mode for any moving bird. A 10–20 frames-per-second burst during a critical moment dramatically increases your chances of catching the exact instant where the bird is sharp and the pose is good. Don't hold the burst down the whole session though, you'll fill your card and spend hours culling. Use short controlled bursts of 3–5 frames when a bird moves, then let off. Quality over quantity applies even with burst shooting.
Shooting technique in the field
Posture and body stability
Your body is part of the stabilization system. Feet shoulder-width apart, elbows tucked in against your body, left hand cradling the lens (not gripping the camera body). Exhale gently before pressing the shutter. Brace against a tree, vehicle door, or fence post whenever possible. These sound like small things but they make a real difference at 400mm or longer.
Tracking moving birds
Lead the bird with your camera. Think of it like tracking a clay pigeon at a shooting range: your lens should be moving ahead of the bird, not chasing it. This gives the AF system time to lock on and gives you a smoother pan. Smooth panning also blurs the background in a pleasing way that makes the bird pop. Practice tracking before you shoot. Follow birds through the viewfinder without pressing the shutter until the motion feels natural.
Timing your shot
For birds in flight, the sharpest moment is often at the top of a wingbeat when the wings pause briefly before reversing direction. For takeoffs, press your burst just as the bird's feet leave the ground, you'll catch the full wing extension. For perched birds, watch for the moment between movements when the bird pauses, that half-second reset is your best window. If you pre-plan your perch setup, you can often get more predictable pauses to time your shot for sharpness bird photography perch setups. Anticipation beats reaction every time, so learn the bird's behavior before you start shooting.
Lighting and composition choices that affect sharpness
Good light isn't just about pretty photos. It directly affects sharpness because brighter light lets you use faster shutter speeds and lower ISOs. The best bird photography light is in the two hours after sunrise and the two hours before sunset. The light is warm, directional, and bright enough to use fast shutter speeds without cranking ISO. Midday light is harsh and often overhead, which flattens detail on a bird's feathers and forces you into high contrast situations where AF can struggle.
Position yourself so the light is coming from behind you or from the side. Front-lit birds show feather detail clearly and give the AF system good contrast to lock onto. Backlit birds look beautiful in some situations but can cause the camera to expose for the bright background, leaving the bird underexposed and dark. If you're shooting into the light, dial in positive exposure compensation (+0.7 to +1.3 EV) or use spot metering on the bird.
Compositionally, a clean background helps in two ways. First, a dark or out-of-focus background makes it visually obvious when the bird is sharp. Second, it removes competing subjects that can confuse your AF system. Position yourself low and angle up toward the sky, or find a spot where the background is distant water or open sky. This single habit improves your hit rate noticeably.
Quick post-processing and troubleshooting by blur type
Culling your burst shots
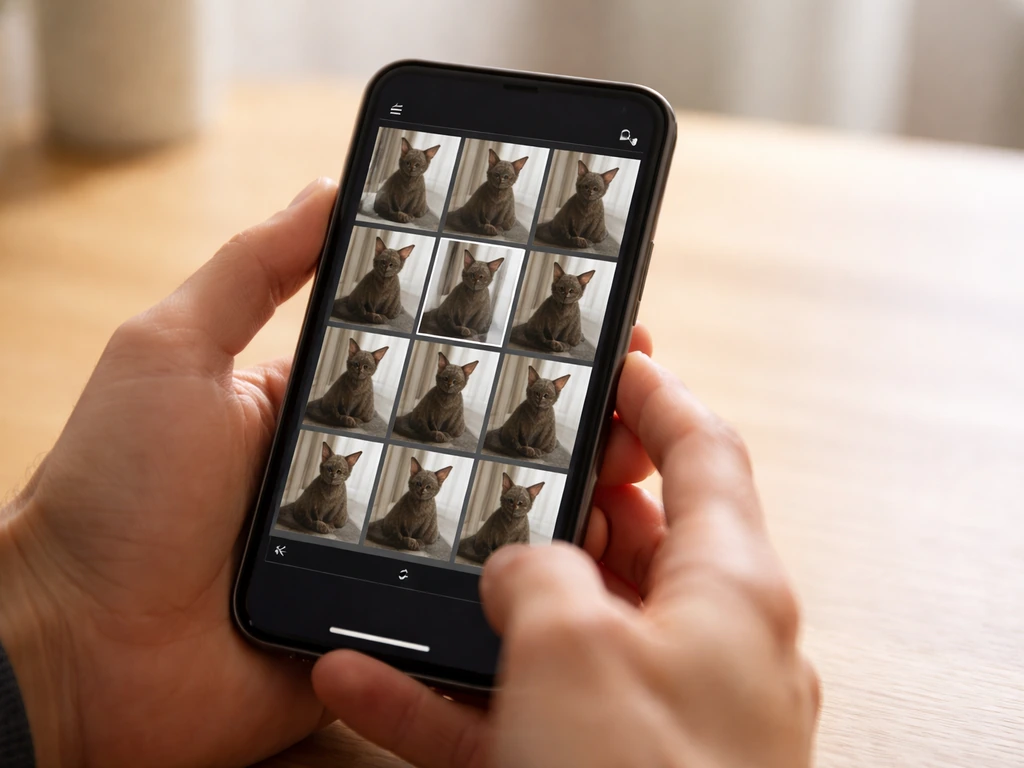
After a session, zoom to 100% (1:1) in Lightroom, Capture One, or whatever software you use before you star or delete anything. At 100% you'll see true sharpness. A photo can look sharp at fit-to-screen and still be unusable when printed or cropped. Sort your bursts and keep the one or two frames where the bird's eye is sharpest. Delete the rest without guilt. Getting good at culling quickly is a real skill and it saves you hours.
Fixing softness in post (and knowing when you can't)
Post-processing sharpening tools like the Detail panel in Lightroom or AI sharpening in Topaz Photo AI can recover edge detail from slightly soft shots. Use Masking in Lightroom's sharpening slider to restrict sharpening to areas of detail rather than flat sky. For noise reduction, modern AI tools (Lightroom Denoise, Topaz DeNoise) are excellent and let you shoot at ISO 3200–6400 with results you'd have never believed possible five years ago.
The hard truth is that motion blur and serious missed focus cannot be fixed in post. If a bird is streaky because your shutter was too slow, no amount of sharpening will restore it. Use post-processing to optimize a near-sharp shot, not to rescue a genuinely blurry one.
Diagnosing by what you see
- Whole frame is soft or streaky: camera shake or slow shutter. Raise shutter speed and brace better next time.
- Background is sharp but bird is not: AF locked on the wrong subject. Narrow your focus area and use animal/eye tracking.
- Bird's eye sharp but body or wing is soft: depth of field too shallow. Stop down to f/7.1–f/8 at close range.
- AF keeps hunting and never locks: low contrast or low light. Move the subject to better light, use a single center point to acquire, then switch to tracking.
- Shots sharp in the morning but soft at midday: heat shimmer and harsh light. Stick to the golden hours for best results.
- Sharp shots are rare even with fast shutter speeds: you may be tracking poorly. Practice smooth panning without shooting to build the muscle memory.
Building the habit and what to try next
The best thing you can do right now is go practice with birds you have easy access to: pigeons in a park, gulls at the waterfront, backyard sparrows. Set your shutter to 1/2000s, switch to continuous AF with animal tracking on, and shoot bursts. If you want to watch birds in real time with a live bird cam, start by matching your camera and exposure settings to fast movement so the feed stays crisp. Review at 100% and identify which blur type you're seeing most often. Then come back to the relevant section here and make one targeted change. Once you’re consistently getting sharp results, keep building your skills by learning the art of bird photography through practice, feedback, and purposeful adjustments learn the art of bird photography.
If you want to go deeper on specific aspects, there's a lot more to explore around perch setups for controlled garden bird photography, how to use a monopod effectively for flight shots, and the broader artistic side of bird photography. Each of those topics has its own set of techniques that build naturally on what you've learned here. Start with the fundamentals, get your shutter speed and AF mode dialed in, and everything else will start to click into place.
FAQ
Why are my bird photos still soft even when my shutter speed is 1/2000s or faster?
Most often it is timing or focus area. Confirm that the AF point is actually on the bird’s head or eye before the shutter fires, and use shorter bursts (3 to 5 frames) so you are capturing the moment the bird pauses or the wing pauses. Also check for rear- or front-focus by testing on a high-contrast subject at similar distance, since consistent missed focus can look like “motion blur” but cannot be fixed by sharpening.
How do I prevent focus from jumping to branches or reeds when the bird is moving in clutter?
Switch from very wide area tracking to a smaller zone or single point, and use eye detection only if the camera offers a way to limit recognition to the detected subject. If eye tracking keeps slipping, try locking focus first (place the point on the head) and only then begin tracking, or momentarily disable tracking until you re-acquire the bird in the frame.
Should I use single-point AF or continuous AF for perched birds?
For perched birds that may make small, unpredictable movements, continuous AF with tracking is usually safer because it updates focus as the bird shifts. If the bird is truly still and you know exactly where it will be, single-point AF or pre-focus on the perch can work, but continuous AF is the better default when the pose is changing.
What minimum reach do I really need, and how close should I get?
More reach helps framing and reduces the odds you are cropped tightly enough that any slight softness becomes obvious. If you cannot reach at least about 300mm equivalent, prioritize getting the bird large in the frame and use distance where you can maintain a non-spooking approach. For backyard birds, moving closer carefully can outperform buying extra reach because it improves subject size and reduces AF difficulty.
How can I tell camera shake versus true subject motion blur?
Camera shake often shows the whole frame drifting in the same direction, and background streaking is common when you pan imperfectly. True subject motion blur tends to concentrate blur on the bird itself (especially wings) while the background looks more stable. A quick test is to shoot a burst, then compare whether multiple frames have different blur directions, if all frames show the same streak pattern on the bird, it is motion or missed focus timing.
What is the best way to set Auto ISO so I do not end up with soft images from low shutter speeds?
Use Auto ISO with a minimum shutter speed limit that matches your bird type. A practical approach is setting the minimum near 1/2000s for active small birds and higher if you often see wing blur. If your camera allows it, also set a maximum ISO so you do not accept extremely noisy frames that tempt you to increase sharpening too aggressively.
Why does my lens look sharp in test shots but my bird photos are not?
Birds are usually at longer effective focal lengths due to cropping or distance, and they move in and out of the focus plane. Confirm your working distance and try a test at similar subject distance, then check if you are shooting wide open. If you are, stop down one step (without going past the point where diffraction softens) to gain a bit of depth of field for angled birds.
Should I shoot with continuous burst the whole time or use shorter bursts only?
Short controlled bursts are usually better. Instead of holding burst for an entire sequence, shoot 3 to 5 frames when you expect a key moment (wing pause, takeoff, head turn), then pause and re-acquire. This reduces wasted shots, makes culling easier, and helps you time focus updates rather than letting AF chase after the moment.
What sharpening and noise reduction approach works best for slightly soft bird shots?
Sharpen conservatively and only where detail exists. Use masking so sharpening does not boost noise on smooth areas like sky or out-of-focus reeds. For noise, prefer dedicated denoising (especially AI-based) before final sharpening, then do a final touch-up after resizing for output.
Can I rely on image stabilization (IS) for birds in flight?
IS helps mainly with camera shake, not with wing or subject motion. It can allow slower shutter speeds for stationary or slower-moving birds, but for birds in flight you should still keep shutter speed high enough to stop wing movement. If IS mode lets you choose between panning and general stabilization, pick the panning option when tracking smoothly.
What is the fastest way to improve results from a new camera setup?
Pick one constraint and make one change. For example, set shutter speed to 1/2000s, enable continuous AF with tracking, and shoot a short burst while ensuring the AF area starts on the bird’s eye. Afterward, inspect at 100% and decide whether the issue is missed focus, timing, or blur type, then adjust only that specific lever next session.
Next Article
How to Use a Monopod for Bird Photography: Setup to Shooting
Step-by-step monopod setup and bird tracking tips for sharp flight and perched shots, plus accessory and wobble fixes.