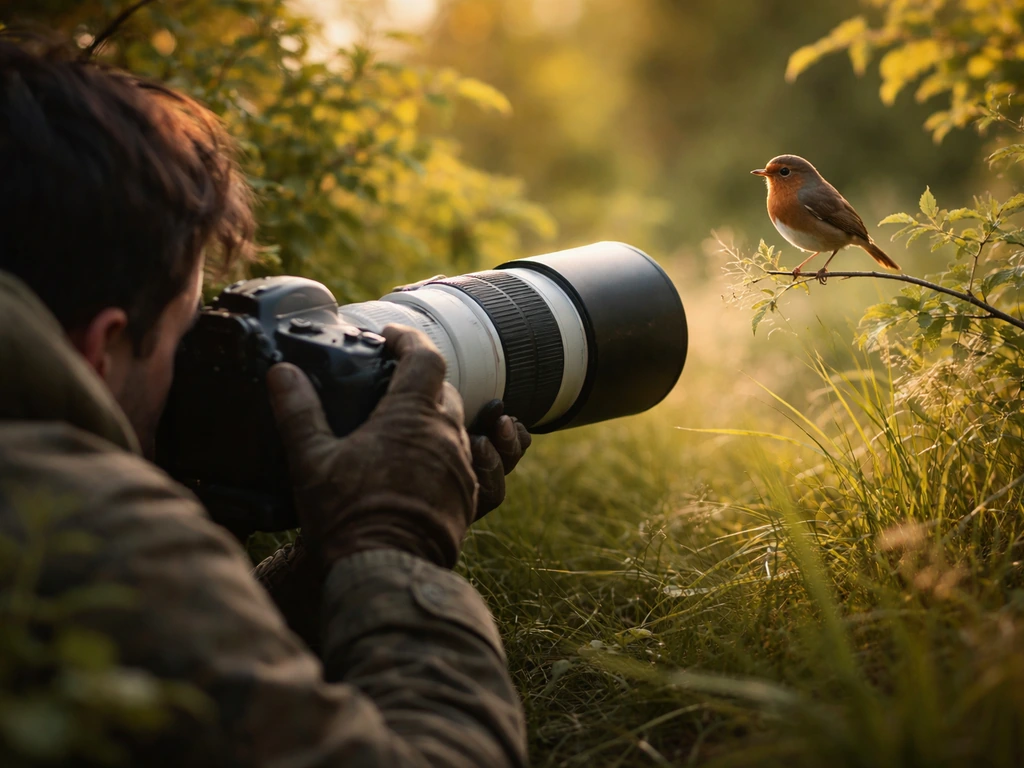
To learn the art of bird photography, start with a camera that can shoot at least 1/1000s shutter speed, pair it with a 400mm or longer lens, get within ethical distance of your subject without sudden movements, lock focus on the bird's eye, and keep shooting. That's the core loop. Everything else, settings, fieldcraft, light, editing, is just refining that loop until it becomes instinct.
Learn the Art of Bird Photography: Step-by-Step Guide

Marcus Hendricks
19 May 2026
What 'good' bird photography actually looks like

Before you go out and shoot, it helps to know what you're aiming for. A great bird photo has three things: a sharp eye, good light on the bird (not the background), and some story or energy in the frame, whether that's a heron hunting, a finch mid-song, or a sparrow fluffed up in winter. You don't need all three every time, but having at least two makes a photo worth keeping.
When you're starting out, obsess over sharpness first. A well-exposed, perfectly composed photo with a soft eye is still a throwaway. Once you're consistently nailing sharp eyes, then work on light quality. After that, composition becomes your creative playground. This order matters because most beginners try to do everything at once and nail nothing.
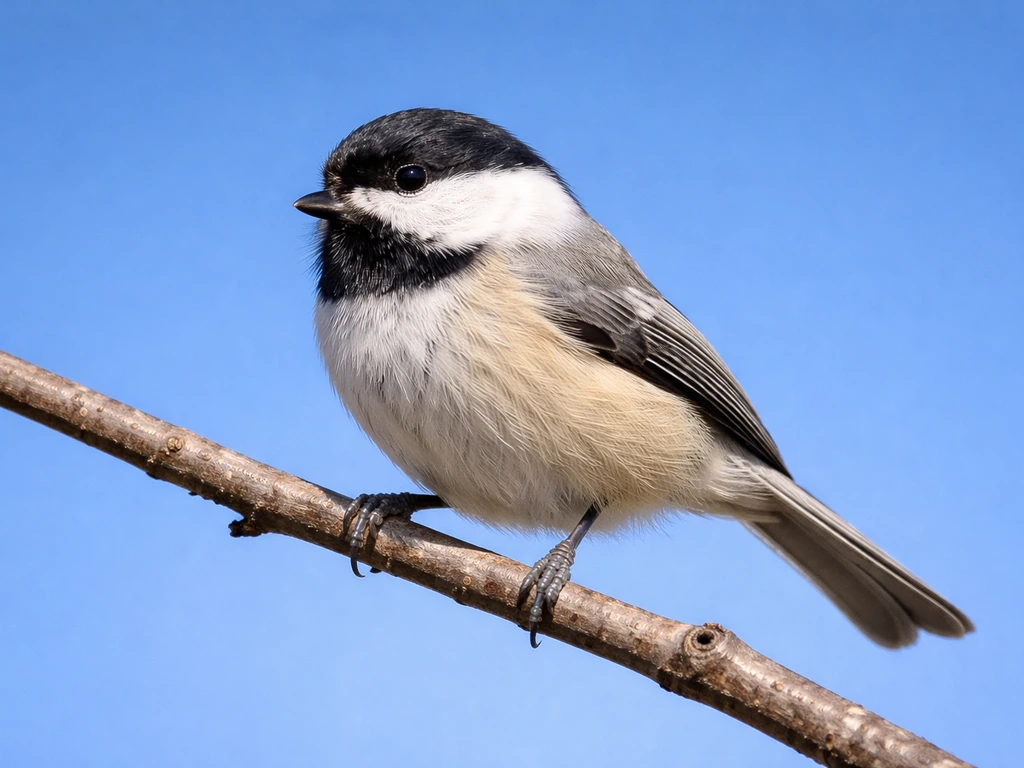
What should you practice first? Perched birds. They sit still, they're predictable, and they give you time to think. Sparrows at a feeder, robins on a lawn, pigeons on a ledge. None of them are glamorous, but they will teach you more in a weekend than any tutorial. Once you can consistently get sharp, well-exposed shots of a perched bird, moving subjects like swallows and raptors in flight start to feel manageable.
Gear choices and camera settings that actually make a difference
You don't need the most expensive gear, but you do need the right type of gear. Bird photography is unforgiving to slow cameras and short lenses. If you want more hands-on guidance, these mattk com bird photography tips on choosing gear and settings can help you dial in what matters most for sharp results right type of gear. Here's what matters most.
Camera body
Any modern mirrorless or DSLR with a decent autofocus system will work. What you want to check is burst rate (frames per second) and autofocus tracking performance. A camera that shoots 10fps or more with subject-tracking AF gives you a real edge on moving birds. Entry-level bodies like the Canon R50, Nikon Z50 II, or Sony a6700 are all capable of excellent bird photos without a pro-level price tag. The bird-eye detection autofocus built into most 2023 and newer mirrorless bodies is genuinely game-changing for beginners because it handles a lot of the focus work automatically.
Lenses

Focal length is where most beginners underestimate what they need. A 300mm lens will work in open fields or at a feeder, but 400mm to 600mm is where bird photography gets comfortable. You don't have to buy a $10,000 prime. The Canon RF 100-500mm, Nikon Z 100-400mm, and Sony 200-600mm G are all popular mid-range zooms that cover most situations. If budget is tight, a 150-600mm from Sigma or Tamron (available for most mounts) gives you serious reach for a reasonable price. Third-party 150-600mm zooms from Sigma and Tamron are commonly used for serious reach when you want to avoid buying the very expensive 400mm to 600mm primes Sigma or Tamron 150-600mm lenses. Avoid very slow lenses (f/6.3 or darker at the long end) if you shoot in shade or low light often, as they struggle.
Core camera settings to dial in
| Setting | What to Use | Why It Matters |
|---|---|---|
| Shutter Speed | 1/1000s minimum for perched birds, 1/2000s+ for flight | Freezes motion and eliminates blur from a moving subject or camera shake |
| Aperture | f/5.6 to f/8 for most situations | Keeps depth of field wide enough that the whole bird stays sharp |
| ISO | Auto ISO with a max of 6400 to 12800 depending on your sensor | Lets the camera compensate when shutter speed and aperture don't let in enough light |
| Autofocus Mode | Continuous AF (AI Servo on Canon, AF-C on Nikon/Sony) with subject tracking on | Tracks a moving bird and keeps the focus locked as it moves |
| Drive Mode | High-speed burst (10fps or faster) | Gives you multiple frames to pick the sharpest one with the best wing position |
| Metering | Evaluative/Matrix metering as a starting point | Reads the whole scene and gives you a reasonable exposure baseline to adjust from |
One setting worth understanding early is exposure compensation. Your camera's metering often exposes for the background, which can leave a white bird blown out or a dark bird underexposed. If you're shooting a white egret against green reeds, dial in -1 to -2 stops of exposure compensation. For a dark cormorant against a bright sky, try +1 stop. Getting sharp images is one part of the equation; getting sharp images with good exposure is the goal. You can also learn practical, camera- and technique-level tips for taking sharper bird photos taking sharp bird photos. For a much deeper dive into the sharpness side of this, the guide on how to take sharp bird photos covers the technical side in more detail.
Fieldcraft: getting close without spooking them
The best camera settings in the world don't help if the bird flies away the moment you raise your lens. Learning to move around birds without flushing them is genuinely half the skill. The American Birding Association Code of Birding Ethics advises respectful birding practices, including limiting approaches that could stress or flush birds move around birds without flushing them. I've had more good shots ruined by my own clumsy approach than by any camera setting.
Understand the bird's 'flush distance'
Every species has what behaviorists call a flight initiation distance (FID), the gap at which it decides you're a threat and leaves. Small garden birds like sparrows and robins will often let you within 5 to 10 meters. Herons and raptors may flush at 50 meters or more. Knowing this saves you a wasted approach. Watch the bird before you move. If it raises its head and stops feeding, you're at the edge of its comfort zone. Hold still. Often it will relax again. Keep approaching in slow, angled movements rather than walking directly toward the bird, which reads as predatory.
Use cover and natural blinds
Trees, reeds, parked cars, and even sitting on the ground all break up your silhouette and make you look less like a threat. Many bird photographers use their car as a mobile hide, because birds habituate to vehicles much faster than to people on foot. Parking near a marsh or reservoir and shooting through the window with a beanbag supporting the lens is a classic technique that gets dramatically closer results than walking in.
Blend in and slow down
- Wear muted, earthy colors. You don't need full camo, but a bright red jacket will clear a hedgerow faster than any noise.
- Move when the bird is looking away or preening, and stop when it looks toward you.
- Avoid sudden arm raises. Lift the camera slowly from your side rather than swinging it up from your waist.
- Keep your voice low or silent. Rustling bags and velcro straps carry further than you think.
- If a bird flushes, stop and wait. Many species will return to the same spot within minutes if you stay still and quiet.
A good practice habit is to visit the same location several times a week. Birds build tolerance to regular visitors. After a few sessions in the same park or reserve, you'll notice they give you a few extra meters of comfort zone just because they recognize you as 'the harmless one who shows up with a big lens.'
Composition and focus: where sharpness really comes from
Always focus on the eye
If only one thing sticks from this article, make it this: the bird's near eye must be in sharp focus. Human brains are wired to look at eyes first. If the eye is soft, the photo reads as a miss, even if every feather on the wing is perfect. Most modern mirrorless cameras with bird-eye detection will lock onto the eye automatically. If yours doesn't, or you're shooting a species the system struggles with (very small birds or birds in heavy foliage), place your single AF point directly over the eye and recompose after you lock on, or use a small AF zone cluster centered on the head.
Composition basics that work for birds
Rule of thirds is your baseline: place the bird off-center, with space in front of it in the direction it's facing or moving. This 'look room' or 'lead room' makes the composition feel natural. Avoid placing the bird dead center unless you're going for a very deliberate, graphic shot. For flying birds, give even more lead room because the motion implies a destination. Height matters too. Eye-level shots, where your lens is at the same height as the bird, almost always beat shooting down from standing height. Get low. Lie on wet grass if you have to. The difference in feel between a shot taken from standing height and one taken from ground level at a duck or thrush is enormous.
Tracking moving birds
For birds in flight, panning smoothly is a skill that only comes from repetition. Start with the bird before you press the shutter, follow its trajectory with the lens, and keep panning through the shot even after you've released the burst. The common mistake is to jab the shutter button and stop moving, which breaks the smooth tracking and gives you blurred or missed shots. Turn on your camera's subject tracking or bird detection, use a wide AF zone, and let the camera do the focus work while you focus on smooth panning. In a Reddit thread about blank" rel="noopener noreferrer">Canon R7 settings for bird photography, commenters discuss practical autofocus setup choices for bird shooting and note that the best approach often involves situational tuning rather than one universal setting. Using a monopod instead of handheld shooting can also help stabilize your panning motion, particularly with heavier telephoto lenses.
Exposure and light: the stuff that separates good shots from great ones
Light direction and quality make as much difference as your settings. The golden hours, roughly the first hour after sunrise and the last hour before sunset, give you warm, low-angle light that wraps around birds beautifully and makes colors pop. Midday light is harsh, creates deep shadows under the belly and bill, and is generally worth avoiding unless you're in open shade or the subject is compelling enough to override the lighting penalty.
Handling tricky backgrounds and bright skies
Bright skies behind a bird are the most common exposure trap. Your meter reads the whole scene, sees all that brightness, and underexposes the bird to protect the sky. Fix this by switching to spot metering (metering off the bird only) or by dialing in positive exposure compensation (+1 to +1.7 stops) when the bird is darker than its background. Do the opposite for white or very pale birds against dark backgrounds: use negative exposure compensation (-0.7 to -1.3 stops) to avoid blowing out white feathers, which is almost impossible to recover in editing.
Shooting in low light and shade
Early morning woodland shooting, overcast days, and shaded feeders all push you toward higher ISO values. Don't be afraid of ISO 3200 or 6400 on a modern sensor. A sharp, slightly grainy photo is far better than a motion-blurred one at low ISO. Most noise can be cleaned up in editing. Motion blur cannot. Keep your minimum shutter speed at 1/640s even in low light for perched birds, and don't let it drop below 1/1000s for anything that might move suddenly. If light is genuinely too low for your lens, that's a good reason to reconsider the location or come back at a better time of day.
Shooting in different situations: perched, in flight, and at feeders
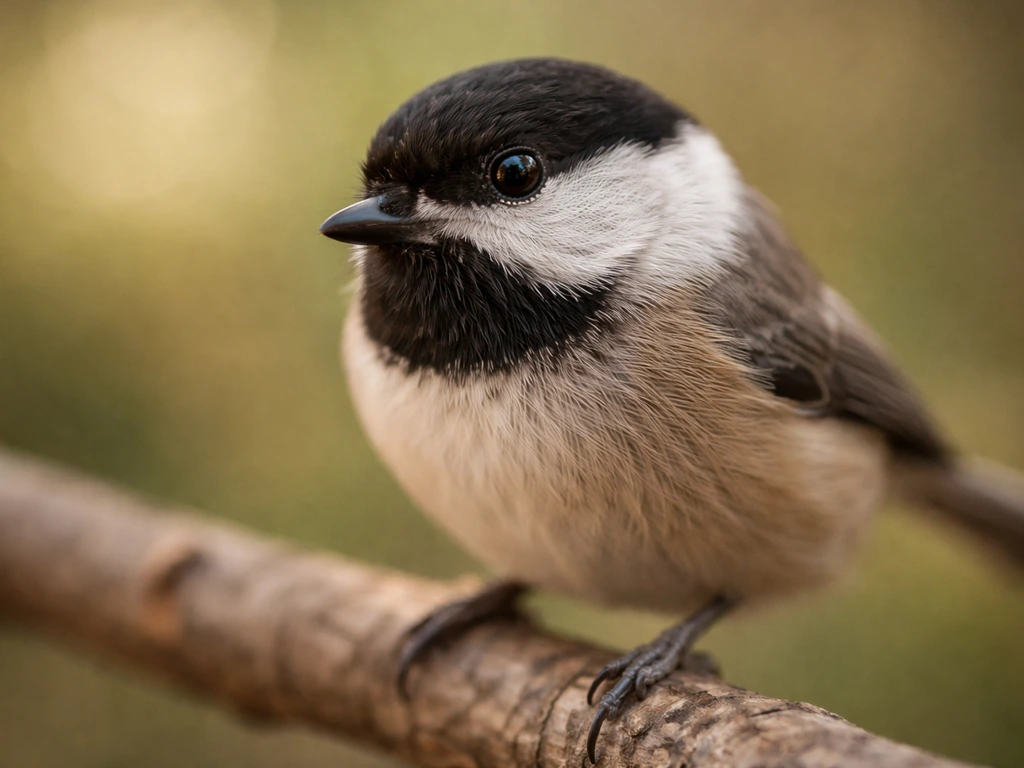
Perched birds
Perched shots are your bread and butter as a beginner, and they're worth perfecting. Wait for natural perches with clean backgrounds, a branch against open sky, a fencepost against blurred grass, a reed against a water reflection. Cluttered backgrounds (tangled branches, chain-link fences, busy foliage) pull attention away from the bird. If you can control the setup, a dedicated perch setup with natural materials placed near a feeding station is one of the most reliable ways to get consistently beautiful perched shots. If you want a repeatable workflow, a perch setup for bird photography with the right materials and placement is the fastest way to get consistent results. Position the perch so the bird faces into open sky or a clean, distant background, and the light comes from behind you.
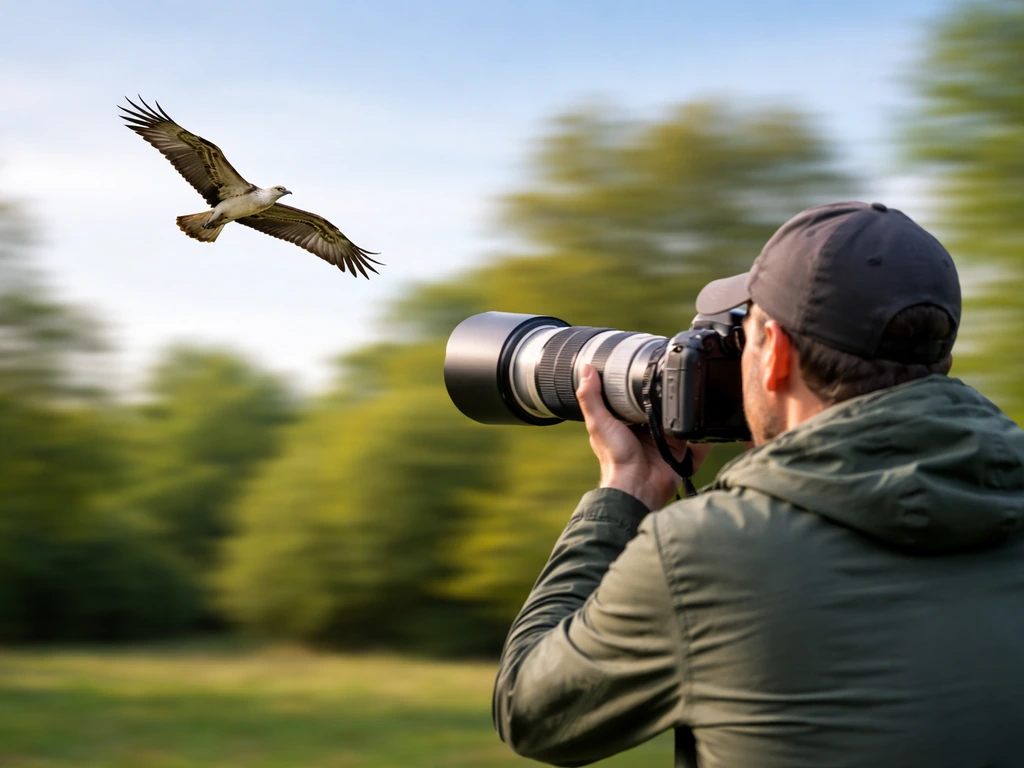
Birds in flight
Flight photography is the most challenging scenario, but also the most rewarding. Push your shutter speed to at least 1/2000s, ideally 1/3200s for fast birds like swifts or falcons. Slower, heavier birds like herons, swans, and pelicans can often be frozen at 1/1600s. Use your widest AF zone or full-frame tracking so the camera doesn't lose the bird when it moves across the frame. Practice on large, slow birds first: geese, gulls, and herons give you more time to track and compose than any small passerine. Over time, work up to faster species. Knowing where birds tend to fly in your location, departure routes from roosts, thermal columns near ridges, predictable flight lines over wetlands, lets you pre-position and be ready rather than chasing.
Feeder photography
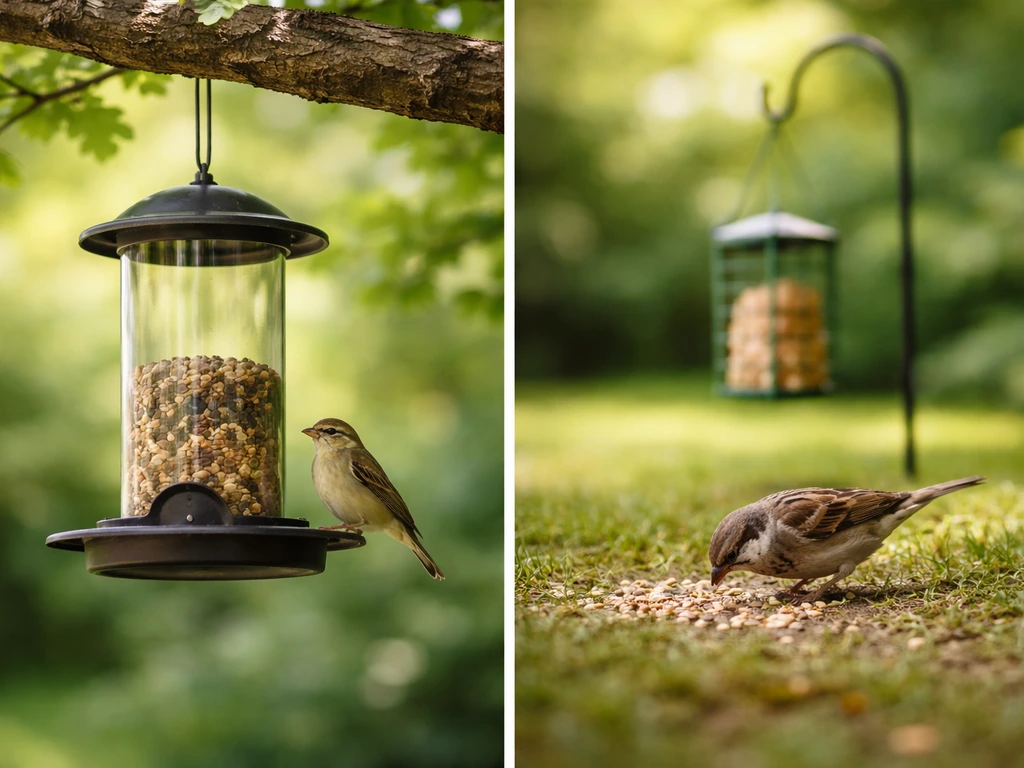
A backyard feeder is one of the best classrooms you have. If you want to see behavior throughout the day, you can pair that with a live bird cam setup and adjust it based on what the birds are doing. Birds come to you, they return predictably, and you can set up your shot in advance. Position yourself so the light is at your back or at a 45-degree angle. Shoot from inside through an open window or screen, which hides you completely. Use a medium-fast shutter speed (1/800s to 1/1000s) since feeder birds hop and turn quickly. The real trick with feeder photography is replacing the feeder itself from the frame: place attractive natural perches, a small log, a lichen-covered branch, or a mossy stone right next to the feeder and wait for birds to land there before taking the shot. The result looks wild and natural rather than suburban.
Editing your shots and building a practice plan
Basic editing workflow
Shoot in RAW format if your camera supports it. RAW files hold far more recoverable detail in highlights and shadows than JPEGs, which matters enormously when you've slightly over or underexposed a bird. In Lightroom, Capture One, or free tools like RawTherapee or Darktable, a typical bird photo edit looks like this: first, correct exposure and recover highlights on any blown-out feathers; second, lift shadows slightly to open up underfeather detail; third, boost clarity and texture to bring out feather structure; fourth, apply noise reduction if ISO was high; fifth, check sharpening (Amount 60 to 80, Radius 0.8 to 1.0 in Lightroom) and mask it to the bird only so the background doesn't get gritty. Keep color adjustments subtle. Over-saturated bird photos look fake and distract from the real beauty of the animal.
Culling ruthlessly saves you time
When you shoot in burst mode you'll come home with hundreds of frames from a single session. Don't edit them all. Do one fast pass and reject anything that is obviously blurry, where the eye isn't visible, or where the pose is awkward. From what's left, pick your two or three best frames per sequence and only edit those. This discipline sounds harsh but it's what every working wildlife photographer does, and it forces you to develop your eye for what actually makes a strong image.
A practical 4-week practice plan
- Week 1: Shoot only perched birds at a feeder or local park. Goal is 10 technically sharp, well-exposed keepers with the eye in focus. Don't worry about composition yet.
- Week 2: Add composition to your perched shooting. Practice getting eye-level and using lead room. Try at least two different locations with different backgrounds.
- Week 3: Introduce flight photography. Start with slow, large birds (gulls, geese, pigeons). Use burst mode and full tracking AF. Accept a low keeper rate and focus on smooth panning.
- Week 4: Visit a new location at golden hour. Combine everything: fieldcraft to approach close, good light, composition, and continuous AF. Edit your 10 best shots from the week and compare them to your Week 1 shots.
Progress in bird photography is rarely linear. You'll have sessions where nothing works, the birds flush, the light is flat, and every shot is soft. That's normal, and every photographer you admire has had hundreds of those days. The habit that separates people who get good quickly from those who plateau is simple: review your shots critically after every outing, identify the one thing that caused the most misses (usually focus, shutter speed, or approach distance), and fix that one thing next time. The American Birding Association Code of Birding Ethics advises birders to keep well back from nests and nesting colonies, roosts, display areas, and important feeding sites approach distance. Small, targeted improvements compound fast. Within a few months of consistent outings, you'll look back at your Week 1 shots and barely recognize how far you've come.
FAQ
What should I do if my camera shows too little light and I cannot keep 1/1000s or 1/640s?
Use a shutter speed target first, then raise ISO as needed, because sharp focus is only half the battle. For handheld perched birds, try to keep shutter at 1/640s or faster, and if your lens is long, add a practical rule of thumb by increasing ISO until you meet that speed, rather than dropping shutter to save noise.
My bird-eye autofocus sometimes targets the background. How can I fix that?
If your focus misses on the eye, do not rely on hope. Switch to a smaller AF area that you can reliably place on the head, or use single-point AF and stop tracking autofocus until the bird’s head is clearly visible. Also confirm that you have turned on animal or bird detection in the correct shooting mode, since some cameras apply detection only in certain AF modes.
How do I expose for white birds without losing feather detail?
Bright feathers can be deceptive, you need to judge exposure by the feathers themselves. For white or very pale birds, set exposure compensation to protect highlights (often around -0.7 to -1.3 stops), then check the histogram or highlight warnings after a test shot. If highlights clip early, reduce compensation rather than trying to recover heavily in post.
Do I always need the fastest shutter speeds for every bird photo?
Stop trying to “freeze everything” and focus on controlling the main blur source. For perched birds, eye sharpness is the priority, so you can usually use slightly lower shutter speed if the bird is still. For birds that are turning or flapping, push shutter speed higher, because head movement ruins eye focus quickly.
What if my birds are too small in the frame even with a 400mm lens?
Lens choice matters, but technique matters more at the near end. If you cannot fill the frame, increase distance only until you are comfortable without flushing, then use tighter framing by cropping your position rather than zooming further. If you are consistently too far, consider a longer lens or a hidden approach method, like shooting through a window from a vehicle, to get closer without adding movement.
How can I tell whether my problem is blur from shutter speed or missed focus?
Yes, and it’s common. Motion blur often looks like “softness,” but check whether the eye is sharp and the wings are smeared. If the eye is soft, your shutter speed or AF timing needs improvement. If the eye is sharp but wings are blurred, your shutter speed is working and you can choose intentional blur or adjust depending on your goal.
When I shoot burst mode, how do I choose which frames to edit?
In bursts, treat sequences like short movies, not single photos. Keep the frames where the eye is visible and sharp, then prefer moments where posture and head angle match the story you want. If too many frames are blurry, first reduce approach distance changes and ensure AF tracking is stable, then test shutter and burst rate again.
When should I use spot metering versus exposure compensation for birds?
A classic trap is using spot metering on the wrong part of the scene, especially when backgrounds vary behind the bird. Spot meter off the bird’s body area, then lock exposure if your camera allows it, or use exposure compensation consistently for the same background brightness. The goal is repeatable exposure, not “perfect” exposure for one frame.
What settings or focus strategy work best for tiny birds in heavy foliage?
When a bird is small or hidden, eye detection may fail because the head occupies too few pixels. In that case, use a head-centered AF approach, either a small zone cluster or single-point AF placed on the most likely eye position, then avoid recomposing too far after focus. If the bird moves behind leaves, accept fewer keepers and focus on clean head visibility first.
How do I measure progress if bird photography results feel random?
Avoid changing multiple variables at once. Pick one location, one species category, and one time window, then practice a single skill such as stable panning for flight or exposure compensation for backlit backgrounds. Track your misses by category (focus, speed, approach, background clutter) and adjust only the relevant factor next session.
Is a monopod really helpful for birds in flight, or is handheld enough?
Use support if your lens is heavy, not just for comfort. A monopod or gimbal helps you maintain a smoother pan and keeps your AF tracking steadier, especially with long zooms. Pair it with consistent stance and follow-through, so the lens continues moving through the burst rather than stopping after the shutter.
What’s the fastest way to improve my perched-bird photos beyond camera settings?
Prepare your “frame upgrade” before you shoot. For perched birds, add natural perches next to your feeder and position yourself so the background is clean and light comes from behind you or at a 45-degree angle. If the light changes, wait for the bird to land on the prepared perch rather than taking shots through messy branches.
How do I avoid common editing mistakes like over-sharpening and fake color?
Do a quick check between sequences: confirm the eye is still the sharpest part, verify that exposure is not clipping on bright feathers, and inspect noise levels after ISO changes. If you used high ISO in shade, reduce noise selectively and do not over-sharpen the background, since sharpening artifacts become obvious at larger prints.
Next Article
How to Take Sharp Bird Photos: Settings and Field Tips
Step-by-step bird photo sharpness guide: settings, autofocus tracking, stabilization, and fixes for blur causes.
