Bird whistling covers two very different skills: using your own mouth and lips to imitate bird calls, and building or using a physical device that produces bird-like sounds. If you searched 'how to bird whistle,' you probably want one (or both) of those things. This guide covers both paths from scratch, with drills, step-by-step builds, and real tips for getting a convincing chirp out of either approach today.
How to Bird Whistle: Techniques and Simple DIY Tools

Marcus Hendricks
23 Mar 2026

Bird calls vs a bird whistle device: know which path you're on
This matters more than it sounds. A 'bird whistle' can mean two completely different things, and mixing them up wastes your practice time.
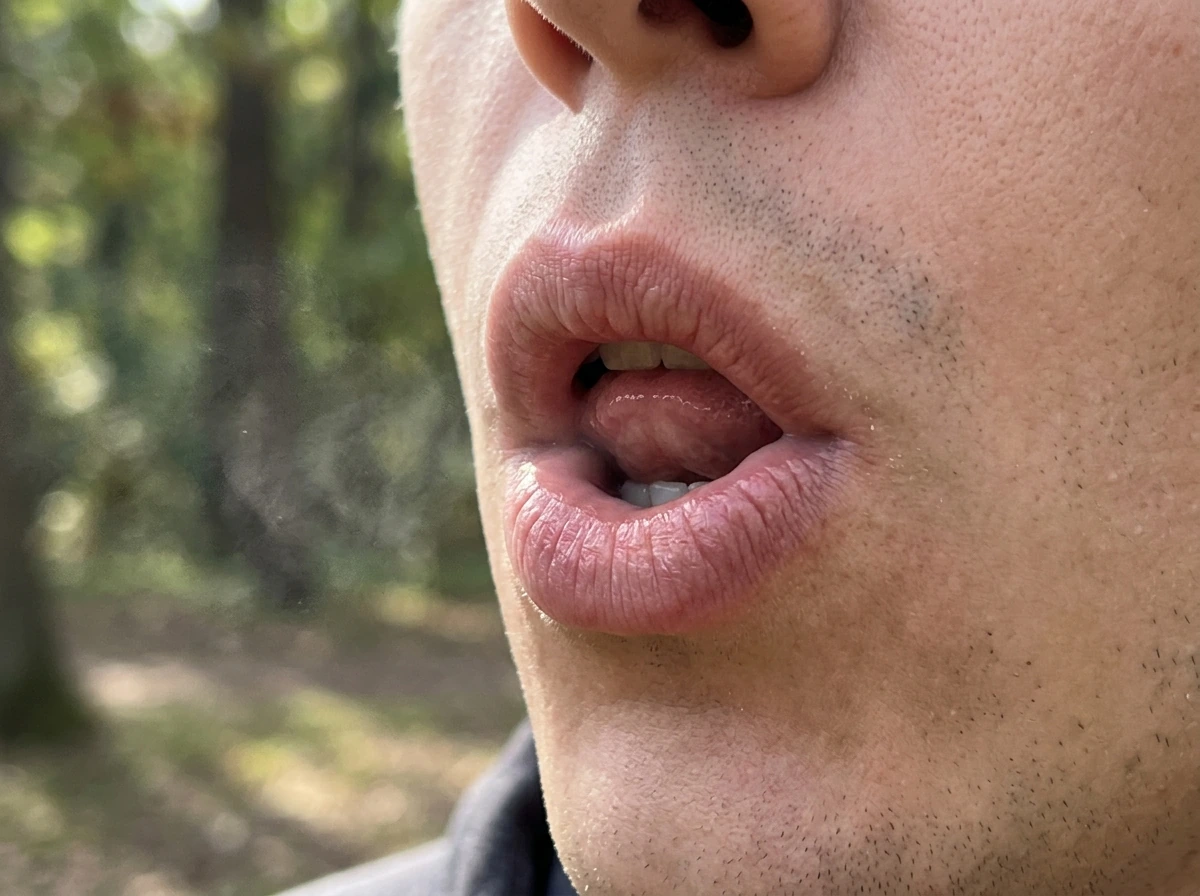
The first meaning is the human skill: shaping your lips, tongue, and airflow to produce a clear, shrill note that mimics the vocalizations birds make naturally. Ornithologists formally define a bird whistle as 'the shrill clear note of a bird or other animal,' and hundreds of species produce this type of sound, from the two-note 'fee-bee' of a black-capped chickadee to the long sliding whistles of hawks. Imitating those sounds with your own voice and lips is a learnable technique.
The second meaning is a physical device: a small instrument (sometimes called a bird call, bird whistle toy, or water bird whistle) designed to produce bird-like tones when you blow into it or manipulate it. Some versions use a thin membrane stretched over a ring, others use a reed sitting on a tone board, and some use a water-filled chamber. These are not dog whistles (ultrasonic) or pigeon whistles (attached to the bird itself). They are mouth-driven, hand-held instruments that anyone can use.
The sections below are split clearly by path. Jump to the human-technique sections if you want to whistle like a bird with no tools. Jump to the building and playing sections if you want to make or use a device. You can absolutely do both.
How to whistle like a bird: the basic technique and drills
Regular lip whistling already works on the same acoustic principle as a bird call: you create a small opening with your lips, push air through it, and your mouth cavity acts as a resonator that shapes the frequency. Research using real-time MRI scans of whistlers confirms that tongue position is the main knob for changing pitch, with a more forward (anterior) tongue producing higher frequencies and a more rearward tongue dropping the pitch. That's the whole mechanical secret. Everything else is just refinement.
Get your baseline whistle first
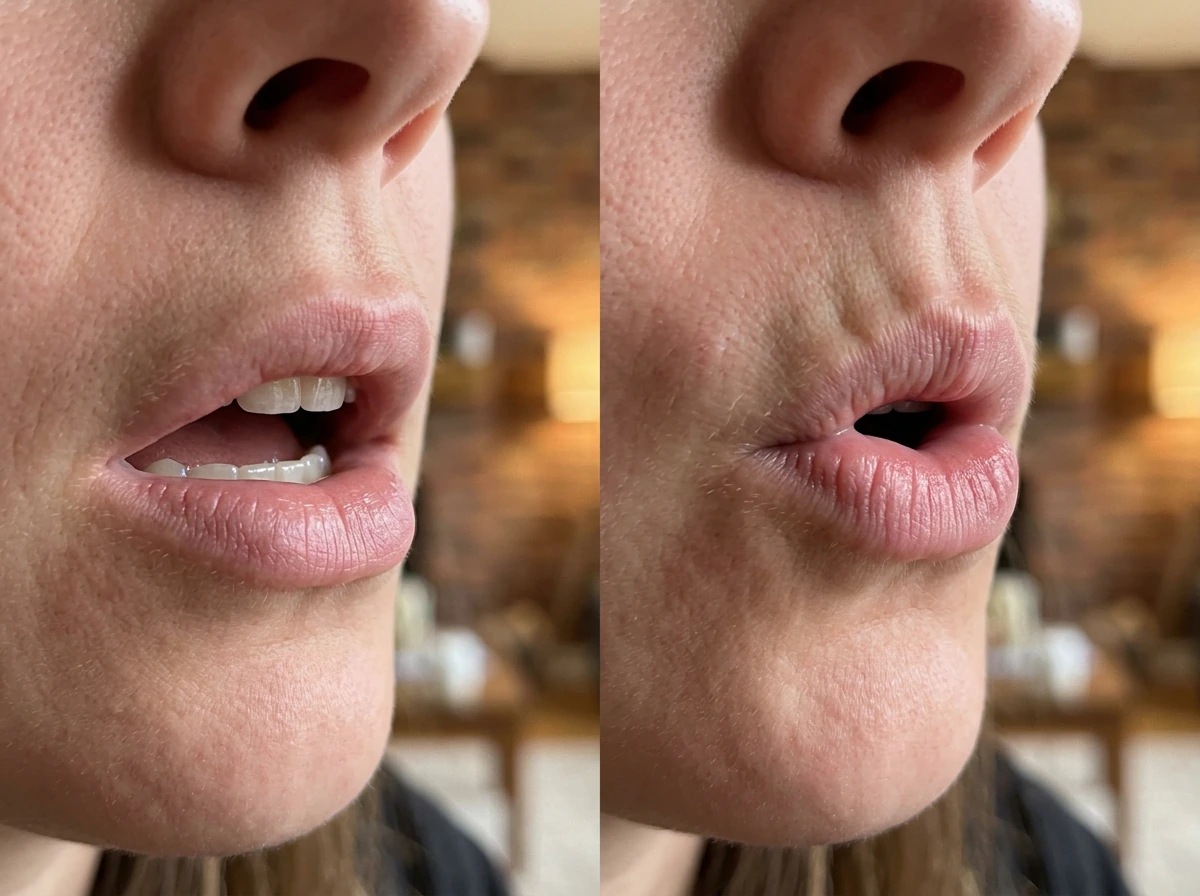
- Relax your lips and form a small, rounded opening, roughly the size of a pencil eraser. Do not stretch or smile. Keep them soft.
- Push a steady, gentle stream of air through that opening. You are not blowing hard. Think of fogging a window, not blowing out birthday candles.
- Adjust the opening size until a clear tone comes out. Too big and you get rush of air; too small and nothing comes out. The sweet spot is narrow.
- Once you have a stable tone, experiment: slide your tongue forward toward your front teeth. Notice the pitch rising. Pull it back. Pitch drops. Get comfortable doing this slowly on purpose.
If you cannot get a tone yet, try rounding your lips more and making the opening slightly smaller. Most beginners blow too hard at first. Ease off until you feel the tone click into place. It often happens suddenly after a few tries.
Drills to build bird-whistle control
Random whistling will not get you sounding like a bird. Structured drills will. Here is a five-minute practice routine you can do daily:
- Glide drill (2 minutes): Start on your lowest comfortable pitch and slide slowly up to your highest, then back down. Do this like a siren. Repeat ten times. This trains your tongue to move fluidly through a full range.
- Jump drill (1 minute): Whistle a low note, stop completely, then whistle a high note. Alternate without sliding between them. This builds the muscle memory for hitting specific intervals like the black-capped chickadee's 'fee-bee,' which drops roughly one whole step between notes.
- Tongue trill drill (2 minutes): Whistle a clear mid-range note, then rapidly flutter your tongue against the roof of your mouth while maintaining airflow. This produces the 'trill' quality many birds use. It feels awkward at first. That's normal. Push through it.
Five minutes a day of this for a week will get you further than an hour of unfocused practice. I learned this the hard way spending entire afternoons just randomly whistling and wondering why I sounded like a leaky tire.
Matching real bird calls: syllables, pitch, and rhythm
Bird vocalizations fall into recognizable categories. The Cornell Lab classifies them as clear whistles, clear trills, harsh or scratchy sounds, and liquid or flute-like tones. For beginner whistling practice, stick to the clear whistle and clear trill categories because those are what your lips and tongue can actually reproduce.
Birds also repeat syllables and phrases in predictable patterns before moving on. That repetition is your best friend when practicing, because it means you only need to nail one or two note shapes and then loop them convincingly.
Three beginner bird calls to start with
| Bird | Syllable pattern | Pitch movement | Rhythm tip |
|---|---|---|---|
| Black-capped chickadee | 'fee-bee' (two notes) | First note one whole step above second | Equal note lengths, slight pause between pairs |
| Northern cardinal | 'cheer-cheer-cheer' or 'whoit-whoit-whoit' | Stays on one pitch per phrase, then repeats | Slow and deliberate, space between each syllable |
| Eastern wood-pewee | 'pee-a-wee' (three notes) | Up on first, dips in middle, rises slightly at end | Drawn out, almost lazy pacing |
Pick one of these and only practice that call for your first week. Match the syllable sound by shaping the vowel in your mouth as if you were saying it softly, then whistle instead. 'Fee' means your tongue is forward and high; 'bee' is the same but slightly lower pitch. Experiment until the interval matches. Apps like Merlin from the Cornell Lab let you record your attempt and compare it to a spectrogram of the real call, which is genuinely useful for checking your pitch accuracy.
If you want to go deeper on chirp-specific sounds and vocal mimicry, the guide on how to chirp like a bird on this site covers a wider range of tonal categories beyond the pure whistle range. If you want to practice the exact chirp categories and vocal mimicry alongside your whistle drills, see how to chirp like a bird as a related next step.
How to do a bird whistle hands-only

Hand-assisted whistling is louder, more resonant, and easier to shape for bird-like tones than plain lip whistling. Your hands act as an extension of your mouth cavity, changing the resonance chamber the same way a larger body changes the pitch of an instrument. This is distinct from just cupping your hands around your mouth. Here is the specific technique:
- Press your palms together as if praying, but keep a small hollow in the middle. The hollow is your extra resonance chamber.
- Fold your tongue tip back so it does not block airflow. The tongue sits curled slightly, with the tip pointing toward the back of your lower front teeth.
- Bring your thumbs to your lips. The knuckle joint of both thumbs should line up with your lip opening. You are blowing through the gap between your thumbs.
- Tuck your lips back gently over your teeth, just like a standard finger whistle position. This tightens the aperture around your thumbs.
- Blow a slow, steady stream of air down through the thumb gap and into the hand hollow. Adjust the size of the hollow (open your palms slightly or close them) until a clear tone forms.
- Once you have a tone, slowly open and close your bottom hand (the one farthest from your face) like a valve. Opening it drops pitch; closing raises it. This is how you produce the gliding, sliding calls of larger birds like hawks.
The hand-cupped method naturally produces lower, more resonant tones than plain lip whistling, which suits hawk calls, owl calls, and dove coos better than high chickadee-style chirps. If you want to specifically learn to produce the loudest possible version of this, the guide on how to bird whistle with your hands goes into more finger and palm placement variations. And if you want to use individual fingers rather than cupped palms, check out the guide on how to whistle with fingers like a bird for that specific technique.
How to make a simple bird whistle yourself
You do not need special tools or materials to build a working bird whistle. Here are three builds ranked from simplest to slightly more involved.
Build 1: grass blade whistle (30 seconds, no tools)
- Find a wide, flat blade of grass. Wider is better. A thick lawn grass or large ornamental grass works well.
- Hold the blade taut between both thumbs, stretched vertically in the gap between your thumb knuckles.
- Press both thumbs together so the grass is sandwiched flat but with a tiny gap on each side of it.
- Blow through the gap. The grass blade vibrates and produces a shrill, reed-like sound. This is functionally a single-reed instrument.
- Adjust by stretching the blade tighter (raises pitch) or loosening it (lowers pitch).
This is genuinely the fastest way to get a bird-like sound with zero preparation. It sounds more like a hawk screech than a songbird, but it is immediately satisfying and a good way to understand how reed vibration works before you build anything more complex.
Build 2: water bird whistle from a small bottle (10 minutes)
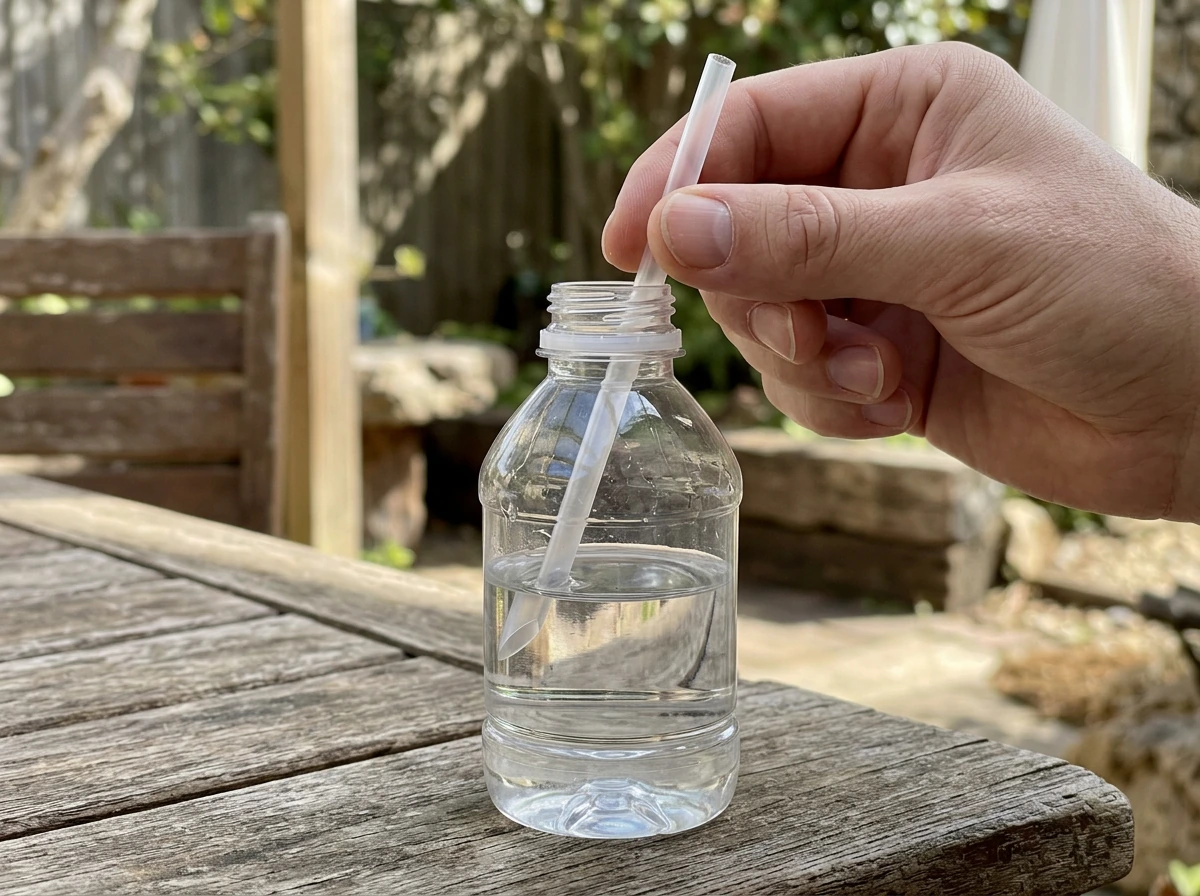
- Find a small plastic bottle with a narrow neck, like an empty medicine bottle or a small water bottle.
- Fill it approximately halfway with water.
- Cut a small drinking straw to about 10 cm (4 inches) and insert it so the bottom end is below the waterline.
- Blow gently through the straw. Bubbles pass through the water and produce a warbling, multi-frequency sound that is remarkably similar to small songbird calls.
- Adjust pitch by tilting the bottle to change the water level in the chamber, or by changing how hard you blow. More water equals a shorter air column above it, which raises the pitch.
The acoustic principle here is the same as blowing over a partially filled glass bottle: the length of the air column above the water determines the resonant frequency. Adding water shortens the column and raises pitch; removing water lowers it. This is one of the most convincing bird-call sounds you can produce from household materials.
Build 3: simple reed call whistle (20 to 30 minutes)
This is closest to a real duck call or bird call instrument. It requires a thin, flexible material for the reed (a piece of thin plastic packaging, a coffee can lid, or purpose-bought Mylar sheet), a wooden dowel or short tube for the barrel, and some sandpaper.
- Cut the barrel piece about 7 to 10 cm long. A wooden dowel works, or a thick straw reinforced with tape.
- Cut a flat reed from thin, flexible plastic, slightly narrower than the barrel opening.
- Lay the reed flat across one end of the barrel so it covers most of the opening but leaves a very small gap along one edge.
- Secure the reed with a small zip tie, rubber band, or tape wrapped tightly just behind the opening. The reed should be able to vibrate freely from the unsecured end.
- Blow through the open end of the barrel. Air passes under the reed, causes it to vibrate, and you get a reedy, call-like sound.
- Tune by shortening the reed (trim the free end with scissors in tiny increments to raise pitch) or by sanding the flat surface where the reed rests to change the gap size, which affects tone quality and blow effort.
Be careful with trimming the reed. A little goes a long way. As Ducks Unlimited tuning guides note, shortening a reed raises pitch and can make the call easier to blow, but too much trimming permanently affects tone quality. Trim 1 to 2 millimeters at a time and test between cuts.
How to make and use a bird whistle toy
If you want to skip the DIY build and use a ready-made membrane-style bird whistle toy (the kind sold as beginner instruments), the basics are simple. These devices work on a membrane principle: a thin, tightly clamped membrane vibrates when air passes over it, producing a high, clear sound. These devices work on a membrane principle: a thin, tightly clamped membrane vibrates when air passes over it, producing a high, clear sound. The stainless-steel ring holding the membrane in place is a key structural piece, so do not remove it or the membrane.
Using a membrane-style bird whistle toy
- Place the whistle on the tip of your tongue, not far back in the mouth. The tip-of-tongue position is intentional: it positions the membrane at the front of your oral cavity where airflow is most controlled.
- Close your lips around it gently.
- Exhale a slow, steady stream of air. The membrane vibrates and produces the bird-like tone.
- Vary pitch by changing airflow speed (more air equals higher pitch in most membrane designs) and by subtly repositioning the whistle on your tongue.
- Keep the membrane dry between uses. Moisture from saliva can dampen the membrane and muddy the tone. Shake it gently to clear water before playing.
Tuning your bird whistle toy
Most toy bird whistles are not adjustable in the way a reed call is. The membrane tension is set at manufacture. However, you can influence the output tone in a few ways: the amount of air you push controls loudness and slightly affects pitch, and placement on the tongue affects resonance. If your whistle sounds flat or muffled, check that the membrane is clean and not waterlogged. If it sounds harsh, ease off the airflow and slow your breath down. The goal is a thin, clear sound, not a loud one.
For a full walkthrough on using these instruments, including specific techniques for different call types, the guide on how to use a bird whistle goes into much more detail. If you are learning from the start, this overview also explains exactly how to use a bird whistle for different call styles. And if you have a water-chamber version of the toy, the guide on how does water bird whistle work explains the mechanics clearly.
How to practice and play: timing, control, and fixing common problems
Getting a sound out of a bird whistle (either your lips or a device) is step one. Getting a convincing, controlled bird call is step two, and that takes deliberate practice. Here is how to structure it.
Timing and phrasing
Real birds do not whistle in one continuous stream. They phrase their calls in short bursts with clear silence between them. Practice your chosen call with a pause after each phrase. If you are imitating the chickadee 'fee-bee,' whistle the two notes, stop for one full second, then repeat. That silence is as important as the notes. Without it, you just sound like a person whistling, not a bird.
Common problems and how to fix them
| Problem | Likely cause | Fix |
|---|---|---|
| No sound comes out | Lip opening too large, or blowing too hard | Narrow the opening and reduce airflow to a gentle, steady stream |
| Sound is airy and weak | Lip opening too small or tongue blocking airflow | Widen lips slightly; check tongue is not pressed against top of mouth |
| Pitch wobbles uncontrollably | Tongue moving involuntarily | Practice glide drills slowly to gain conscious tongue control |
| Bird whistle toy sounds muffled | Membrane is wet or dirty | Remove from mouth, shake out moisture, let air-dry for 30 seconds |
| Reed whistle sounds too high and thin | Reed too short or gap too narrow | Gently sand the tone board to widen the gap slightly |
| Water whistle gurgles without a clear tone | Too much water or blowing too hard | Remove a little water and reduce airflow speed |
| Hand whistle produces no tone | Thumb gap too wide or lips not sealed | Press thumbs closer together and tuck lips tighter over teeth |
A simple daily practice plan
- Day 1 to 2: Focus only on getting a clear, stable tone. Do not worry about pitch or bird sounds yet. Just produce a consistent note for five seconds without wavering.
- Day 3 to 4: Add pitch movement. Practice gliding up and down slowly. Then try hitting two specific pitches (low and high) and jumping between them cleanly.
- Day 5 to 6: Choose one bird call and practice only that phrase. Match the rhythm and interval using the syllable patterns from the table above.
- Day 7: Record yourself on your phone and compare to a real recording. Apps like Merlin can show you a spectrogram of both for a side-by-side pitch comparison. Adjust what's off.
- Week 2 onward: Add a second call, practice in different environments (outdoors produces better feedback than indoors), and start experimenting with call-and-response by whistling and listening for actual bird reactions.
Temperature and humidity affect physical reed and membrane whistles noticeably. A reed call will behave differently on a cold morning versus a warm afternoon, just as Ducks Unlimited notes for duck calls. Keep your device at body temperature (in a pocket) before use in cold weather, and blow a few test notes before committing to a sequence. Your lip whistle is more stable across conditions, but even your own mouth dries out in the wind, so stay hydrated.
The most common reason people give up on bird whistling is expecting to sound great within the first ten minutes. That is not how it works. The first few sessions will sound rough, and that is completely normal. The technique clicks when it clicks, usually somewhere between day three and day five of consistent practice. Keep the sessions short, keep them daily, and celebrate the first time you whistle outside and an actual bird whistles back. It will happen, and it is worth every awkward practice session to get there.
FAQ
When I try lip whistling, I get air noise or a buzzing sound instead of a clear note. What should I change first?
First, reduce airflow. Most beginners push too much air, which produces hiss or rough buzzing. Then make the opening slightly smaller and keep your lips more rounded, you are looking for a thin, stable tone that starts suddenly when the “click” happens.
How do I control pitch if my tongue position feels inconsistent from try to try?
Pick a target call with just two notes and practice looping that interval, focusing on keeping the tongue position consistent while you vary only one thing at a time (for example, only lip rounding or only airflow). If pitch jumps randomly, your airflow is usually changing more than your tongue, use gentler breaths for steadier results.
Is it better to practice in the morning or after it warms up, especially for reed or membrane calls?
Warm-up matters for devices. If it is cold, reed and membrane whistles often sound lower or harder to trigger, keep the device near body temperature (pocket) for a few minutes and do a quick test sequence before you start practicing a specific bird call.
What can I do if my practice sounds “too human,” even when I hit the notes correctly?
Add the bird’s phrasing, not just the pitch. Use short bursts separated by a full silence (around one second) between phrases. If you do not pause, it usually ends up sounding like a continuous whistle rather than a call and response pattern.
How do I know whether I should use a high, clear whistle call versus a trilling one for my skill level?
If you can only produce one stable tone, start with clear whistles. If you can sustain tone without it breaking, then try a clear trill because it requires faster control of tongue and airflow. If your sound crackles, go back to clear whistles and rebuild stability before adding trills.
When building a reed-style DIY bird call, how can I avoid permanently ruining the tone by trimming the reed?
Trim extremely small increments and test after every cut. A good rule is 1 to 2 millimeters at a time, then blow short tests until you hear a clear change. If you overshoot, you usually cannot “untrim” the reed, and tone quality can be affected even if pitch seems right.
My membrane-style bird whistle toy sounds flat or muffled. What checks should I do before assuming it is broken?
Check the membrane for cleanliness and dryness (waterlogged membranes often sound dull), confirm the membrane is still evenly seated in its ring, then adjust breath control by reducing airflow and slowing your breath. Many “flat” outputs are actually caused by wet or uneven vibration.
What is the fastest way to practice a specific species call using a loop without overthinking?
Choose one call pattern for a week (for example, two notes like “fee-bee”). Practice it as a loop with a pause after each full phrase, do not switch between calls. Use the same syllable vowel shape each time so your mouth shape stays consistent while pitch and timing lock in.
Can I use the same bird whistle technique at different volumes, without losing the bird-like sound?
Yes, but volume changes often change tone. For devices, aim for a thin clear sound, use airflow for loudness without forcing excessive pressure. For lip whistling, keep the airflow gentle and steady, louder usually comes from better resonance (hand-assisted methods) rather than blasting air.
Why do my lip whistle results improve indoors but get worse outside in wind?
Wind and dry air disrupt the stability of your mouth cavity and can dry your lips, causing the tone to break. Stay hydrated, use smaller airflow, and consider hand-assisted whistling to stabilize resonance when conditions are rough.
Next Article
How to Fit Bird Comb Safely Step by Step
Step-by-step guide to fit a bird comb safely: tools, prep, positioning checks, fixes for loose or rubbing issues