If you've spotted a bird with a tiny metal ring or a stack of colorful plastic bands on its leg, you can absolutely read and report what you see. You don't need special equipment or a science degree. What you need is a clear look, a phone or notebook, and a systematic approach to recording what's there. This guide walks you through exactly that.
How to Read Bird Tags: Decode Leg Bands and Codes

Marcus Hendricks
8 Apr 2026
What bird tags actually are
The word 'tag' gets used loosely in birding, but in practice, most wild birds carry one of a handful of marker types. The most common is a federal metal band, which is a small aluminum or stainless steel ring crimped around the bird's leg. In North America, these are issued by the USGS Bird Banding Laboratory (BBL), and every single one carries the URL www.reportband.gov followed by a unique 8- or 9-digit number. That number is the whole point: it ties this specific individual bird to a banding record.
Beyond federal bands, researchers attach what the BBL calls 'auxiliary markers.' These are extra tags used alongside a federal band, not instead of one. They include colored plastic or metal leg bands, neck collars, wing tags, radio transmitters, and sometimes flags. The reason they exist is simple: you can read a bright red or yellow band from 30 feet away with binoculars. You cannot read an engraved 9-digit number at that distance. So colored bands give researchers the ability to track individual birds in the field without ever recapturing them.
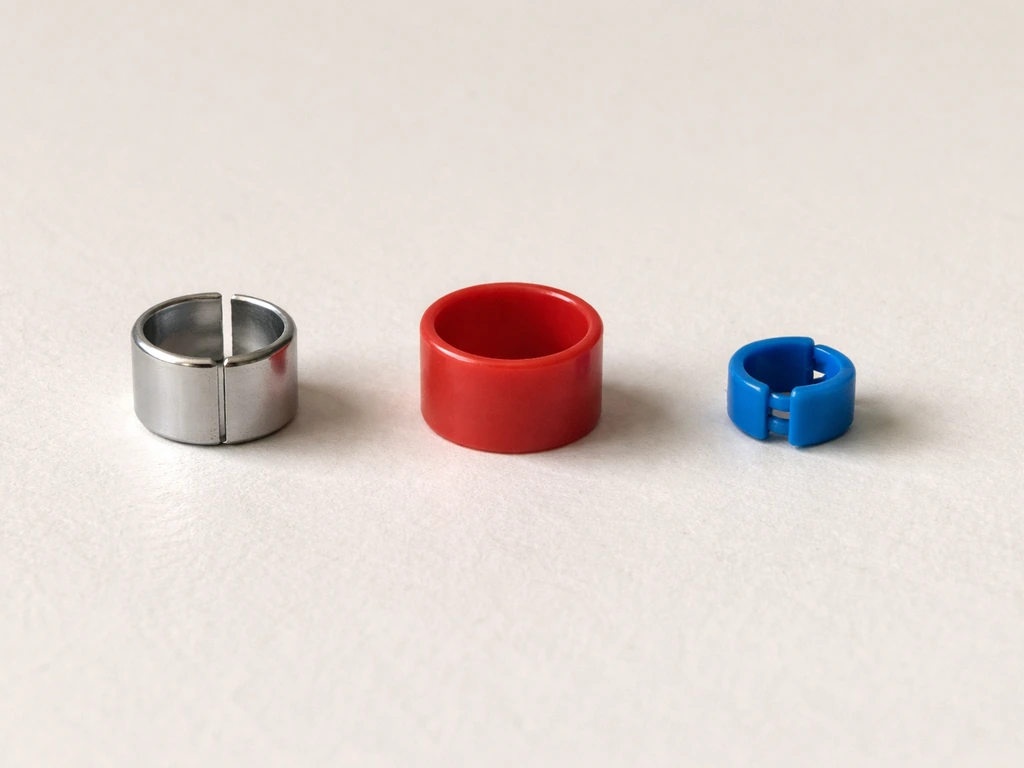
There are also three physical styles of federal bands worth knowing about. Standard butt-end bands are used on most songbirds and waterfowl. Lock-on bands are specifically used on hawks and owls because their talons would pry open a standard band. Rivet bands are used on eagles, which need an even sturdier design. If you see something on a bird of prey, don't be surprised if the band looks different from what you've seen on a duck or sparrow.
Some captive birds and birds handled by rehabilitators also carry tags or bands, and those occasionally have their own numbering schemes. But for the purposes of this guide, we're focused on wild birds in a birdwatching or citizen-science context, where the goal is reading what you see and reporting it to the right place.
What to look for and how bands are laid out
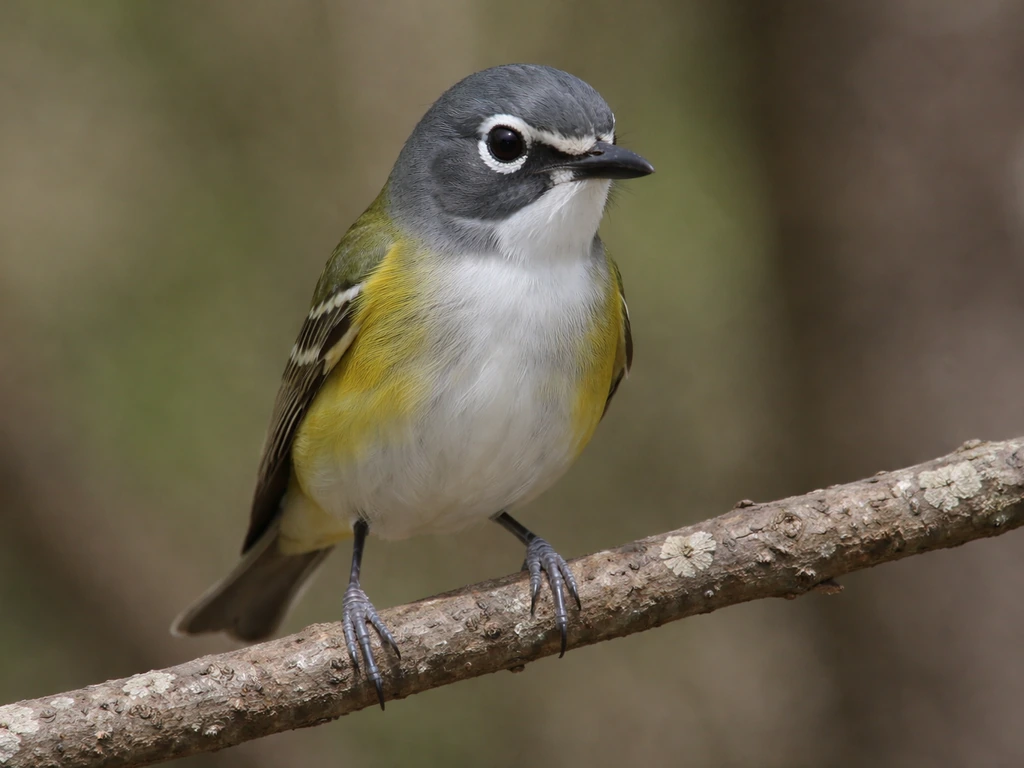
When you're scanning a bird's legs, you're looking for two things: any metal bands (usually silver or aluminum-colored) and any colored bands (which can be red, blue, green, orange, yellow, white, black, or combinations of those). A bird might have just one metal band, or it might have a metal band plus two or three color bands spread across both legs. Programs like the Smithsonian's Neighborhood Nestwatch, for example, use 'two or three color bands and one aluminum band applied in varying combinations on both legs' to create a unique color signature for each bird.
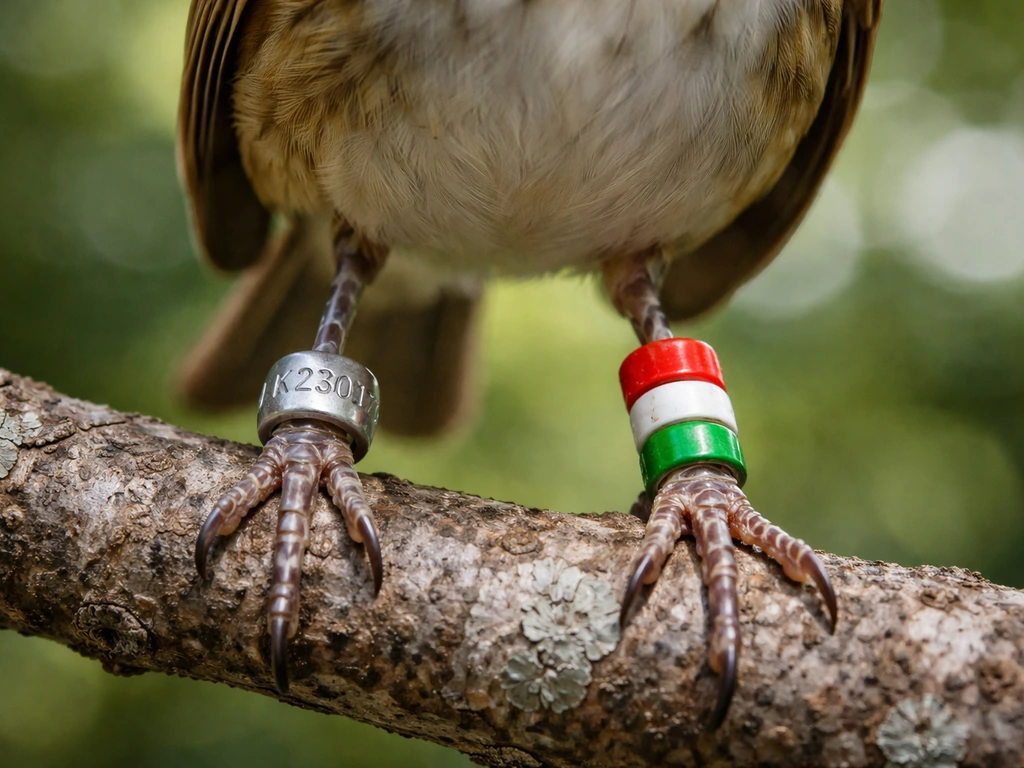
The metal federal band will usually sit on just one leg, and the engraved text wraps around the outside. The color bands can appear on either leg, sometimes stacked two high on the same section of a leg. Each band's position, both which leg it's on and where on that leg it sits, is part of the code. That's why just noting 'red and blue' isn't enough. You need to record which leg carries which color and whether one is above the other.
On a perching bird, you have two main sections of leg to think about: the tarsus (the lower part, above the foot) and the tibia (the upper part, above the knee joint). Bands usually sit on the tarsus. If a leg has two stacked bands, 'top' means closer to the body and 'bottom' means closer to the foot. This stacking order matters when you go to record what you saw.
How to read number and letter codes, step by step
Reading the engraved number on a metal federal band is the trickiest part. The digits are small, the band is round, and the bird is rarely sitting still. Here's the approach I've found works best:
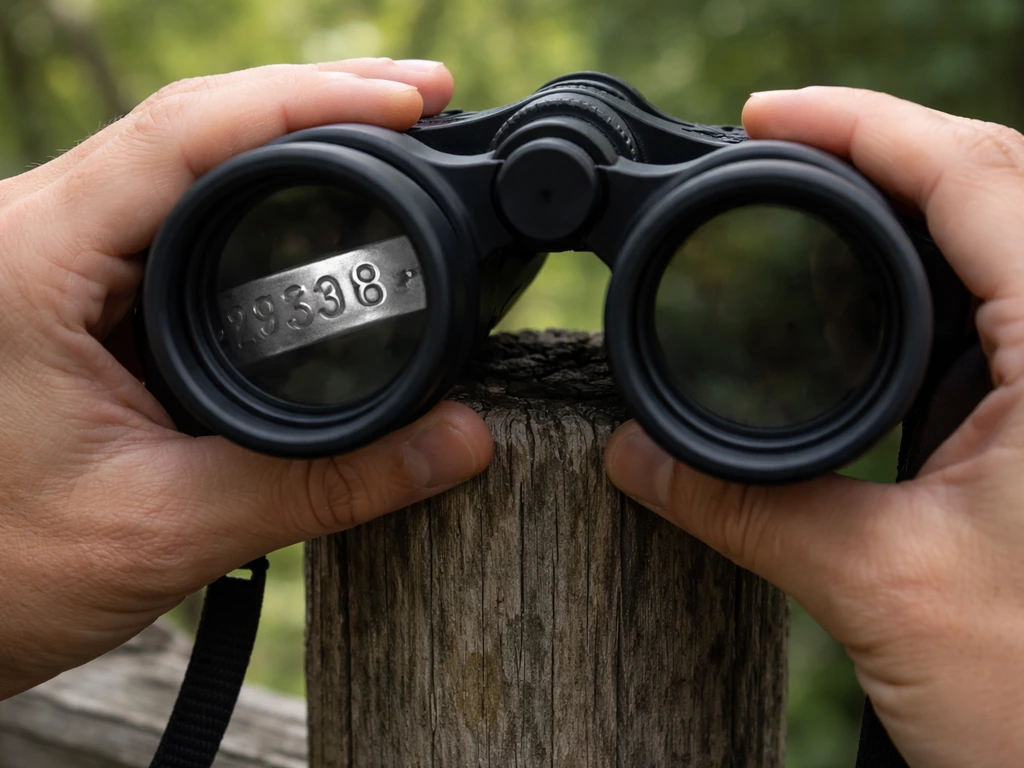
- Get stable first. Rest your binoculars or phone against a tree, fence, or your own forehead. Shaky hands mean blurry views, and you'll miss digits.
- Wait for the bird to turn. The number wraps around the band, so you'll need the bird to rotate slightly to catch all the digits. Don't try to read everything in one pass.
- Photograph as many angles as you can. Even three or four slightly different shots can, together, reveal digits that were hidden in any single frame.
- Read what you can see and write it down immediately, even if it's partial. Something like '??3-4271?' is vastly more useful than a vague memory of a number.
- Look for the URL. USGS federal bands are inscribed with www.reportband.gov. If you see that inscription, the number next to it is your 8- or 9-digit reporting code.
- Record the code in full, without spaces or dashes, exactly as it appears on the band. There's no agency prefix or check digit you need to decode separately — the number is the identifier.
One thing that trips up beginners: you don't need to decode what the number means yourself. The USGS database does that on their end. Your job is just to record it accurately and report it. The number itself doesn't follow a publicly meaningful pattern like a license plate or ISBN. It's just a unique serial ID.
Reading color bands and leg placement
Color bands are read using a consistent convention, and getting this right is crucial. Record from the bird's left leg first, then the bird's right leg. Within each leg, read top to bottom (closest to the body first, closest to the foot last). This is the standard used by the Smithsonian, the Sea & Sage Audubon Snowy Plover program, and most North American banding projects.
Here's the part that catches people out: left and right are from the bird's perspective, not yours. When a bird is facing away from you, its left leg is on your right side. I've made this mistake myself. A good trick is to mentally imagine you're standing inside the bird's body facing the same direction it is. That's the orientation you use for recording.
So if a bird has a red band on top and blue band on the bottom of its left leg, and a single green band on its right leg, you'd write that as: Left leg: Red over Blue / Right leg: Green. Some reporting forms ask you to enter each band separately by position (Band #1, Band #2 on left leg, and so on), which makes the top-to-bottom rule especially important to follow.
A quick note on colors: in low light, blue and black can look similar, and green and yellow can be hard to distinguish. Orange and red can also blur together. If you're genuinely unsure, write down both options (e.g., 'blue or black') rather than guessing. An uncertain reading with honest notes is more useful to a researcher than a confident wrong answer.
Capturing and recording what you see
Good field notes are what separate a useful sighting from a forgotten one. The moment you step away from the bird, details start to fade. Write or dictate notes on your phone while you still have the bird in view, or immediately after. Here's what to capture:
- Date, time, and location (GPS coordinates if you can get them, or a precise description of the spot)
- Species identification, or your best guess if you're uncertain
- Which leg carries the metal band, and any digits or partial digits you could read
- Color band sequence: left leg top to bottom, then right leg top to bottom
- Band material (metal, plastic) and any unusual details (flag attached, band looks cracked, text visible beyond the URL)
- Photos from multiple angles, including close-ups of both legs separately if the bird holds still
Photos are genuinely powerful here. The USGS encounter reporting form lets you upload photos after submitting your band report, and a clear image can resolve a digit you weren't sure about. Even a blurry photo is worth keeping. Use your phone's burst mode if the bird is moving, and don't zoom past the point where image quality degrades. Sometimes a slightly wider shot with sharper focus reveals more than a zoomed-in blur.
If you're making regular trips to a site where color-banded birds are common, consider keeping a dedicated notebook or folder on your phone just for band sightings. Over time, you'll start recognizing individual birds by their combinations, which is a genuinely satisfying part of learning bird identification at a deeper level.
Common problems and how to handle uncertainty
Worn bands are the single biggest frustration. USGS explicitly warns that engraved digits can wear off over time, to the point where one number, a few numbers, or the entire band becomes illegible. Mallards are a common example because they spend so much time in water and mud. If you can only read part of a number, that's still worth reporting. Submit what you have, note which positions are unclear, and let the database work with it.
Here are the other common issues you'll run into, and how to handle each one:
| Problem | What's happening | How to handle it |
|---|---|---|
| Can only read part of the number | Digits worn off or band partially hidden | Record what you can with '?' for unclear positions; still report it |
| Not sure if left or right leg | Observer perspective vs. bird perspective confusion | Re-orient mentally to the bird's viewpoint; note 'uncertain' if still unsure |
| Colors look similar (blue vs black, green vs yellow) | Low light, worn pigment, or color perception differences | Record both options with a slash, e.g., 'blue/black' |
| Two bands look like one thick band | Stacked bands close together | Look for a gap or seam; photograph to check later |
| Band has letters, not just numbers | Some programs use alphanumeric codes or two-letter abbreviations | Record exactly what you see, including any letters |
| No www.reportband.gov visible | Foreign band, old band, or non-federal auxiliary band | Still record and report; note the text you can see |
One more issue worth flagging: not every band you see belongs to the USGS system. Foreign-banded birds (migrants from Canada, Mexico, or elsewhere) have their own band schemes. USGS's reporting guidance notes that most non-federal bands shouldn't be submitted to the BBL except foreign ones. If you see a band with text that doesn't match the www.reportband.gov format, write down exactly what it says, note the country if you can figure it out, and search for the relevant national banding authority.
When you're unsure about the species itself, tools that let you identify a bird from a photo can be a useful first step before you try to decode its bands. Getting the species right matters because some banding programs are species-specific, and knowing the bird helps narrow down which program banded it.
Where to look up IDs and submit your sighting
For federal metal bands (North America)
Head to www.reportband.gov. blank" rel="noopener noreferrer">This is the USGS web application built specifically for public reporting of banded bird encounters. You'll enter the 8- or 9-digit band number, details about where and when you saw the bird, the species, and your contact information. blank" rel="noopener noreferrer">After the report is reviewed, USGS sends you a Certificate of Appreciation that includes confirmed banding details, meaning you find out where and when the bird was originally banded. It's a genuinely satisfying payoff for taking the time to record things carefully.
For color-banded birds
Color-banded birds are often part of specific research programs, so reporting goes to those programs directly rather than a single central database. The USGS 'Banded Bird Encounter Reporting' form does support color marker reporting and has separate fields for left and right leg bands by position, which is why the left-leg-first, top-to-bottom convention matters so much when you're filling it in.
If the bird looks like it might be part of a neighborhood or backyard research program, the Smithsonian's Neighborhood Nestwatch is a likely candidate. That program uses unique color combinations on small songbirds and has its own resighting submission pathway. Regional programs like Pacific Coast Bird Conservation handle color-banded plovers and terns along the Pacific coast and encourage observers to submit photos alongside their band records.
If you're not sure which program banded the bird, the color combination itself plus the species and location can help you track down the right contact. Searching '[species name] color band reporting [your region]' will usually surface the relevant program's page. Birding forums and local Audubon chapters are also good resources when you're stuck.
What to include in your report
- The complete band number (or as many digits as you could read)
- Exact date, time, and GPS location or detailed description of the site
- Species (confirmed or best guess)
- Condition of the bird: was it alive and behaving normally, injured, or dead?
- Color band sequence if applicable: left leg top to bottom, then right leg top to bottom
- Any photos you took, even imperfect ones
- Your contact details so the agency can follow up
If you're regularly seeing banded birds in the field, it's worth building some broader identification skills alongside your band-reading practice. Being confident about identifying wild birds in general makes it much easier to quickly assess whether a band is worth trying to read, and to correctly enter the species when you report. Young birds can be especially tricky to place: a guide on identifying fledgling birds is useful if you're encountering recently banded juveniles that haven't yet developed full adult plumage. Similarly, if you find yourself puzzling over a juvenile's identity, resources on identifying bird chicks can help you work out what you're actually looking at before you try to decode its leg bands.
For anyone who wants to understand the full picture of bird monitoring, learning how bird tagging actually works from the bander's side gives useful context for why bands are designed and placed the way they are. And if you're getting into more detailed species work, a practical guide on identifying male and female finches is a good example of how band-reading and plumage-reading skills complement each other in the field.
Reading bird bands feels intimidating the first time, but after a few successful reports it becomes a satisfying and methodical part of birdwatching. If you're wondering how to identify bird chicks, the same careful observation and note-taking habits can help you record key traits in young birds. You're contributing real data to programs that track migration, survival, and population health across entire continents. Every accurately recorded band number is a small piece of that larger picture.
FAQ
What should I do if I can read the band number but not the exact colors or positions?
Submit the band number if you have it, and record the colors and positions as “unknown” where you cannot confirm. If your form uses separate fields for left and right legs, leave blanks or use an uncertainty note (for example, “red/blue on left, position unclear”) rather than forcing a full code from a partial view.
How do I report a bird that has more than one metal band or doesn’t look like the standard setup?
Treat each metal band as a separate record only if you can confidently distinguish and photograph them, then note how many metal bands you saw and where each one sat on the leg (tarsus versus tibia area). If bands overlap or you cannot tell whether something is a second band or stacked colors, report what you can verify and add a photo to support your interpretation.
Do I need to identify the bird species before submitting a band report?
Yes, include the best species ID you can, because some banding programs are species-specific and the encounter matching relies on species context. If you are uncertain, write your confidence level in notes and use an ID confirmation approach from your best available field marks or a photo-based check before reporting.
What if the bird is perched at an angle and I cannot tell which side is “top” (closer to the body) on stacked bands?
Use the stacking reference to the bird’s body, not your view. If you cannot determine top-to-bottom reliably due to the angle, record the colors without order but mark the uncertainty explicitly (for example, “left leg has red and blue, order uncertain”) and try to capture a burst photo from a different angle.
How should I handle blue versus black or green versus yellow when lighting is poor?
Don’t guess confidently. Record both possibilities (for example, “blue or black”) and add lighting conditions in your notes (shade, dusk, overexposed sun). If you have even a single good photo frame, use it to revise the color later before final submission.
What should I do if the engraved digits are worn off or smudged and I can only read part of the number?
Report the partial digits you can see, but clearly indicate what is missing or illegible. For example, write “12345__67” only if your digit positions are distinct; otherwise note “digit(s) missing” and attach a photo so reviewers can attempt digit reconstruction.
If a band doesn’t match the www.reportband.gov format, can I still submit it anywhere?
Do not assume it is in the USGS system. Write the exact text or visible country markings, photograph the band, and search for the likely national banding authority based on the marking you captured. If you do not know the origin, include location and species in your notes to help others identify the correct authority.
Should I use photos or raw notes for reporting, which one matters more?
Photos matter most when a digit or color is uncertain, because they provide evidence for later review. Still write notes immediately (leg side, order, and any uncertainty), because photos sometimes fail to show orientation clearly when the bird moves.
How can I prevent common left-right mistakes when the bird is facing away or turning?
Use the bird-centered perspective method, mentally standing inside the bird facing the same direction it faces. If the bird turns during observation, record what you saw for each moment separately (or capture a photo) so you do not overwrite one leg’s code with the other leg’s code.
What if I see a colored band but no metal band, can it still be reported?
Often color markers are part of a research program, but whether it is reportable depends on the program and what you can confirm. In your report, include the exact color pattern, species, location, and time, and upload photos. If there is no visible federal band, use the program-specific submission pathway when you can identify the program from context (region, species, or prior knowledge).
How soon after the sighting should I report a band encounter?
Report as soon as possible while details are fresh, ideally the same day. If you wait, your memory of leg side, order, and exact colors can drift, and a later correction is harder than adding a quick photo and an uncertainty note at the time of submission.
Next Article
How to Identify a Bird From a Photo: Step by Step
Learn how to identify a bird from a photo using key field marks, size, bill, feet, metadata, and habitat context.